Problem
This documentation is incomplete.
ITIL defines
- a problem as "a cause or potential cause of one or more problems."
- a problem is a single unplanned event that causes a service disruption.
inoERP uses the terminologies precisely for the same purposes. The system allows you to copy any problem to a problem and a problem to a problem. However, you usually create a problem to report a single issue and a "problem" to document a recurring issue and analyze it further.
The primary objective of problem management is to focus on preventing problems or reducing their impact. Problem management is focused on handling problems in real-time.
Header
To view/create/update a problem, navigate to the "problem" search screen from your dashboard/favorite.
Click on create a new button to create a new problem; by manually entering all the information.
Copying an existing problem to a new problem is always better than manually entering all the data to create a new problem. The application lets you update all the details before confirmation; you can configure which fields are view-only after the confirmation.
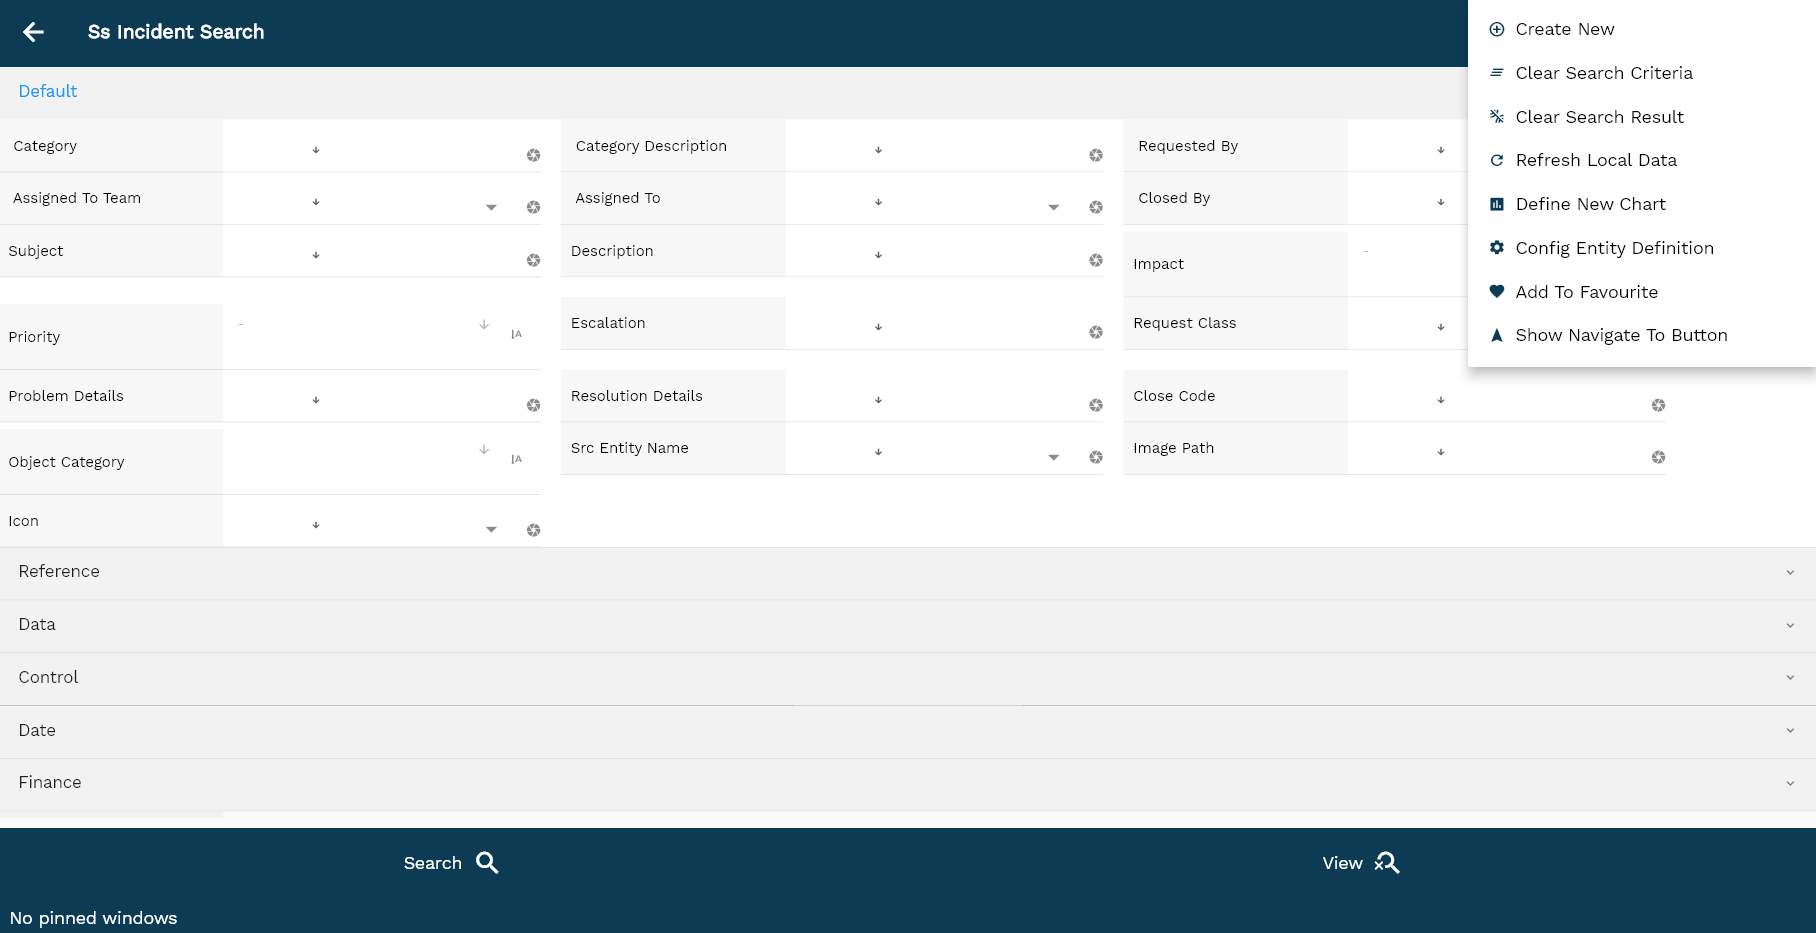
Enter the organization/problem details or any other criteria in the search form and click on the search button to view an existing problem.
The system will show you all the problems if you don't enter organization/request details. If your organization configures any mandatory search field, you must enter those fields to search problems.
For the first search of any entity, there is no difference between using the search or view button. The application always fetches data from the server. However, after the first search, if you click the view button, the application will show if any cached result is available on the local device for the same search criteria. If you click the search button, the application will fetch data from the server and take you to the search result screen.
The search result screen looks a bit different on desktop and mobile devices.
To view the search result in a table format, click on the table icon in the bottom left corner.
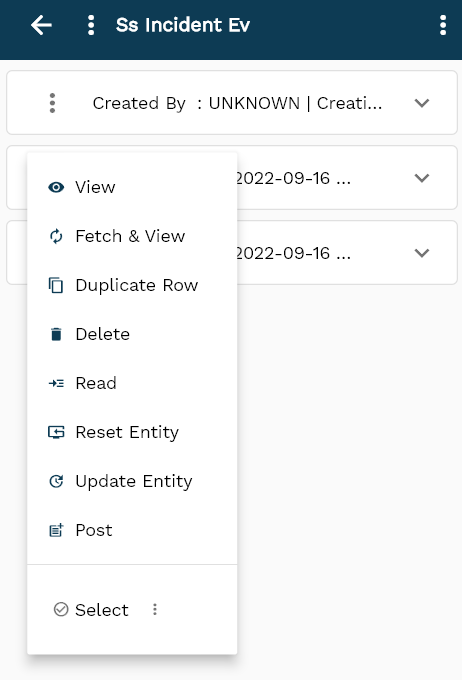
To open a specific problem, click on the menu of that record, and click on view/fetch & view.
You can also click on the expand icon against any item on the search result screen to view the problem details such as problem description, requestor, status, etc.
If the request opens in content view mode, click on the display settings to change the display. Select either standard/compact view mode in the form field.
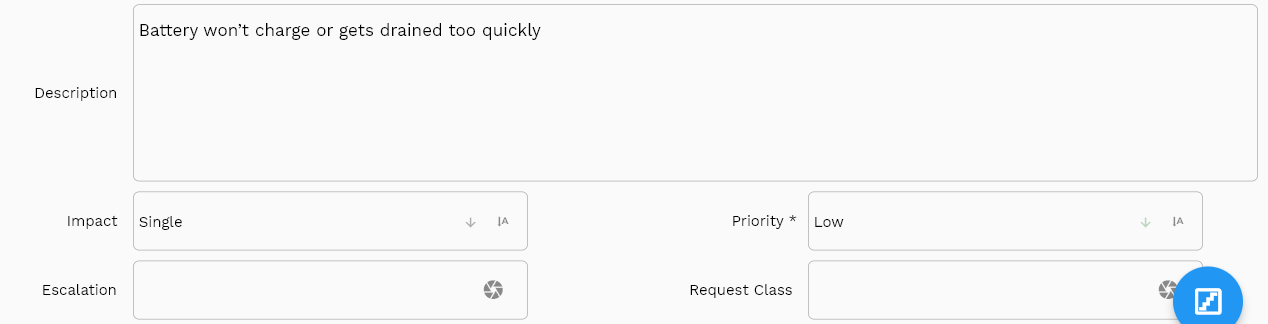
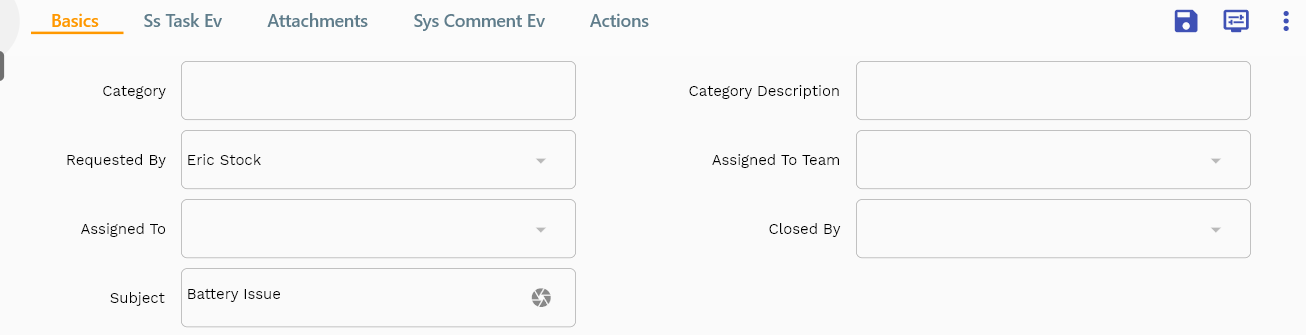
Problem Category: Select a problem category from the list of values. Problem category defaults team and "assigned to" person
Assigned To Team: Select a team that will work on the problem. If your organization uses a triage team to review and assign all problems, then select the name of the triage team. You can also configure the application to default the value from the problem category.
Description: Enter the problem's details in the description field. It's a mandatory field and is shown as a multi-line text field. You can use markdown language in this field.
Double-click on the field to view the description in a larger area, and the application will show the field on a separate popup screen.
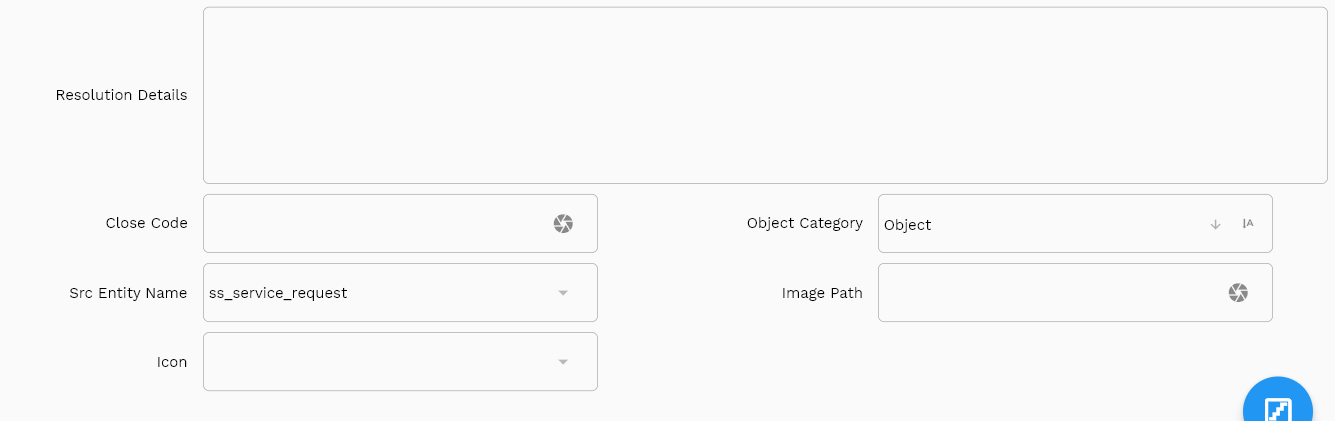
Resolution Details: Not required to be entered by the requestor. You can also hide this field by creating a separate view. The team/person who completes the problem can enter the resolution details before completing/closing a problem.
Scroll left, right, up, and down to view all the details. The problem line and details are shown in a separate tab. The default configuration shows fields in various functional groups, such as
- Finance
- Entity
- Reference
- Data
- Control
- Etc
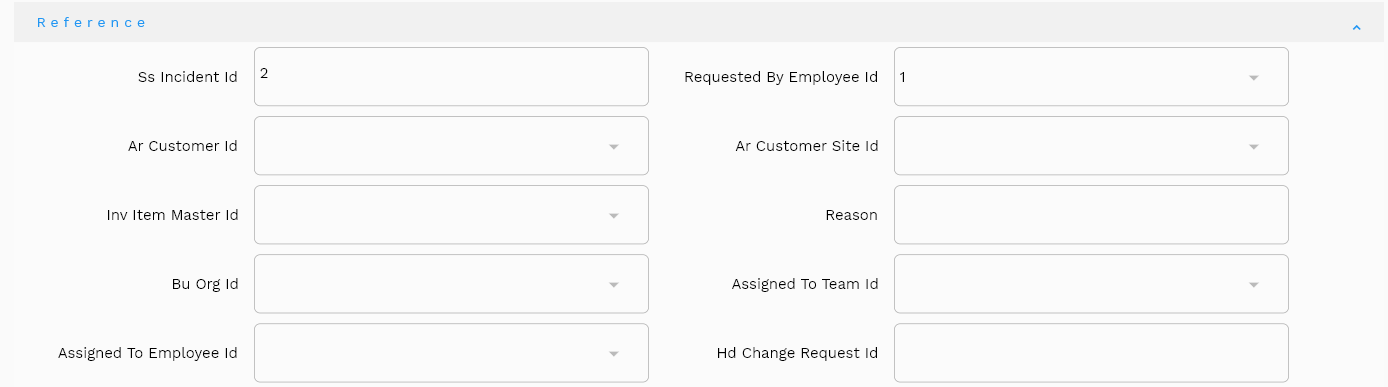
The reference groups show various ids for reference only. You don't need to enter any information in this section. When you save a transaction doc for the first time, the system will auto-populate the newly created header id and line ids.
You can configure the application to show which fields should be under which group. You can also create new groups as per your business requirements.

All Fields
| Name | Sequence | Label | InputType | Field Group |
|---|---|---|---|---|
| 10 | vvCategory | Category | text | DEFAULT |
| 10 | vvCategoryDescription | Category Description | text | DEFAULT |
| 20 | vvAssignedToTeam | Assigned To Team | defferedSelect | DEFAULT |
| 30 | vvAssignedTo | Assigned To | defferedSelect | DEFAULT |
| 40 | vvClosedBy | Closed By | defferedSelect | DEFAULT |
| 50 | ssProblemId | Ss Problem Id | text | REFERENCE |
| 60 | requestedByEmployeeId | Requested By Employee Id | defferedSelect | REFERENCE |
| 70 | subject | Subject | textField | DEFAULT |
| 80 | description | Description | textArea | DEFAULT |
| 90 | impact | Impact | select | DEFAULT |
| 100 | priority | Priority | select | DEFAULT |
| 110 | reason | Reason | text | REFERENCE |
| 130 | requestType | Request Type | textField | CONTROL |
| 140 | requestClass | Request Class | textField | DEFAULT |
| 150 | buOrgId | Bu Org Id | defferedSelect | REFERENCE |
| 160 | assignedToTeamId | Assigned To Team Id | defferedSelect | REFERENCE |
| 170 | assignedToEmployeeId | Assigned To Employee Id | defferedSelect | REFERENCE |
| 180 | problemDetails | Problem Details | textField | DEFAULT |
| 190 | resolutionDetails | Resolution Details | textField | DEFAULT |
| 200 | hdChangeRequestId | Hd Change Request Id | text | REFERENCE |
| 210 | closeCode | Close Code | textField | DEFAULT |
| 220 | closedByEmployeeId | Closed By Employee Id | defferedSelect | REFERENCE |
| 230 | closedDate | Closed Date | date | DATE |
| 240 | objectCategory | Object Category | select | DEFAULT |
| 250 | ssRequestCategoryId | Ss Request Category Id | text | REFERENCE |
| 260 | srcEntityName | Src Entity Name | defferedSelect | DEFAULT |
| 270 | srcEntityId | Src Entity Id | text | REFERENCE |
| 280 | imagePath | Image Path | textField | DEFAULT |
| 290 | icon | Icon | deferredSelect | DEFAULT |
| 300 | costBudget | Cost Budget | textField | FINANCE |
| 5120 | docStatus | Doc Status | text | CONTROL |
| 5310 | createdBy | Created By | text | REFERENCE |
| 5320 | creationDate | Creation Date | text | REFERENCE |
| 5340 | lastUpdateDate | Last Update Date | text | REFERENCE |
| 10330 | lastUpdatedBy | Last Updated By | text | REFERENCE |
Task

Problem tasks specify all the tasks that must be completed to complete a problem. Each task represents a specific unit of work and is assigned to a single team and to a particular employee who takes ownership of the task.
You can add multiple lines(problem tasks) to each problem.
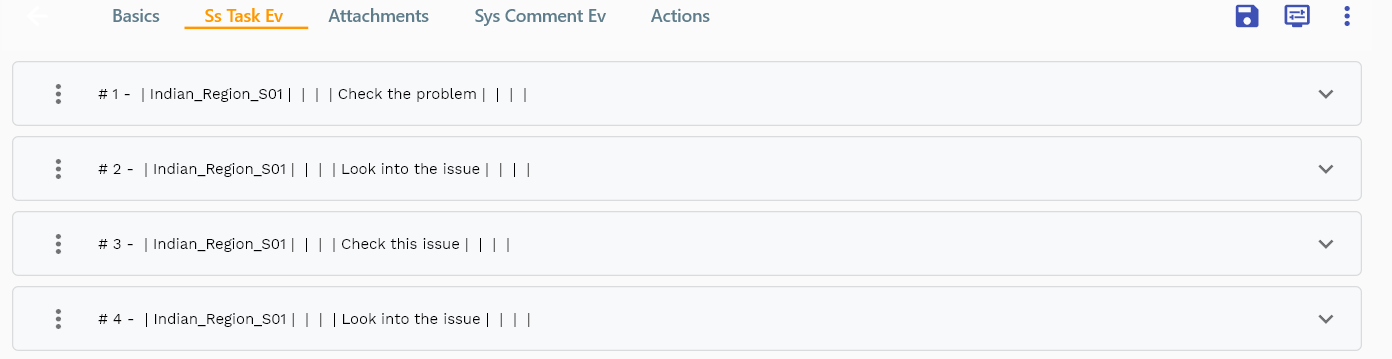
Navigate to the lines tab to view/add/update lines.
Click on the add new entity to add a new line. If a line already exists, click on copy entity to copy all the details.
You can enable/disable fields allowed to be copied in the menu configuration.

Requested By: If you are creating the task on behalf of a different person, enter the original requestor's name.
Assigned To Team: Select a team that will work on the problem task. Select the triage team's name if your organization uses a triage team to review and assign all problem tasks.
Description: Enter the task details in the description field. It's a mandatory field and is shown as a multi-line text field.

Problem Details: You can enter the task details and the problem it's trying to resolve in the problem details field. The field is shown as a multi-line text field and supports markdown language.
The reference groups show various ids for reference only. You don't need to enter any information in this section. When you save a problem for the first time, the system will auto-populate the newly created header id and line ids.
Scroll left, right, up, and down to view all the details. The default configuration shows fields in various functional groups, such as
- Finance
- Entity
- Reference
- Data
- Control
- Etc
Enter all the other fields and click the save button to save the problem. The app will post all the data to the server and show you returned message from the server.

All Fields
| Name | Sequence | Label | InputType | Field Group |
|---|---|---|---|---|
| 10 | vvRequestedBy | Requested By | defferedSelect | DEFAULT |
| 10 | vvAssignedToTeam | Assigned To Team | defferedSelect | DEFAULT |
| 20 | vvAssignedTo | Assigned To | defferedSelect | DEFAULT |
| 30 | vvClosedBy | Closed By | defferedSelect | DEFAULT |
| 40 | ssTaskId | Ss Task Id | text | REFERENCE |
| 50 | requestedByEmployeeId | Requested By Employee Id | defferedSelect | REFERENCE |
| 60 | subject | Subject | largeText | DEFAULT |
| 70 | description | Description | textArea | DEFAULT |
| 80 | taskNumber | Task Number | textField | DATA |
| 90 | reason | Reason | text | REFERENCE |
| 100 | ssServiceRequestId | Ss Service Request Id | text | REFERENCE |
| 110 | ssIncidentId | Ss Incident Id | text | REFERENCE |
| 120 | ssStandardRequestId | Ss Standard Request Id | text | REFERENCE |
| 140 | taskType | Task Type | textField | CONTROL |
| 150 | problemDetails | Problem Details | textArea | DEFAULT |
| 160 | resolutionDetails | Resolution Details | textArea | DEFAULT |
| 170 | hdChangeRequestId | Hd Change Request Id | text | REFERENCE |
| 180 | closeCode | Close Code | textField | DEFAULT |
| 190 | objectCategory | Object Category | select | DEFAULT |
| 200 | closedByEmployeeId | Closed By Employee Id | defferedSelect | REFERENCE |
| 210 | closedDate | Closed Date | date | DATE |
| 220 | assignedToTeamId | Assigned To Team Id | defferedSelect | REFERENCE |
| 230 | assignedToEmployeeId | Assigned To Employee Id | defferedSelect | REFERENCE |
| 240 | ssProblemId | Ss Problem Id | text | REFERENCE |
| 250 | srcEntityName | Src Entity Name | defferedSelect | DEFAULT |
| 260 | srcEntityId | Src Entity Id | text | REFERENCE |
| 270 | imagePath | Image Path | textField | DEFAULT |
| 280 | icon | Icon | deferredSelect | DEFAULT |
| 5130 | docStatus | Doc Status | text | CONTROL |
| 5290 | createdBy | Created By | text | REFERENCE |
| 5300 | creationDate | Creation Date | text | REFERENCE |
| 5320 | lastUpdateDate | Last Update Date | text | REFERENCE |
| 10310 | lastUpdatedBy | Last Updated By | text | REFERENCE |
Comment
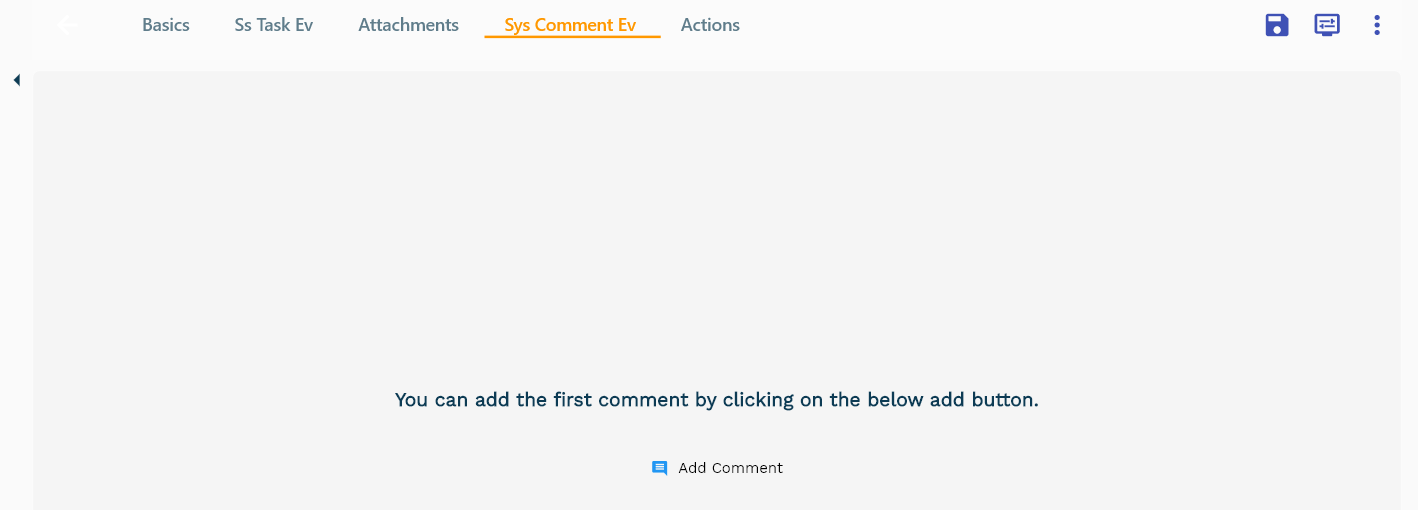
The comments section shows all the existing comments created against the problem. The comments are not copied to a problem request when a user uses the problem to create a new problem.
Navigate to the lines tab to view/add/update comments.
If comments exist system shows them in a list. The system displays a button to add the first comment if no comment is posted for the entity.
You can create new comments and take the below actions on existing comments.
- Update own comment
- Delete your own comment
- Vote against any comment