Forecast
This documentation is incomplete.
You can use the forecast screen to enter and review sales forecast data. Forecasting is the first step of the planning process. Forecast data are collected in Master Demand Schedules, which input MRP.
Forecast consumption is a process of replacing forecasted demand with actual sales order demand. In Inoerp, MDS collects the sales order and forecast data and consumes the sales order per MDS settings. MRP uses the final quantities of demand to create planned orders. If you want to use level planning and create planned order only for forecast, then collect the forecast to an MDS without consumption. A forecast is consumed by sales order if the details of both are the same. Ex: Sales order scheduled ship date is within a certain date range of forecast date.
Header
To create/view/update a forecast, navigate to the "forecast" screen from your dashboard/favorite.
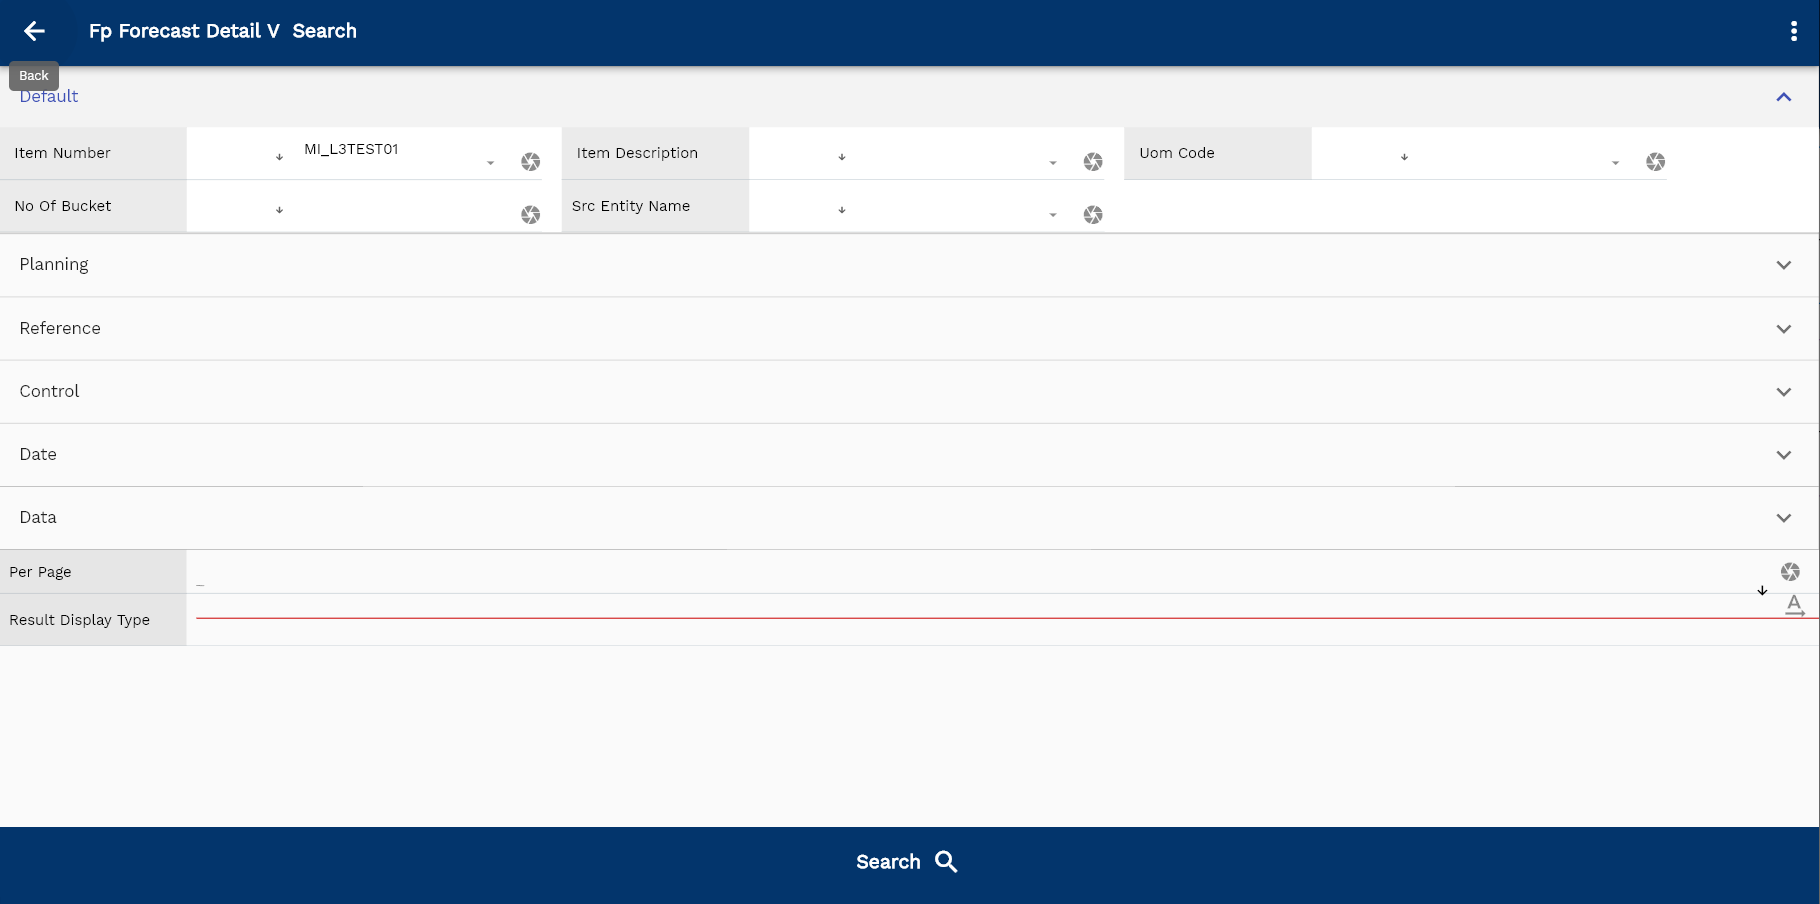
Enter the organization/forecast details or any other criteria in the search form and click on the search button to view an existing forecast.
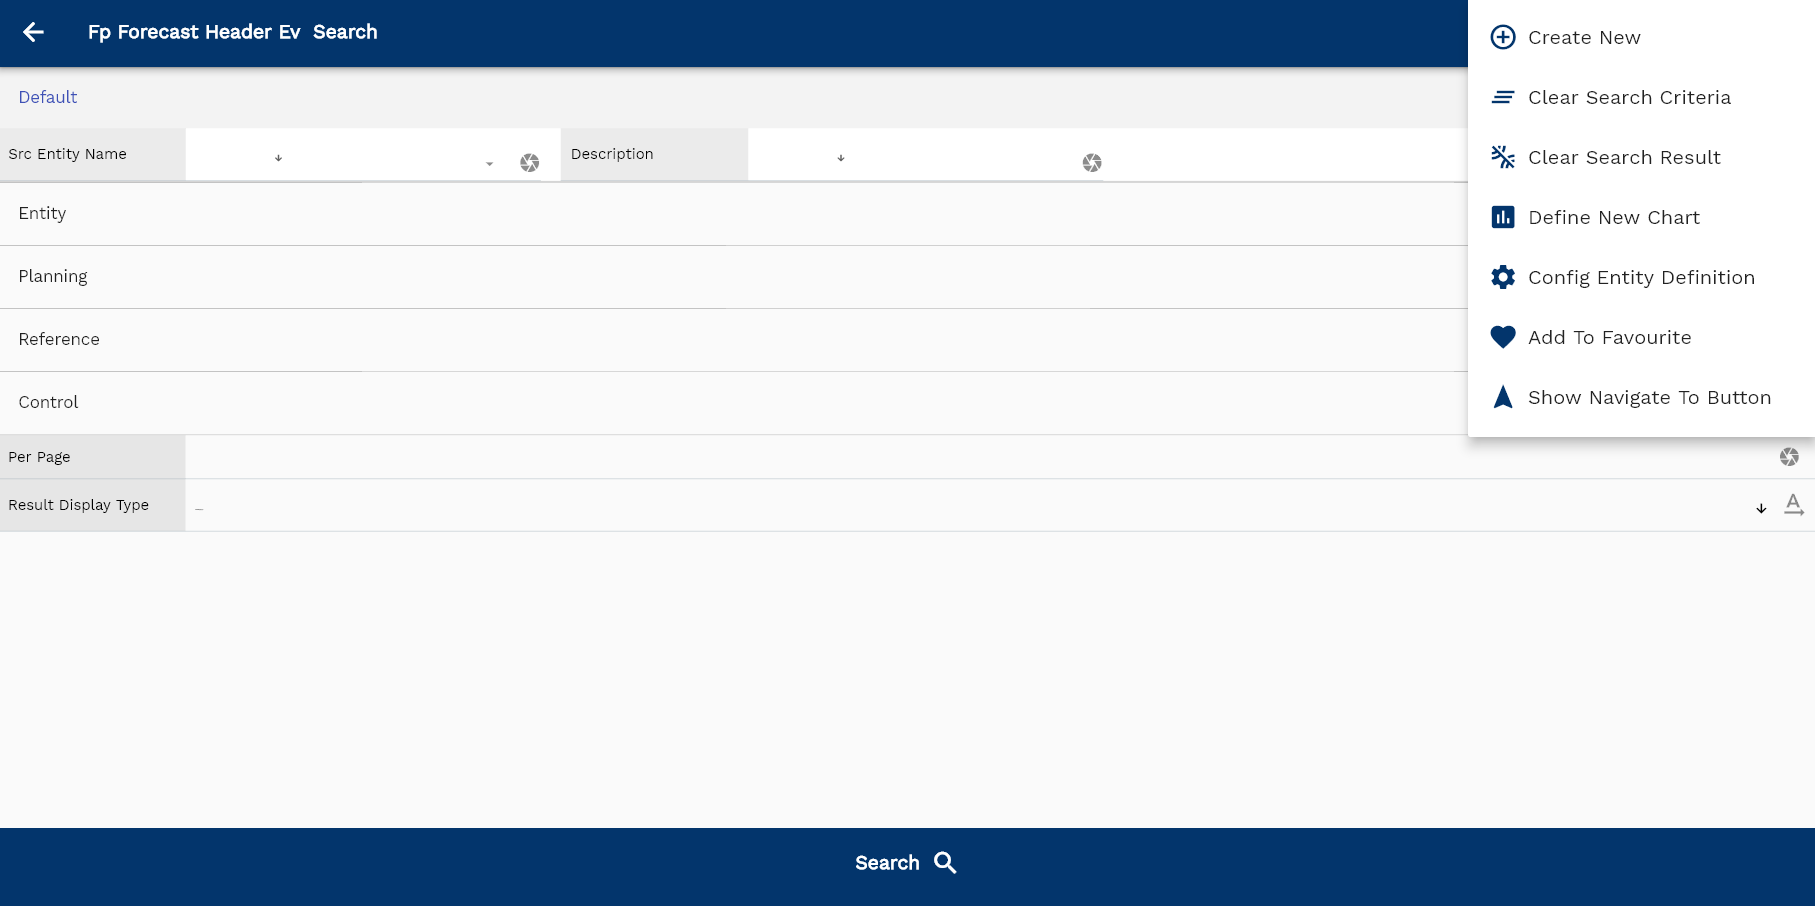
If you don't enter any search criteria, the system will show you all the forecasts. If your organization has configured to make any field mandatory for search, then you have to enter those fields to search forecasts.
The application will fetch all the server data and take you to the search result screen. The search result screen looks a bit different on desktop and mobile devices.
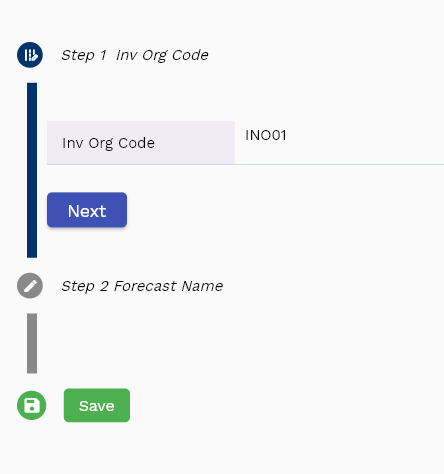
If you click on the create new button, the system will open a simple step form to create a new forecast. You can click on the detail right bottom to view all the fields available for the object.
To view the search result in a table format, click on the table icon in the bottom left corner.
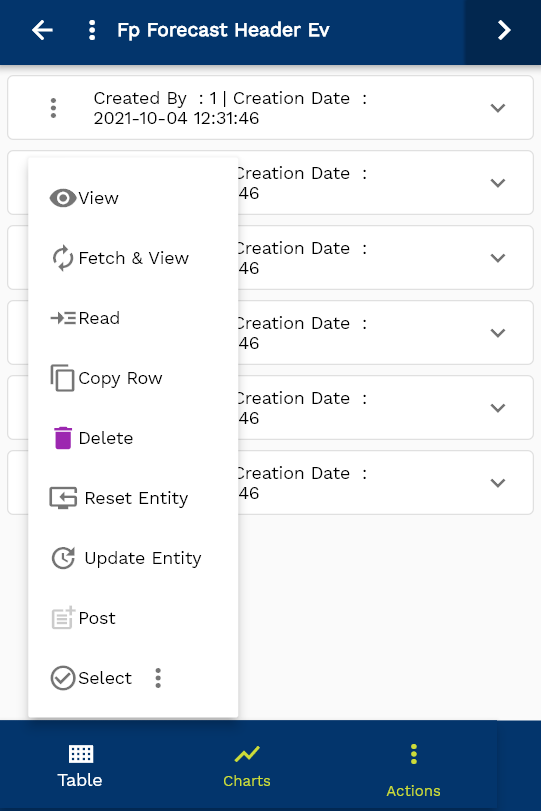
To view specific forecast details, click on the menu of that record, and click on view/fetch & view.
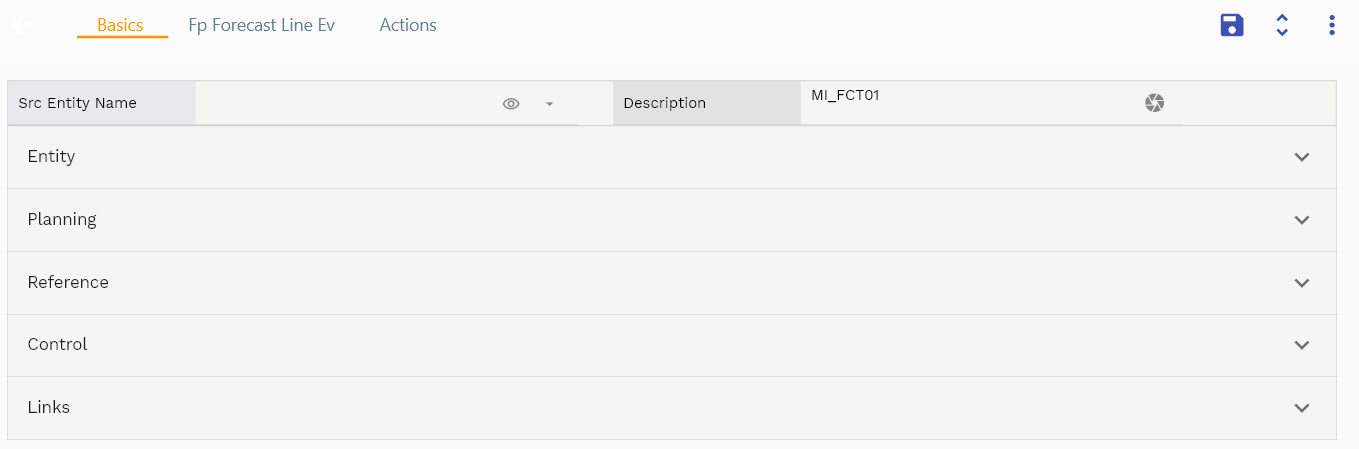
You can also click on the expand icon against any item on the search result screen to view the forecast header details, such as forecast name, description, etc.
Forecast: Enter a unique name for the forecast
Description: Enter a meaningful description for the forecast

Inv Org: Enter an inventory organization name. Inv Org is a mandatory field. Sales orders with ship-to organization same as forecast inv org are considered for consumption.
Scroll left, right, up, and down to view all the details. The line details are shown in a separate tab. The default configuration shows fields in various functional groups, such as
- Finance
- Entity
- Reference
- Data
- Control
- Etc

You can configure the application to show which fields should be shown under which group. You can also create new groups as per your business requirements.

All Fields
| Sequence | Name | Label | InputType | Field Group |
|---|---|---|---|---|
| 10 | vvInvOrgName | Inv Org Name | defferedSelect | ENTITY |
| 10 | vvInvOrgCode | Inv Org Code | defferedSelect | ENTITY |
| 20 | fpForecastHeaderId | Fp Forecast Header Id | defferedSelect | PLANNING |
| 30 | srcEntityName | Src Entity Name | defferedSelect | DEFAULT |
| 40 | srcEntityId | Src Entity Id | InputType.text | REFERENCE |
| 50 | invOrgId | Inv Org Id | defferedSelect | REFERENCE |
| 60 | forecastName | Forecast Name | InputType.textField | PLANNING |
| 70 | description | Description | InputType.textField | DEFAULT |
| 80 | forecastGroupId | Forecast Group Id | InputType.number | PLANNING |
| 90 | status | Status | InputType.select | CONTROL |
| 100 | demandClass | Demand Class | InputType.textField | PLANNING |
| 110 | arCustomerId | Ar Customer Id | defferedSelect | REFERENCE |
| 160 | docStatus | Doc Status | InputType.select | CONTROL |
| 5120 | createdBy | Created By | InputType.text | REFERENCE |
| 5130 | creationDate | Creation Date | InputType.text | REFERENCE |
| 5140 | lastUpdatedBy | Last Updated By | InputType.text | REFERENCE |
| 5150 | lastUpdateDate | Last Update Date | InputType.text | REFERENCE |
Line - Items
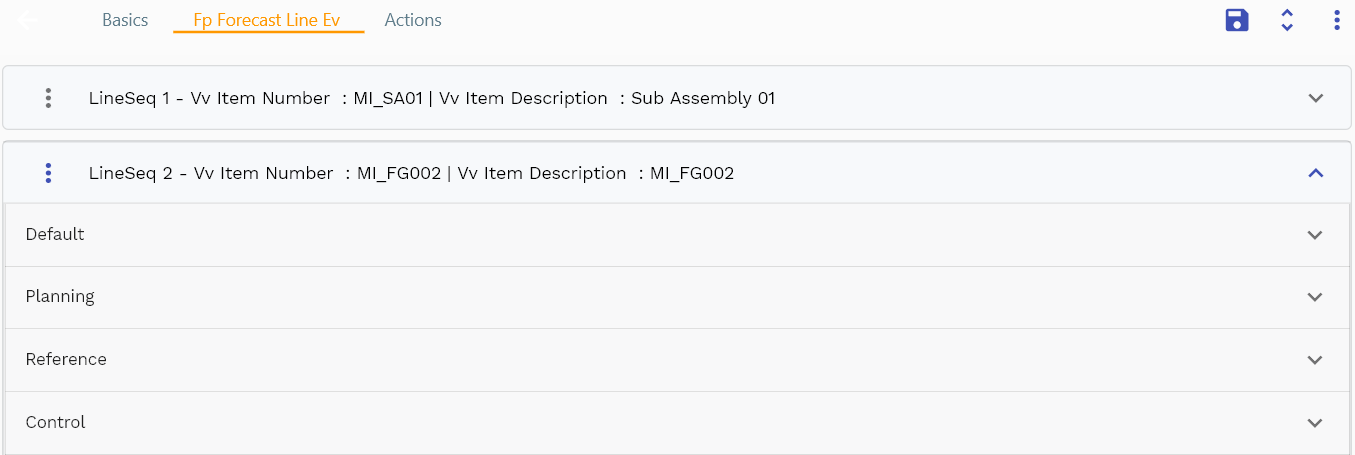
You can add multiple items to each forecast header. Item is a unique key within a forecast header, i.e., you can add an item only once in a forecast header. The details of the forecast - date, and quantities - are added to the forecast line details.
Navigate to the Items tab to view/add/update items.
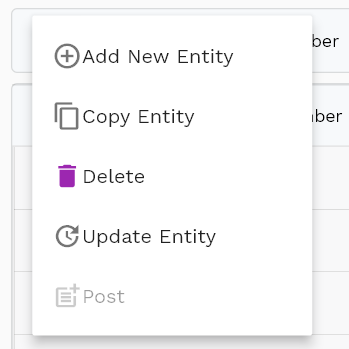
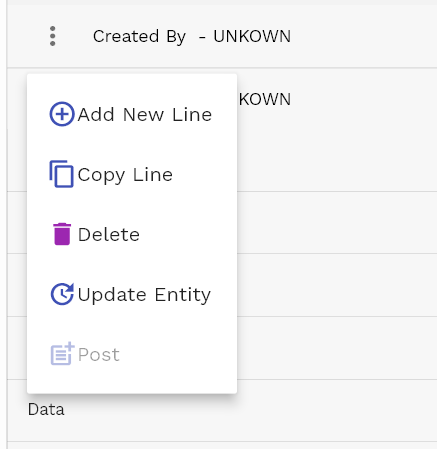
Click on the add new entity to add a new line. If a line already exists, click on copy entity to copy all the details.
You can enable/disable fields allowed to be copied in the menu configuration.

Item Number Enter the item number for which you want to create the forecast
UOM Code System defaults the item code from the item master
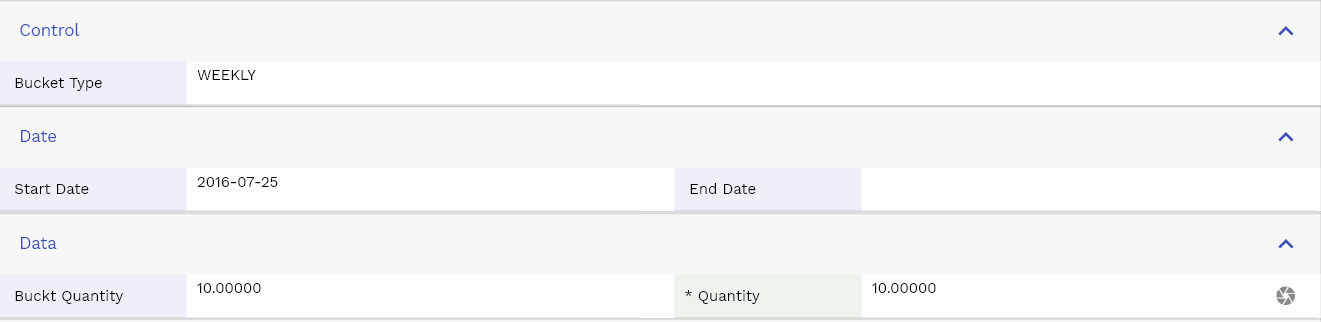
No Of Bucket & Bucket Quantity You can add a number of the bucket and default bucket quantity in the forecast line. The system will use the line value to create details. You can later change the values manually.
If you import a forecast from a different system, then you can use the average value on bucket quantity.
No buckets and bucket quantities are not directly collected in MDS, thus having no direct impact on MRP. These values are only used for creating forecast details.

The reference groups show various ids for reference only. You don't need to enter any information in this section. When you save a forecast for the first time, the system will auto-populate the newly created header id and line ids.
Scroll left, right, up, and down view all other fields.
Enter all the other fields and click on the save button to save the forecast. The app will post all the data to the server and will show the messages returned from the server.
All Fields
| Sequence | Name | Label | InputType | Field Group |
|---|---|---|---|---|
| 10 | vvItemNumber | Item Number | defferedSelect | DEFAULT |
| 10 | vvItemDescription | Item Description | defferedSelect | DEFAULT |
| 20 | vvUomCode | Uom Code | defferedSelect | DEFAULT |
| 30 | fpForecastLineId | Fp Forecast Line Id | InputType.number | PLANNING |
| 40 | srcEntityName | Src Entity Name | defferedSelect | DEFAULT |
| 50 | srcEntityId | Src Entity Id | InputType.text | REFERENCE |
| 60 | fpForecastHeaderId | Fp Forecast Header Id | defferedSelect | PLANNING |
| 70 | invItemMasterId | Inv Item Master Id | defferedSelect | REFERENCE |
| 80 | bucketType | Bucket Type | InputType.select | CONTROL |
| 90 | startDate | Start Date | InputType.date | DATE |
| 100 | endDate | End Date | InputType.date | DATE |
| 110 | noOfBucket | No Of Bucket | InputType.number | DEFAULT |
| 120 | bucktQuantity | Buckt Quantity | InputType.textField | DATA |
| 130 | totalOriginal | Total Original | InputType.textField | DEFAULT |
| 180 | docStatus | Doc Status | InputType.select | CONTROL |
| 5140 | createdBy | Created By | InputType.text | REFERENCE |
| 5150 | creationDate | Creation Date | InputType.text | REFERENCE |
| 5160 | lastUpdatedBy | Last Updated By | InputType.text | REFERENCE |
| 5170 | lastUpdateDate | Last Update Date | InputType.text | REFERENCE |
Details - Item & Dates

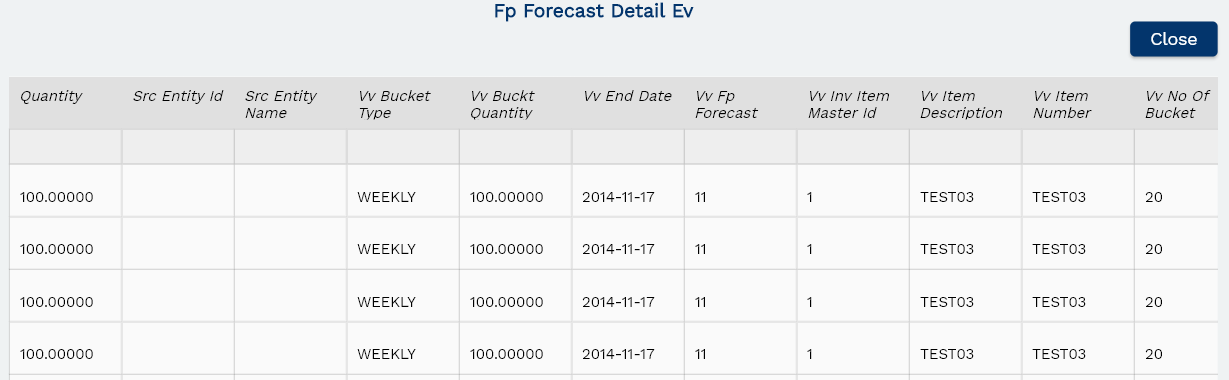
You can add multiple forecast details to each forecast line. Each forecast detail represents a specific forecast quantity on a given date for a specific item. The system will automatically add forecast details from the forecast line values if you manually enter forecast lines. By default, no buckets on the forecast line will be the same as no detail lines added to a forecast line. However, the system allows you to add/delete forecast details.
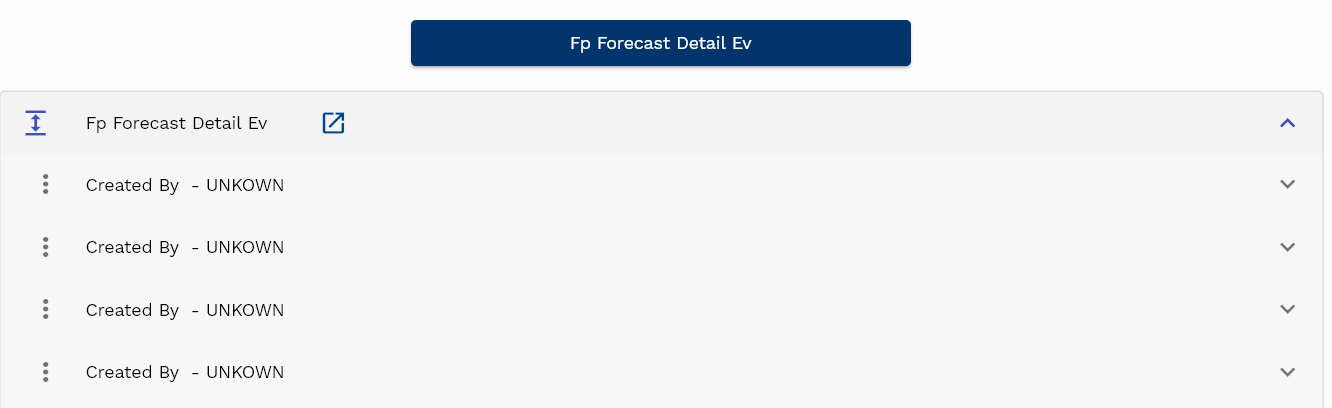
To view a given line's forecast details in a table format, click on the popup icon next to the "Fp Forecast Detail" heading. The system will show you all the details on a separate screen. You can also view the details as a list or in a simple data entry form. Click on the corresponding icon to view the data in that specific format.
Click on the close button to navigate back to the original screen. You can also press the escape button on your keyboard to remove the screen.
Navigate to the forecast details tab to view/add/update forecast details.
Click on the add new entity to add a new line. If a line already exists, click on copy entity to copy all the details.
You can enable/disable fields allowed to be copied in the menu configuration.
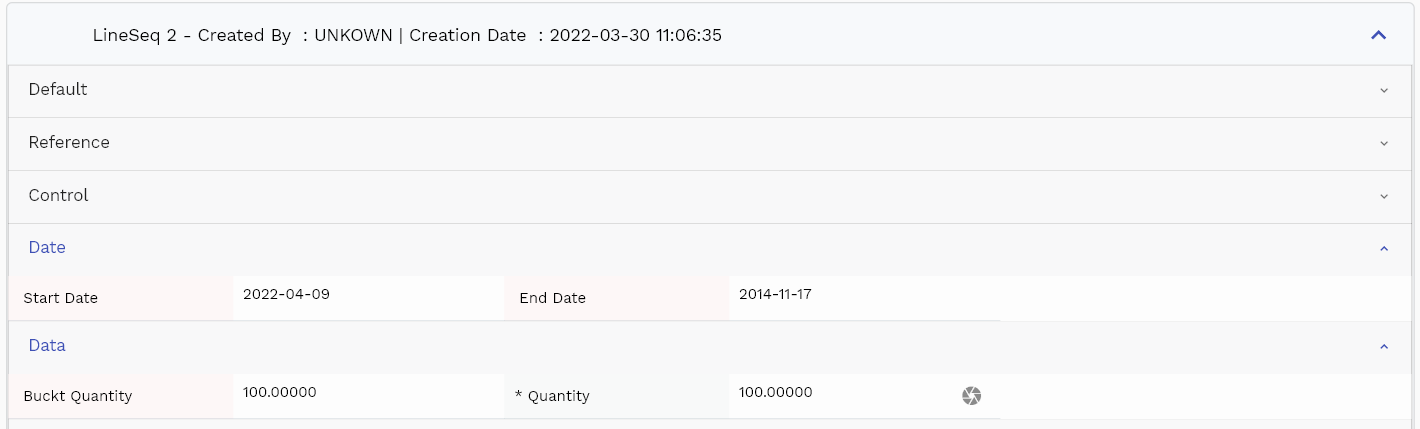
Item Number ViewOnly field. The system shows the item number on the forecast line for reference purposes.
UOM Code ViewOnly field. The system shows the UOM code on the forecast line for reference purposes.
Bucket Quantity: ViewOnly field. The system shows the bucket quantity on the forecast line for reference purposes.
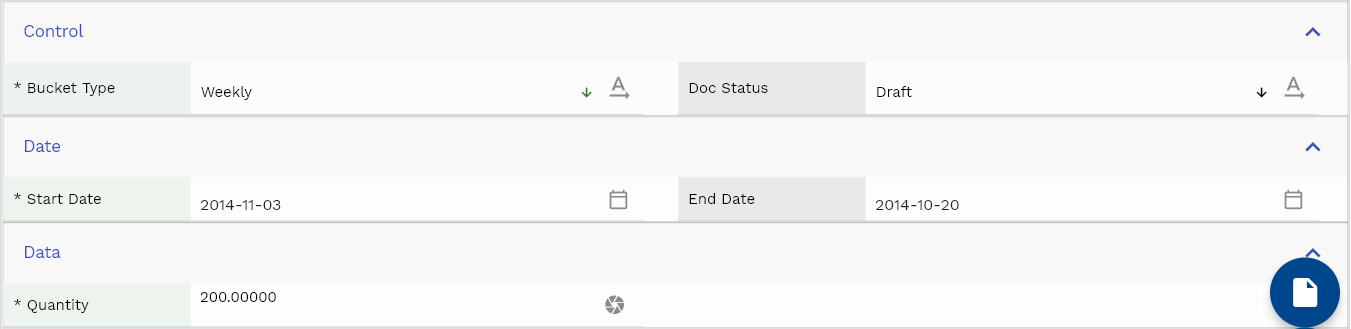
Quantity: The forecast quantity for the forecast date range

The reference groups show various ids for reference only. You don't need to enter any information in this section. When you save a forecast for the first time, the system will auto-populate the newly created header id and line ids.
Scroll left, right, up, and down view all other fields.
Enter all the other fields and click on the save button to save the forecast. The app will post all the data to the server and will show the messages returned from the server.
All Fields
| Sequence | Name | Label | InputType | Field Group |
|---|---|---|---|---|
| 10 | vvItemNumber | Item Number | defferedSelect | DEFAULT |
| 10 | vvItemDescription | Item Description | defferedSelect | DEFAULT |
| 20 | vvUomCode | Uom Code | defferedSelect | DEFAULT |
| 30 | vvInvItemMasterId | Inv Item Master Id | defferedSelect | REFERENCE |
| 40 | vvBucketType | Bucket Type | InputType.text | CONTROL |
| 50 | vvStartDate | Start Date | InputType.text | DATE |
| 60 | vvEndDate | End Date | InputType.text | DATE |
| 70 | vvNoOfBucket | No Of Bucket | InputType.text | DEFAULT |
| 80 | vvBucktQuantity | Buckt Quantity | InputType.text | DATA |
| 90 | vvFpForecastHeaderId | Fp Forecast Header Id | defferedSelect | PLANNING |
| 100 | fpForecastDetailId | Fp Forecast Detail Id | InputType.number | PLANNING |
| 110 | srcEntityName | Src Entity Name | defferedSelect | DEFAULT |
| 120 | srcEntityId | Src Entity Id | InputType.text | REFERENCE |
| 130 | fpForecastLineId | Fp Forecast Line Id | InputType.number | PLANNING |
| 140 | forecastDate | Forecast Date | InputType.date | PLANNING |
| 150 | quantity | Quantity | InputType.textField | DATA |
| 5160 | createdBy | Created By | InputType.text | REFERENCE |
| 5170 | creationDate | Creation Date | InputType.text | REFERENCE |
| 5180 | lastUpdatedBy | Last Updated By | InputType.text | REFERENCE |
| 5190 | lastUpdateDate | Last Update Date | InputType.text | REFERENCE |
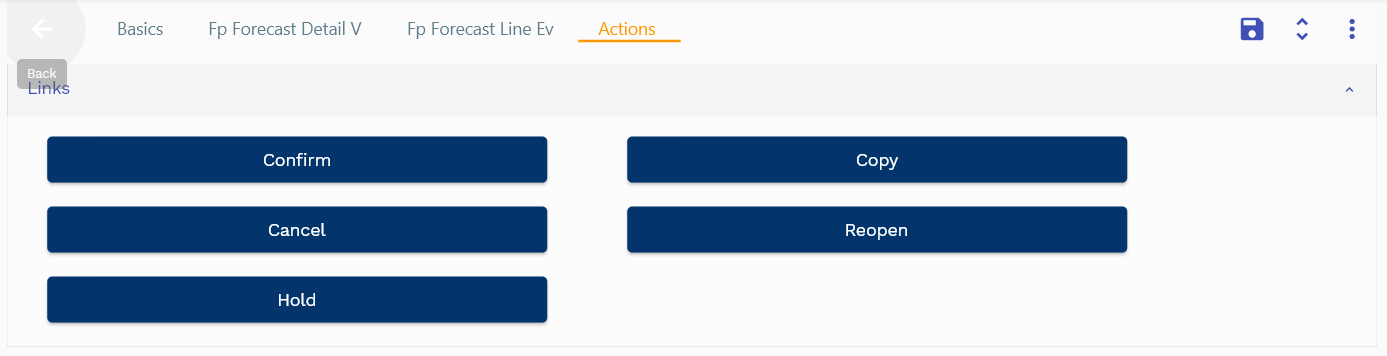
Actions
Actions allow you to change the status of the forecast. The system creates forecasts in draft status. When you are ready to publish the forecast and collect it to an MDS, change the status to Confirmed. You can cancel a forecast by clicking on the Cancel button. Similarly, you can close any forecast by clicking on the Close button.