Payroll
This documentation is incomplete.
Payroll is the compensation that an organization pays to its employees for a given period of time. In inoERP, payroll controls various aspects of salaries paid to employees. The primary components of payroll are
- Payment Method: Process and method of salary payment: check/cash/wire
- Payment Calendar: Time of salary payment: exact date of payroll processing
- Payroll: Combination of payment method and payment calendar (Ex Payroll_01, Payroll_02)
- Payroll Process: A specific instance of payroll (Payroll_01 for Jan-2025)
- Payslip: the amount paid to an employee. Payslip has different views for employees with HR and IT roles. Users with IT/HR roles can create bank files.
Payroll Calendar
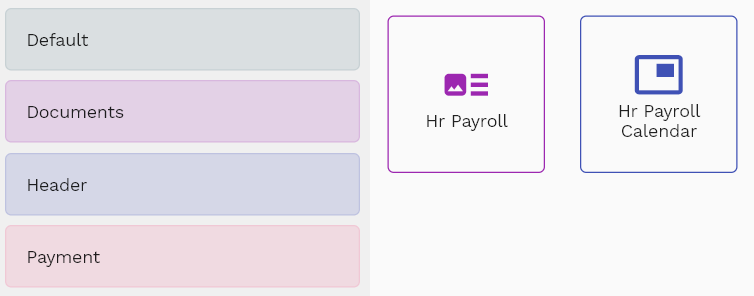
To create/view/update the payroll calendar, navigate to the "payroll calendar" screen from your dashboard/favorite.
Enter the payroll calendar details or other criteria in the search form and click on the search button to view an existing payroll calendar.
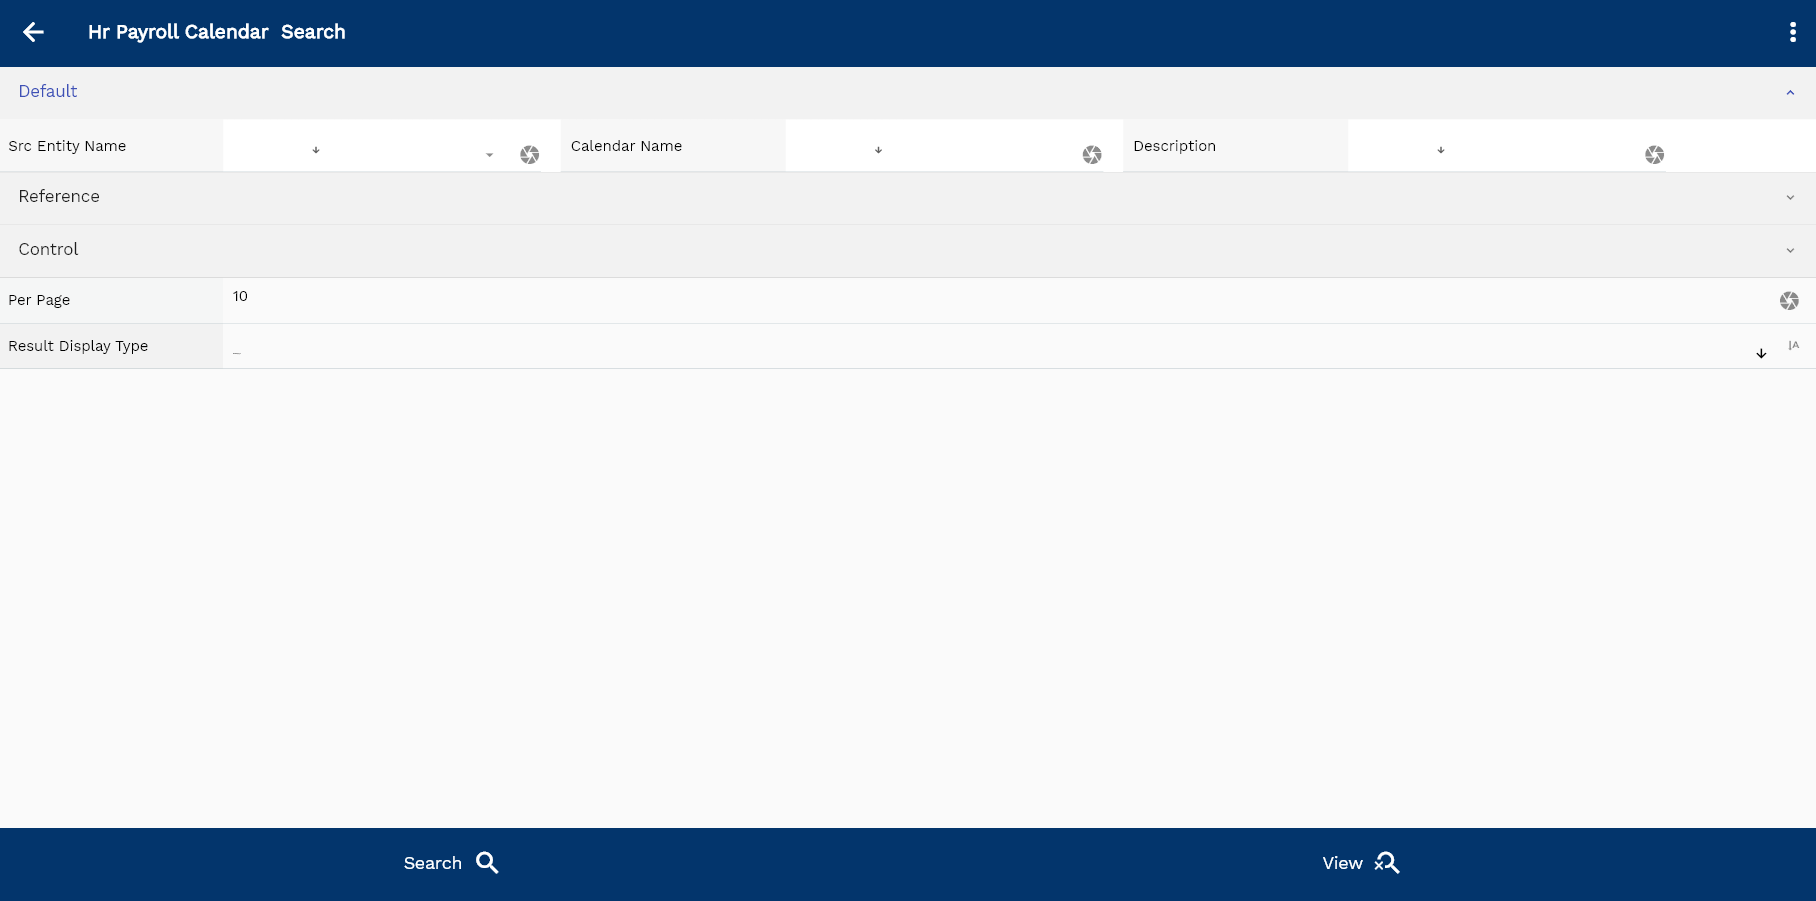
If you don't enter any search criteria, the system will show you all the payroll calendars. If your organization has configured to make any field mandatory for search, you must enter those fields to search payroll calendars.
The application will fetch all the server data and take you to the search result screen. The search result screen looks a bit different on desktop and mobile devices.

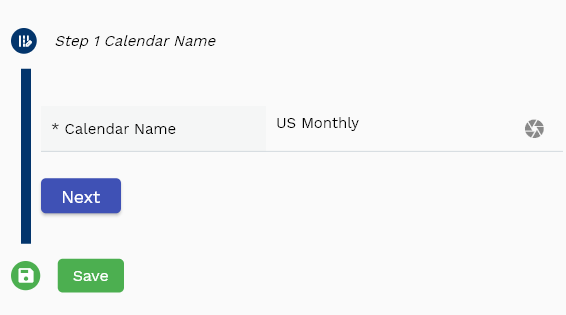
If you click on the create new button, the system will open a simple step form to create a new payroll calendar. You can click on the detail right bottom to view all the fields available for the object.
To view the search result in a table format, click on the table icon in the bottom left corner.
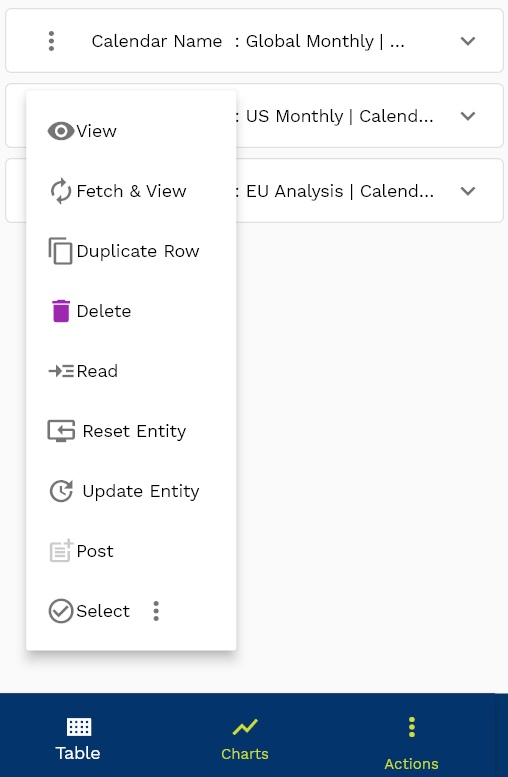
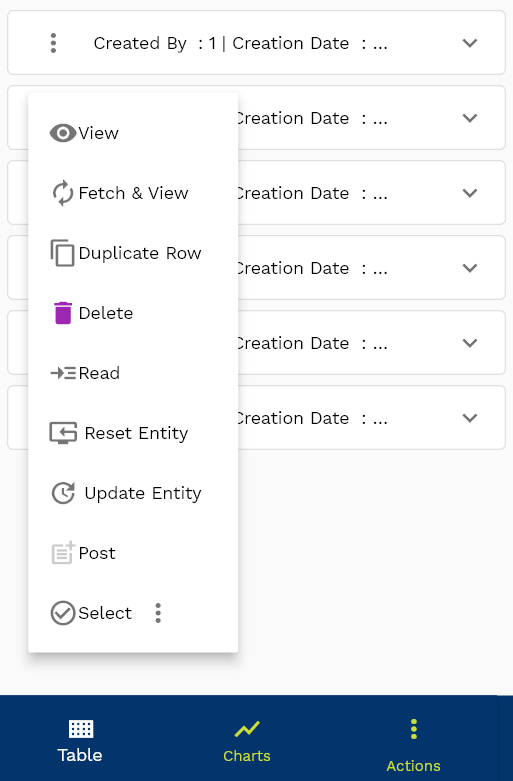
To view specific payroll calendar details, click on the menu of that record, and click on view/fetch & view.
You can also click on the expand icon against any item on the search result screen to view the payroll calendar header details, name, description, revision number, etc.

The system will fetch all the selected document detail line data. Depending on the device size, the document details are shown either on the search result screen or on a separate screen.
Compensation Name: Enter a unique payroll calendar name. The calendar name is a mandatory field.
Description: Enter a meaningful description for the payroll calendar
Scroll left, right, up, and down to view all the details. The document line and details are shown in a separate tab. The default configuration shows fields in various functional groups, such as
- Finance
- Entity
- Reference
- Data
- Control
- Etc

You can configure the application to show which fields should be shown under which group. You can also create new groups as per your business requirements.
All Fields
| Sequence | Name | Label | InputType | Field Group |
|---|---|---|---|---|
| 10 | hrPayrollCalendarId | Hr Payroll Calendar Id | InputType.text | REFERENCE |
| 10 | srcEntityName | Src Entity Name | defferedSelect | DEFAULT |
| 20 | srcEntityId | Src Entity Id | InputType.text | REFERENCE |
| 30 | calendarName | Calendar Name | InputType.textField | DEFAULT |
| 40 | calendarType | Calendar Type | InputType.select | CONTROL |
| 50 | description | Description | InputType.textField | DEFAULT |
| 100 | docStatus | Doc Status | InputType.select | CONTROL |
| 5060 | createdBy | Created By | InputType.text | REFERENCE |
| 5070 | creationDate | Creation Date | InputType.text | REFERENCE |
| 5080 | lastUpdatedBy | Last Updated By | InputType.text | REFERENCE |
| 5090 | lastUpdateDate | Last Update Date | InputType.text | REFERENCE |
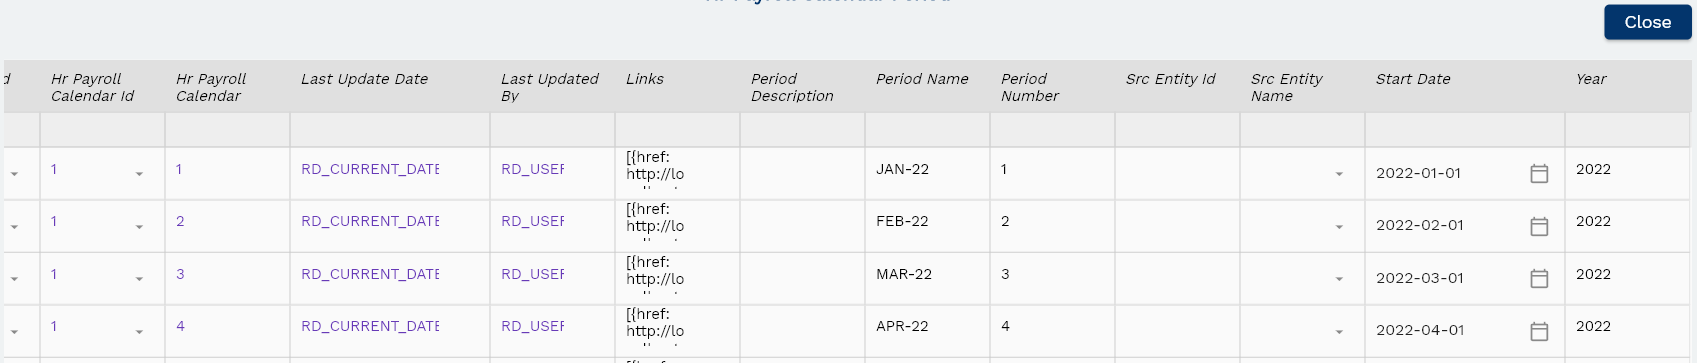
Calendar Period
The calendar period specifies the start and end date of each period.
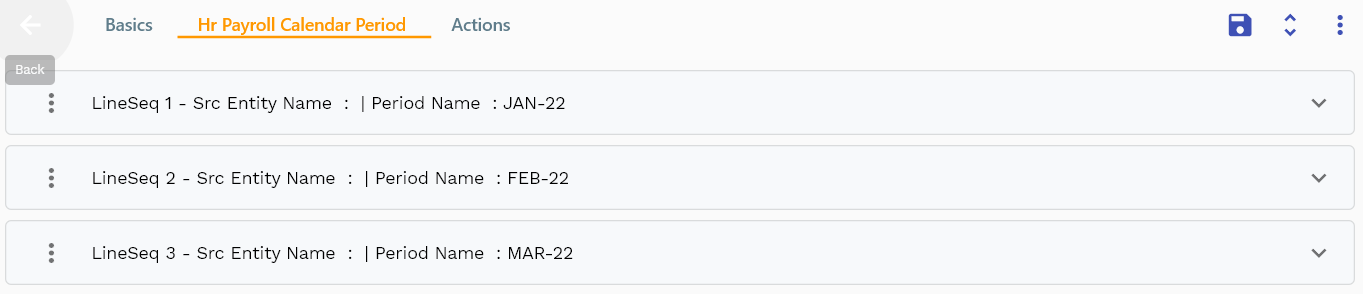
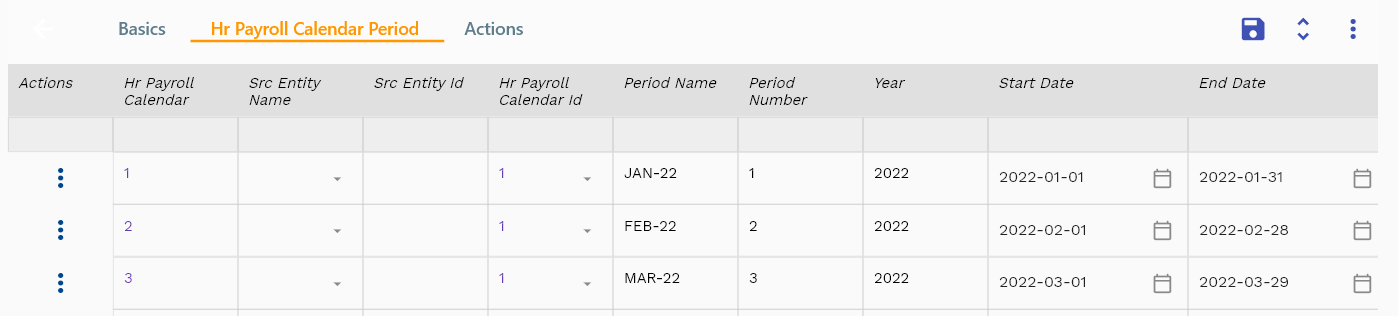
You can add multiple payroll calendar periods to each payroll calendar header. Each payroll calendar period shows a payroll calendar year, period number, period name, start, end date, etc.
Navigate to the "payroll calendar period" tab to view/add/update payroll calendar periods.
Click on the add new entity to add a new line. If a line already exists, click on copy entity to copy all the details.
You can enable/disable fields allowed to be copied in the menu configuration.

year: Enter the four-digit calendar year number.
Period Number: Enter a numeric value of the period. For the monthly calendar, enter a value between 1 & 12.

Period Name: Enter a unique period name. Period name is used on payroll processing.
Scroll left, right, up, and down view all other fields.

The default configuration shows fields in various functional groups, such as
- Reference
- Control
- Etc
You can configure the application to show which fields should be shown under which group. You can also create new groups as per your business requirements.
Enter all the other fields and click on the save button to save the payroll calendar. The app will post all the data to the server and show the messages returned from the server.
All Fields
| Sequence | Name | Label | InputType | Field Group |
|---|---|---|---|---|
| 10 | hrPayrollCalendarPeriodId | Hr Payroll Calendar Period Id | InputType.text | REFERENCE |
| 10 | srcEntityName | Src Entity Name | defferedSelect | DEFAULT |
| 20 | srcEntityId | Src Entity Id | InputType.text | REFERENCE |
| 30 | hrPayrollCalendarId | Hr Payroll Calendar Id | defferedSelect | REFERENCE |
| 40 | periodName | Period Name | InputType.textField | FINANCE |
| 50 | periodNumber | Period Number | InputType.textField | DATA |
| 60 | year | Year | InputType.number | DEFAULT |
| 70 | startDate | Start Date | InputType.date | DATE |
| 80 | endDate | End Date | InputType.date | DATE |
| 90 | glPeriodId | Gl Period Id | defferedSelect | REFERENCE |
| 100 | adjustmentPeriod | Adjustment Period | InputType.checkBox | FINANCE |
| 150 | periodDescription | Period Description | InputType.textField | FINANCE |
| 5110 | createdBy | Created By | InputType.text | REFERENCE |
| 5120 | creationDate | Creation Date | InputType.text | REFERENCE |
| 5130 | lastUpdatedBy | Last Updated By | InputType.text | REFERENCE |
| 5140 | lastUpdateDate | Last Update Date | InputType.text | REFERENCE |
Payment Method
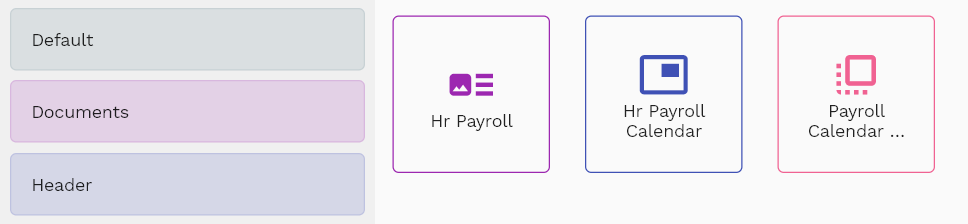
To create/view/update the payment method, navigate to the "payment method " screen from your dashboard/favorite.
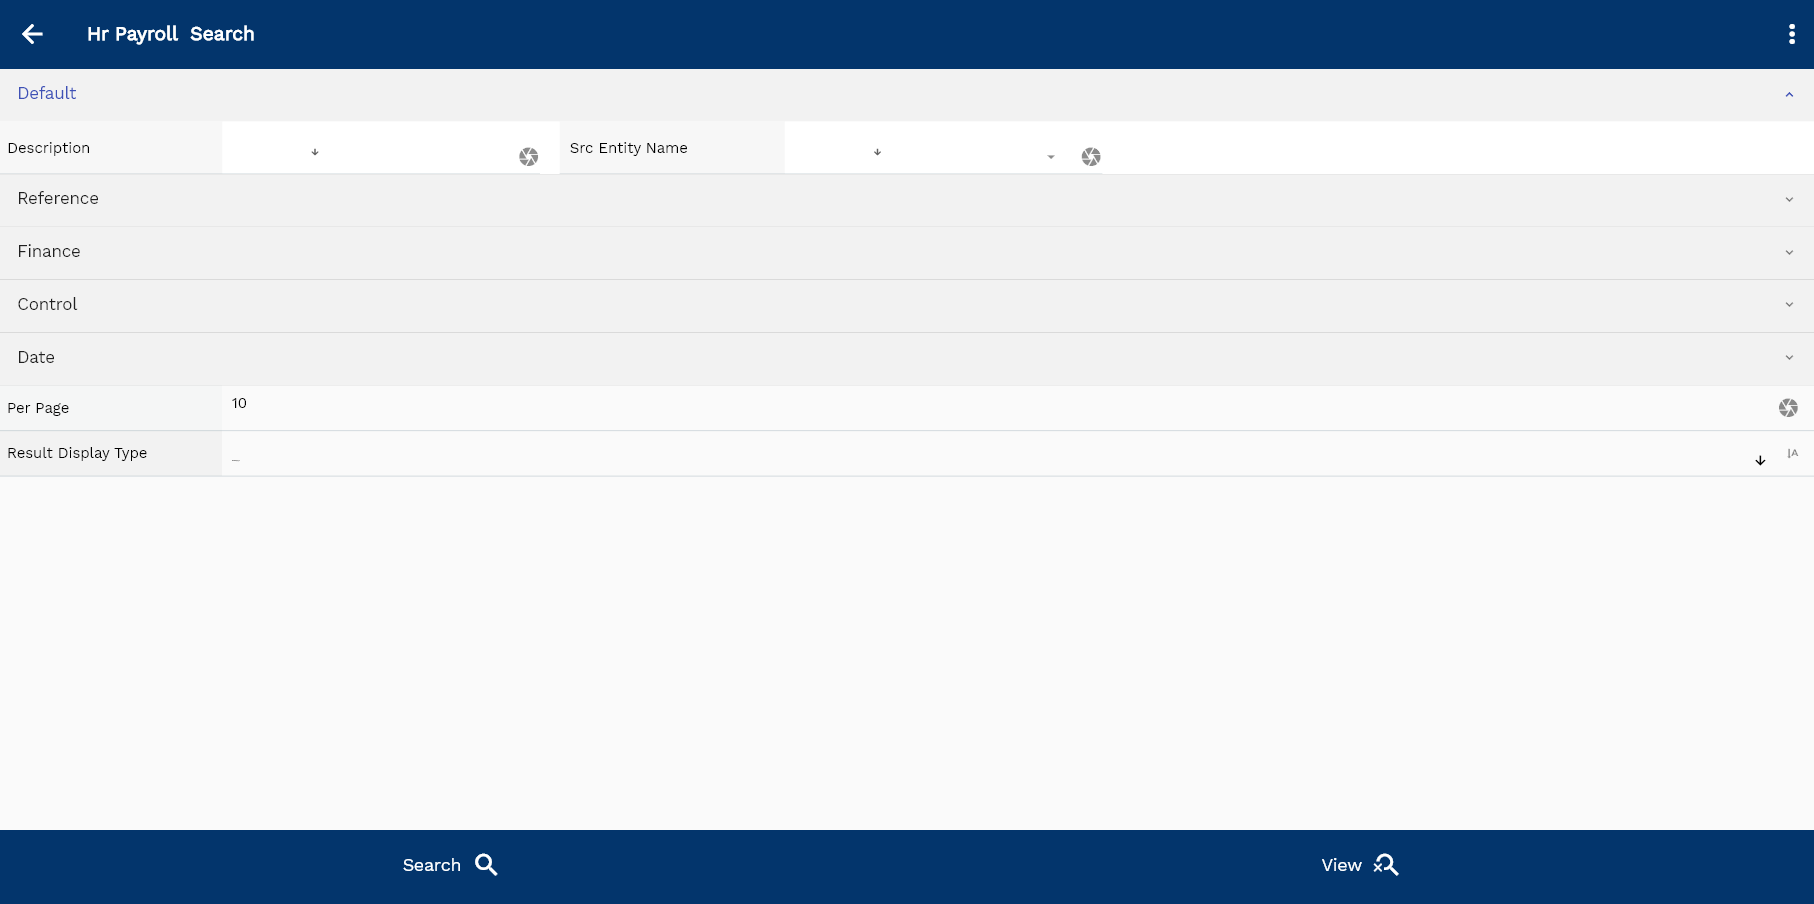
Enter the payment method details or any other criteria in the search form and click on the search button to view an existing payment method.

If you don't enter any search criteria, the system will show you all the payment methods. If your organization has configured to make any field mandatory for search, you must enter those fields to search payment methods.
The application will fetch all the server data and take you to the search result screen. The search result screen looks a bit different on desktop and mobile devices.

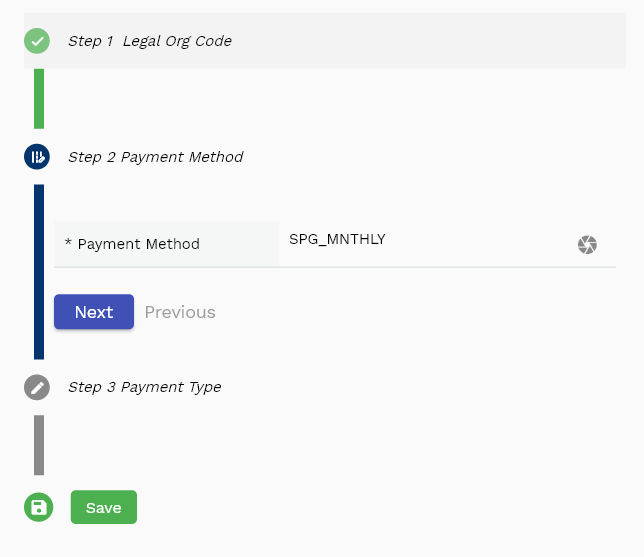
If you click on the create new button, the system will open a simple step form to create a new payment method. You can click on the detail right bottom to view all the fields available for the object.
To view the search result in a table format, click on the table icon in the bottom left corner.
To view specific payment method details, click on the menu of that record, and click on view/fetch & view.
You can also click on the expand icon against any item on the search result screen to view the payment method header details, name, Description, revision number, etc.

The system will fetch all the selected document detail line data. Depending on the device size, the document details are shown either on the search result screen or on a separate screen.
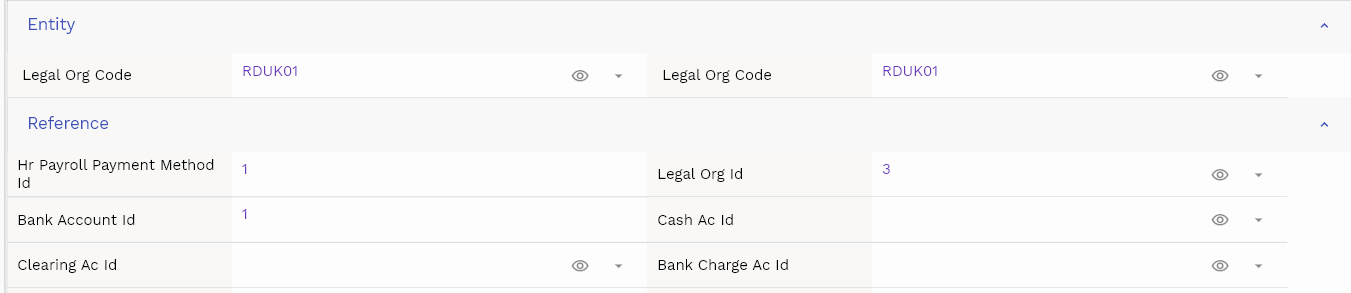
Payment Method: Enter a unique payment method name. Name is a mandatory field.
Legal Org: Select a legal org name. Legal org can be used for defaulting salary accounting entries.
Description: Enter a meaningful description of the payment method

Scroll left, right, up, and down to view all the details. The document line and details are shown in a separate tab. The default configuration shows fields in various functional groups, such as
- Finance
- Entity
- Reference
- Data
- Control
- Etc

currency: Select a currency that will be used for salary payment
Payment Type: Select a payment type. Available options are electronic, check, cash, and others.
You can configure the application to show which fields should be shown under which group. You can also create new groups as per your business requirements.
All Fields
| Sequence | Name | Label | InputType | Field Group |
|---|---|---|---|---|
| 10 | vvLegalOrgCode | Legal Org Code | defferedSelect | ENTITY |
| 10 | hrPayrollPaymentMethodId | Hr Payroll Payment Method Id | InputType.text | REFERENCE |
| 20 | paymentMethod | Payment Method | InputType.textField | FINANCE |
| 30 | legalOrgId | Legal Org Id | defferedSelect | REFERENCE |
| 40 | paymentType | Payment Type | InputType.select | CONTROL |
| 50 | startDate | Start Date | InputType.date | DATE |
| 60 | endDate | End Date | InputType.date | DATE |
| 70 | description | Description | InputType.textField | DEFAULT |
| 80 | currency | Currency | defferedSelect | FINANCE |
| 90 | bankAccountId | Bank Account Id | InputType.text | REFERENCE |
| 100 | cashAcId | Cash Ac Id | defferedSelect | REFERENCE |
| 110 | clearingAcId | Clearing Ac Id | defferedSelect | REFERENCE |
| 120 | bankChargeAcId | Bank Charge Ac Id | defferedSelect | REFERENCE |
| 130 | salaryPayableAcId | Salary Payable Ac Id | defferedSelect | REFERENCE |
| 180 | srcEntityName | Src Entity Name | defferedSelect | DEFAULT |
| 190 | srcEntityId | Src Entity Id | InputType.text | REFERENCE |
| 5140 | createdBy | Created By | InputType.text | REFERENCE |
| 5150 | creationDate | Creation Date | InputType.text | REFERENCE |
| 5160 | lastUpdatedBy | Last Updated By | InputType.text | REFERENCE |
| 5170 | lastUpdateDate | Last Update Date | InputType.text | REFERENCE |
Payroll
To create/view/update payroll, navigate to the "payroll " screen from your dashboard/favorite.
Enter the payroll details or other criteria in the search form and click on the search button to view an existing payroll.
If you don't enter any search criteria, the system will show you all the payrolls. If your organization has configured to make any field mandatory for search, you must enter those fields to search payrolls.
The application will fetch all the server data and take you to the search result screen. The search result screen looks a bit different on desktop and mobile devices.

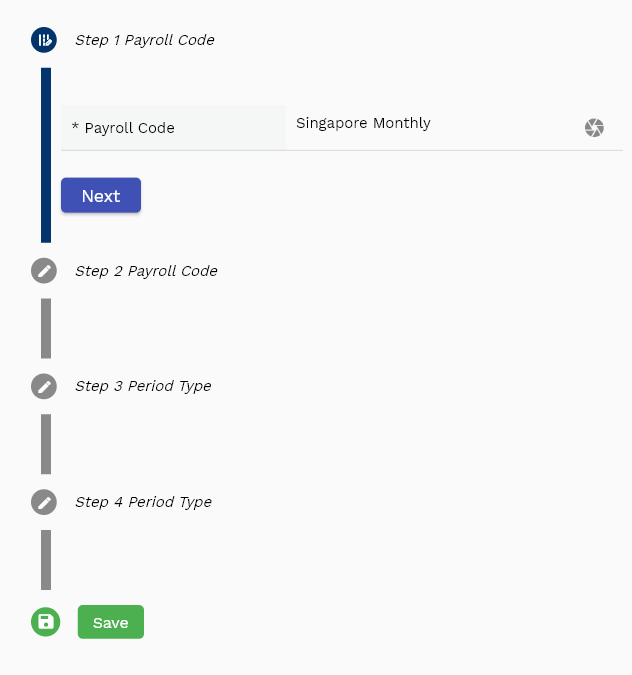
If you click on the create new button, the system will open a simple step form to create a new payroll. You can click on the detail right bottom to view all the fields available for the object.
To view the search result in a table format, click on the table icon in the bottom left corner.
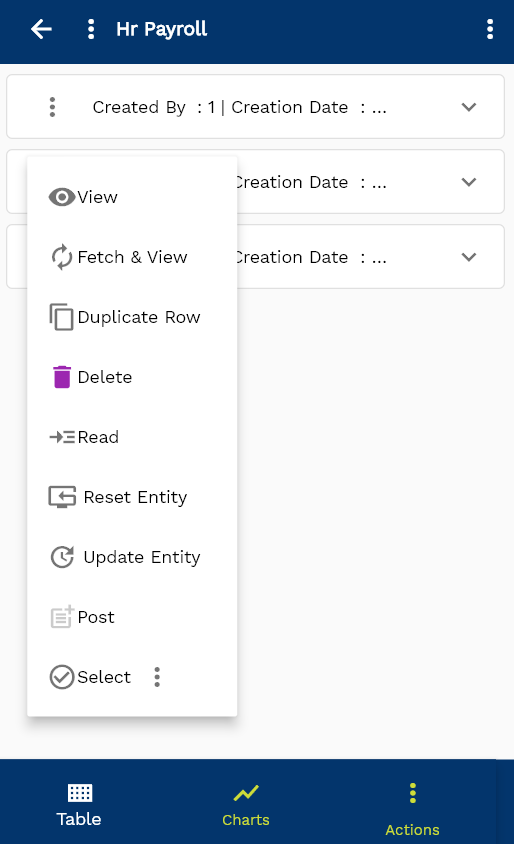
To view specific payroll details, click on the menu of that record, and click on view/fetch & view.
You can also click on the expand icon against any item on the search result screen to view the payroll header details, name, Description, revision number, etc.

The system will fetch all the selected document detail line data. Depending on the device size, the document details are shown either on the search result screen or on a separate screen.
Payroll Code: Enter a unique payroll code. The payroll code is a mandatory field.
Calendar Name: Select a calendar name. The calendar name is a mandatory field.
Payment Method: Select a payment method. Payment method is a mandatory field.
Description: Enter a meaningful description for the payroll

Scroll left, right, up, and down to view all the details. The document line and details are shown in a separate tab. The default configuration shows fields in various functional groups, such as
- Finance
- Entity
- Reference
- Data
- Control
- Etc
You can configure the application to show which fields should be shown under which group. You can also create new groups as per your business requirements.
All Fields
| Sequence | Name | Label | InputType | Field Group |
|---|---|---|---|---|
| 10 | vvHrCalendarName | Hr Calendar Name | defferedSelect | DEFAULT |
| 10 | vvHrPaymentMethod | Hr Payment Method | defferedSelect | FINANCE |
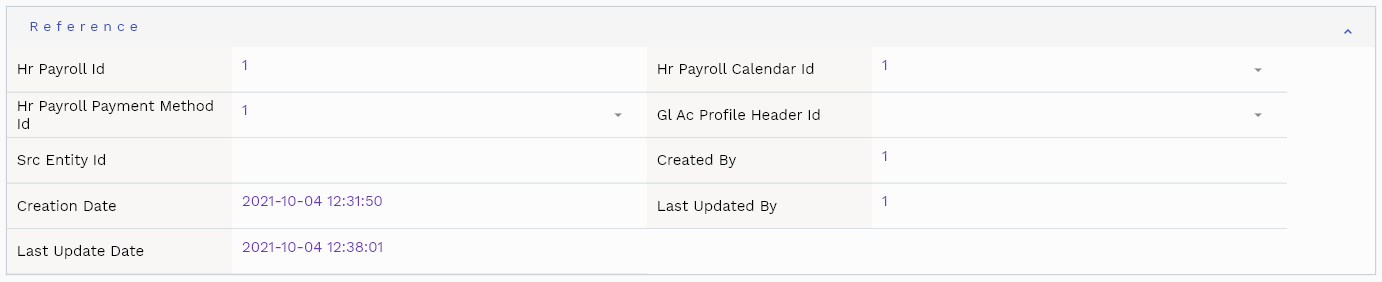
| 20 | hrPayrollId | Hr Payroll Id | InputType.text | REFERENCE |
| 30 | payrollName | Payroll Name | InputType.textField | FINANCE |
| 40 | payrollCode | Payroll Code | InputType.textField | FINANCE |
| 50 | periodType | Period Type | InputType.select | CONTROL |
| 60 | hrPayrollCalendarId | Hr Payroll Calendar Id | defferedSelect | REFERENCE |
| 70 | hrPayrollPaymentMethodId | Hr Payroll Payment Method Id | defferedSelect | REFERENCE |
| 80 | startDate | Start Date | InputType.date | DATE |
| 90 | endDate | End Date | InputType.date | DATE |
| 100 | description | Description | InputType.textField | DEFAULT |
| 150 | glAcProfileHeaderId | Gl Ac Profile Header Id | defferedSelect | REFERENCE |
| 160 | srcEntityName | Src Entity Name | defferedSelect | DEFAULT |
| 170 | srcEntityId | Src Entity Id | InputType.text | REFERENCE |
| 5110 | createdBy | Created By | InputType.text | REFERENCE |
| 5120 | creationDate | Creation Date | InputType.text | REFERENCE |
| 5130 | lastUpdatedBy | Last Updated By | InputType.text | REFERENCE |
| 5140 | lastUpdateDate | Last Update Date | InputType.text | REFERENCE |
Payroll Calendar
The payroll calendar specifies the dates on which payroll is processed and salaries are paid to employees.
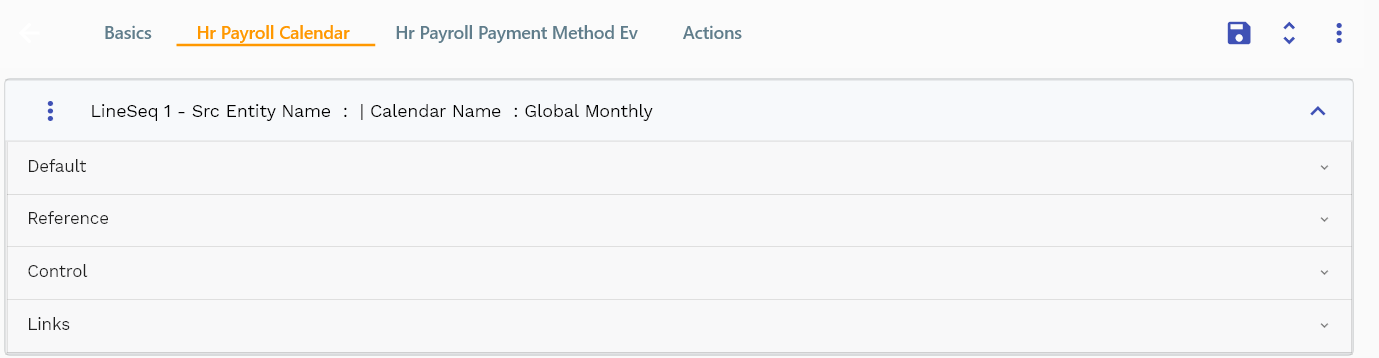
The payroll calendar tab shows the details of the payroll calendar assigned to the payroll.
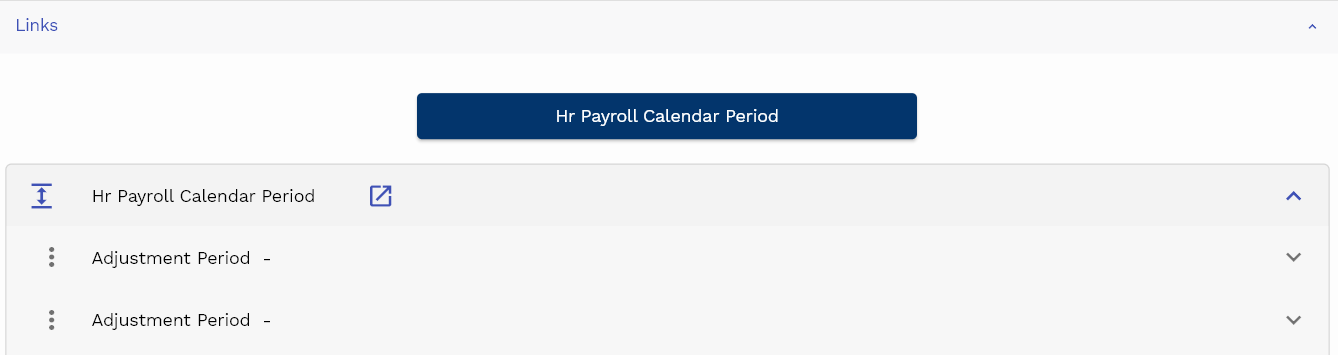
Navigate to the "payroll calendar" tab to view payroll calendar details. To view the payroll calendar dates, click on the calendar period buttons.
Period Name: Name of the payroll period
Payroll Payment Method
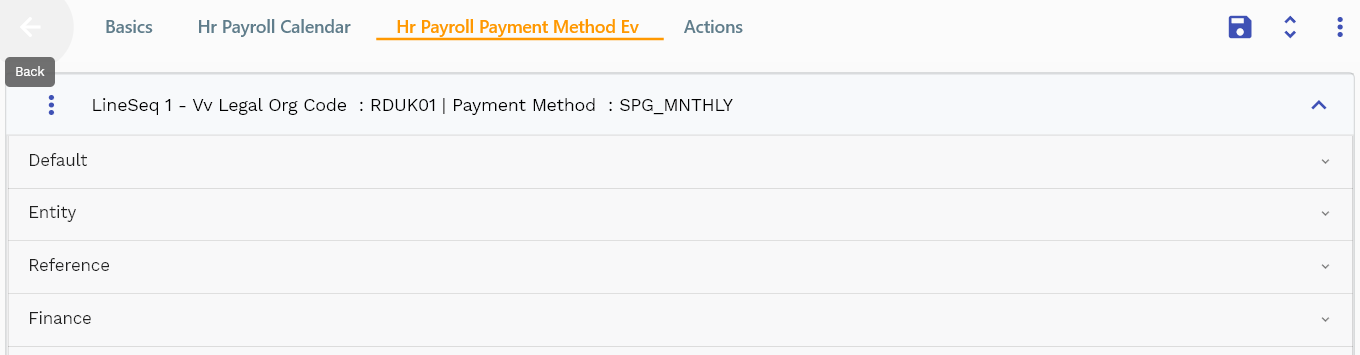
The payroll payment method specifies how the payroll is processed and salaries are paid to employees.
The payroll payment method tab shows the details of the payroll payment method assigned to the payroll.

Payment Type: This shows the type of payment. For electronic payment system generates bank files with all the fields on the payslip. You can customize the bank file/check print by using JavaScript REST APIs as per your business requirements.
Payroll Actions
Copy action allows you to copy all the payroll details to a new payroll. The system creates the new payroll with Copy of {{source payroll name}} as the payroll number.
You should change the payroll number to a more meaningful value.

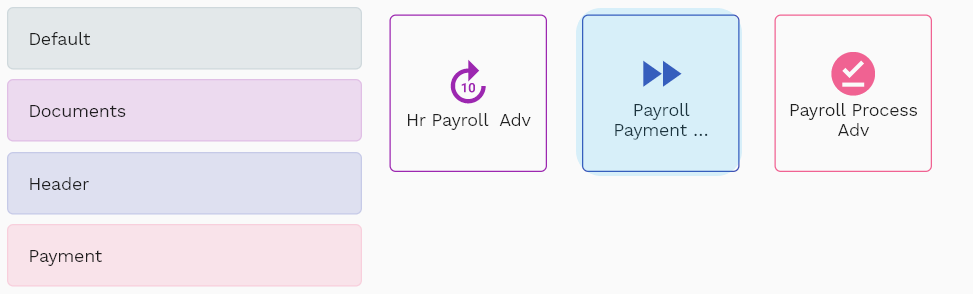
Payroll Process
Payroll Process represents a specific instance run of a payroll. You can create a new payroll process from the payroll action tab by clicking on "Run Next Payroll."

Status
The system creates payroll processes in entered status and as per the stage of payroll system will show any of the below statuses.
- Entered: The first status of a payroll process. Payroll processes remain in Entered status till you start the "Run Payroll." program
- Open: Run payroll program is completed successfully. Run payroll process creates all payslip header and line details
- Confirmed: Payroll has been reviewed by HR and is ready to be paid
- Paid : Payroll has been paid. You change the status of a payroll to be paid after you get the confirmation from your bank.
- Cancelled: Payroll has been canceled
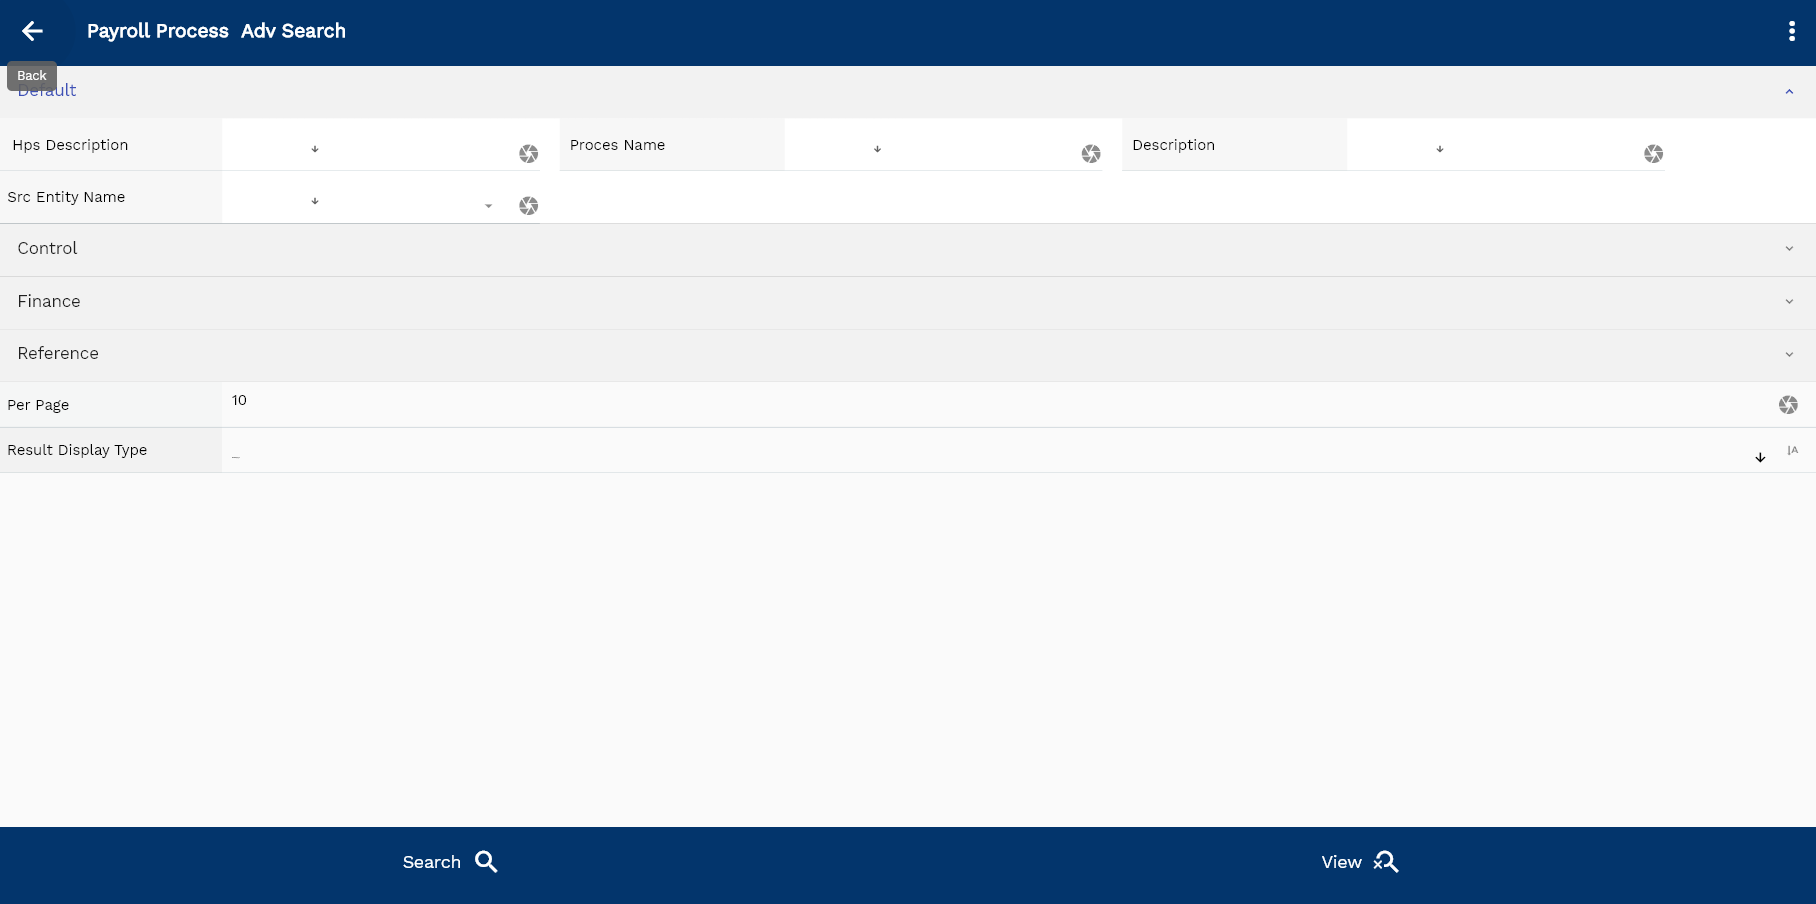
To view/update the payroll process, navigate to the "payroll process" screen from your dashboard/favorite.
Enter the payroll process details or any other criteria in the search form and click on the search button to view an existing payroll process.

If you don't enter any search criteria, the system will show you all the payroll processes. If your organization has configured to make any field mandatory for search, you must enter those fields to search payroll processes.
The application will fetch all the server data and take you to the search result screen. The search result screen looks a bit different on desktop and mobile devices.
You can click on the detail right bottom to view all the fields available for the object.

To view the search result in a table format, click on the table icon in the bottom left corner.
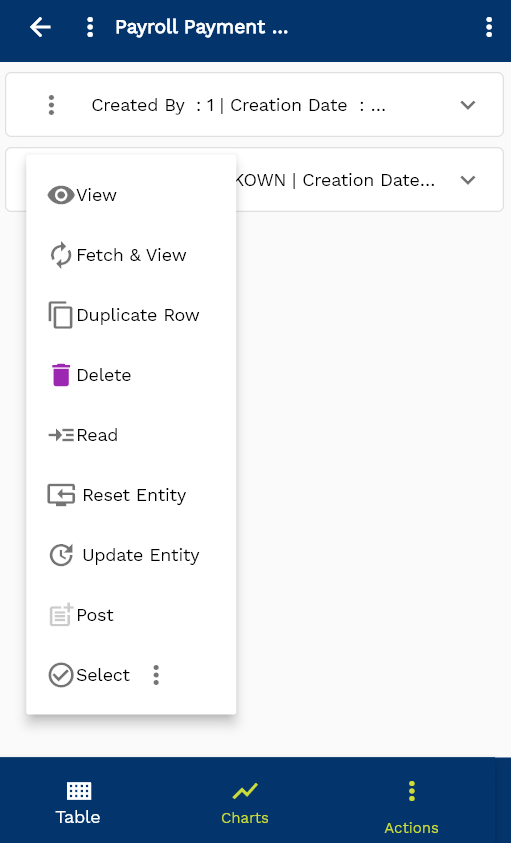
To view specific payroll process details, click on the menu of that record, and click on view/fetch & view.

You can also click on the expand icon against any item on the search result screen to view the payroll process header details, name, Description, revision number, etc.

The system will fetch all the selected document detail line data. Depending on the device size, the document details are shown either on the search result screen or on a separate screen.
Payroll Code: The payroll code against which the payroll process is created.
Payment Method: How the payslips on the payroll will be paid. The value defaults from the payroll.
currency: The currency of the payslips. The value also defaults from the payroll.
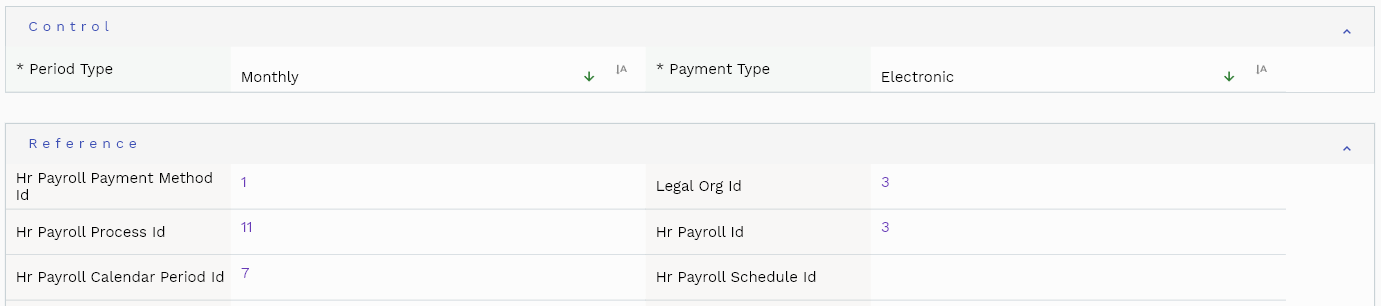
Scroll left, right, up, and down to view all the details. The document line and details are shown in a separate tab. The default configuration shows fields in various functional groups, such as
- Finance
- Entity
- Reference
- Data
- Control
- Etc

year: The year for which the payroll process is created. The value is shown on payslips. The system defaults this value from the payslip and assigned calendar.
Period Number: The period number for which the payroll process is created. The value is shown on payslips. The system defaults this value from the payslip and assigned calendar.
You can configure the application to show which fields should be shown under which group. You can also create new groups as per your business requirements.
All Fields
| Sequence | Name | Label | InputType | Field Group |
|---|---|---|---|---|
| 10 | payrollCode | Payroll Code | InputType.textField | FINANCE |
| 10 | payrollName | Payroll Name | InputType.textField | FINANCE |
| 20 | periodType | Period Type | InputType.select | CONTROL |
| 30 | hrPayrollPaymentMethodId | Hr Payroll Payment Method Id | defferedSelect | REFERENCE |
| 40 | paymentMethod | Payment Method | InputType.textField | FINANCE |
| 50 | legalOrgId | Legal Org Id | defferedSelect | REFERENCE |
| 60 | paymentType | Payment Type | InputType.select | CONTROL |
| 70 | currency | Currency | defferedSelect | FINANCE |
| 80 | periodName | Period Name | InputType.textField | FINANCE |
| 90 | periodNumber | Period Number | InputType.textField | DATA |
| 100 | year | Year | InputType.number | DEFAULT |
| 110 | startDate | Start Date | InputType.date | DATE |
| 120 | endDate | End Date | InputType.date | DATE |
| 130 | hrPayrollProcessId | Hr Payroll Process Id | InputType.text | REFERENCE |
| 140 | hrPayrollId | Hr Payroll Id | defferedSelect | REFERENCE |
| 150 | hrPayrollCalendarPeriodId | Hr Payroll Calendar Period Id | InputType.text | REFERENCE |
| 160 | hrPayrollScheduleId | Hr Payroll Schedule Id | InputType.text | REFERENCE |
| 170 | procesName | Proces Name | InputType.textField | DEFAULT |
| 180 | processStatus | Process Status | InputType.select | CONTROL |
| 190 | glJournalHeaderId | Gl Journal Header Id | InputType.text | REFERENCE |
| 200 | description | Description | InputType.textField | DEFAULT |
| 250 | srcEntityName | Src Entity Name | defferedSelect | DEFAULT |
| 260 | srcEntityId | Src Entity Id | InputType.text | REFERENCE |
| 5210 | createdBy | Created By | InputType.text | REFERENCE |
| 5220 | creationDate | Creation Date | InputType.text | REFERENCE |
| 5230 | lastUpdatedBy | Last Updated By | InputType.text | REFERENCE |
| 5240 | lastUpdateDate | Last Update Date | InputType.text | REFERENCE |
Actions
Use actions to process a payroll.
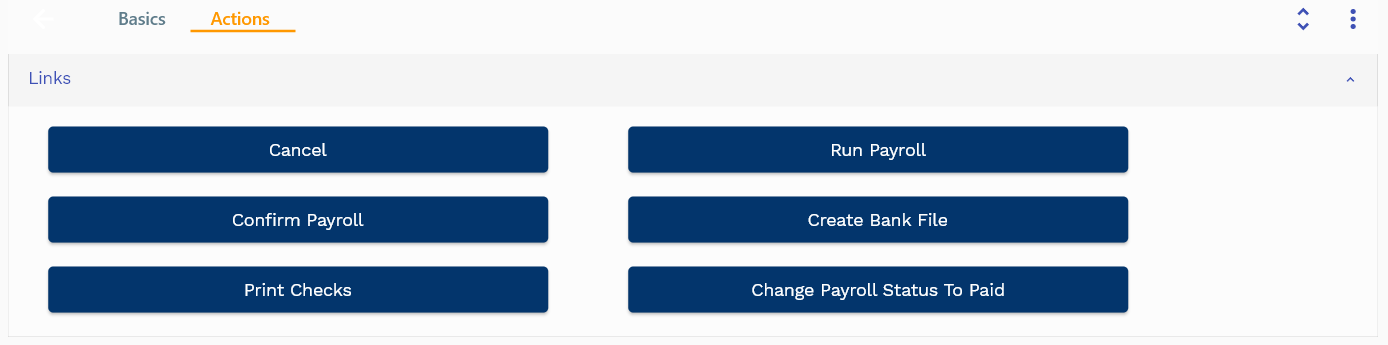
- Cancel: Cancel a payroll that is not yet processed. You can only cancel a payroll in entered status. Payroll status changes to canceled
- Run Payroll: Run payroll process creates all payslip header and line details. It also changes the payroll process status from entered to open.
- Confirm payroll: After manually reviewing all the payslip details, you can confirm a payroll. This process changes payroll status from open to confirm. Confirmed payrolls are ready for payment.
- Change Payroll Status to Paid: Changes the payroll status to paid.
You can use create bank files and print check programs to create salary payment programs.
Add your custom logic in assets/js/ierp/hr/hr_payroll.js file.
   if (action == "hr_run_payroll") {
      let hrPayrollProcessId = data["hrPayrollProcessId"];
      if (hrPayrollProcessId) {
        return runPayroll(hrPayrollProcessId);
      } else {
        retDataMap["rd_proceed_message"] =
          "Unable to run payroll as no leave hrPayrollProcessId is provided";
      }
    } else if (action == "hr_confirm_payroll") {
      let hrPayrollProcessId = data["hrPayrollProcessId"];
      if (hrPayrollProcessId) {
        return confirmPayroll(hrPayrollProcessId);
      } else {
        retDataMap["rd_proceed_message"] =
          "Unable to confirm payroll as no leave hrPayrollProcessId is provided";
      }
    } else if (action == "hr_change_payroll_status_to_paid") {
      let hrPayrollProcessId = data["hrPayrollProcessId"];
      if (hrPayrollProcessId) {
        return confirmPayroll(hrPayrollProcessId);
      } else {
        retDataMap["rd_proceed_message"] =
          "Unable to confirm payroll as no leave hrPayrollProcessId is provided";
      }
    }else if (action == "hr_create_bank_file") {
      //Write your custom logic to create bank file
    }else if (action == "hr_create_payroll_check") {
      //Write your custom logic to print check
    } else {
      return data;
    }