Leave
This documentation is incomplete.
This documentation describes how an employee can create a leave and how an approver can approve it. To learn more about the approval process, check out the approval documentation. A manager/HR representative can also apply for leave on behalf of an employee using the Leave Application screen.
Leave Application IDs must be assigned to users to employee-related documents such as Leave Application, Payslip, etc.
Application
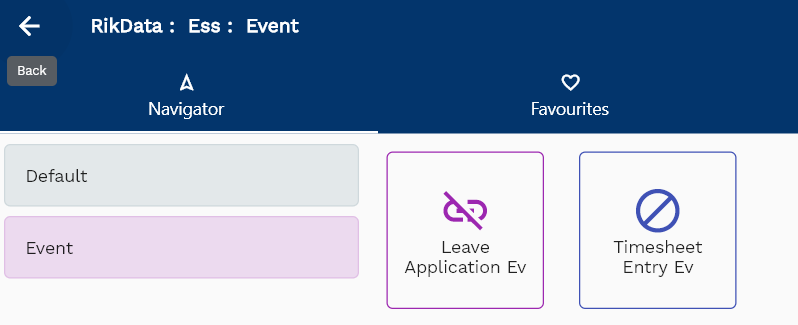
To create/view/update the leave application, navigate to the "leave application" screen from your dashboard/favorite.
Enter the leave application details or any other criteria in the search form and click on the search button to view an existing leave application.
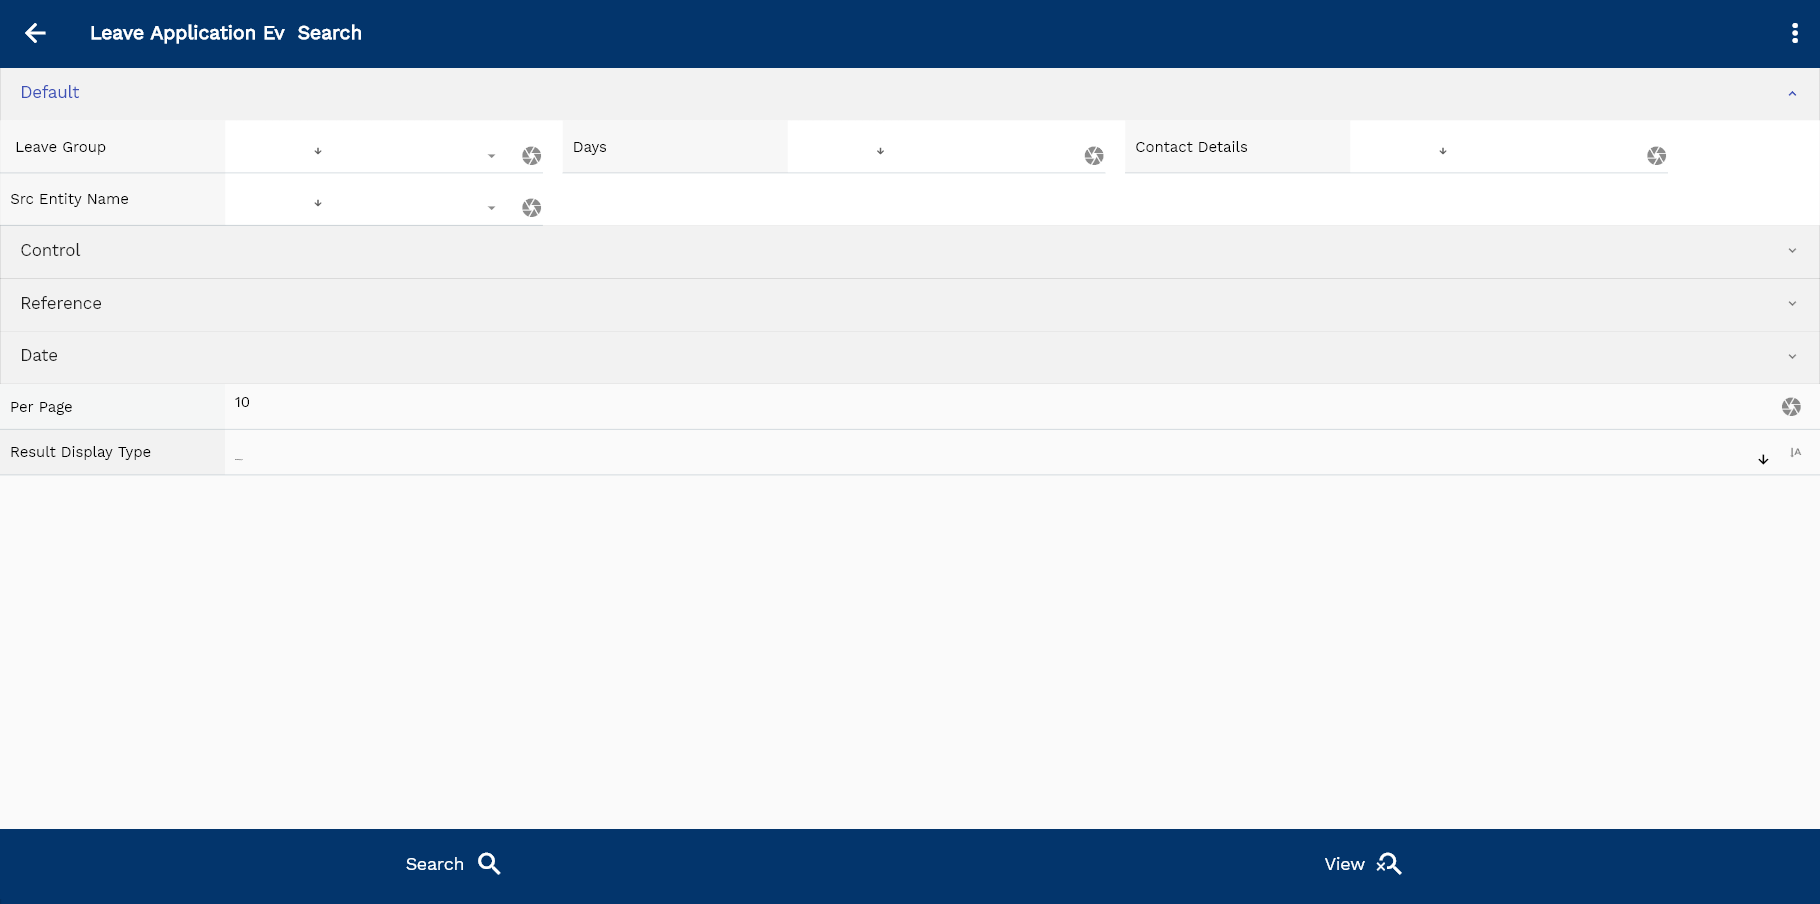
If you don't enter any search criteria, the system will show you all the leave applications. If your organization has configured to make any field mandatory for search, then you have to enter those fields to search leave applications.
The application will fetch all the server data and take you to the search result screen. The search result screen looks a bit different on desktop and mobile devices.

The leave application on the self-service page is employee specific. i.e., an employee can view/create a leave application for themselves.
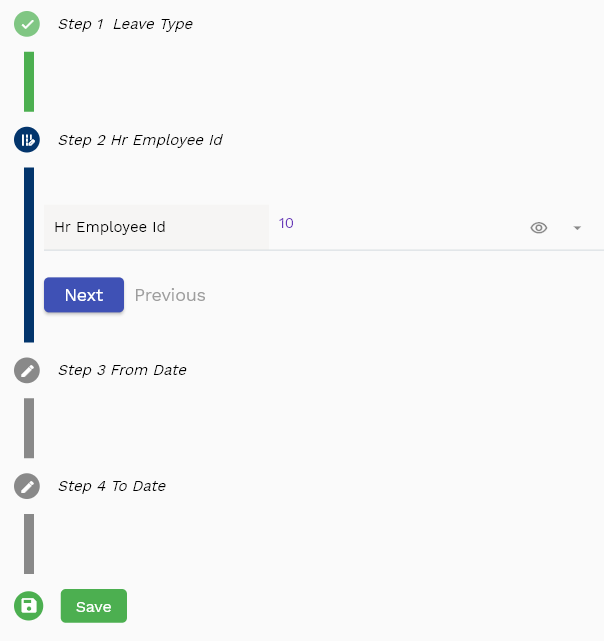
If you click on the create new button, the system will open a simple step form to create a new leave application. You can click on the detail right bottom to view all the fields available for the object.

To view the search result in a table format, click on the table icon in the bottom left corner.
To view specific leave application details, click on the menu of that record, and click on view/fetch & view.
You can also click on the expand icon against any item on the search result screen to view the leave application header details, name, description, revision number, etc.

The system will fetch all the selected document detail line data. The document details are shown either right on the search result screen or on a separate screen, depending on the device size.
Employee Id: Readonly field and system will show the employee id the of the currently logged in user
From date: Start date of the leave application
End Date: End date of the leave application

Days: No of days for the leave application. If you don't enter any value system will calculate the days as the difference between the end date and start date.
Leave Type: Select one of the leave types. The system will deduct the available leaves from the leave type.

Scroll left, right, up, and down to view all the details. The document line and details are shown in a separate tab. The default configuration shows fields in various functional groups, such as
- Finance
- Entity
- Reference
- Data
- Control
- Etc
You can configure the application to show which fields should be shown under which group. You can also create new groups as per your business requirements.
The reference groups show various ids for reference only. You don't need to enter any information in this section. When you save a leave application for the first time, the system will auto-populate the newly created header id and line ids.

All Fields
| Sequence | Name | Label | InputType | Field Group |
|---|---|---|---|---|
| 10 | hrLeaveApplicationId | Hr Leave Application Id | InputType.text | REFERENCE |
| 10 | hrEmployeeId | Hr Employee Id | defferedSelect | REFERENCE |
| 20 | fromDate | From Date | InputType.date | DATE |
| 30 | toDate | To Date | InputType.date | DATE |
| 40 | hrLeaveTypeId | Hr Leave Type Id | defferedSelect | CONTROL |
| 50 | requestDate | Request Date | InputType.date | DATE |
| 60 | approvalStatus | Approval Status | InputType.text | CONTROL |
| 70 | days | Days | InputType.textField | DEFAULT |
| 80 | reason | Reason | InputType.text | REFERENCE |
| 90 | contactDetails | Contact Details | InputType.textField | DEFAULT |
| 100 | sysNotificationId | Sys Notification Id | InputType.text | REFERENCE |
| 110 | sysNotificationGroupId | Sys Notification Group Id | InputType.text | REFERENCE |
| 160 | srcEntityName | Src Entity Name | defferedSelect | DEFAULT |
| 170 | srcEntityId | Src Entity Id | InputType.text | REFERENCE |
| 5120 | createdBy | Created By | InputType.text | REFERENCE |
| 5130 | creationDate | Creation Date | InputType.text | REFERENCE |
| 5140 | lastUpdatedBy | Last Updated By | InputType.text | REFERENCE |
| 5150 | lastUpdateDate | Last Update Date | InputType.text | REFERENCE |
Approval
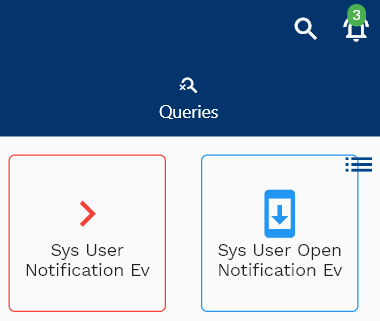
To view/update the leave application approval request, navigate to the "leave application approval request" screen from your dashboard/favorite.
If a notification message is configured, the system will also show all the open notification counts next to the open notification icon on the dashboard. You can click on the icon to view all open notifications.
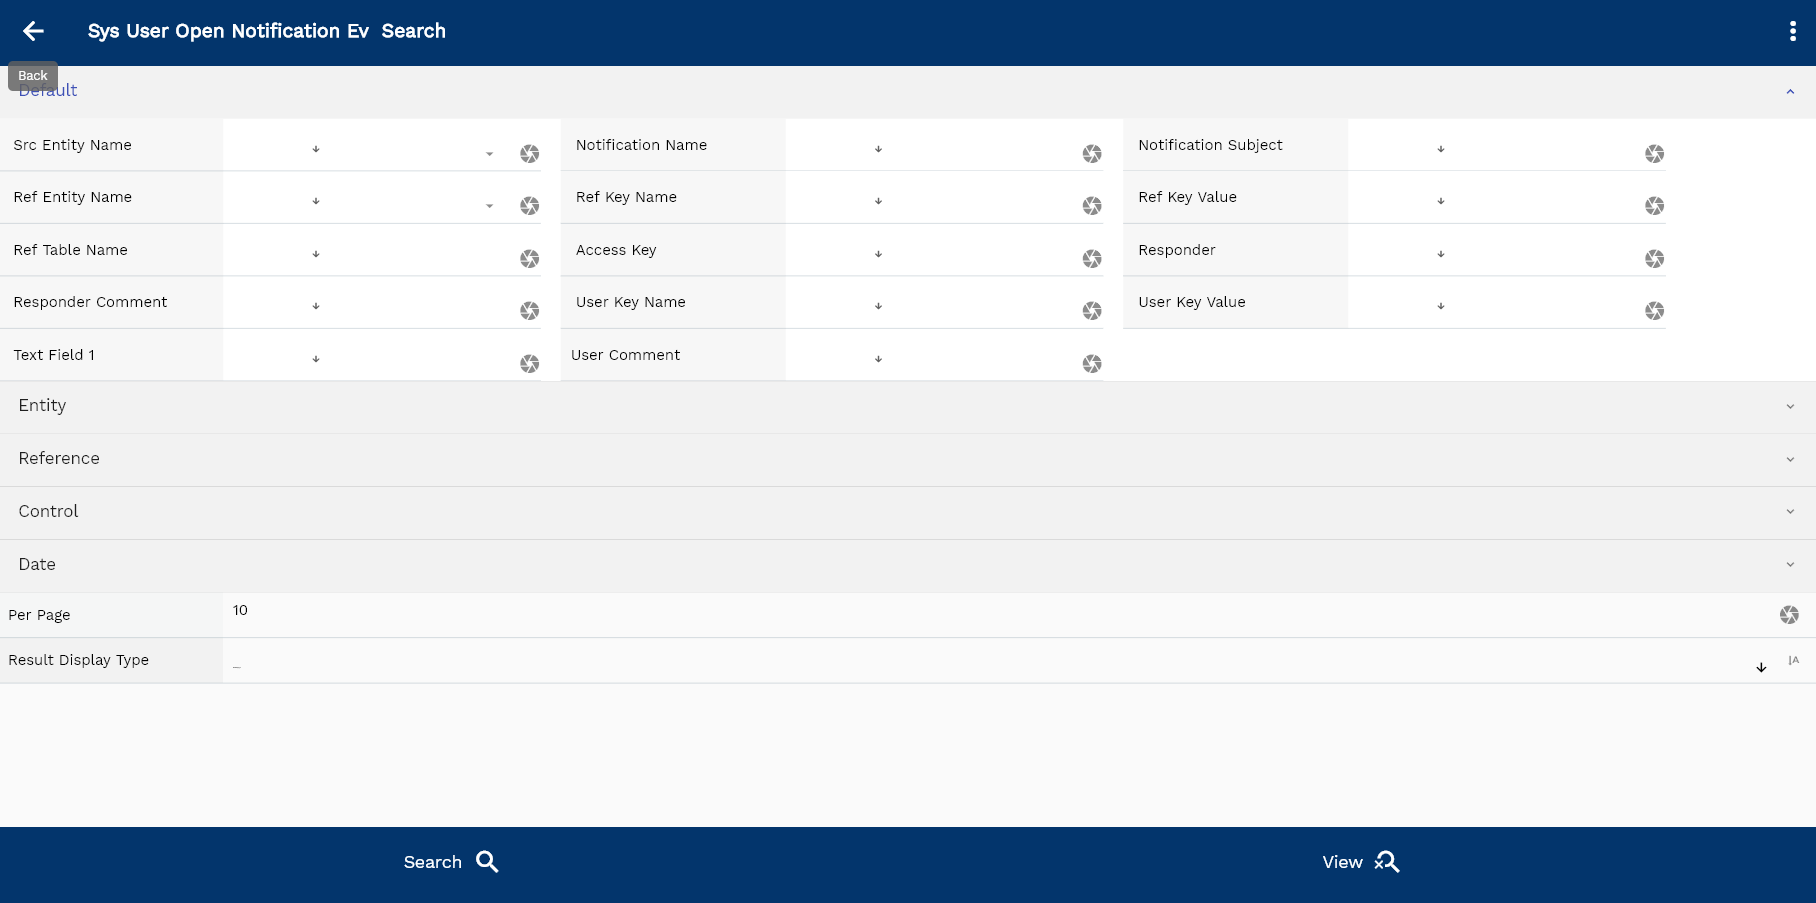
You can also view the open notifications using the search screen.
Enter the leave-application approval request details or any other criteria in the search form and click on the search button to view an existing leave application approval request.

If you don't enter any search criteria, the system will show you all the leave application approval requests. If your organization has configured to make any field mandatory for search, then you have to enter those fields to search any request.
The application will fetch all the server data and take you to the search result screen. The search result screen looks a bit different on desktop and mobile devices.
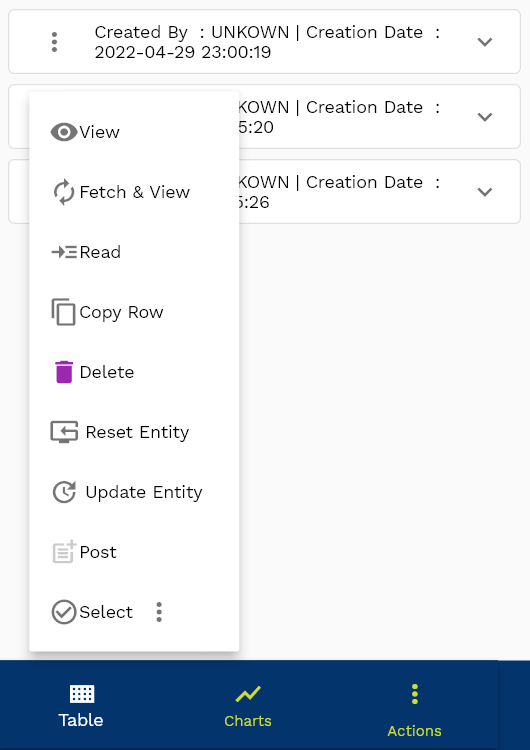
Approval request on the self-service page is employee specific. i.e., an employee can view/create approval requests for themselves.
If you click on the create new button, the system will open a simple step form to create a new leave application approval request. You can click on the detail right bottom to view all the fields available for the object.

To view the search result in a table format, click on the table icon in the bottom left corner.
To view specific leave-application approval request details, click on the menu of that record, and click on view/fetch & view.

You can also click on the expand icon against any item on the search result screen to view the leave-application approval request header details, name, description, revision number, etc.

The system will fetch all the selected document detail line data. The document details are shown either right on the search result screen or on a separate screen, depending on the device size.
Notification Type: Type of notification. Ex: Approval, For Your Info (FYI)
User Comment: The approver can write any comment before approving/rejecting the request

Approval Status: status of the request. The system creates all the requests as inProcess. Approved requests are shown as approved, and rejected requests show status as declined.
Start Date: The date on which the notification was started
Due Date: The date on which the notification is expected to be completed

Scroll left, right, up, and down to view all the details. The document line and details are shown in a separate tab. The default configuration shows fields in various functional groups, such as
- Finance
- Entity
- Reference
- Data
- Control
- Etc

You can configure the application to show which fields should be shown under which group. You can also create new groups as per your business requirements.
The reference groups show various ids for reference only. You don't need to enter any information in this section. When you save a leave application approval request for the first time, the system will auto-populate the newly created header id and line ids.

Actions

Actions allow you to change the status of the request. The system creates a notification as inProcess status. When you are ready to either Approve or Reject a request, you can click on the corresponding button to complete the action.
Assignment
The leave assignment screen shows annual leave allocations for employees. The assignment screen in self-service modules shows the annual leave assignment for the logged-in user.
Ex
| Employee | Leave Type | Year | Available Days |
|---|---|---|---|
| John Smith | Paid | 2023 | 20 |
| John Smith | Sick | 2023 | 5 |
| John Smith | CarryForward | 2023 | 5 |
| John Smith | CompOff | 2023 | 2 |
You can use leave entitlement to add available leaves to employees in a periodic manner. Leave assignment does not allow updates, i.e., you can only add records to the annual leave assignment. To correct any wrong data, you can create an adjustment entry.
Navigate to the "leave assignment" screen from your dashboard/favorite to view the annual leave assignment.
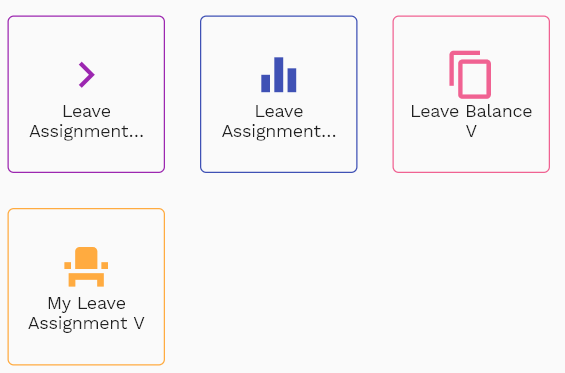
Enter the leave assignment details or any other criteria in the search form and click on the search button to view an existing leave assignment.
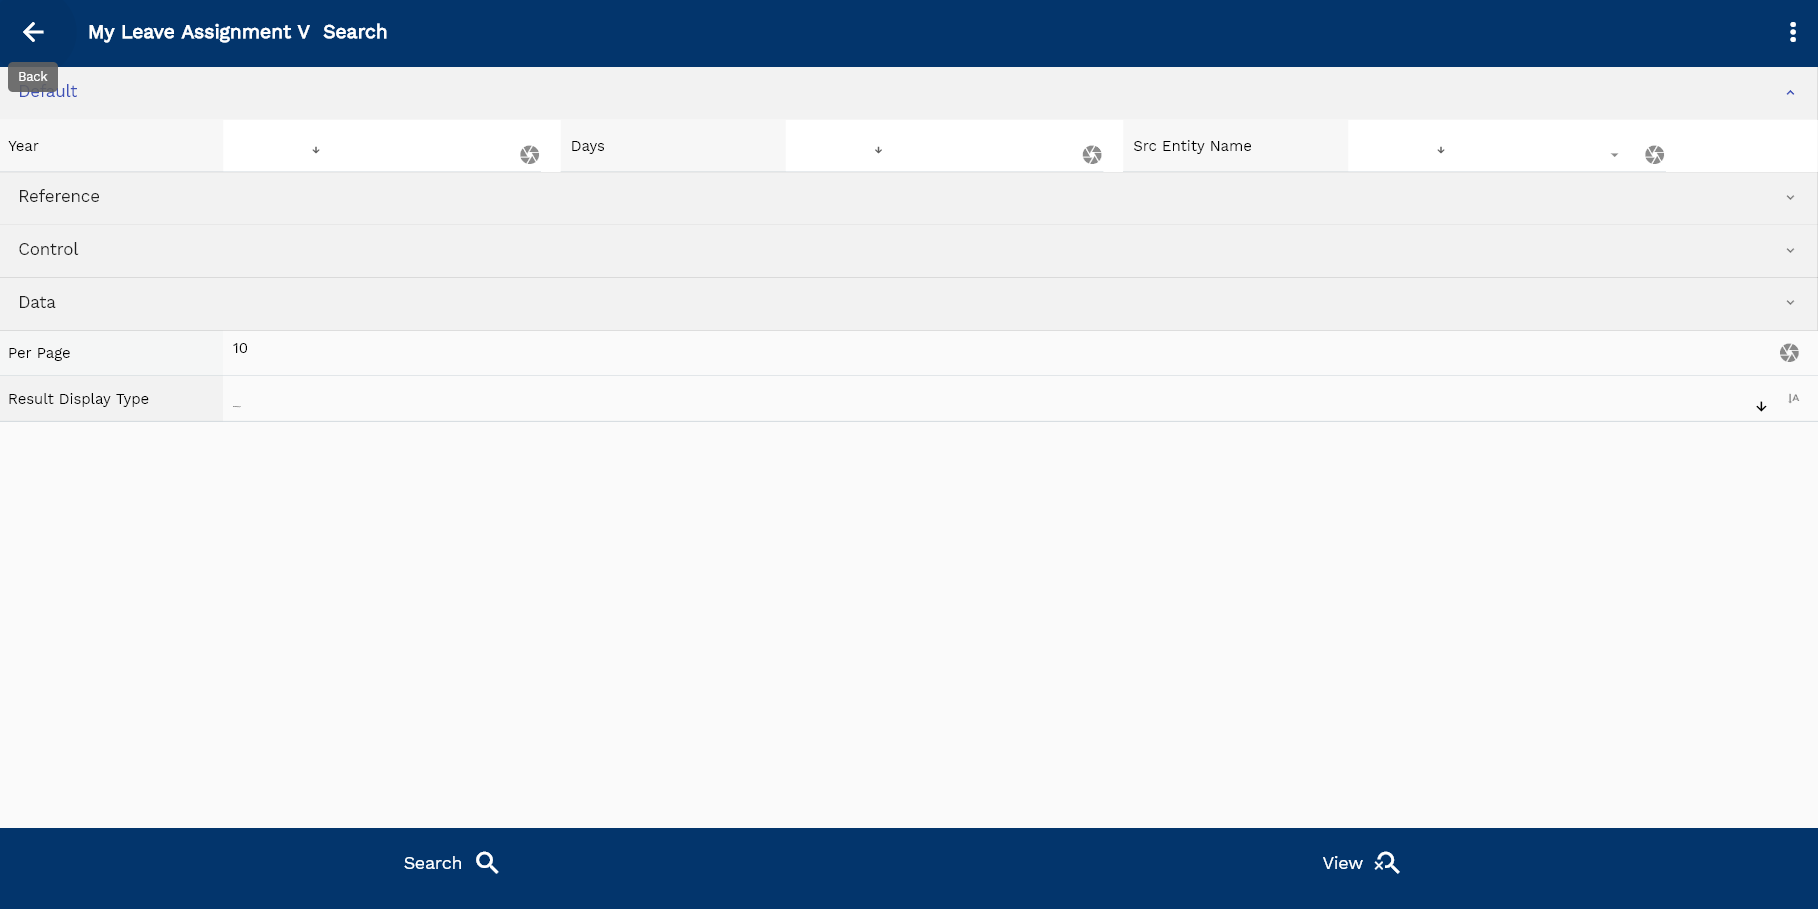
If you don't enter any search criteria, the system will show you all the leave assignments. If your organization has configured to make any field mandatory for search, then you have to enter those fields to search leave assignments.
The application will fetch all the server data and take you to the search result screen. The search result screen looks a bit different on desktop and mobile devices.

The leave application on the self-service page is employee specific. i.e., an employee can view leaveAssignment for themselves.
To view the search result in a table format, click on the table icon in the bottom left corner.
To view specific leave assignment details, click on the menu of that record, and click on view/fetch & view.

You can also click on the expand icon against any item on the search result screen to view the leave assignment details and name.
Year: Year of the leaveAssignment
Period: Period of the leaveAssignment
Leave Type: Type of the leave
Days: Number of days for the Year & Period
You can configure the application to show which fields should be shown under which group. You can also create new groups as per your business requirements.
All Fields
| Sequence | Name | Label | InputType | Field Group |
|---|---|---|---|---|
| 10 | vvFirstName | First Name | InputType.text | DEFAULT |
| 10 | vvLastName | Last Name | InputType.text | DEFAULT |
| 20 | vvEmail | InputType.text | ENTITY | |
| 30 | vvIdentificationNumber | Identification Number | InputType.text | DATA |
| 40 | vvLeaveType | Leave Type | defferedSelect | CONTROL |
| 50 | vvLeaveGroup | Leave Group | defferedSelect | DEFAULT |
| 60 | vvLeaveCategory | Leave Category | InputType.text | DEFAULT |
| 70 | hrLeaveAssignmentId | Hr Leave Assignment Id | InputType.text | REFERENCE |
| 80 | hrEmployeeId | Hr Employee Id | defferedSelect | REFERENCE |
| 90 | hrLeaveTypeId | Hr Leave Type Id | defferedSelect | CONTROL |
| 100 | year | Year | InputType.number | DEFAULT |
| 110 | periodNumber | Period Number | InputType.number | DATA |
| 120 | days | Days | InputType.textField | DEFAULT |
| 170 | srcEntityName | Src Entity Name | defferedSelect | DEFAULT |
| 180 | srcEntityId | Src Entity Id | InputType.text | REFERENCE |
| 5130 | createdBy | Created By | InputType.text | REFERENCE |
| 5140 | creationDate | Creation Date | InputType.text | REFERENCE |
| 5150 | lastUpdatedBy | Last Updated By | InputType.text | REFERENCE |
| 5160 | lastUpdateDate | Last Update Date | InputType.text | REFERENCE |
Total
The leave assignment total screen shows the summary of annual leave allocations for employees per leave type. The assignment screen in self-service modules shows the annual leave assignment for the logged-in user.
Ex
| Employee | Leave Type | Available Days |
|---|---|---|
| John Smith | Paid | 20 |
| John Smith | Sick | 5 |
| John Smith | CarryForward | 5 |
| John Smith | CompOff | 2 |
Navigate to the "total leave assignment" screen from your dashboard/favorite to view the total leave assignment.
Enter the leave assignment details or any other criteria in the search form and click on the search button to view an existing leave assignment.
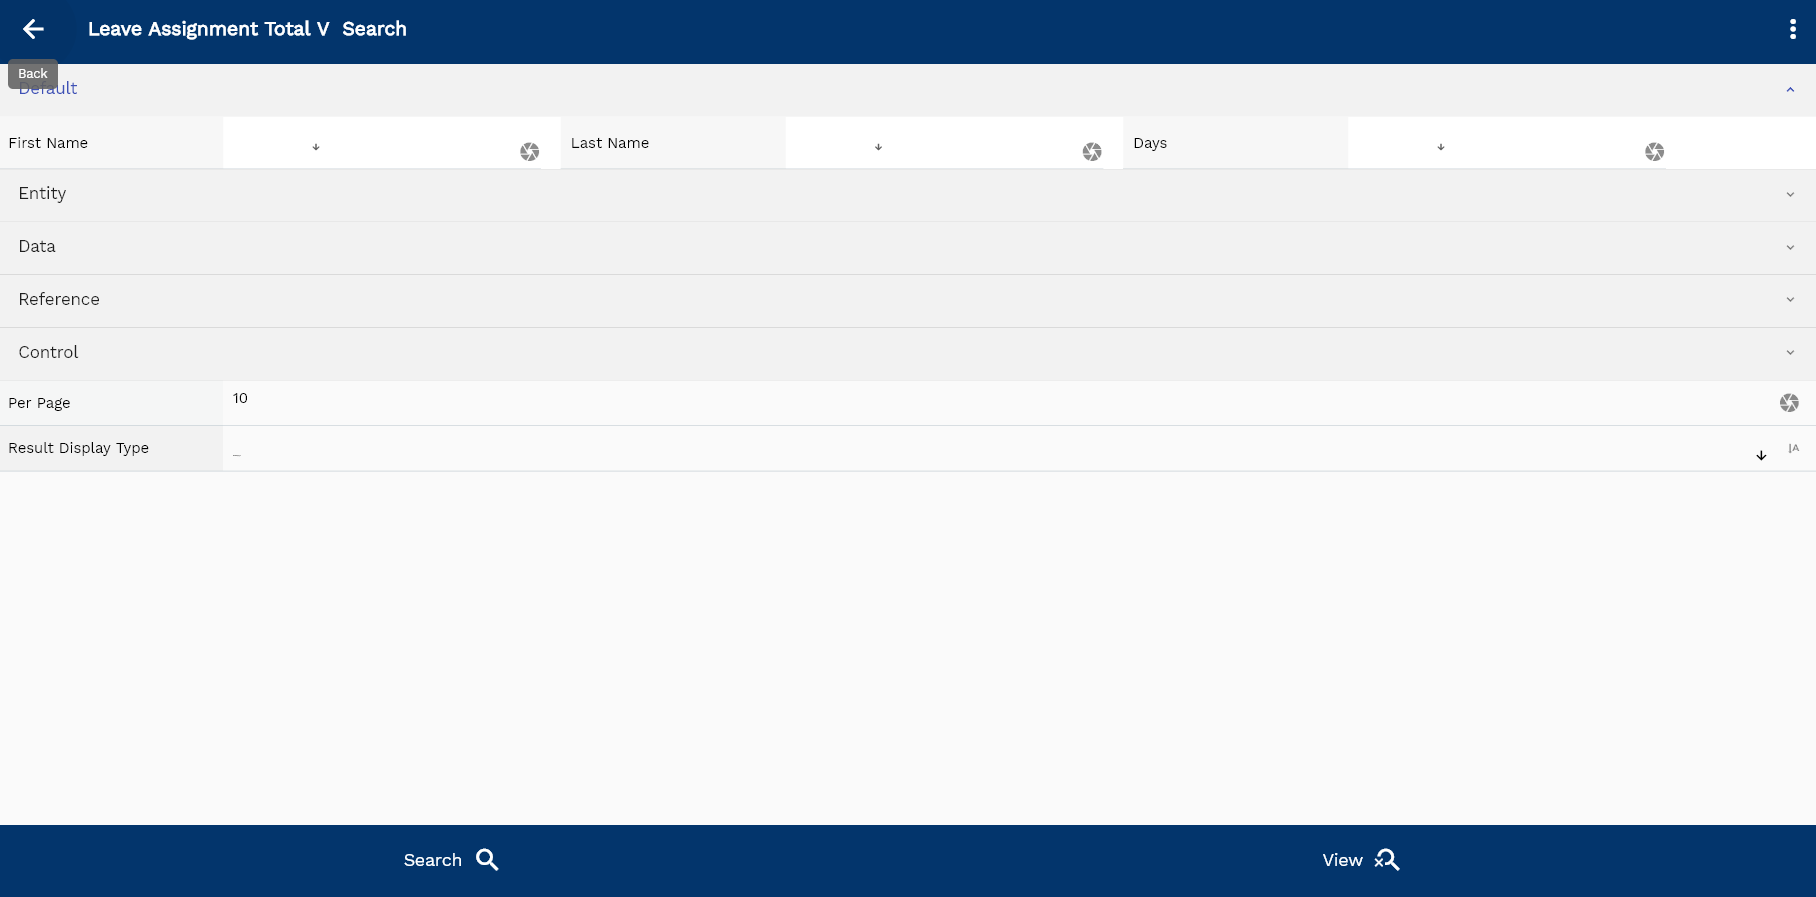
If you don't enter any search criteria, the system will show you all the leave assignments.

The leave application on the self-service page is employee specific. i.e., an employee can view leaveAssignment for themselves.
To view the search result in a table format, click on the table icon in the bottom left corner.
To view specific leave assignment details, click on the menu of that record, and click on view/fetch & view.

Yearly
The leave assignment yearly total screen summarizes annual leave allocations for employees per leave type per Year. If you assign leave only once a year, the screen will show the same data as the total leave screen. The assignment screen in self-service modules shows the annual leave assignment yearly for the logged-in user.
Ex
| Employee | Leave Type | Available Days |
|---|---|---|
| John Smith | Paid | 20 |
| John Smith | Sick | 5 |
| John Smith | CarryForward | 5 |
| John Smith | CompOff | 2 |
To view the yearly leaveAssignment, navigate to the "yearly leave assignment" screen from your dashboard/favorite.
Enter the leave assignment yearly details or other criteria in the search form and click on the search button to view an existing assignment annual leave.
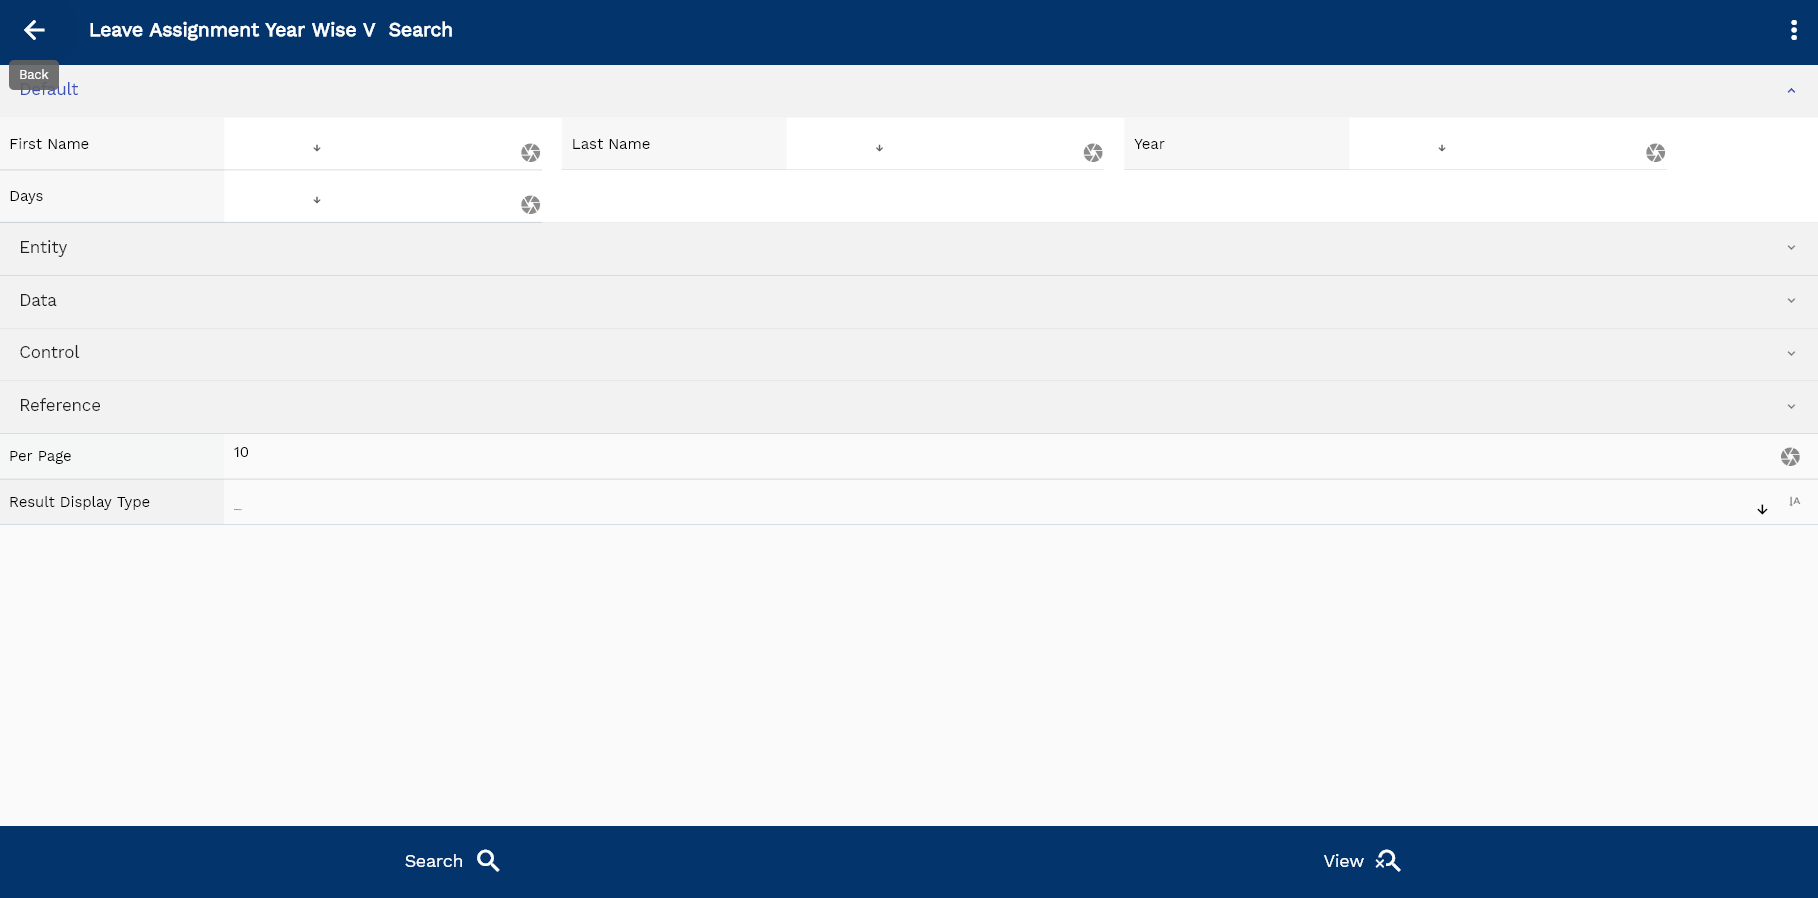
If you don't enter any search criteria, the system will show you all the leave assignments grouped by Year.

The leave application on the self-service page is employee-specific. i.e., an employee can view leave assignments yearly for themselves.
To view the search result in a table format, click on the table icon in the bottom left corner.
To view specific leave assignment yearly details, click on the menu of that record, and click on view/fetch & view.

Balance
The leave balance screen summarizes annual leave allocations and employee usage per leave type. The balance screen shows
- Total allocated annual leave per leave type
- Total used annual leave per leave type
- Total available annual leave per leave type
Ex
| Employee | Leave Type | Allocated | Used | Available |
|---|---|---|---|---|
| John Smith | Paid | 25 | 21 | 4 |
| John Smith | Sick | 5 | 0 | 5 |
Navigate to the "leave balance" screen from your dashboard/favorite to view the leave balance.
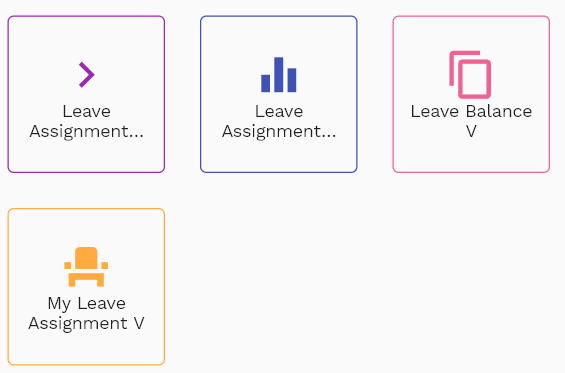
Enter the leave balance details or other criteria in the search form and click on the search button.
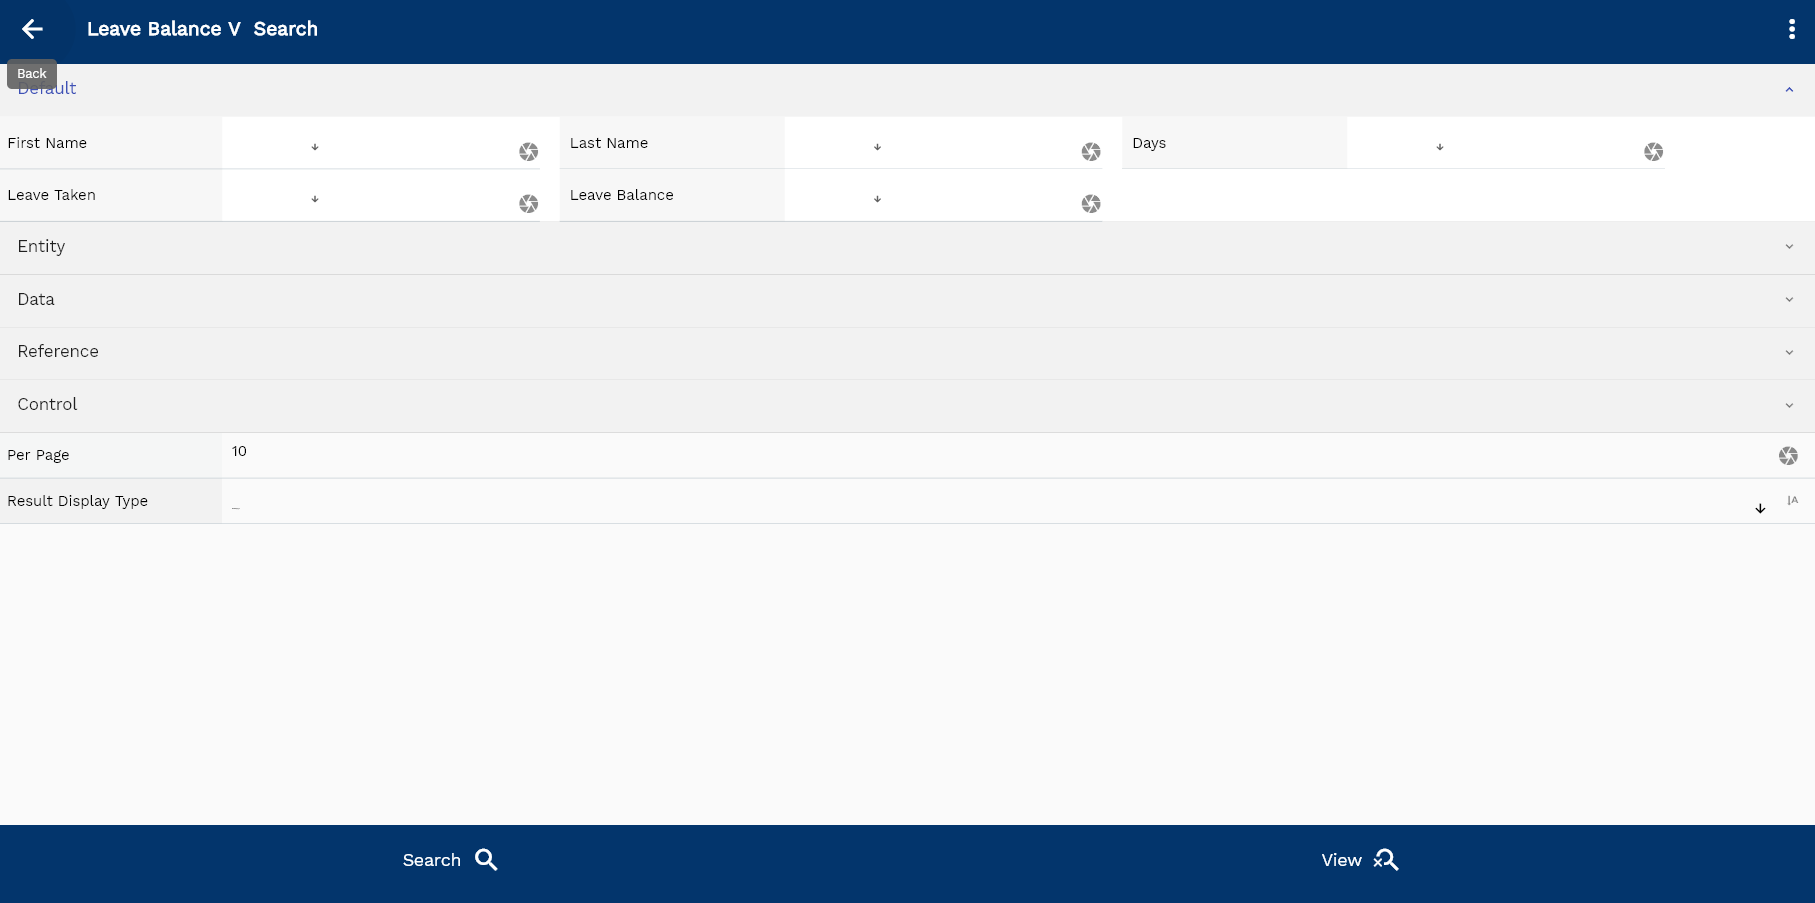
If you don't enter any search criteria, the system will show you all the leave balances for each leave type.

The leave balance on the self-service page is employee specific. i.e., an employee can view leave balances for themselves.
To view the search result in a table format, click on the table icon in the bottom left corner.
To view specific leave balance details, click on the menu of that record, and click on view/fetch & view.
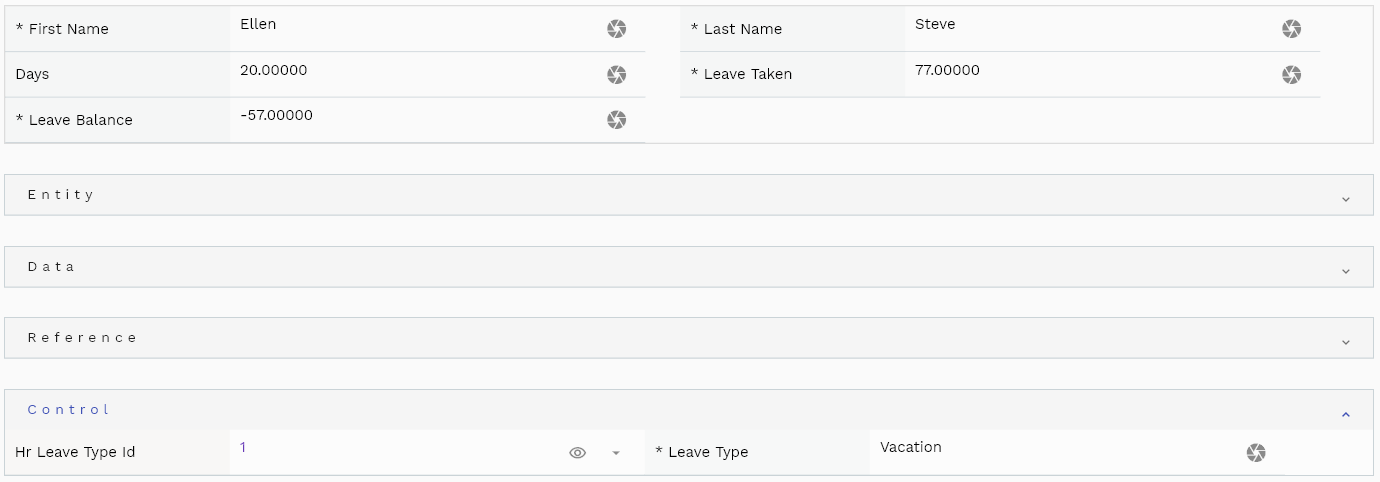
Leave Entitlement
You can use leave entitlement to simply the process of adding leaveAssignment to employees regularly. Leave entitlements can be assigned in 3 levels
- Employee: Highest preference
- Position
- Grade: Lowest preference
To create/view/update entitlement, navigate to the "Leave Entitlement " screen from your dashboard/favorite.
Enter the entitlement details or any other criteria in the search form and click on the search button to view an existing entitlement.
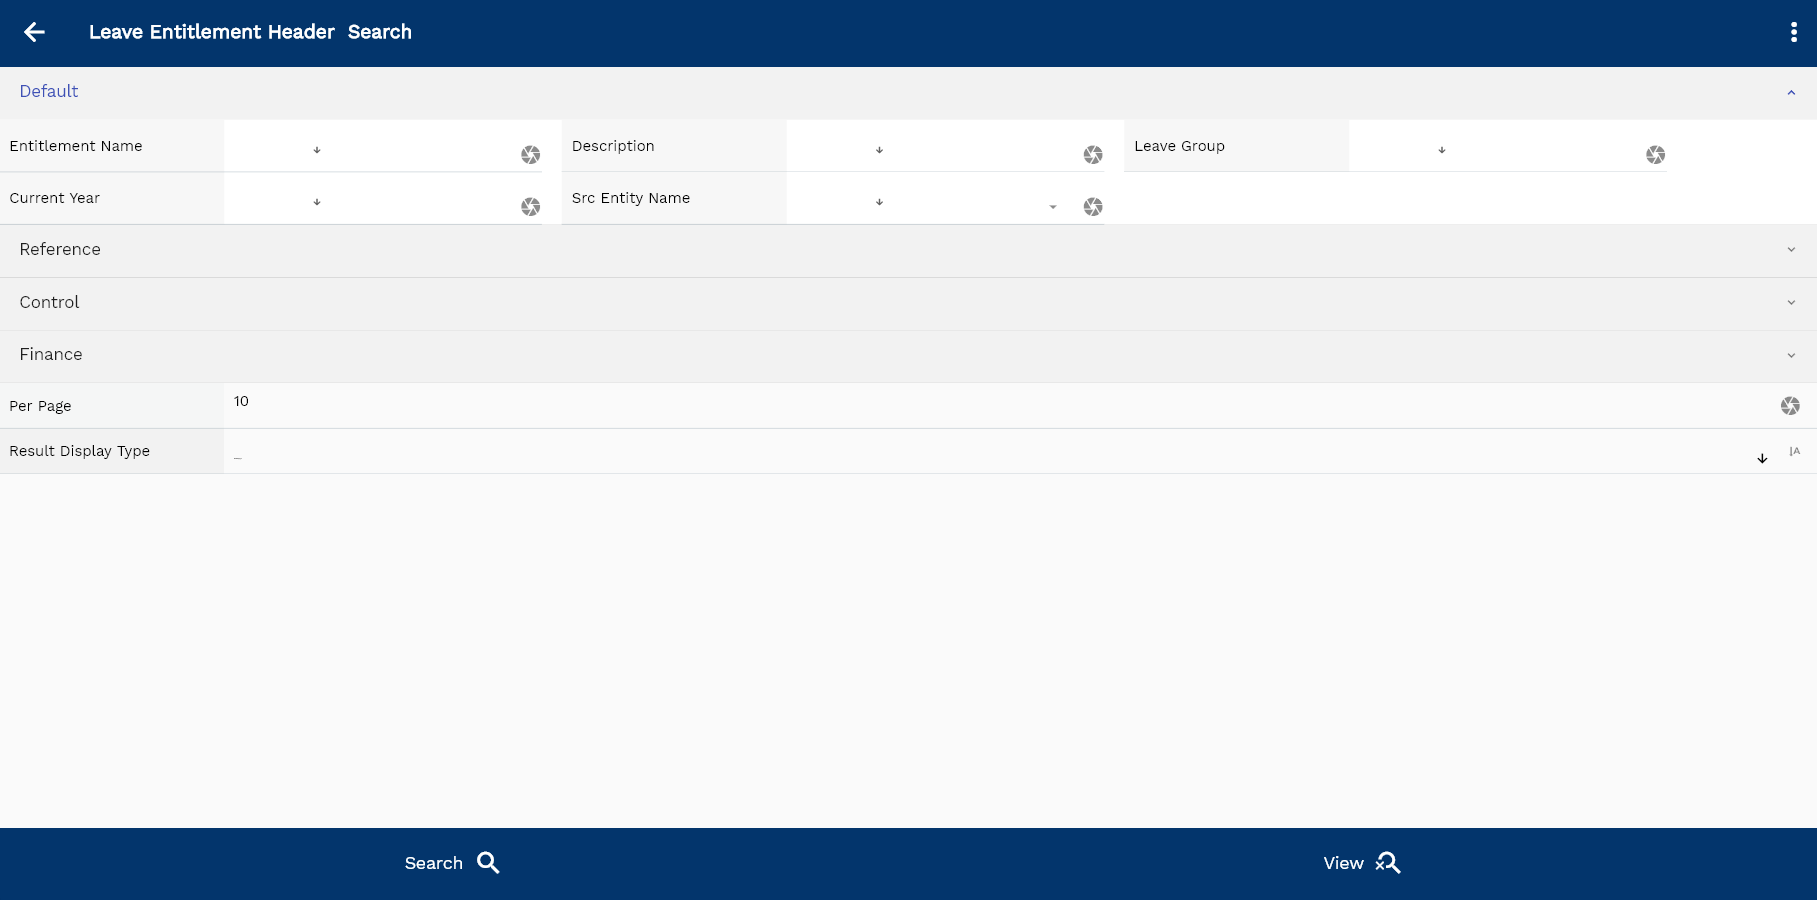
If you don't enter any search criteria, the system will show you all the entitlements. If your organization has configured to make any field mandatory for search, then you have to enter those fields to search entitlements.
The application will fetch all the server data and take you to the search result screen. The search result screen looks a bit different on desktop and mobile devices.

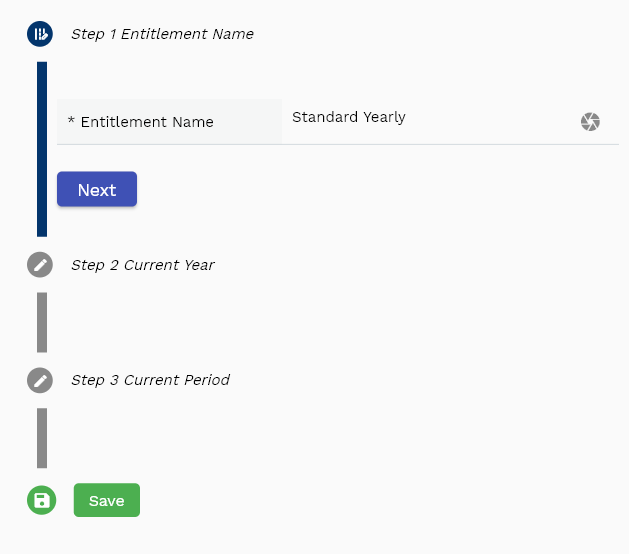
If you click on the create new button, the system will open a simple step form to create a new entitlement. You can click on the detail right bottom to view all the fields available for the object.
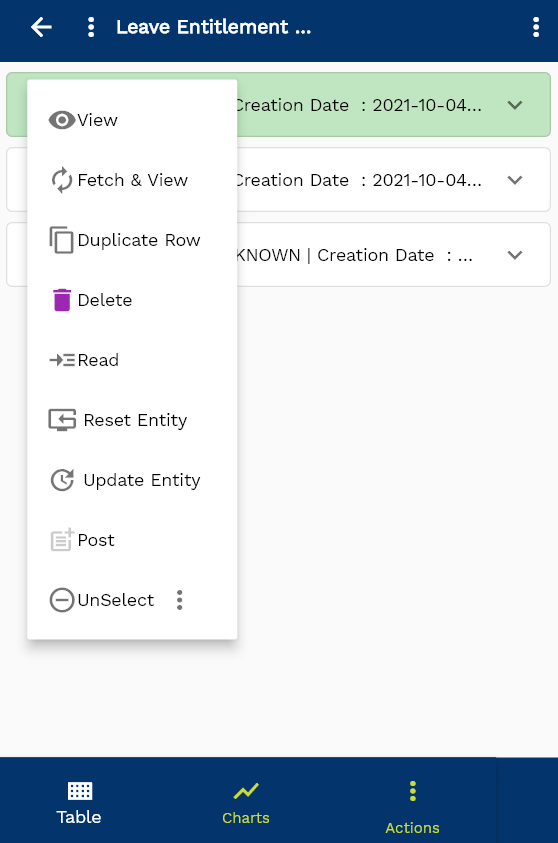
To view the search result in a table format, click on the table icon in the bottom left corner.
To view specific entitlement details, click on the menu of that record, and click on view/fetch & view.
You can also click on the expand icon against any item on the search result screen to view the entitlement header details, name, description, revision number, etc.

The system will fetch all the selected document detail line data. The document details are shown either right on the search result screen or on a separate screen, depending on the device size.
Entitlement Name: Enter a unique entitlement name. Entitlement name is a mandatory field.
Current Year: Enter the current Year. Update the value every Year before running create assignment program. The system takes this value to create leaveAssignment
Current Period: Enter the current Period. If you assign annual leave once a year, you can use any value between 1-12. However, you should not update the Period after the first run of the assignment program.

Scroll left, right, up, and down to view all the details. The document line and details are shown in a separate tab. The default configuration shows fields in various functional groups, such as
- Finance
- Entity
- Reference
- Data
- Control
- Etc

You can configure the application to show which fields should be shown under which group. You can also create new groups as per your business requirements.
All Fields
| Sequence | Name | Label | InputType | Field Group |
|---|---|---|---|---|
| 10 | hrLeaveEntitlementHeaderId | Hr Leave Entitlement Header Id | InputType.text | REFERENCE |
| 10 | entitlementName | Entitlement Name | InputType.textField | DEFAULT |
| 20 | description | Description | InputType.textField | DEFAULT |
| 30 | status | Status | InputType.textField | CONTROL |
| 40 | leaveGroup | Leave Group | InputType.textField | DEFAULT |
| 50 | currentYear | Current Year | InputType.number | DEFAULT |
| 60 | currentPeriod | Current Period | InputType.number | FINANCE |
| 110 | docStatus | Doc Status | InputType.select | CONTROL |
| 120 | srcEntityName | Src Entity Name | defferedSelect | DEFAULT |
| 130 | srcEntityId | Src Entity Id | InputType.text | REFERENCE |
| 5070 | createdBy | Created By | InputType.text | REFERENCE |
| 5080 | creationDate | Creation Date | InputType.text | REFERENCE |
| 5090 | lastUpdatedBy | Last Updated By | InputType.text | REFERENCE |
| 5100 | lastUpdateDate | Last Update Date | InputType.text | REFERENCE |
Entitlement Lines

Entitlement lines specify the type and value of annual leave.
You can add multiple leave types to each leave entitlement header. Each leave type shows a leave type name, no of allowed leave days, etc.
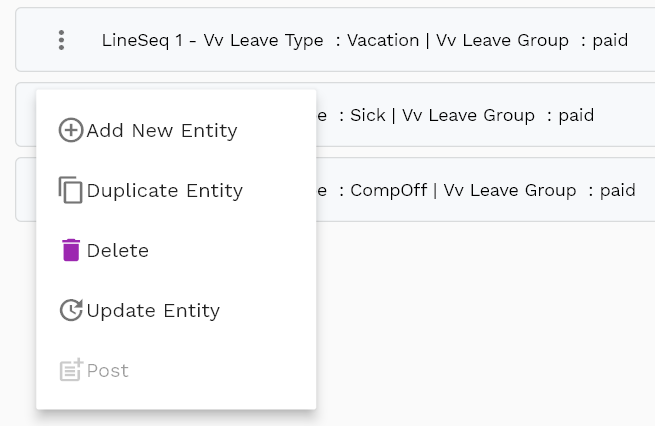
Navigate to the "entitlement line" tab to view/add/update leave types.
Click on the add new entity to add a new line. If a line already exists, click on copy entity to copy all the details.
You can enable/disable fields allowed to be copied in the menu configuration.

Leave Type: Select a leave type name. The system will default all the leave type-related values from the selected leave type.
Leave Group: System will default the annual leave group from the leave type.

Leave Per Period: Number of days of leave allowed per Period.
Scroll left, right, up, and down view all other fields.

The default configuration shows fields in various functional groups, such as
- Reference
- Control
- Etc
You can configure the application to show which fields should be shown under which group. You can also create new groups as per your business requirements.

Enter all the other fields and click on the save button to save the entitlement. The app will post all the data to the server and will show the messages returned from the server.
All Fields
| Sequence | Name | Label | InputType | Field Group |
|---|---|---|---|---|
| 10 | vvLeaveType | Leave Type | defferedSelect | CONTROL |
| 10 | vvLeaveGroup | Leave Group | defferedSelect | DEFAULT |
| 20 | vvLeaveCategory | Leave Category | InputType.text | DEFAULT |
| 30 | hrLeaveEntitlementLineId | Hr Leave Entitlement Line Id | InputType.text | REFERENCE |
| 40 | hrLeaveEntitlementHeaderId | Hr Leave Entitlement Header Id | defferedSelect | REFERENCE |
| 50 | hrLeaveTypeId | Hr Leave Type Id | defferedSelect | CONTROL |
| 60 | period | Period | InputType.select | FINANCE |
| 70 | leavePerPeriod | Leave Per Period | InputType.textField | FINANCE |
| 80 | defaultNoOfPeriod | Default No Of Period | InputType.textField | PLANNING |
| 130 | docStatus | Doc Status | InputType.select | CONTROL |
| 140 | srcEntityName | Src Entity Name | defferedSelect | DEFAULT |
| 150 | srcEntityId | Src Entity Id | InputType.text | REFERENCE |
| 5090 | createdBy | Created By | InputType.text | REFERENCE |
| 5100 | creationDate | Creation Date | InputType.text | REFERENCE |
| 5110 | lastUpdatedBy | Last Updated By | InputType.text | REFERENCE |
| 5120 | lastUpdateDate | Last Update Date | InputType.text | REFERENCE |
Actions
Copy action allows you to copy all the entitlement details to a new entitlement. The system creates the new entitlement with Copy of {{source entitlement name}} as the entitlement name.
You should change the entitlement name to a more meaningful value.

The "Create assignment" program creates assignments for all the employees directly or indirectly associated with the entitlement. You can assign entitlement directly to an employee or through a grade/position.