Payment Term
This documentation is incomplete.
Payment terms are conditions set on invoicing, usually specified by the seller to the buyer. Payment terms are imposed to ensure that suppliers receive payments within a reasonable period. Discount terms may be allowed in order to accelerate cash collections. Payment terms are mandatory fields on AP & AR Invoice; thus, you must create a payment term before creating an invoice.
Header - payment term
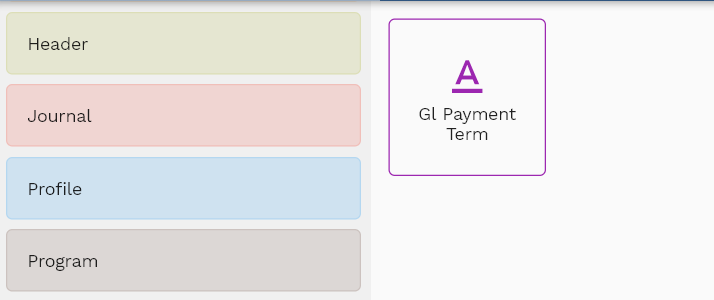
To create/view/update a payment term, navigate to the "payment term" screen from your dashboard/favorite.
Enter the organization/payment term details or any other criteria in the search form and click on the search button to view an existing payment term.
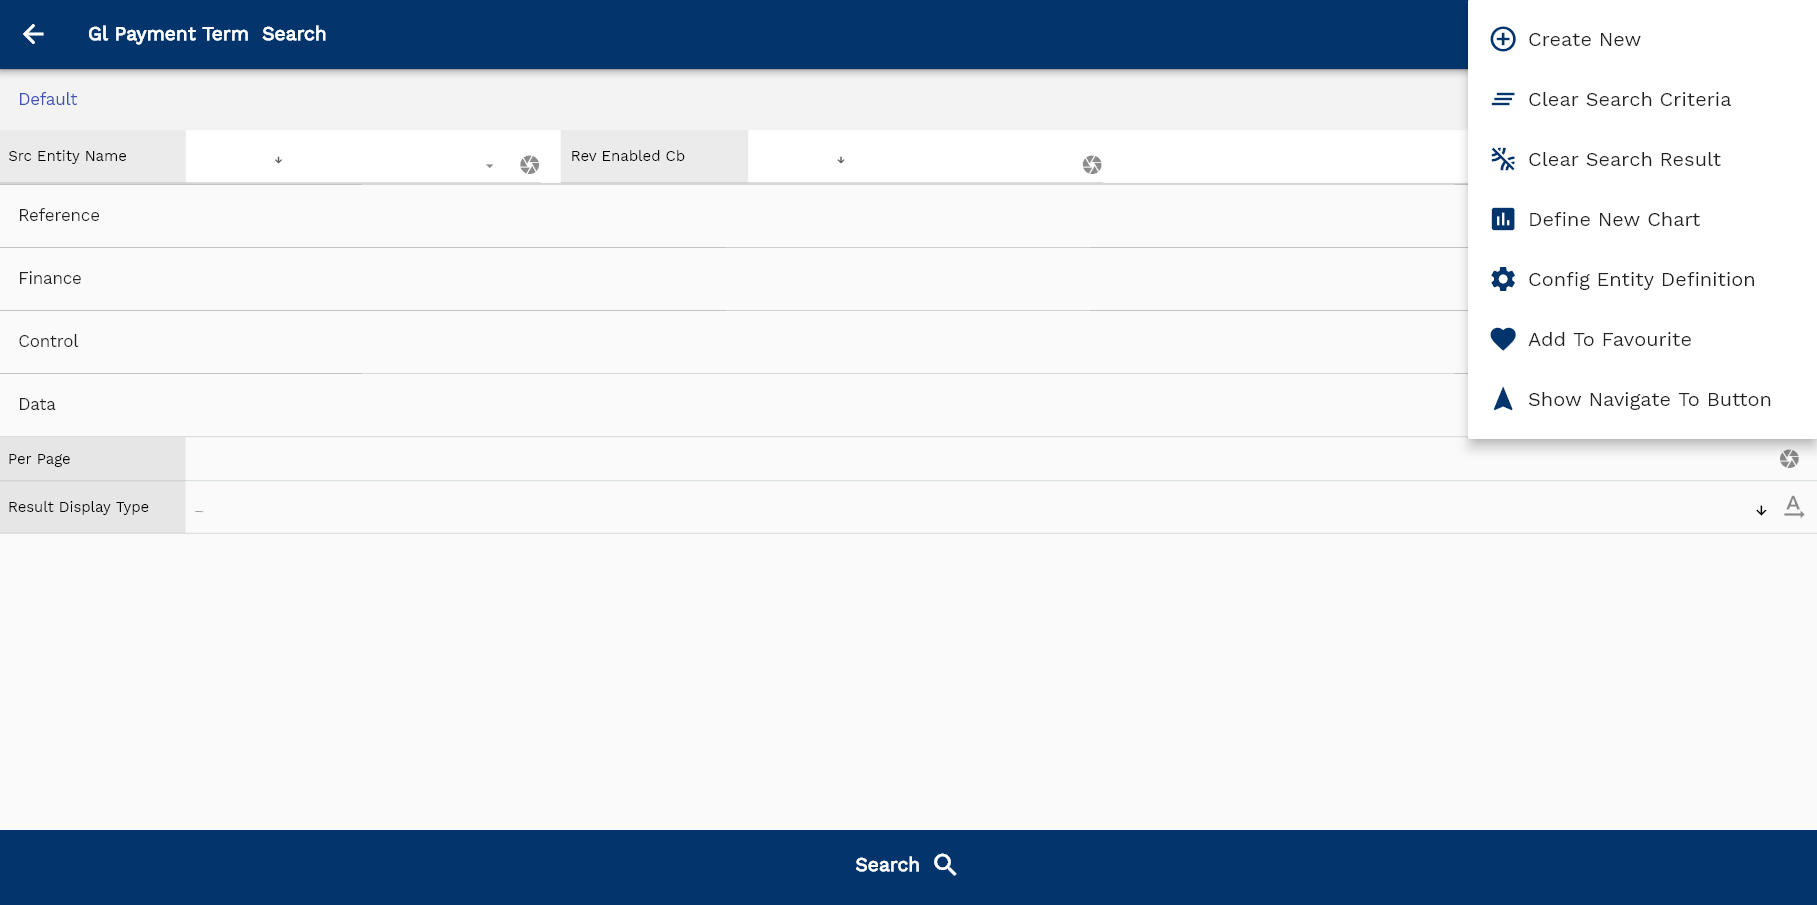
If you don't enter any search criteria, the system will show you all the payment terms. If your organization has configured to make any field mandatory for search, then you have to enter those fields to search payment terms.
The application will fetch all the server data and take you to the search result screen. The search result screen looks a bit different on desktop and mobile devices.
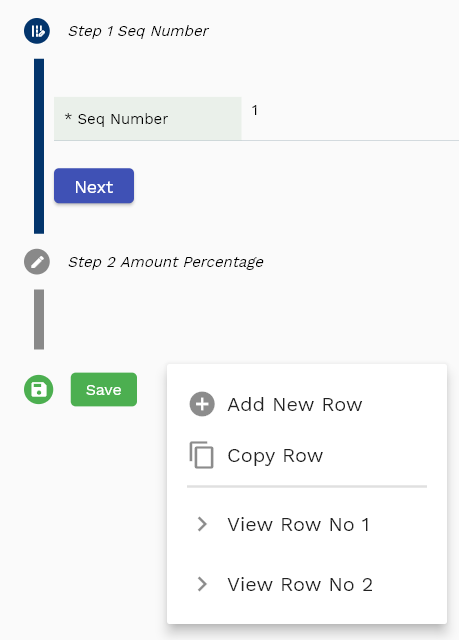
If you click on the create new button, the system will open a simple step form to create a new payment term. You can click on the detail right bottom to view all the fields available for the object.

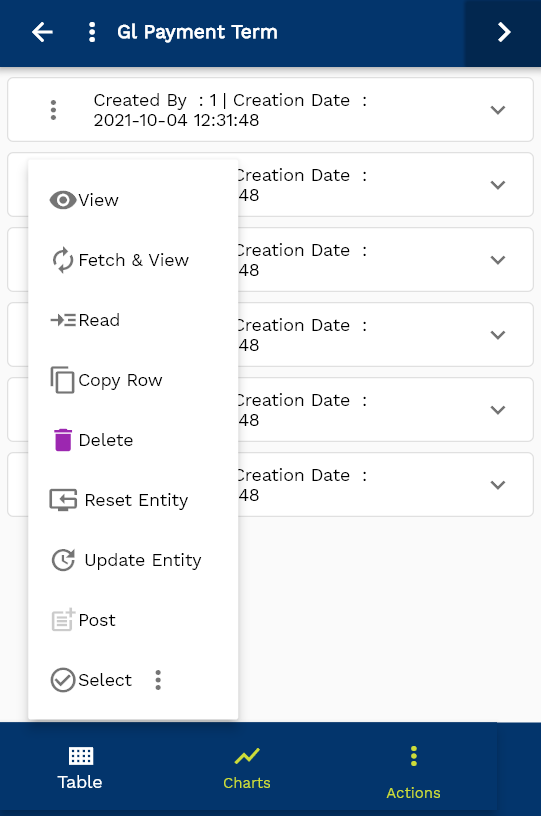
To view the search result in a table format, click on the table icon in the bottom left corner.
To view specific payment term details, click on the menu of that record, and click on view/fetch & view.
You can also click on the expand icon against any item on the search result screen to view the payment term header details, such as payment term name, description, etc.
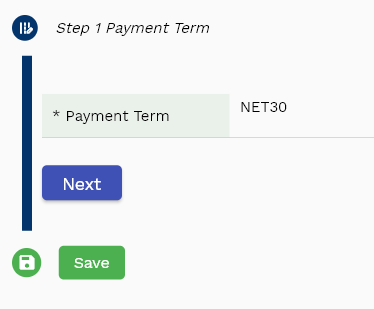
Payment Term: Enter a unique name for the payment term
Payment Term Description: Enter a meaningful description for the payment term

Scroll left, right, up, down to view all the details. The line details are shown in a separate tab. The default configuration shows fields in various functional groups such as
- Finance
- Entity
- Reference
- Data
- Control
- Etc
You can configure the application to show which fields should be shown under which group. You can also create new groups as per your business requirements.
All Fields
| Sequence | Name | Label | InputType | Field Group |
|---|---|---|---|---|
| 10 | glPaymentTermHeaderId | Gl payment term Header Id | deferredSelect | REFERENCE |
| 10 | srcEntityName | Src Entity Name | deferredSelect | DEFAULT |
| 20 | srcEntityId | Src Entity Id | InputType.text | REFERENCE |
| 30 | paymentTermName | payment term Name | InputType.textField | DEFAULT |
| 40 | paymentTermType | payment term Type | InputType.select | CONTROL |
| 50 | description | Description | InputType.textField | DEFAULT |
| 100 | docStatus | Doc Status | InputType.select | CONTROL |
| 5060 | createdBy | Created By | InputType.text | REFERENCE |
| 5070 | creationDate | Creation Date | InputType.text | REFERENCE |
| 5080 | lastUpdatedBy | Last Updated By | InputType.text | REFERENCE |
| 5090 | lastUpdateDate | Last Update Date | InputType.text | REFERENCE |
Lines - Payment Term Schedule
You can add multiple schedule lines to each payment term header. Each line represents a specific date and amount that the customer needs to pay. You must define at least one schedule line for each payment term schedule, and the sum of all schedule lines must be 100%. For one time, 100% payment, you can add a single schedule with the same.
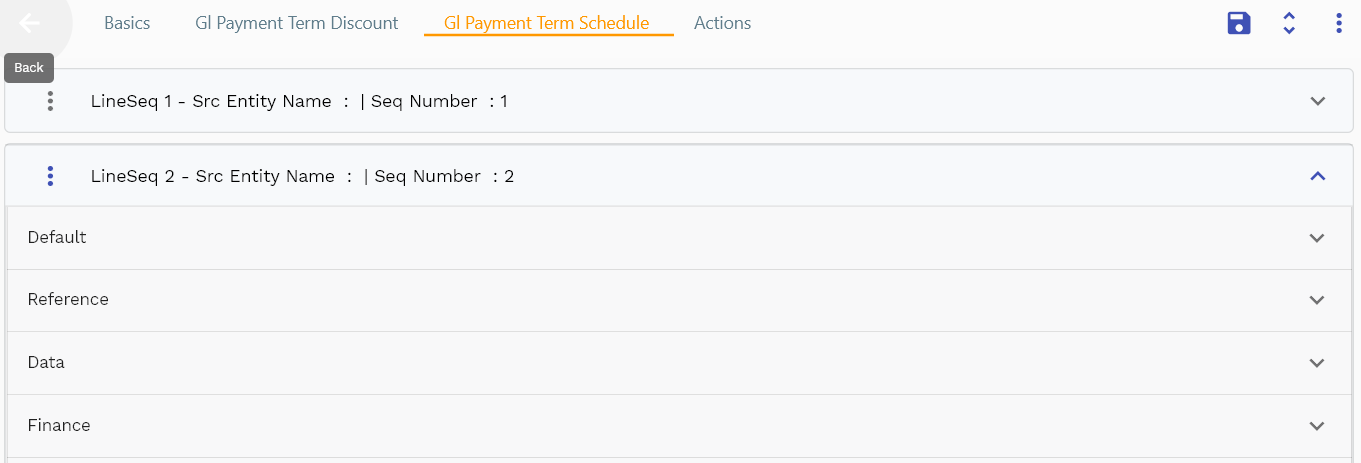
Navigate to the schedule lines tab to view/add/update schedule lines.
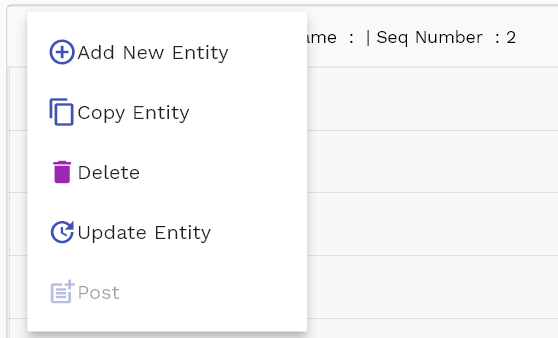
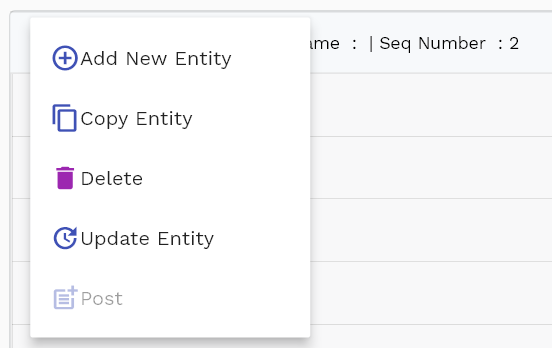
Click on the add new entity to add a new line. If a line already exists, click on copy entity to copy all the details.
You can enable/disable fields allowed to be copied in the menu configuration.
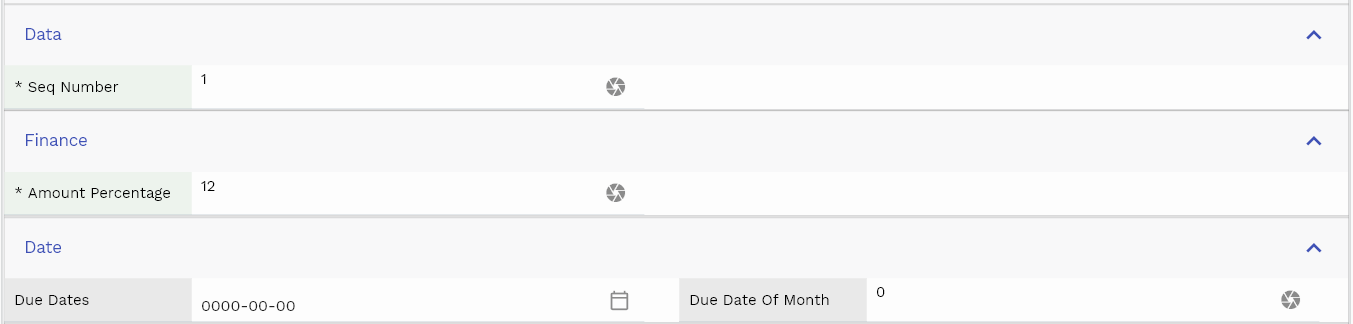
A payment schedule due date can be specified in 2 different ways
- Due Days No of days from payment term days that the customer needs to make the payment to avail the schedule
- Due Dates Specific dates before which the customer needs to make the payment to avail the schedule
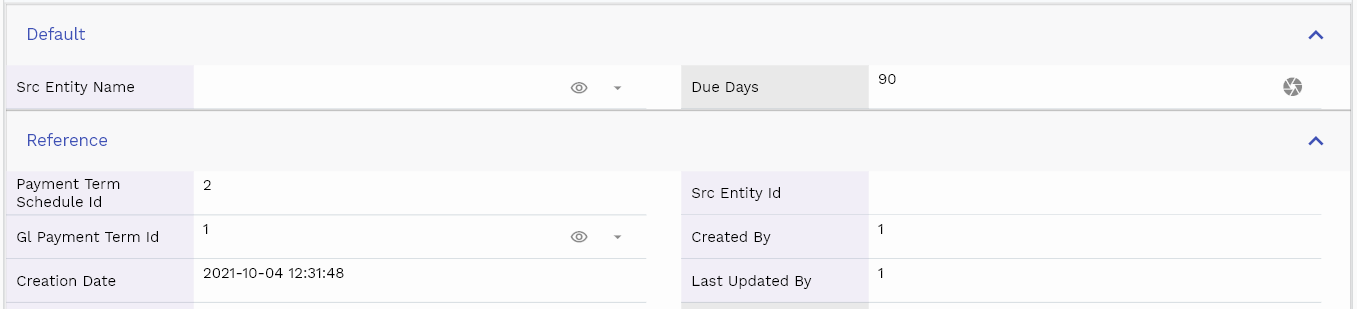
Amount Percentage: Percentage of total invoice amount the customer needs to pay before the due date.
The reference groups show various ids for reference only. You don't need to enter any information in this section. When you save a payment term for the first time, the system will auto-populate the newly created header id and line ids.
Scroll left, right, up, and down view all other fields.
Enter all the other fields and click on the save button to save the payment term. The app will post all the data to the server and will show the messages returned from the server.
All Fields
| Sequence | Name | Label | InputType | Field Group |
|---|---|---|---|---|
| 10 | paymentTermDiscountId | Payment Term Discount Id | InputType.text | REFERENCE |
| 10 | srcEntityName | Src Entity Name | deferredSelect | DEFAULT |
| 20 | srcEntityId | Src Entity Id | InputType.text | REFERENCE |
| 30 | glPaymentTermId | Gl Payment Term Id | deferredSelect | REFERENCE |
| 40 | seqNumber | Seq Number | InputType.number | DATA |
| 50 | discountPercentage | Discount Percentage | deferredSelect | FINANCE |
| 60 | dueDays | Due Days | InputType.number | DEFAULT |
| 70 | dueDates | Due Dates | InputType.date | DATE |
| 80 | dueDateOfMonth | Due Date Of Month | InputType.number | DATE |
| 5090 | createdBy | Created By | InputType.text | REFERENCE |
| 5100 | creationDate | Creation Date | InputType.text | REFERENCE |
| 5110 | lastUpdatedBy | Last Updated By | InputType.text | REFERENCE |
| 5120 | lastUpdateDate | Last Update Date | InputType.text | REFERENCE |
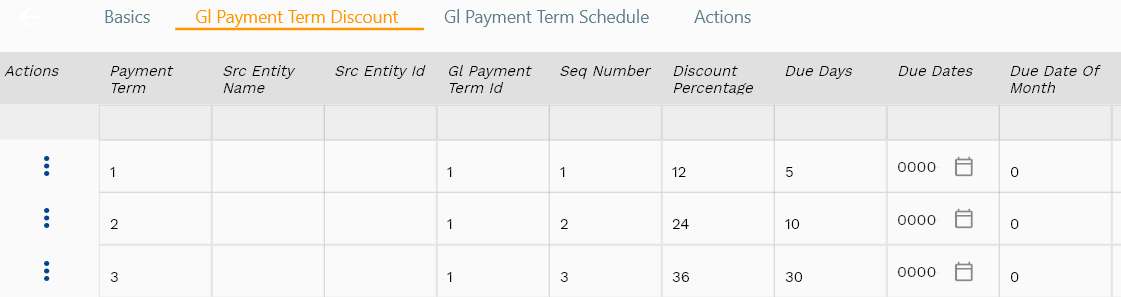
Lines - Payment Term Discount
You can add multiple discount lines to each payment term header. Each line represents a specific discount given to a customer if the customer fulfills certain conditions. Discount lines are not mandatory.
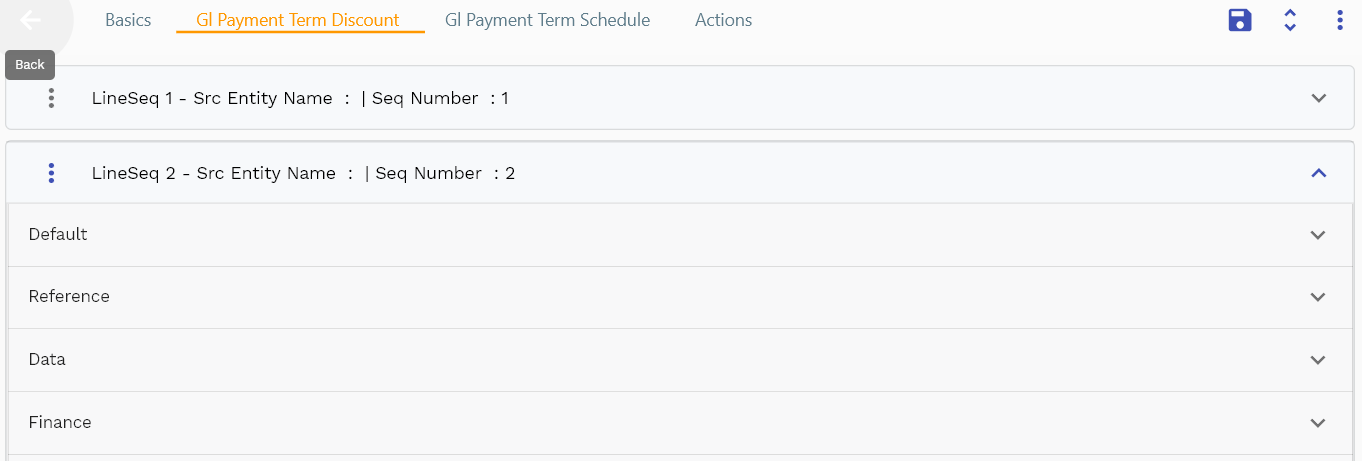
Navigate to the discount lines tab to view/add/update discount lines.
Click on the add new entity to add a new line. If a line already exists, click on copy entity to copy all the details.
You can enable/disable fields allowed to be copied in the menu configuration.
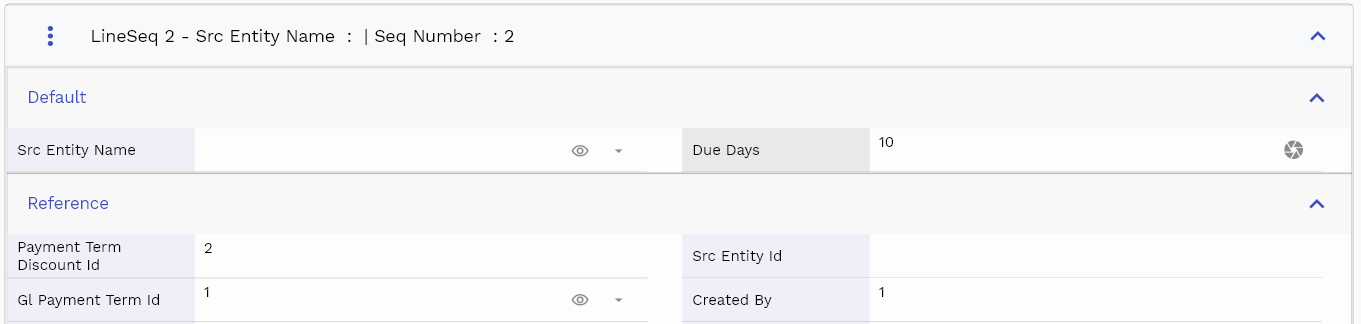
The due date for a discount on an invoice can be provided in 2 different ways
- Due Days No of days from payment term days that the customer needs to make the payment to avail of the discount
- Due Dates Specific dates before which the customer needs to make the payment to avail of the discount
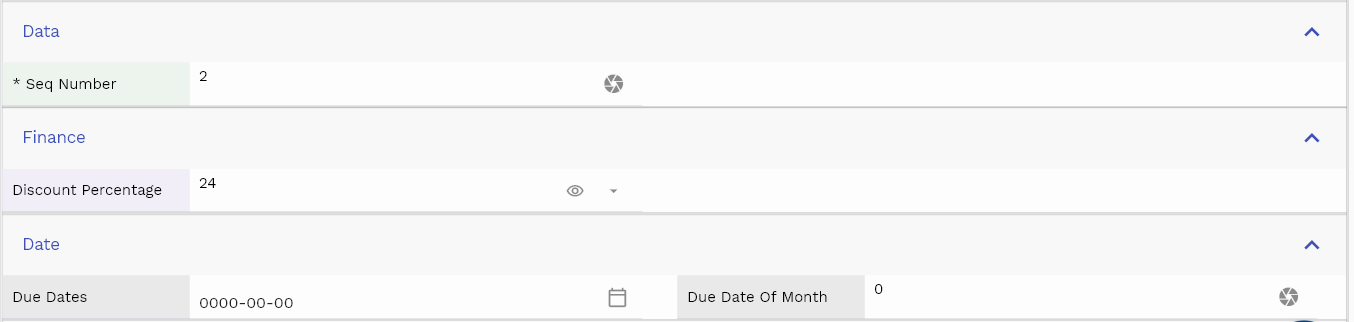
Discount Percentage: Percentage of discount the customer can take if the payments are made within the allowed discount period.
The reference groups show various ids for reference only. You don't need to enter any information in this section. When you save a payment term for the first time, the system will auto-populate the newly created header id and line ids.
Scroll left, right, up, and down view all other fields.
Enter all the other fields and click on the save button to save the payment term. The app will post all the data to the server and will show the messages returned from the server.
All Fields
| Sequence | Name | Label | InputType | Field Group |
|---|---|---|---|---|
| 10 | paymentTermScheduleId | Payment Term Schedule Id | InputType.text | REFERENCE |
| 10 | srcEntityName | Src Entity Name | deferredSelect | DEFAULT |
| 20 | srcEntityId | Src Entity Id | InputType.text | REFERENCE |
| 30 | glPaymentTermId | Gl Payment Term Id | deferredSelect | REFERENCE |
| 40 | seqNumber | Seq Number | InputType.number | DATA |
| 50 | amountPercentage | Amount Percentage | InputType.textField | FINANCE |
| 60 | dueDays | Due Days | InputType.number | DEFAULT |
| 70 | dueDates | Due Dates | InputType.date | DATE |
| 80 | dueDateOfMonth | Due Date Of Month | InputType.number | DATE |
| 5090 | createdBy | Created By | InputType.text | REFERENCE |
| 5100 | creationDate | Creation Date | InputType.text | REFERENCE |
| 5110 | lastUpdatedBy | Last Updated By | InputType.text | REFERENCE |
| 5120 | lastUpdateDate | Last Update Date | InputType.text | REFERENCE |