Calendar
This documentation is incomplete.
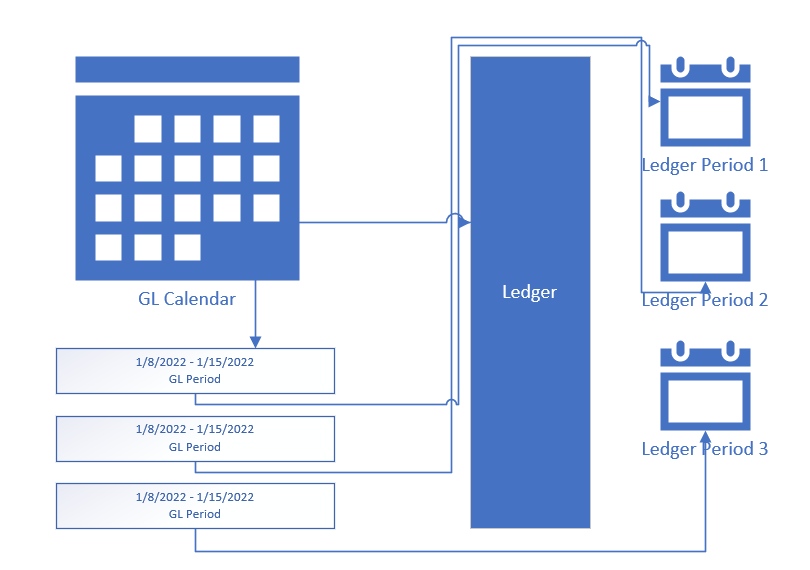
You must create a calendar and corresponding account periods before using the application for any financial purpose. A GL calendar contains all possible accounting periods for a given duration of time. You can define multiple calendars and assign a different calendar to each ledger.
- Define calendar
- Define the calendar periods. Each GL Calendar has several periods
- Assign calendar to a ledger
- All calendar periods are available as Ledger GL period (Available period)
- Open an available period to make it an active period When you open a period. The system creates a new period for that ledger
- The latest open period is the current open period that system uses for journals You can have multiple open periods, but the system always uses the newest open period to post journals. You can manually select periods only on manual journals.
Calendar Period: A specific duration of time in a calendar. Ex: Mar-25 (01.Mar.2025 to 31.Mar.2025)
Available Periods: Calendar periods that are available for a ledger i.e. List of all defined calendar periods. You can open/close a period from the available period.
Active Periods: All Ledger periods, i.e., All calendar periods assigned to a ledger or ever opened for a ledger Current Open Period/Latest Open Period: A ledger's current active open period. The system creates all the journals in this period.
Header - Calendar
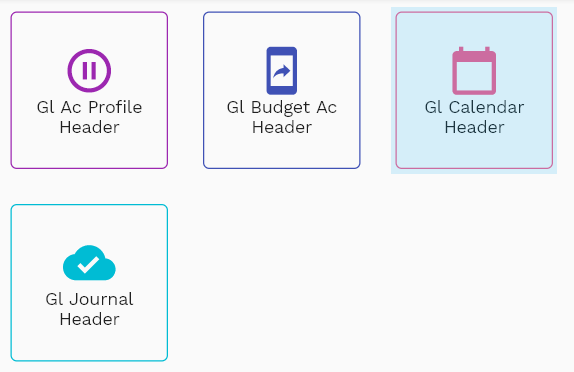
To create/view/update a calendar, navigate to the "calendar" screen from your dashboard/favorite.
Enter the organization/calendar details or any other criteria in the search form and click on the search button to view an existing calendar.
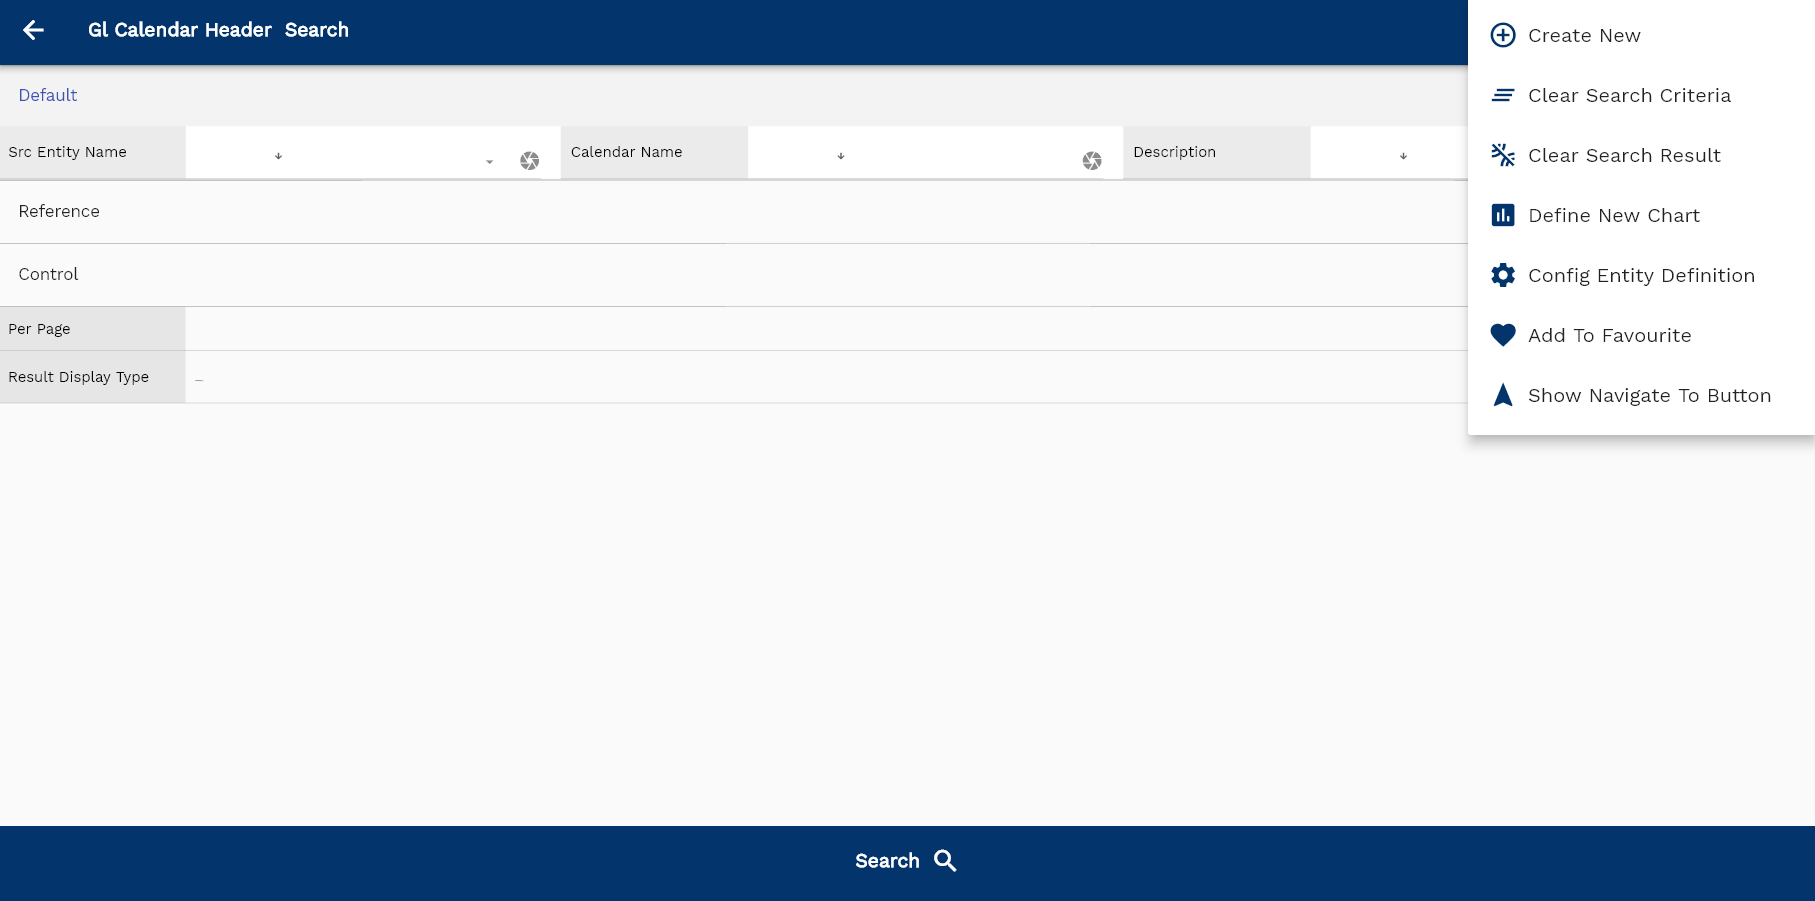
If you don't enter organization details, the system will show you all the calendars. If your organization has configured to make any field mandatory for search, then you have to enter those fields to search calendars.
The application will fetch all the server data and take you to the search result screen. The search result screen looks a bit different on desktop and mobile devices.
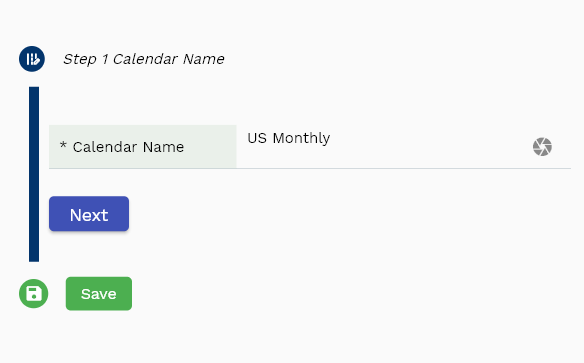
If you click on the create new button, the system will open a simple step form to create a new calendar. You can click on the detail right bottom to view all the fields available for the object.
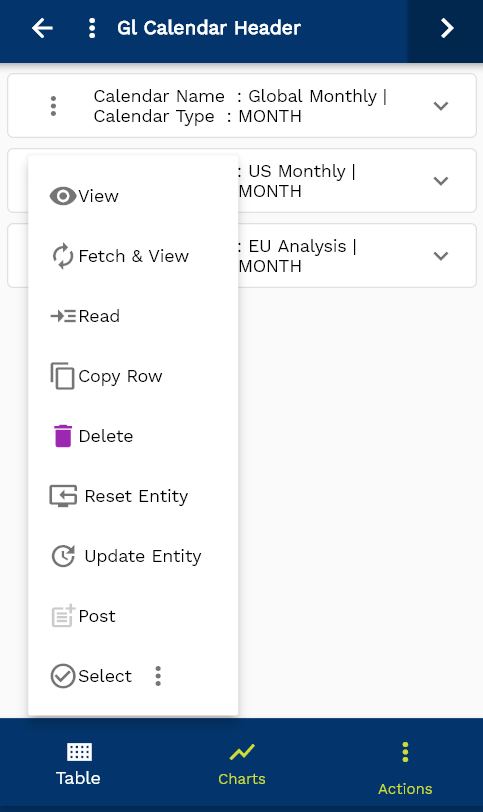
To view the search result in a table format, click on the table icon in the bottom left corner.
To view specific calendar details, click on the menu of that record, and click on view/fetch & view.
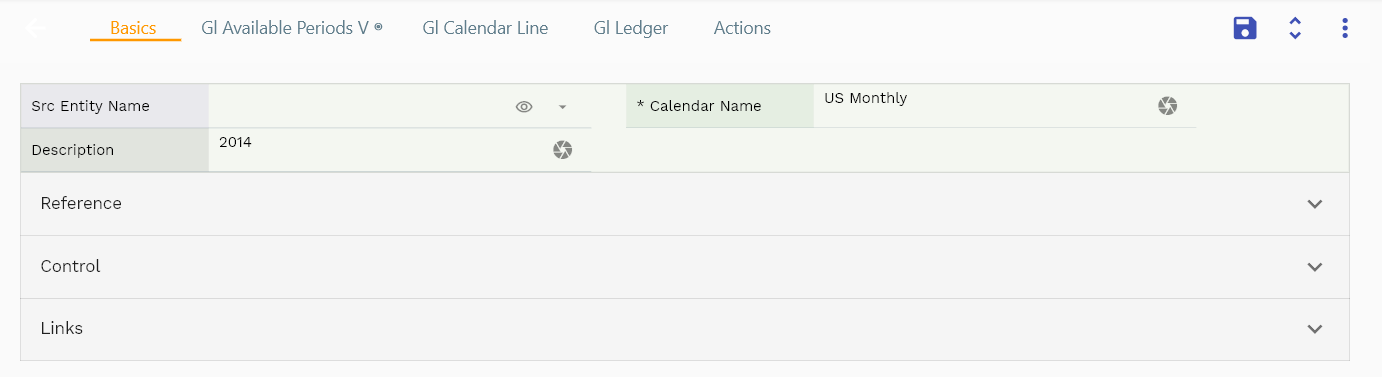
You can also click on the expand icon against any item on the search result screen to view the calendar header details, such as calendar name, description, etc.
The system will fetch all the selected document detail line data. The document details are shown either right to the search result screen or in a separate screen, depending on the device size.

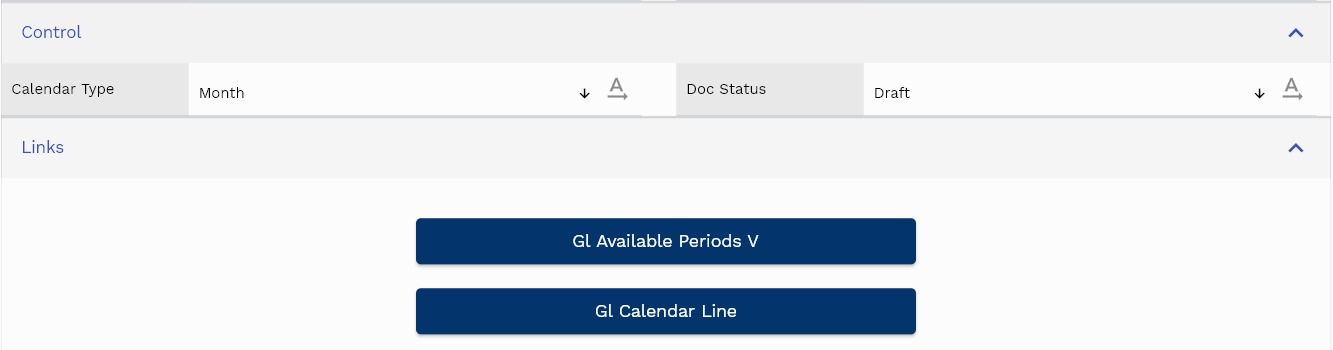
Scroll left, right, up, down to view all the details. The line details are shown in a separate tab. The default configuration shows fields in various functional groups such as
- Finance
- Entity
- Reference
- Data
- Control
- Etc
You can configure the application to show which fields should be shown under which group. You can also create new groups as per your business requirements.
All Fields
| Sequence | Name | Label | InputType | Field Group |
|---|---|---|---|---|
| 10 | glCalendarHeaderId | Gl Calendar Header Id | deferredSelect | REFERENCE |
| 10 | srcEntityName | Src Entity Name | deferredSelect | DEFAULT |
| 20 | srcEntityId | Src Entity Id | InputType.text | REFERENCE |
| 30 | calendarName | Calendar Name | InputType.textField | DEFAULT |
| 40 | calendarType | Calendar Type | InputType.select | CONTROL |
| 50 | description | Description | InputType.textField | DEFAULT |
| 100 | docStatus | Doc Status | InputType.select | CONTROL |
| 5060 | createdBy | Created By | InputType.text | REFERENCE |
| 5070 | creationDate | Creation Date | InputType.text | REFERENCE |
| 5080 | lastUpdatedBy | Last Updated By | InputType.text | REFERENCE |
| 5090 | lastUpdateDate | Last Update Date | InputType.text | REFERENCE |
Lines - Periods
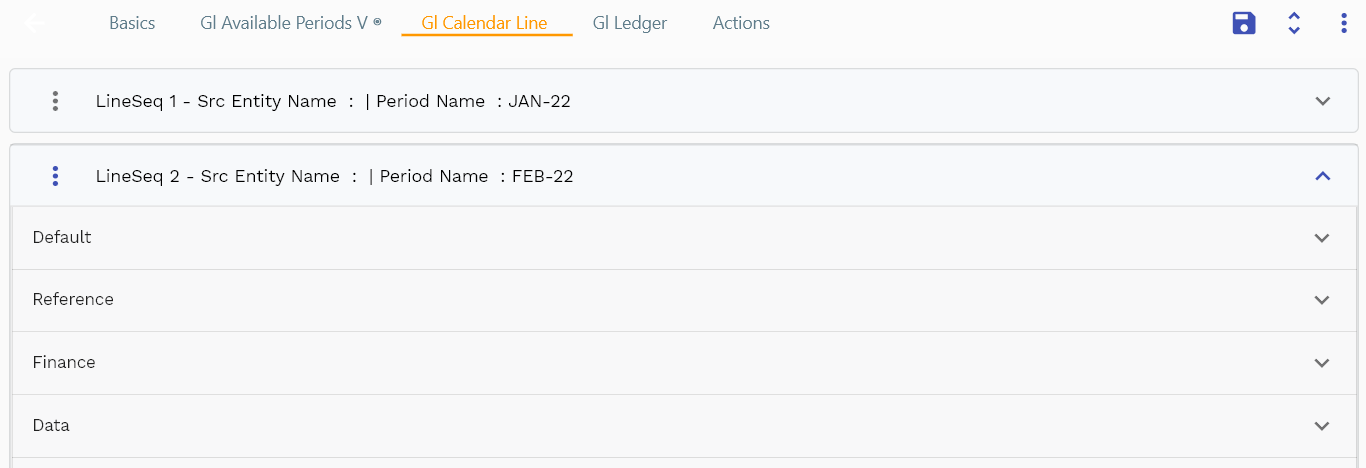
You can add multiple lines to each calendar header. Each line represents a specific period of the calendar and contains the start date, end date, name, etc.
Navigate to the lines tab to view/add/update lines.
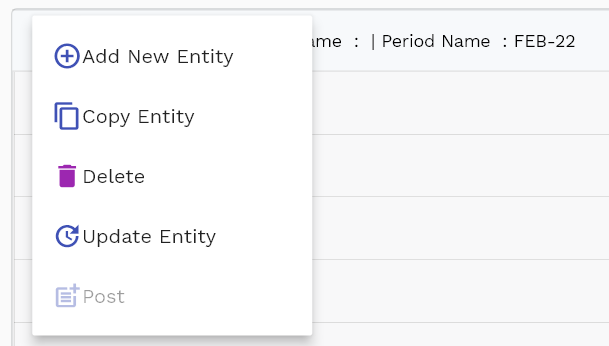
Click on the add new entity to add a new line. If a line already exists, click on copy entity to copy all the details.
You can enable/disable fields allowed to be copied in the menu configuration.
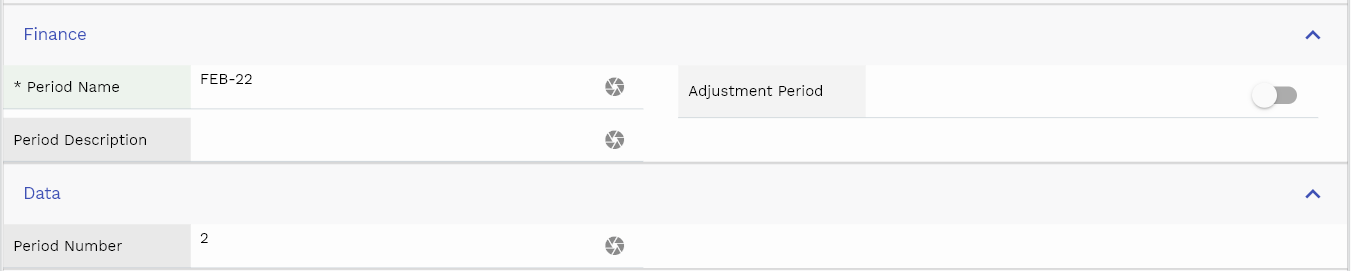
Period Name: Give a name to the period. The standard practice is to enter MON-YY as the name for monthly calendar periods.
Period Name: Give a period number. For monthly, period 1-12 represents each month of a calendar year starting from Jan to Dec. Ex: 1 - Jan, 2 - Feb, 12 - Dec.
You can use any number greater than 12 to represent any adjustment period.
Start Date: Start date of the period.
End Date: End date of the period.
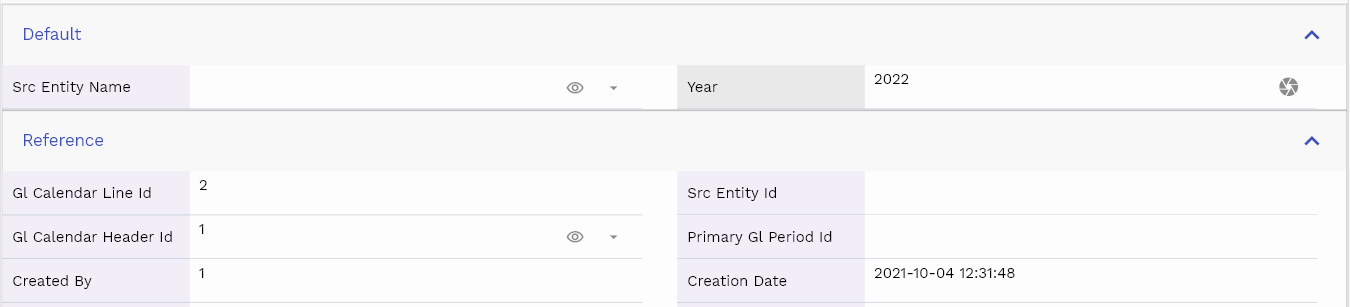
The reference groups show various ids for reference only. You don't need to enter any information in this section. When you save a calendar for the first time, the system will auto-populate the newly created header id and line ids.
Scroll left, right, up, and down view all other fields.

Enter all the other fields and click on the save button to save the calendar. The app will post all the data to the server and will show the messages returned from the server.
All Fields
| Sequence | Name | Label | InputType | Field Group |
|---|---|---|---|---|
| 10 | glCalendarLineId | Gl Calendar Line Id | InputType.text | REFERENCE |
| 10 | srcEntityName | Src Entity Name | deferredSelect | DEFAULT |
| 20 | srcEntityId | Src Entity Id | InputType.text | REFERENCE |
| 30 | glCalendarHeaderId | Gl Calendar Header Id | deferredSelect | REFERENCE |
| 40 | periodName | Period Name | InputType.textField | FINANCE |
| 50 | periodNumber | Period Number | InputType.textField | DATA |
| 60 | year | Year | InputType.number | DEFAULT |
| 70 | startDate | Start Date | InputType.date | DATE |
| 80 | endDate | End Date | InputType.date | DATE |
| 90 | primaryGlPeriodId | Primary Gl Period Id | InputType.text | REFERENCE |
| 100 | adjustmentPeriod | Adjustment Period | InputType.checkBox | FINANCE |
| 150 | docStatus | Doc Status | InputType.select | CONTROL |
| 160 | periodDescription | Period Description | InputType.textField | FINANCE |
| 5110 | createdBy | Created By | InputType.text | REFERENCE |
| 5120 | creationDate | Creation Date | InputType.text | REFERENCE |
| 5130 | lastUpdatedBy | Last Updated By | InputType.text | REFERENCE |
| 5140 | lastUpdateDate | Last Update Date | InputType.text | REFERENCE |
Available Periods
Available periods are the list of defined periods available for a ledger. You can open a period from the available periods to make it active and available for a journal entry.
Navigate to the "available period" screen from your dashboard/favorite to view an available period.
Enter the organization/available period details or any other criteria in the search form and click on the search button to view an existing available period.

If you don't enter organization details, the system will show you all the available periods. If your organization has configured to make any field mandatory for search, then you have to enter those fields to search available periods.
The application will fetch all the server data and take you to the search result screen. The search result screen looks a bit different on desktop and mobile devices.
To view the search result in a table format, click on the table icon in the bottom left corner.
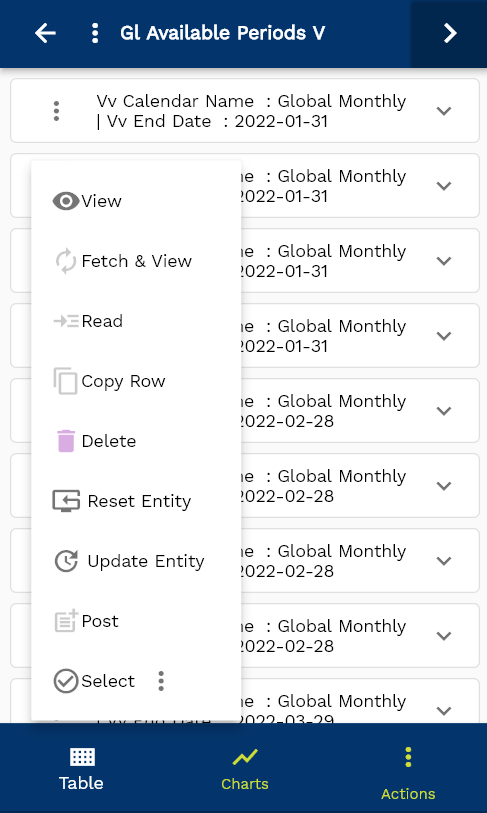
To view specific available period details, click on the menu of that record, and click on view/fetch & view.

You can also click on the expand icon against any item on the search result screen to view the available period header details, such as available period name, description, etc.
The system will fetch all the selected document detail data. The document details are shown either right to the search result screen or in a separate screen, depending on the device size.

Scroll left, right, up, down to view all the details. The line details are shown in a separate tab. The default configuration shows fields in various functional groups such as
- Finance
- Entity
- Reference
- Data
- Control
- Etc
You can configure the application to show which fields should be shown under which group. You can also create new groups as per your business requirements.
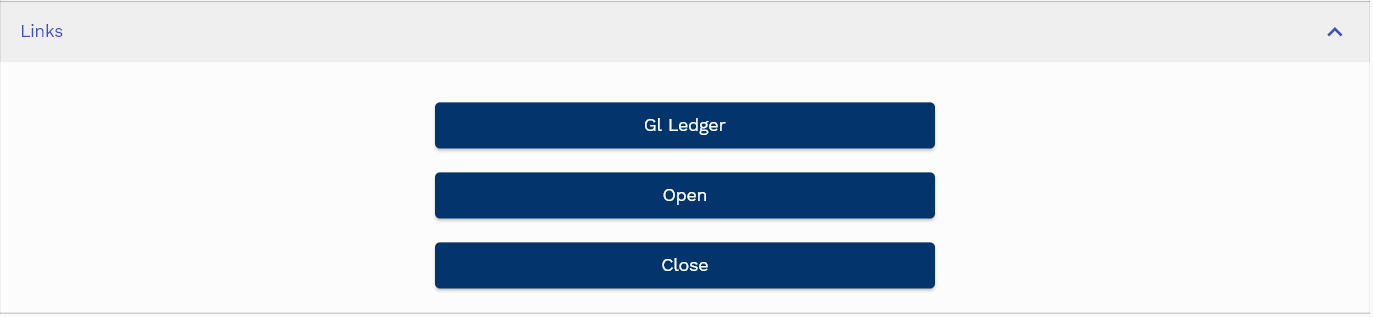
To open a period, click on the "Open Period" button. Similarly, click on the "Close Period" button to close an open period.
All Fields
| Sequence | Name | Label | InputType | Field Group |
|---|---|---|---|---|
| 10 | vvPeriodName | Period Name | InputType.text | FINANCE |
| 10 | vvStartDate | Start Date | InputType.text | DATE |
| 20 | vvEndDate | End Date | InputType.text | DATE |
| 30 | vvGlCalendarHeaderId | Gl Calendar Header Id | deferredSelect | REFERENCE |
| 40 | vvCalendarName | Calendar Name | deferredSelect | DEFAULT |
| 50 | vvLedger | Ledger | InputType.text | FINANCE |
| 60 | glLedgerId | Gl Ledger Id | InputType.text | REFERENCE |
| 70 | vvGlCalendarLineId | Gl Calendar Line Id | InputType.text | REFERENCE |
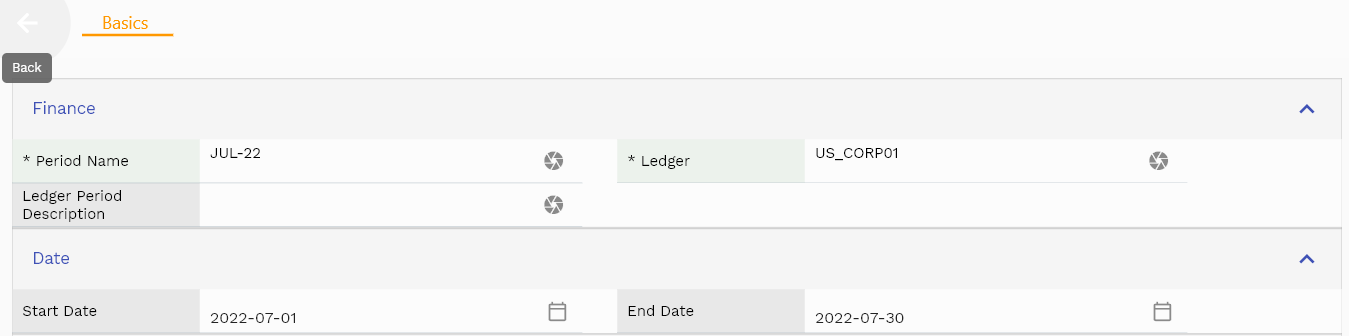
Latest Open Period
The latest open period is the most recent open period in which the system creates all journal entries.
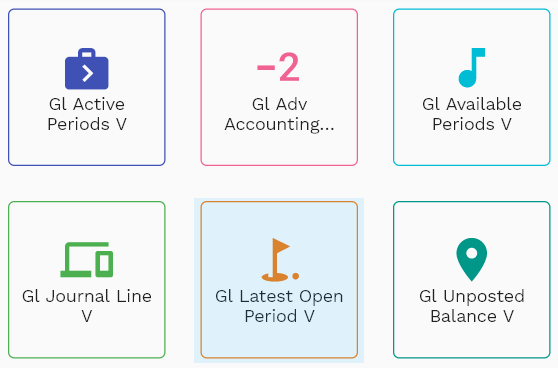
Navigate to the "Latest open period" screen from your dashboard/favorite to view the latest open period.
Enter the organization/Latest open period details or any other criteria in the search form and click on the search button to view all the latest open periods across different ledgers.
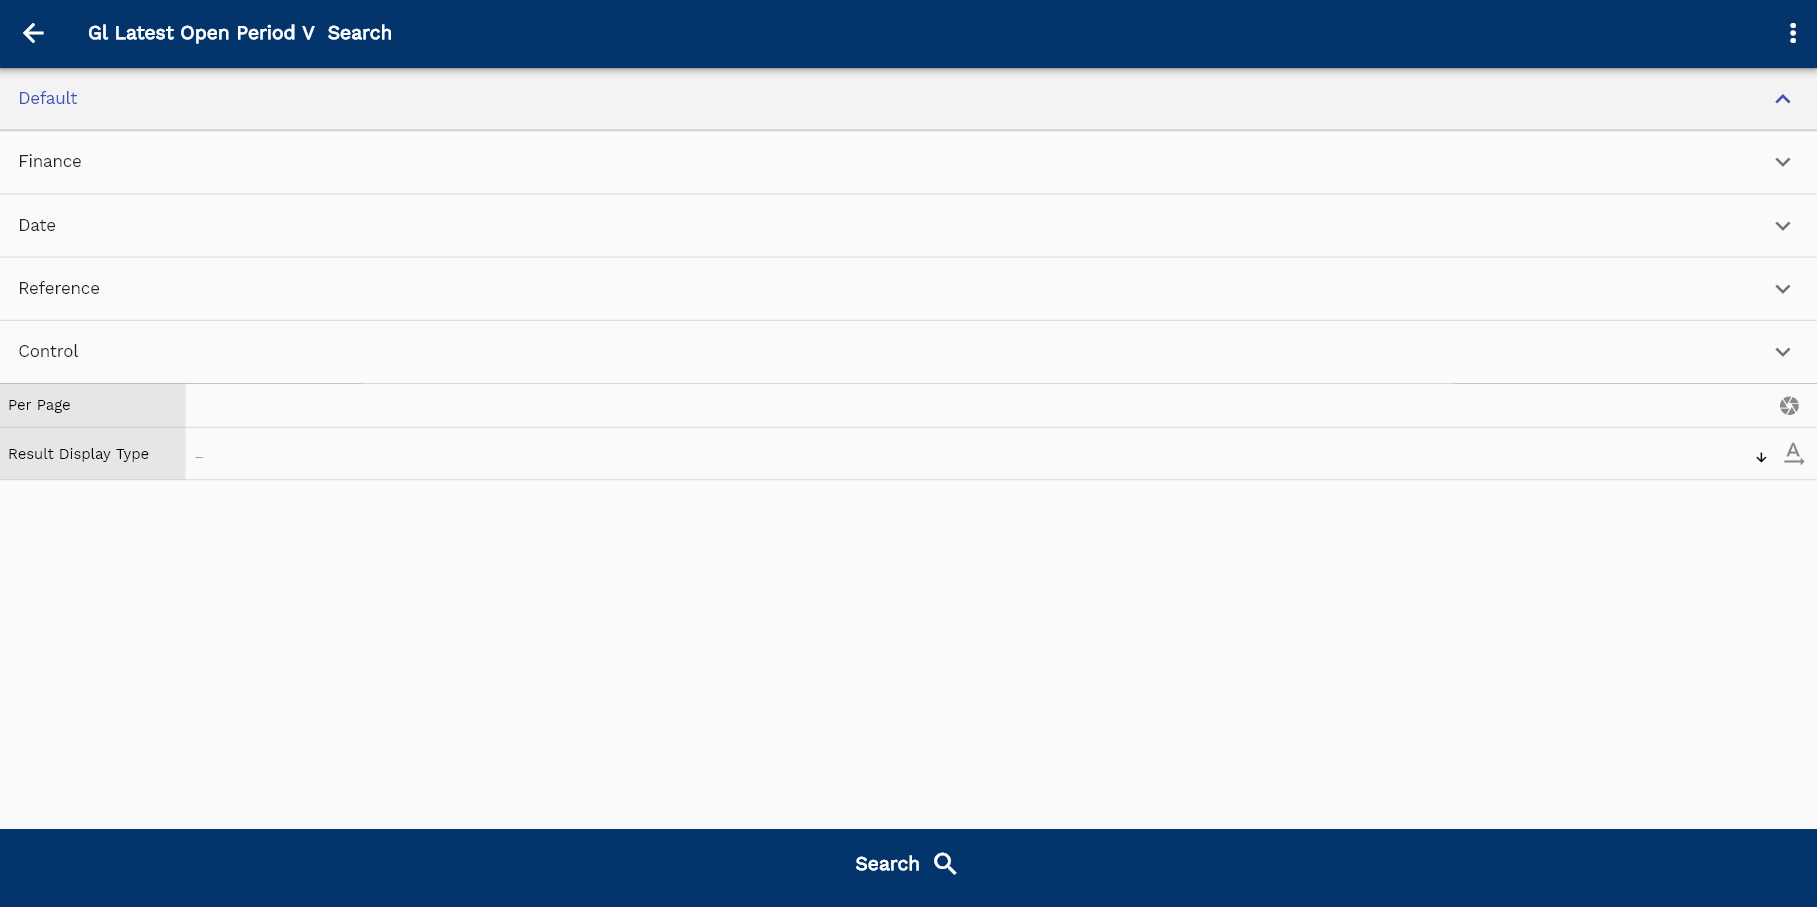
If you don't enter organization details, the system will show you all the latest open periods. If your organization has configured to make any field mandatory for search, then you have to enter those fields to search the latest open periods.
The application will fetch all the server data and take you to the search result screen. The search result screen looks a bit different on desktop and mobile devices.

To view the search result in a table format, click on the table icon in the bottom left corner.
To view a specific latest open period details, click on the menu of that record, and click on view/fetch & view.
You can also click on the expand icon against any item on the search result screen to view the latest open period header details, such as the latest open period name, description, etc.
The system will fetch all the selected document detail data. The document details are shown either right to the search result screen or in a separate screen, depending on the device size.

Scroll left, right, up, down to view all the details. The line details are shown in a separate tab. The default configuration shows fields in various functional groups such as
- Finance
- Entity
- Reference
- Data
- Control
- Etc
You can configure the application to show which fields should be shown under which group. You can also create new groups as per your business requirements.
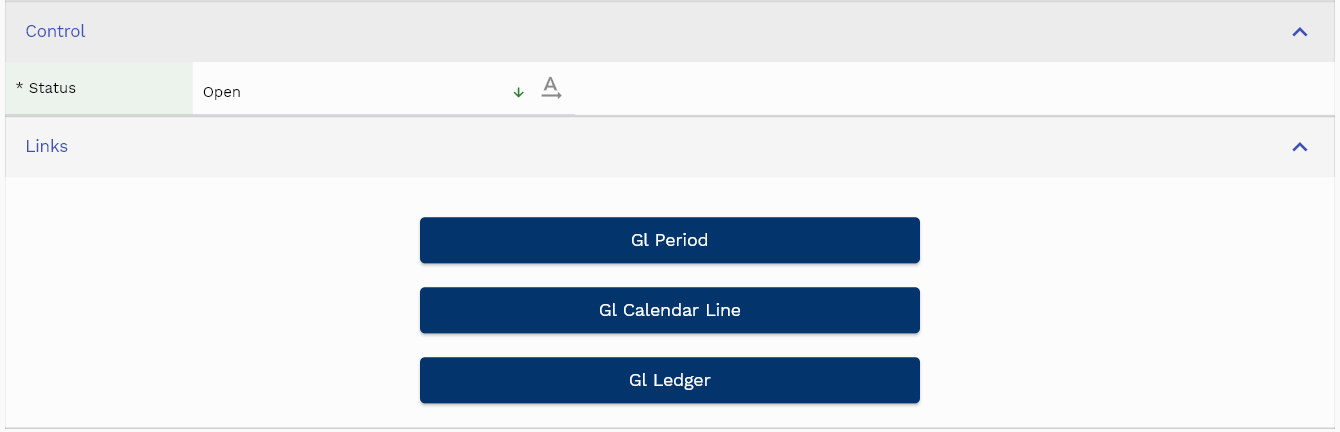
To open a period, click on the "Open Period" button. Similarly, click on the "Close Period" button to close an open period.
All Fields
| Sequence | Name | Label | InputType | Field Group |
|---|---|---|---|---|
| 10 | periodName | Period Name | InputType.textField | FINANCE |
| 10 | startDate | Start Date | InputType.date | DATE |
| 20 | endDate | End Date | InputType.date | DATE |
| 30 | ledger | Ledger | InputType.textField | FINANCE |
| 40 | glPeriodId | Gl Period Id | InputType.text | REFERENCE |
| 50 | glCalendarLineId | Gl Calendar Line Id | InputType.text | REFERENCE |
| 60 | glLedgerId | Gl Ledger Id | InputType.text | REFERENCE |
| 70 | ledgerPeriodDescription | Ledger Period Description | InputType.textField | FINANCE |
| 80 | status | Status | InputType.select | CONTROL |
| 5090 | createdBy | Created By | InputType.text | REFERENCE |
| 5100 | creationDate | Creation Date | InputType.text | REFERENCE |
| 5110 | lastUpdatedBy | Last Updated By | InputType.text | REFERENCE |
| 5120 | lastUpdateDate | Last Update Date | InputType.text | REFERENCE |