Journal
This documentation is incomplete.
A journal entry records a business transaction (ex. PO receipt, SO shipment, AP/AR invoice, Payments, etc.) in the general ledger for a legal entity.
The structure of a journal entry contains the following elements:
Header: The header contains the ledger, period, status, creation date, post date, etc.
Lines: Each Header contains more than two lines, and each line contains an account, an amount and line type (Dr or Cr), etc
You can't update the below fields once a journal is created
- Ledger
- Period
If required, you can cancel any wrongly entered journals without posting them. Once a journal is posted, you cant update any value. You can only reverse the journal by using any of the below two buttons on the action section
-
Reverse DrCr
The reverse DrCr process creates a reversing journal by reversing the dr and cr accounts on the original journal. -
Reverse Sign
The reverse sign process creates a reversing journal by reversing the amount on the original journal.
You can review all the journals created by the system on the journal screen. You can also manually create journals on the same screen.
Header
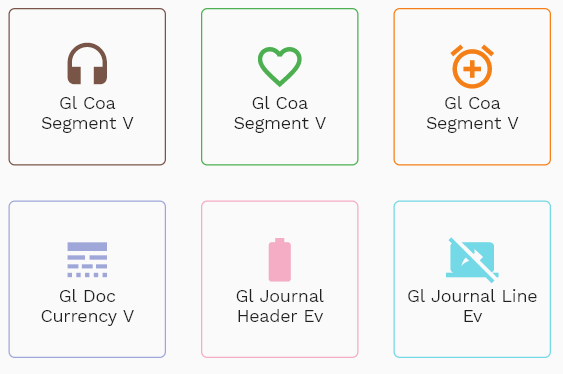
To create/view/update a journal, navigate to the "journal" screen from your dashboard/favorite.
Enter the organization/journal details or any other criteria in the search form and click on the search button to view an existing journal.
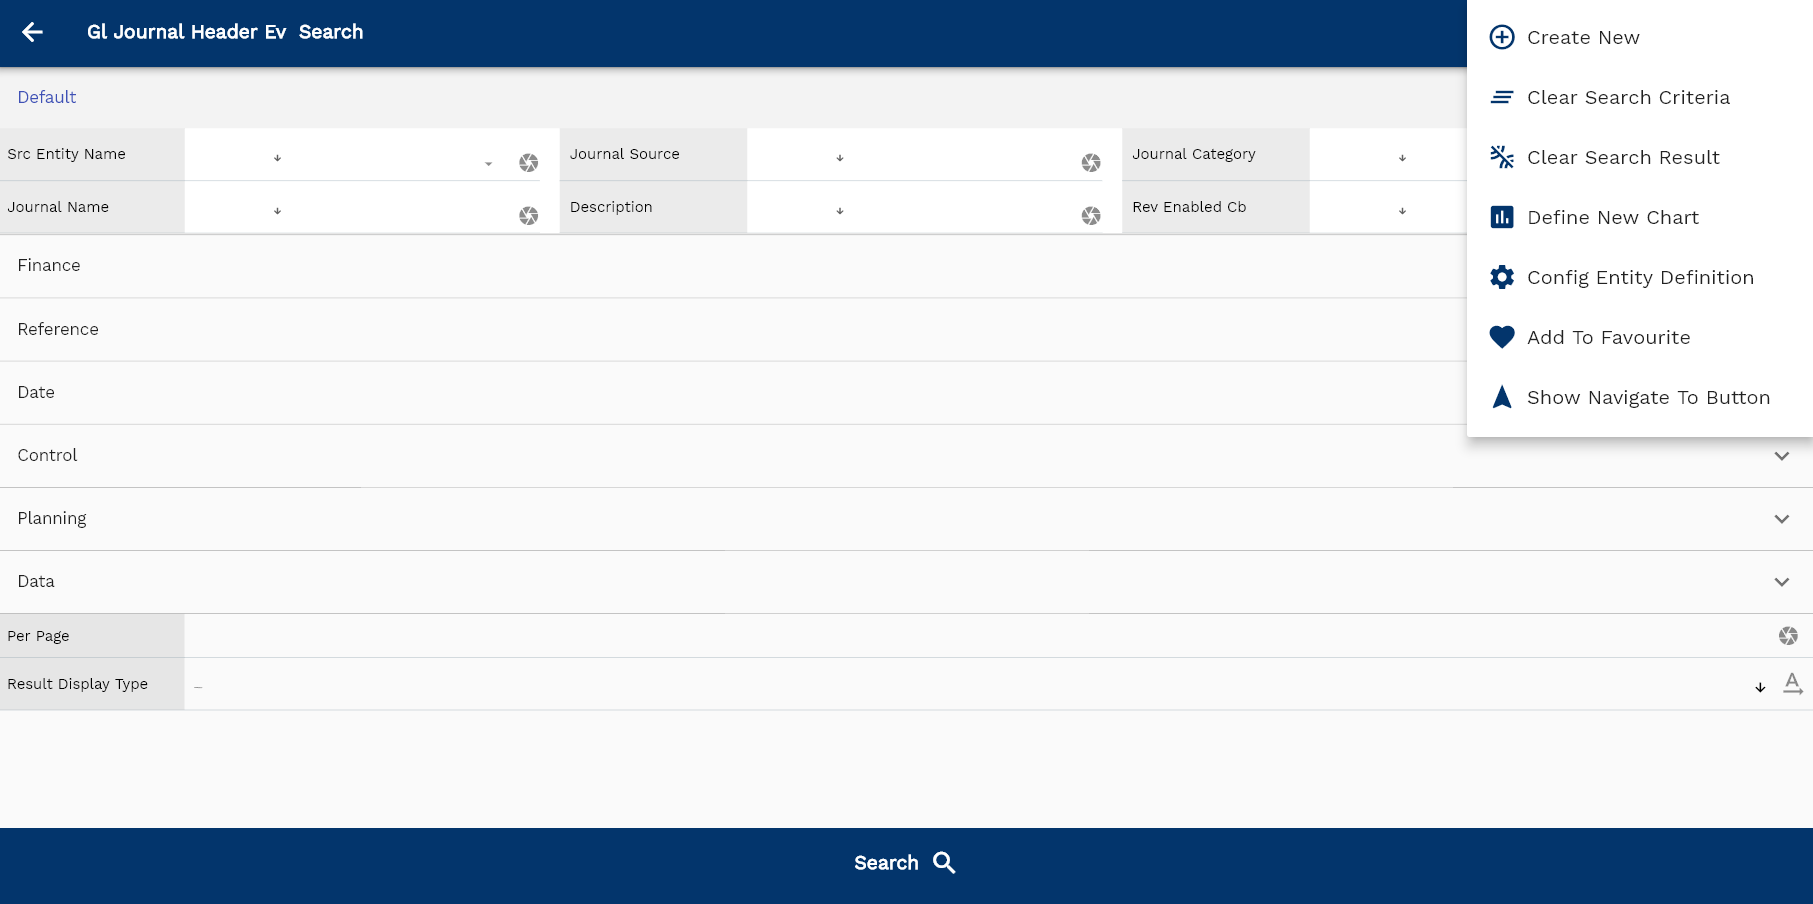
If you don't enter any search criteria, the system will show you all the journals. If your organization has configured to make any field mandatory for search, then you have to enter those fields to search journals.
The application will fetch all the server data and take you to the search result screen. The search result screen looks a bit different on desktop and mobile devices.
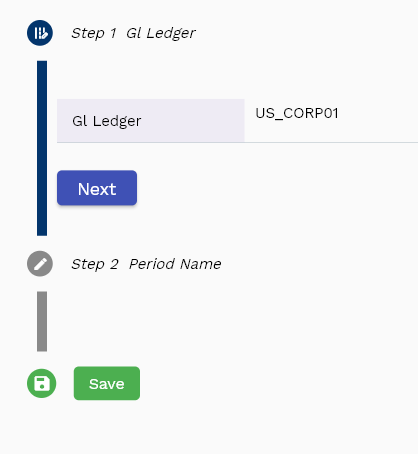
If you click on the create new button, the system will open a simple step form to create a new journal. You can click on the detail right bottom to view all the fields available for the object.

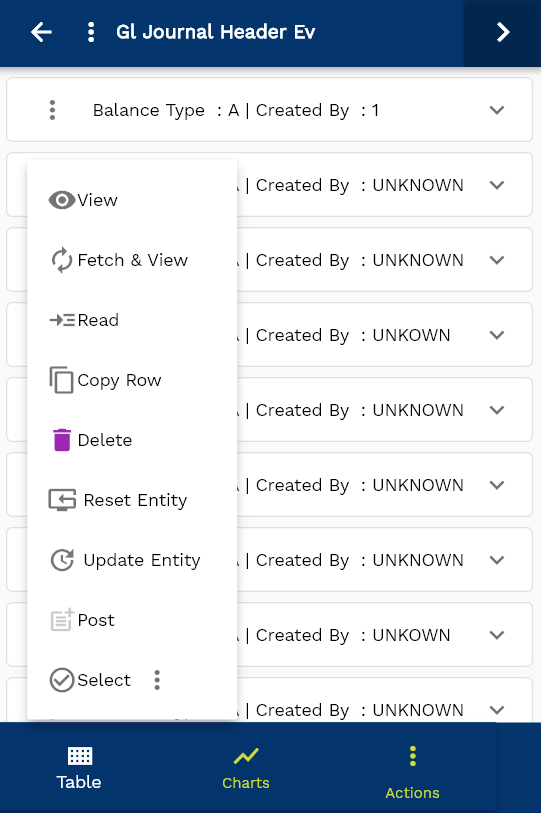
To view the search result in a table format, click on the table icon in the bottom left corner.
To view specific journal details, click on the menu of that record, and click on view/fetch & view.
You can also click on the expand icon against any item on the search result screen to view the journal header details, such as journal name, description, etc.
journal: Enter a unique name for the journal
journal Description: Enter a meaningful description for the journal

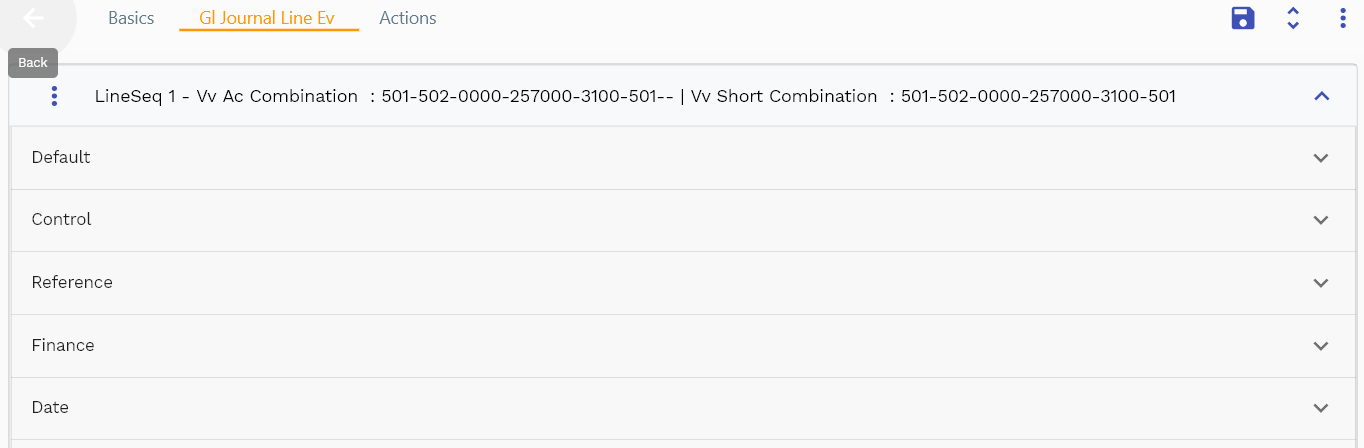
Scroll left, right, up, down to view all the details. The line details are shown in a separate tab. The default configuration shows fields in various functional groups such as
- Finance
- Entity
- Reference
- Data
- Control
- Etc

You can configure the application to show which fields should be shown under which group. You can also create new groups as per your business requirements.

The system populates all the date fields except the exchange date for manual journals. You can only review them on the date section.

The doc status field shows the status of the journal and can be any of the below
- Draft
- Confirmed
- On Hold
- Complete
- Pending Close
- Closed
- Cancelled
- Posted
All Fields
| Sequence | Name | Label | InputType | Field Group |
|---|---|---|---|---|
| 10 | glJournalHeaderId | Gl Journal Header Id | InputType.text | REFERENCE |
| 10 | srcEntityName | Src Entity Name | defferedSelect | DEFAULT |
| 20 | srcEntityId | Src Entity Id | InputType.text | REFERENCE |
| 30 | glLedgerId | Gl Ledger Id | defferedSelect | REFERENCE |
| 40 | documentDate | Document Date | InputType.dateTime | DATE |
| 50 | glPeriodId | Gl Period Id | defferedSelect | REFERENCE |
| 60 | journalSource | Journal Source | InputType.textField | DEFAULT |
| 70 | journalCategory | Journal Category | InputType.textField | DEFAULT |
| 80 | journalName | Journal Name | InputType.textField | DEFAULT |
| 90 | description | Description | InputType.textField | DEFAULT |
| 100 | balanceType | Balance Type | InputType.select | CONTROL |
| 110 | postDate | Post Date | InputType.dateTime | DATE |
| 120 | headerAmount | Header Amount | InputType.textField | FINANCE |
| 130 | docCurrency | Doc Currency | defferedSelect | FINANCE |
| 140 | exchangeType | Exchange Type | InputType.textField | CONTROL |
| 150 | exchangeDate | Exchange Date | InputType.dateTime | DATE |
| 160 | exchangeRate | Exchange Rate | InputType.textField | FINANCE |
| 170 | controlTotal | Control Total | InputType.dateTime | PLANNING |
| 180 | referenceType | Reference Type | InputType.textField | CONTROL |
| 190 | referenceKeyName | Reference Key Name | InputType.text | REFERENCE |
| 200 | referenceKeyValue | Reference Key Value | InputType.text | REFERENCE |
| 210 | status | Status | InputType.textField | CONTROL |
| 220 | revEnabledCb | Rev Enabled Cb | InputType.switchField | DEFAULT |
| 230 | revNumber | Rev Number | InputType.number | DATA |
| 280 | docStatus | Doc Status | InputType.text | CONTROL |
| 290 | docStatus | Doc Status | InputType.text | CONTROL |
| 5240 | createdBy | Created By | InputType.text | REFERENCE |
| 5250 | creationDate | Creation Date | InputType.text | REFERENCE |
| 5260 | lastUpdatedBy | Last Updated By | InputType.text | REFERENCE |
| 5270 | lastUpdateDate | Last Update Date | InputType.text | REFERENCE |
Lines
You can add multiple journal lines to each journal header. Each Header must contain at least two lines - one with debit and one with a credit amount. To post a journal, the sum of all the debit amounts must be equal to all the credit amounts.
Navigate to the journal lines tab to view/add/update journal lines.
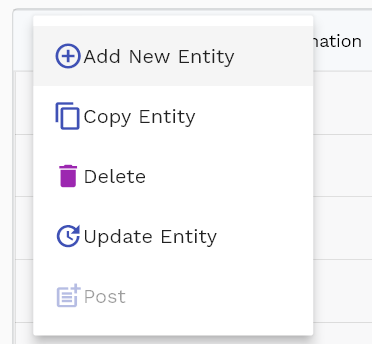
Click on the add new entity to add a new line. If a line already exists, click on copy entity to copy all the details.
You can enable/disable fields allowed to be copied in the menu configuration.

Dr or Cr Specifies if the journal line is a debit line or a credit line Ac Combination Journal account. You can select it from the ac combination field or short combination field.

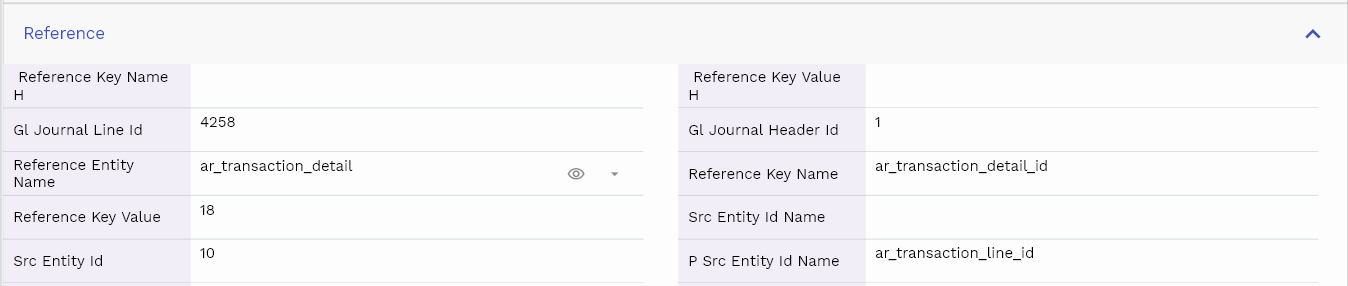
The reference groups show various ids for reference only. You don't need to enter any information in this section. When you save a journal for the first time, the system will auto-populate the newly created header id and line ids.
Scroll left, right, up, and down view all other fields.
Enter all the other fields and click on the save button to save the journal. The app will post all the data to the server and will show the messages returned from the server.

The amount is a mandatory field, and the sum of all the debit amounts must be able to credit the amount for a single journal header.

All Fields
| Sequence | Name | Label | InputType | Field Group |
|---|---|---|---|---|
| 10 | glJournalLineId | Gl Journal Line Id | InputType.text | REFERENCE |
| 10 | glJournalHeaderId | Gl Journal Header Id | InputType.defferedSelect | REFERENCE |
| 20 | referenceEntityName | Reference Entity Name | defferedSelect | REFERENCE |
| 30 | referenceKeyName | Reference Key Name | InputType.text | REFERENCE |
| 40 | referenceKeyValue | Reference Key Value | InputType.text | REFERENCE |
| 50 | srcEntityName | Src Entity Name | defferedSelect | DEFAULT |
| 60 | srcEntityIdName | Src Entity Id Name | InputType.text | REFERENCE |
| 70 | srcEntityId | Src Entity Id | InputType.text | REFERENCE |
| 80 | pSrcEntityName | P Src Entity Name | defferedSelect | DEFAULT |
| 90 | pSrcEntityIdName | P Src Entity Id Name | InputType.text | REFERENCE |
| 100 | lineNum | Line Num | InputType.number | DEFAULT |
| 110 | pSrcEntityId | P Src Entity Id | InputType.text | REFERENCE |
| 120 | glAcId | Gl Ac Id | defferedSelect | REFERENCE |
| 130 | amount | Amount | InputType.textField | FINANCE |
| 140 | drCr | Dr Cr | InputType.select | DEFAULT |
| 150 | glLedgerId | Gl Ledger Id | defferedSelect | REFERENCE |
| 160 | glPeriodId | Gl Period Id | defferedSelect | REFERENCE |
| 170 | gSrcEntityName | G Src Entity Name | defferedSelect | DEFAULT |
| 180 | gSrcEntityIdName | G Src Entity Id Name | InputType.text | REFERENCE |
| 190 | gSrcEntityId | G Src Entity Id | InputType.text | REFERENCE |
| 200 | status | Status | InputType.select | CONTROL |
| 210 | journalLineType | Journal Line Type | InputType.textField | CONTROL |
| 220 | journalDescription | Journal Description | InputType.textField | DEFAULT |
| 230 | referenceVersion | Reference Version | InputType.text | REFERENCE |
| 240 | ledgerAmount | Ledger Amount | InputType.textField | FINANCE |
| 250 | docCurrency | Doc Currency | defferedSelect | FINANCE |
| 260 | totalDocAmount | Total Doc Amount | InputType.textField | FINANCE |
| 270 | journalDate | Journal Date | InputType.dateTime | DATE |
| 280 | postDate | Post Date | InputType.date | DATE |
| 290 | exchangeType | Exchange Type | InputType.textField | CONTROL |
| 300 | exchangeDate | Exchange Date | InputType.date | DATE |
| 310 | exchangeRate | Exchange Rate | InputType.textField | FINANCE |
| 360 | docStatus | Doc Status | InputType.text | CONTROL |
| 370 | docStatus | Doc Status | InputType.text | CONTROL |
| 5320 | createdBy | Created By | InputType.text | REFERENCE |
| 5330 | creationDate | Creation Date | InputType.text | REFERENCE |
| 5340 | lastUpdatedBy | Last Updated By | InputType.text | REFERENCE |
| 5350 | lastUpdateDate | Last Update Date | InputType.text | REFERENCE |
Actions
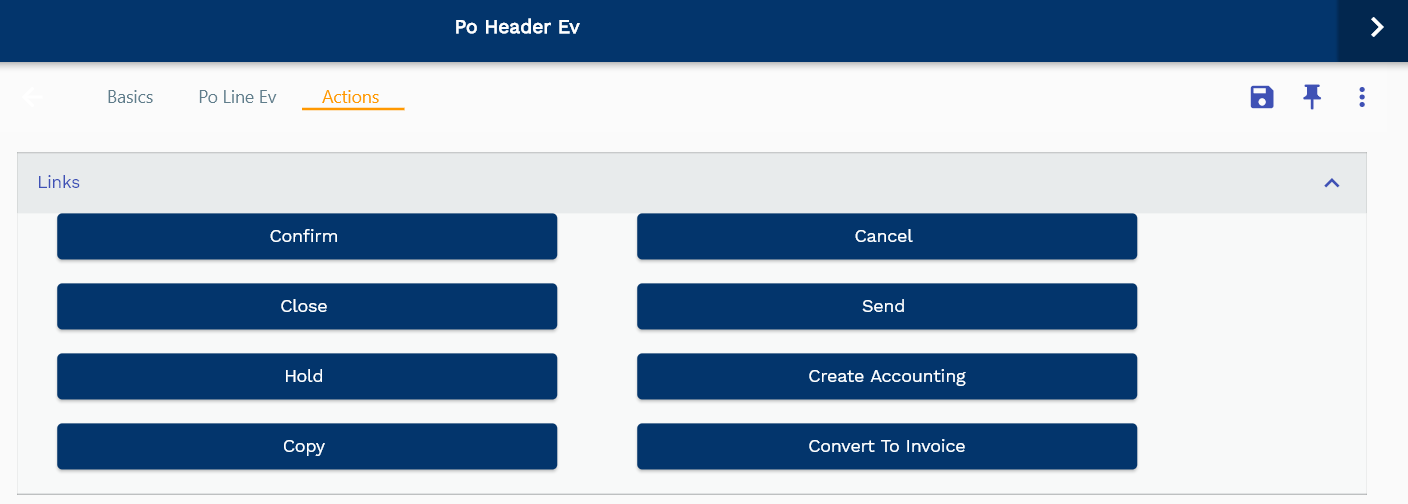
Actions allow you to change the status of the journal. The system creates journals in draft status. When you are ready to post the journal, you can click on the post button to post journals.
If the journals need to be reviewed by some and posted by a different person, you can use confirmation action to confirm the journal and post it.
You can cancel a journal by clicking on the Cancel button. Similarly, you can close any journal by clicking on the Close button.
You cant post a journal in any of the below statuses
- On Hold
- Closed
- Cancelled
Accounting Steps
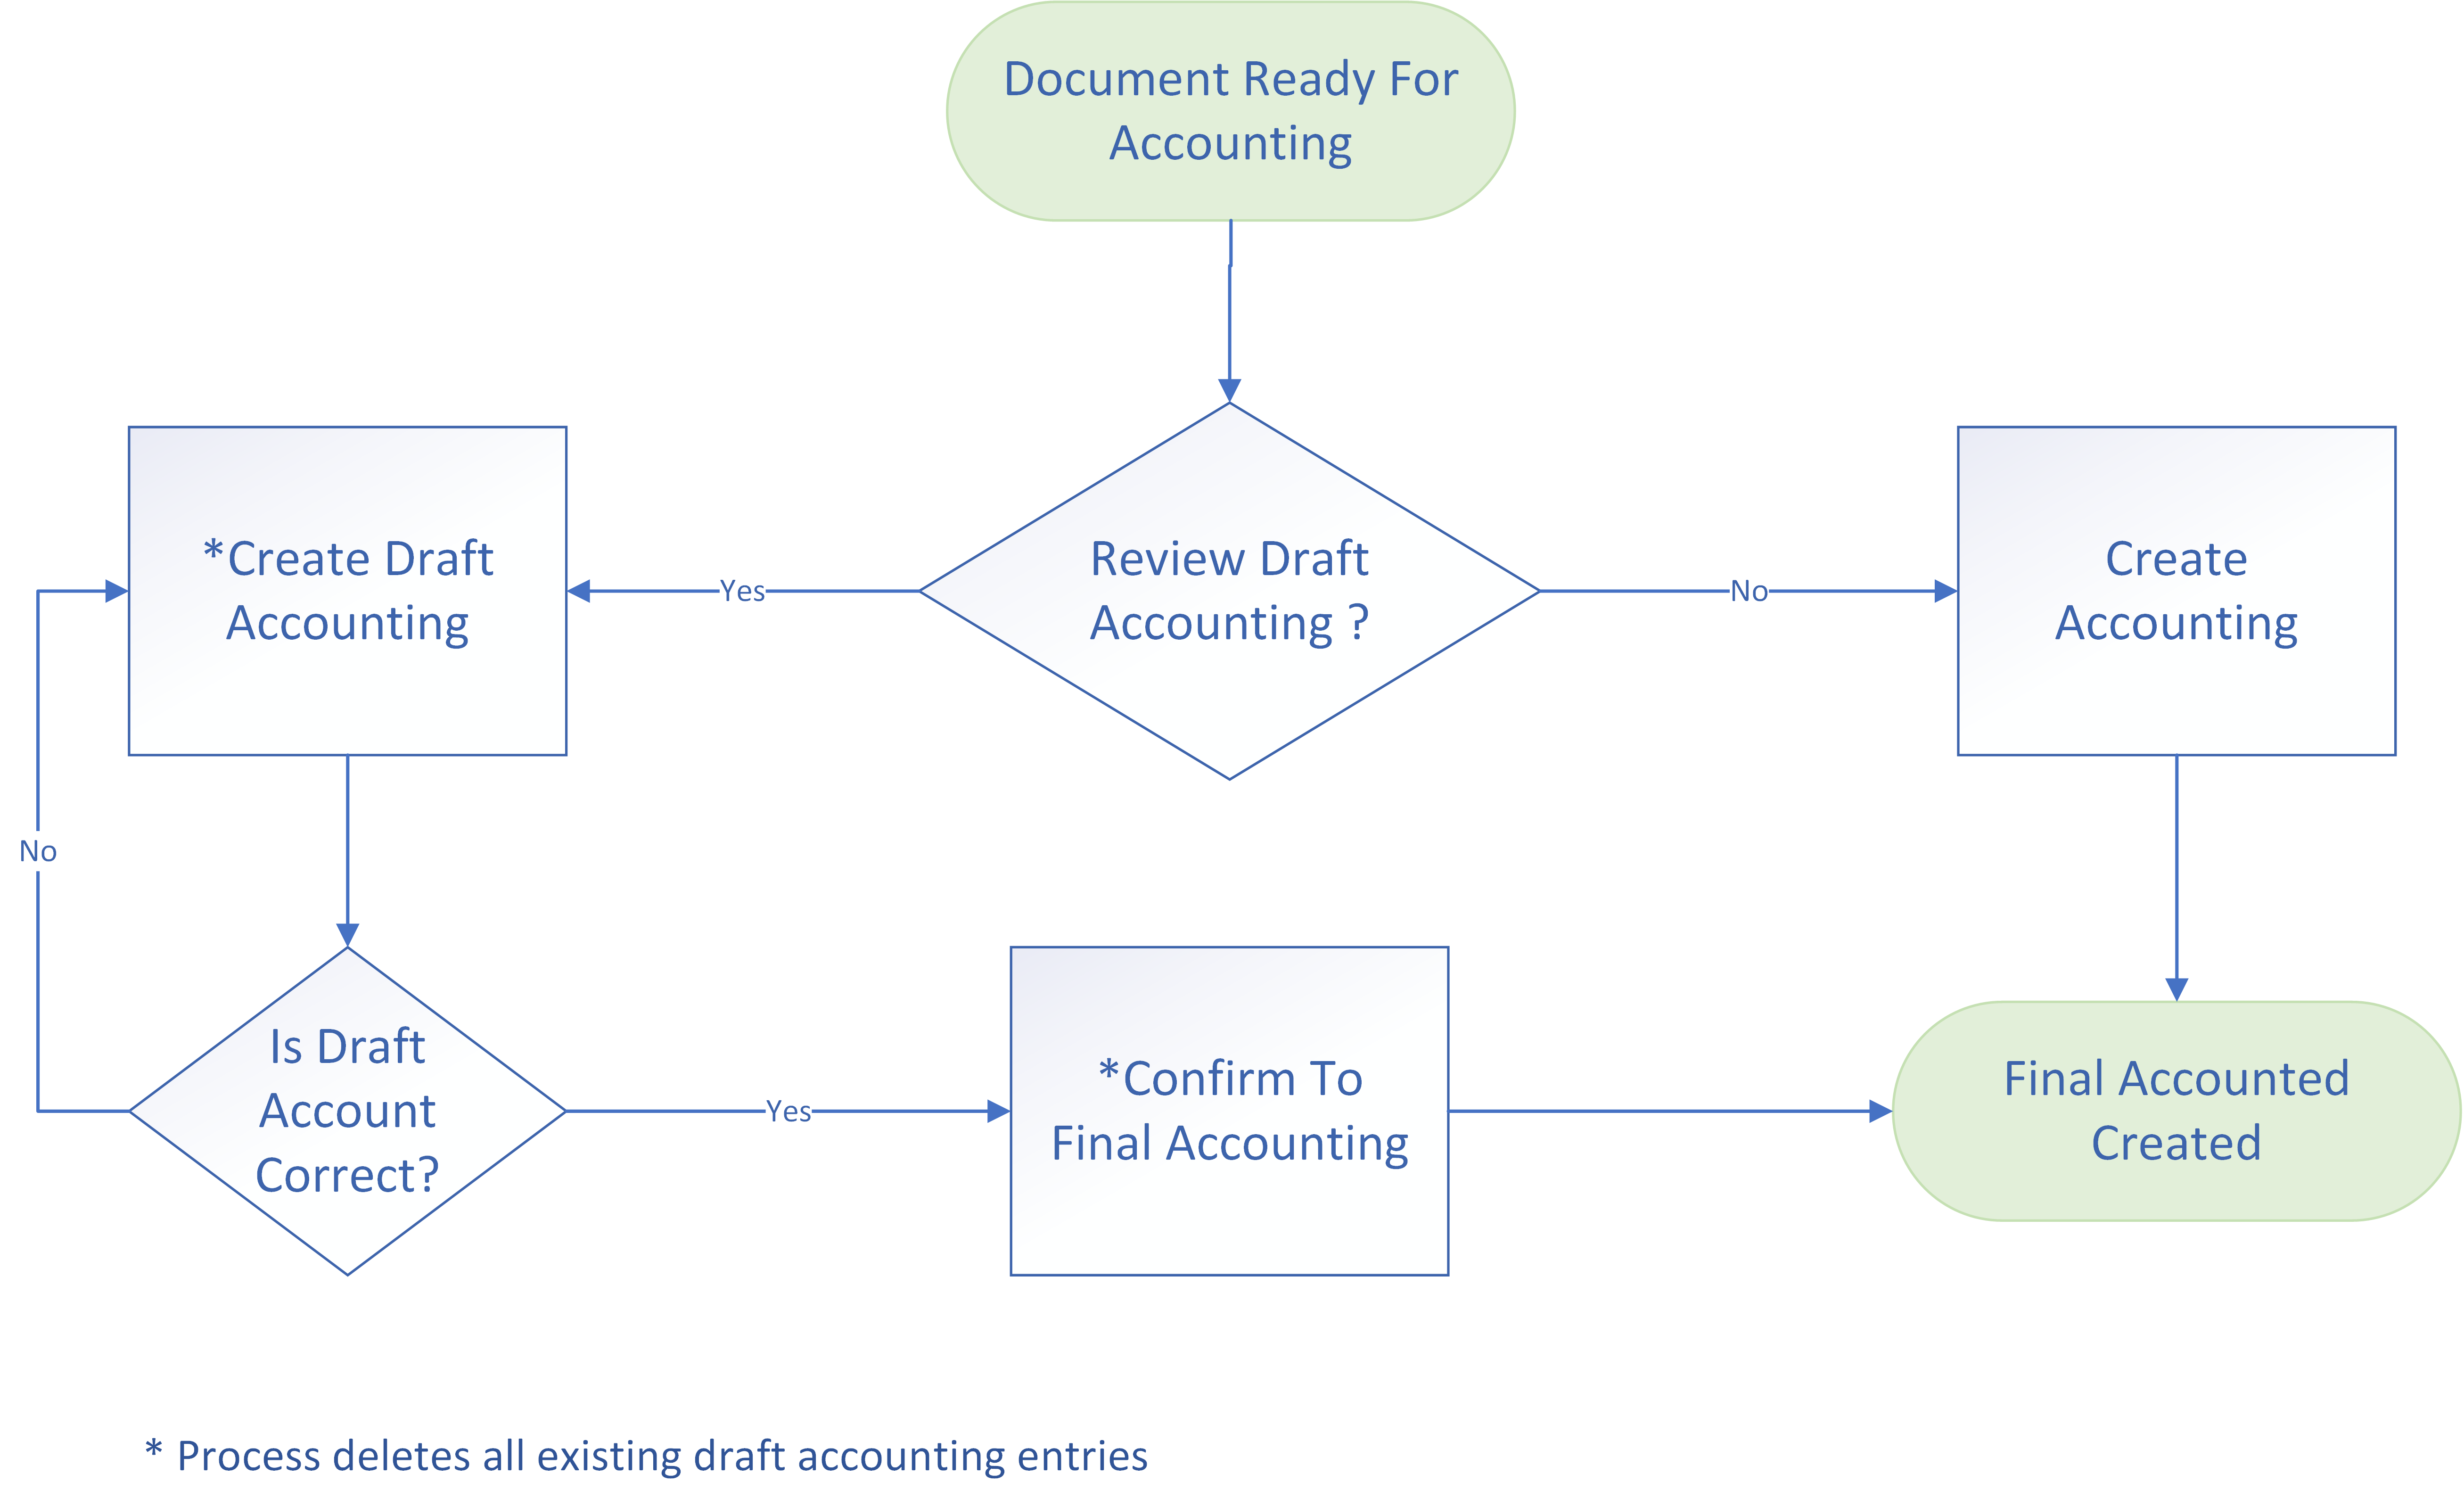
The accounting process in inoERP is quite flexible, and you can configure the system to generate the accounting details for all processes per your requirements.
The default configuration allows you to generate the accounting details in the following ways:
-
Create accounting entries directly using the "Create Accounting" button. Create accounting entries directly in the general ledger module. All the accounting entries are created in draft status. You can post the accounting entries by clicking on the "Post Accounting" button.
-
Create draft accounting entries using the "Create Draft Accounting" button. The system creates draft accounting entries. The draft accounting entries are stored in a separate table. It allows you to make the accounting entries in draft status and review them before creating the GL accounting entries.
-
Create Draft Account The "Create draft accounting" process generates the accounting entries for documents and deletes any existing accounting entries.
-
Delete Draft Account The "Delete draft accounting" process deletes the draft accounting entries.
-
Confirm Draft Account The "Confirm draft accounting" process creates the GL accounting entries for the draft accounting entries. The process also deletes the draft accounting entries.