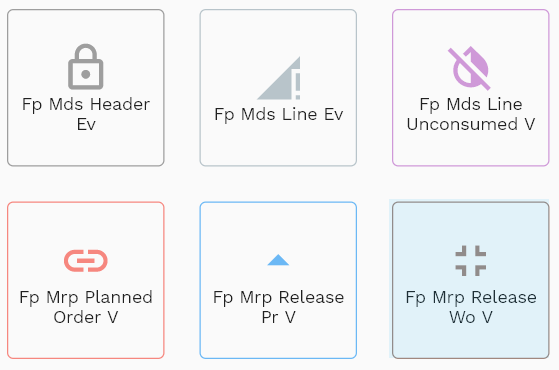
Planned Orders
This documentation is incomplete.
Purchase Requisition
You can view and release MRP suggested purchase requisitions in the "MRP Release Purchase Requisition" screen.
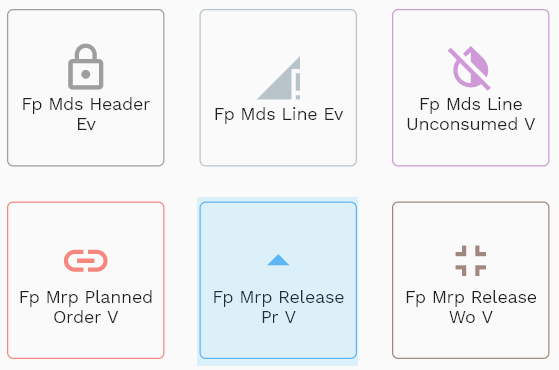
To view/update planned purchase requisitions, navigate to the "MRP Release Purchase Requisition" search screen from your dashboard/favorite.
Enter the organization/planned purchase requisition details or any other criteria in the search form and click on the search button to view an existing planned purchase requisition.
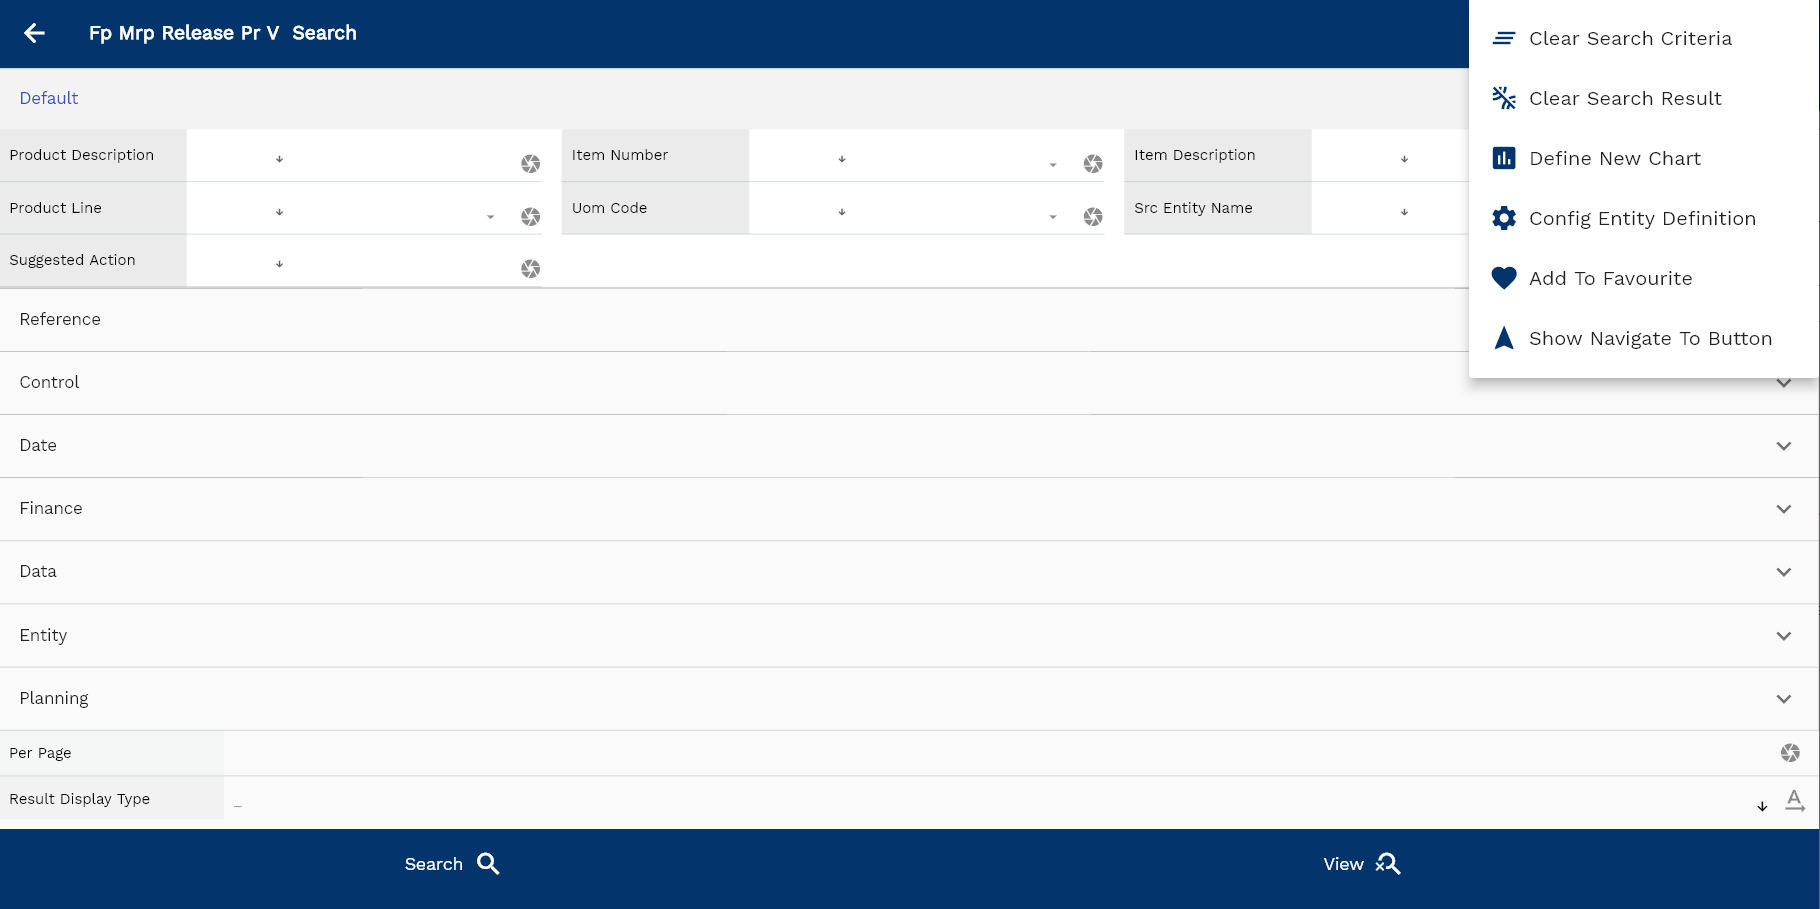
If you don't enter organization details, the system will show you all the planned purchase requisitions. If your organization has configured to make any field mandatory for search, then you have to enter those fields to search planned purchase requisitions.
The application will fetch all the server data and take you to the search result screen. The search result screen looks a bit different on desktop and mobile devices.
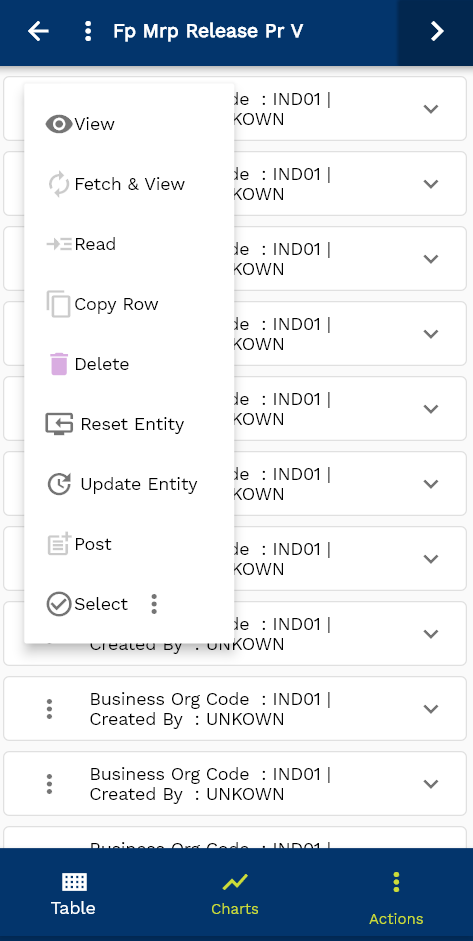
To view the search result in a table format, click on the table icon available in the bottom left corner.
To open a specific planned order for purchase requisition, click on the menu of that record, and click on view/fetch & view.
You can also click on the expand icon against any item on the search result screen to view the planned purchase requisition details such as item description, need by date, etc.
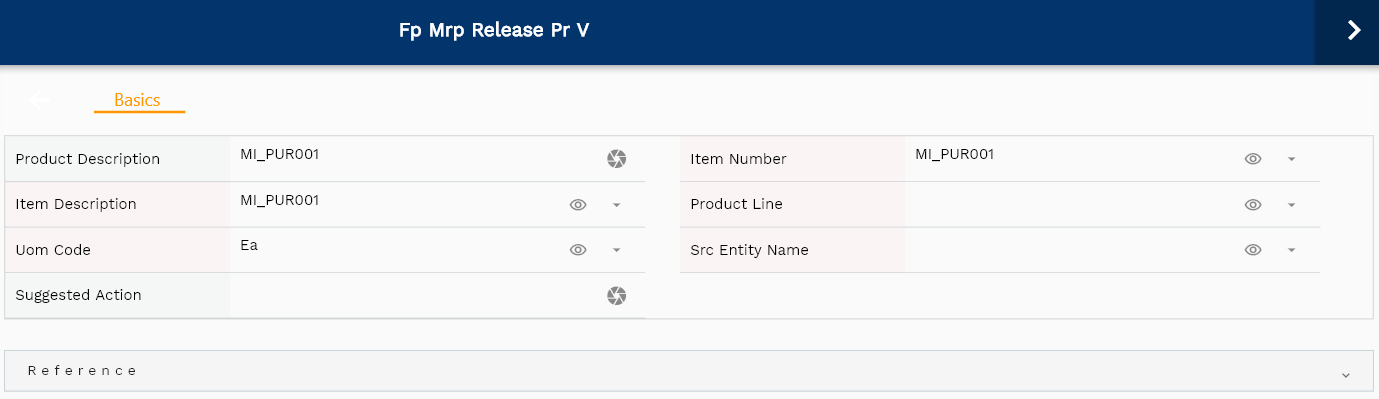
The system will fetch all the selected planned purchase requisition data. Depending on the device size, the planned purchase requisition details are shown either right to the search result screen or on a separate screen.
Supplier Details
The system defaults the supplier details from the sourcing rule. If multiple suppliers are available for the same item, the system picks the supplier with the highest line rank. Though supplier details are not mandatory for requisitions, it's advisable to maintain the sourcing rule as it simplifies the requisition and purchase order creation process.

During the requisition import process, the system groups all the items purchased from the supplier and creates a single purchase requisition. Requisition interface lines without supplier details are imported to a single requisition. The buyer must manually enter the supplier details to convert those requisitions to purchase orders.

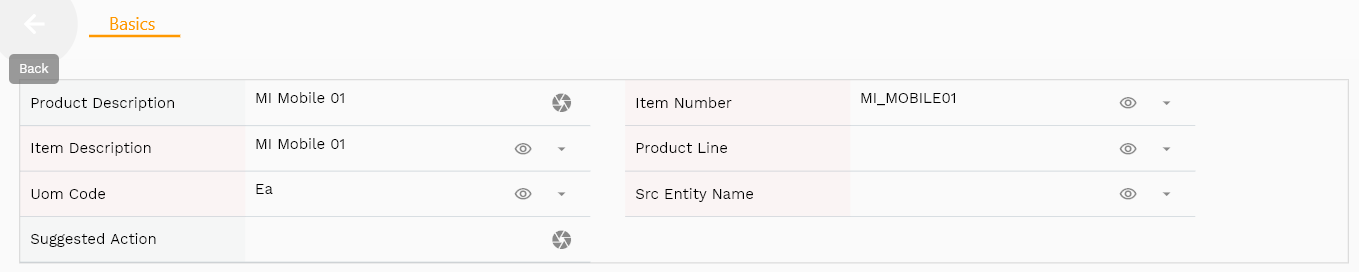
Scroll left, right, up, and down to view all the details. The planned purchase requisition line and details are shown in a separate tab. The default configuration shows fields in various functional groups, such as
- Finance
- Entity
- Reference
- Data
- Control
- Etc

You can configure the application to show which fields should be shown under which group. You can also create new groups as per your business requirements.
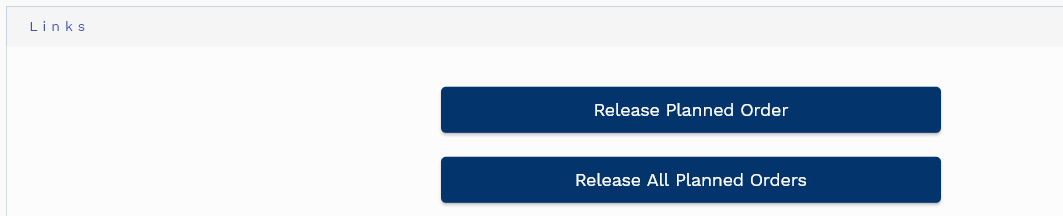
The links section shows two buttons
- Release planned order: Click on this button to release the opened planned order. The system will insert all the planned order details into purchasing interface table. You need to run the requisition import process to view the requisitions.
- Release planned order: Click on this button to release all purchase requisition planned orders in the selected MRP plan.

Work Order
You can view and release MRP suggested work orders in the "MRP Release Work Order" screen.
To view/update planned work orders, navigate to the "MRP Release Work Order" search screen from your dashboard/favorite.
Enter the organization/planned work order details or any other criteria in the search form and click on the search button to view an existing planned work order.
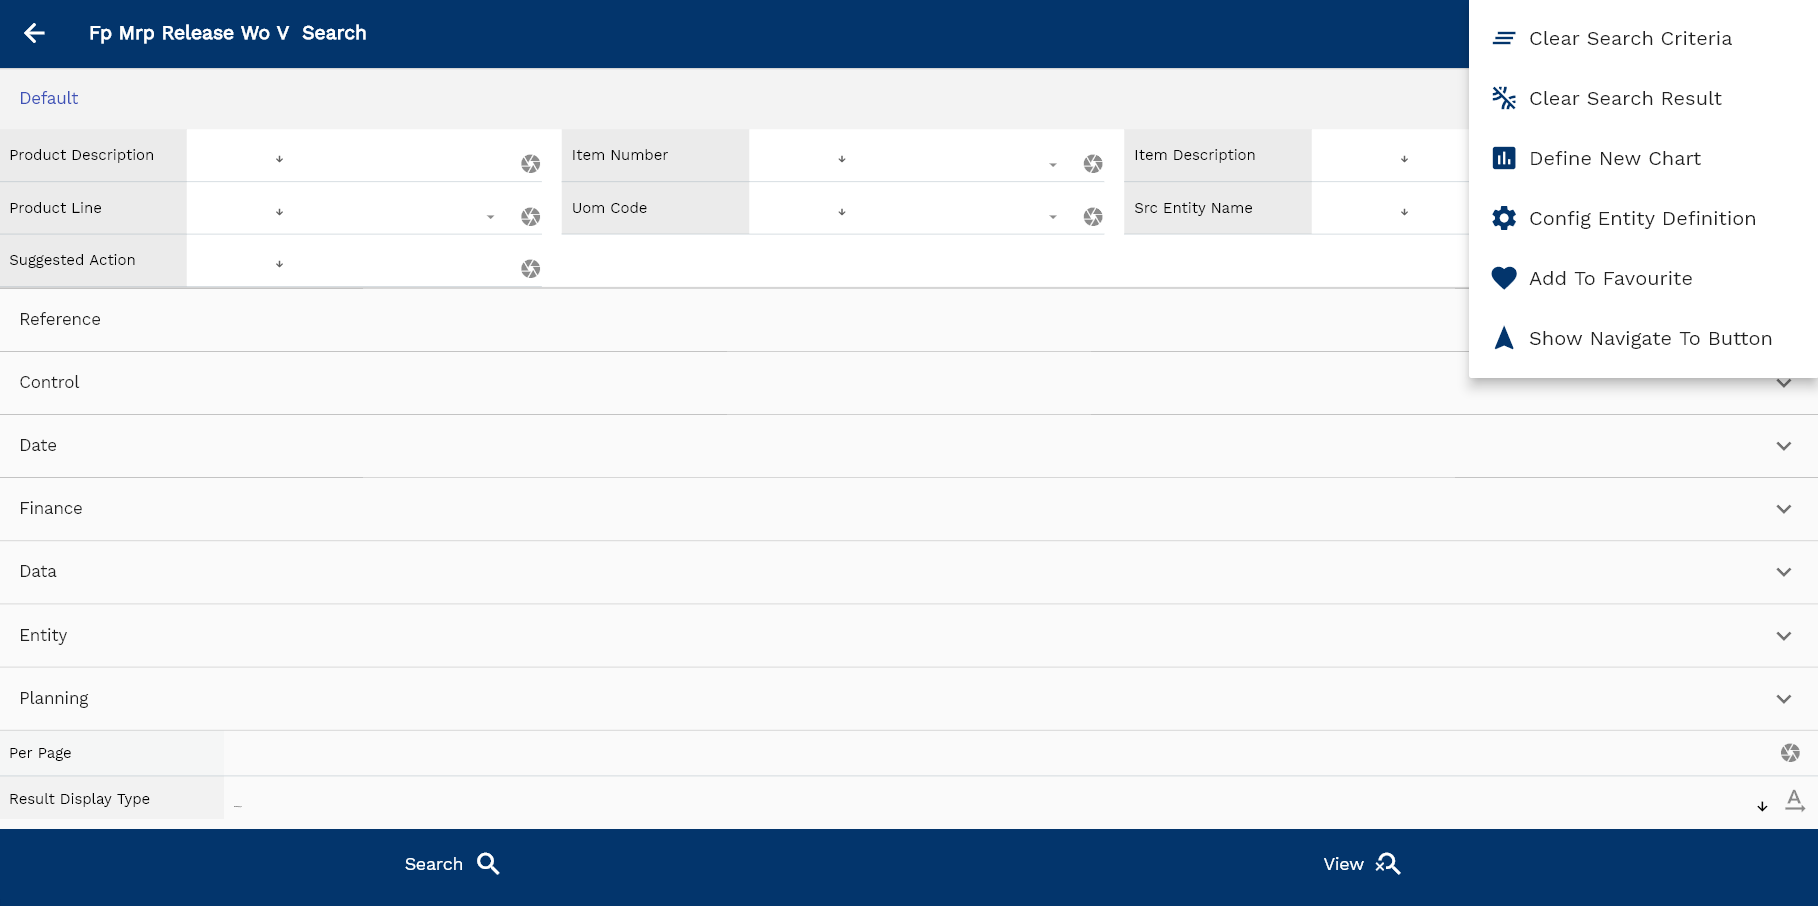
If you don't enter organization details, the system will show you all the planned work orders. If your organization has configured to make any field mandatory for search, then you have to enter those fields to search planned work orders.
The application will fetch all the server data and take you to the search result screen. The search result screen looks a bit different on desktop and mobile devices.
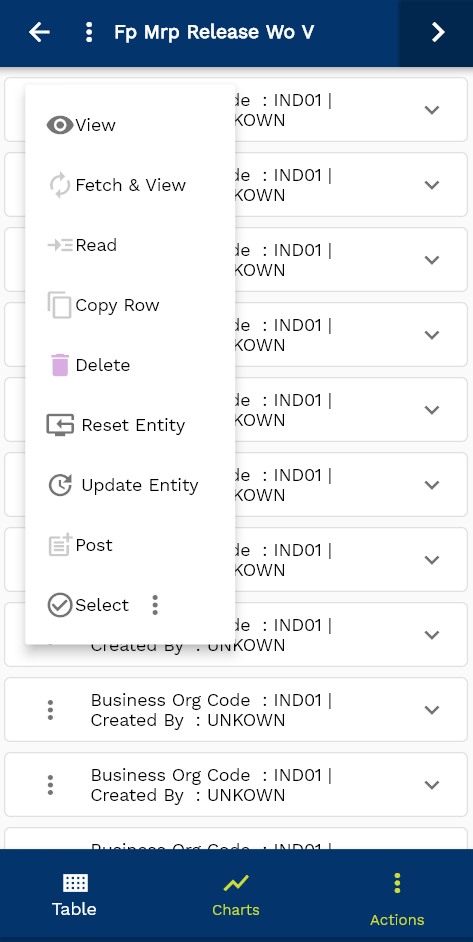
To view the search result in a table format, click on the table icon available in the bottom left corner.
To open a specific planned order for a work order, click on the menu of that record, and click on view/fetch & view.
You can also click on the expand icon against any item on the search result screen to view the planned work order details such as item description, completion date, quantity, etc.
The system will fetch all the selected planned work order data. Depending on the device size, the planned work order details are shown either right to the search result screen or on a separate screen.

Work Definition
Work definitions are required to create work orders and, thus, needed to insert data in the work order interface table. The system defaults to the work definition of the item if it's defined. If an item has multiple work definitions, then the system defaults the work definition with the maximum default sequence.

Scroll left, right, up, and down to view all the details. The planned work order line and details are shown in a separate tab. The default configuration shows fields in various functional groups, such as
- Finance
- Entity
- Reference
- Data
- Control
- Etc

You can configure the application to show which fields should be shown under which group. You can also create new groups as per your business requirements.
The links section shows two buttons
- Release planned order: Click on this button to release the opened planned order. The system will insert all the planned order details into purchasing interface table. You need to run the work order import process to view the work orders.
- Release planned order: Click on this button to release all work order planned orders in the selected MRP plan.