Master Data
This documentation is incomplete.
You can use Jobs, Positions, and Grades to map various roles and hierarchies in your organization. The three entities default various values (payroll, salary template, etc.) to each newly created employee.
Job, Grade, and Positions are global objects (i.e., not associated with any organization)
Job
Jobs represent the work employees perform and the required skills, for example:
- Developer
- Accountant
- Buyer
- Planner Jobs are used only for operational and reporting purposes and have no direct impact on any financial activities.
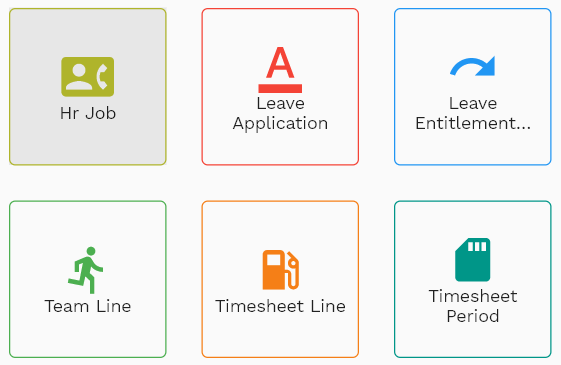
To view/create/update a job, navigate to the "job" search screen from your dashboard/favorite.
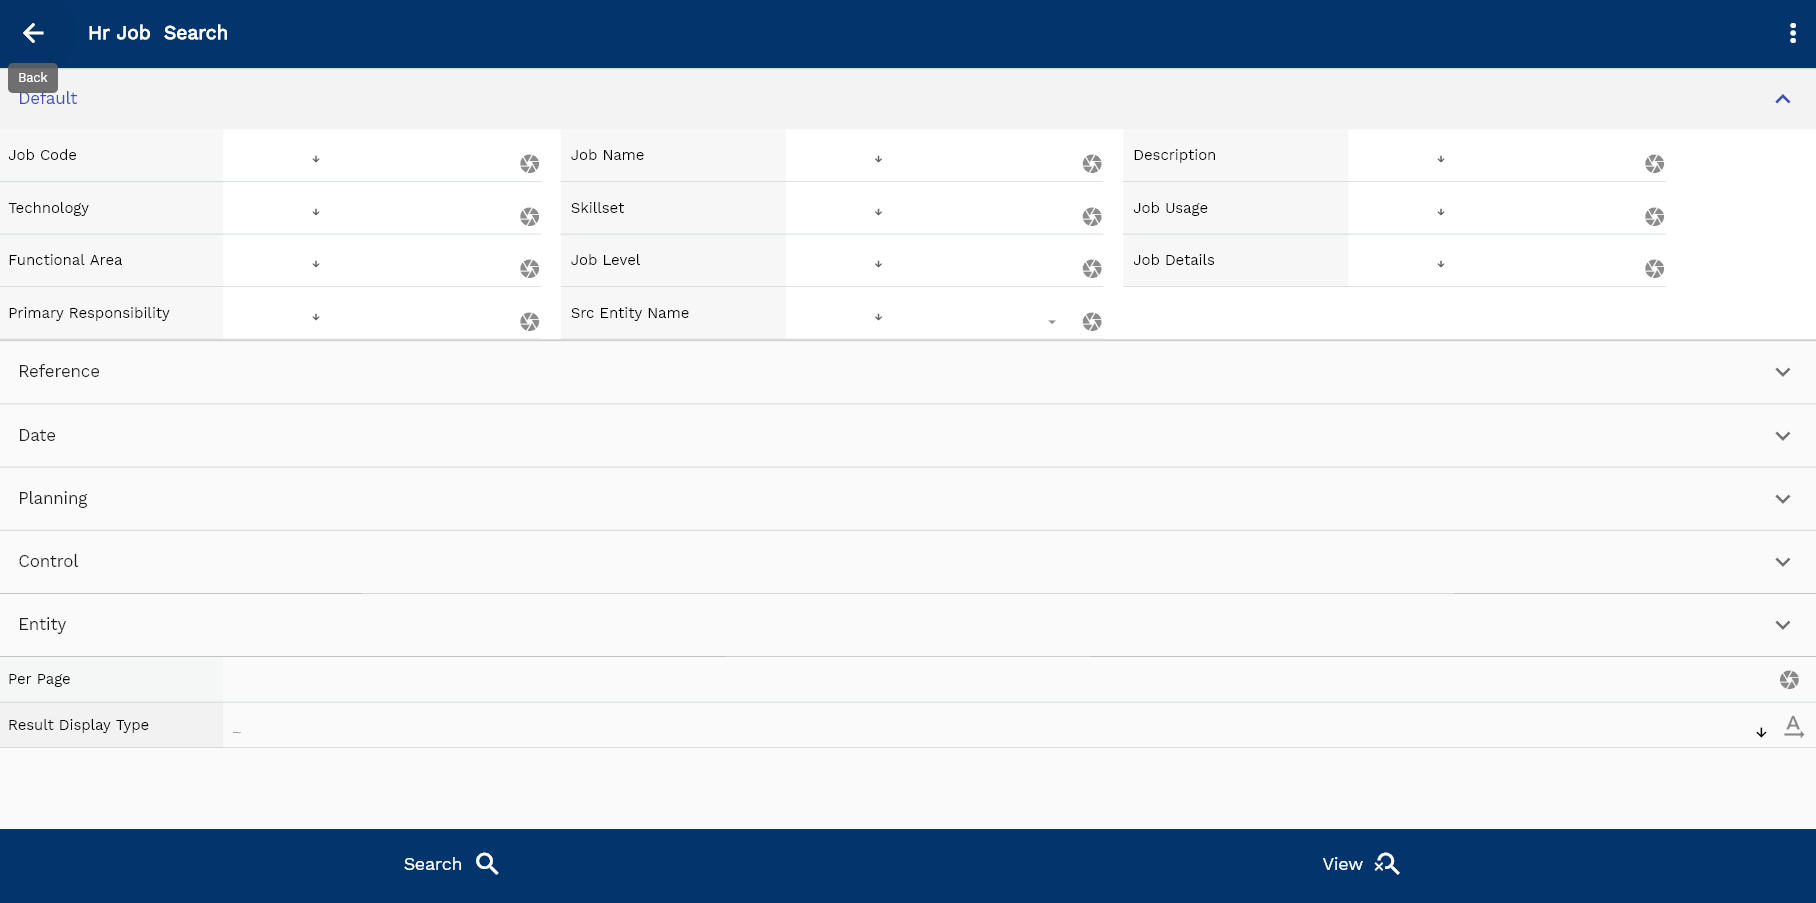
Enter the job details or any other criteria in the search form and click on the search button to view an existing job.
Click on create a new button to create a new job; by manually entering all the information,
Copy an existing job to a new job is always better than manually entering all the data to create a new job.
You can configure which fields must be view-only after creating a job.
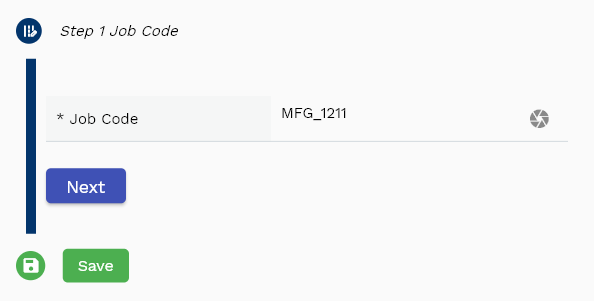
If you click on the create new button, the system will open a simple step form to create a new job. You can click on the detail right bottom to view all the fields available for the object.

If you click on the search button without entering any organization/job details, the system will show you all the jobs. If your organization has configured to make any field mandatory for search, then you have to enter those fields to search jobs.
The application will fetch all the server data and take you to the search result screen. The search result screen looks a bit different on desktop and mobile devices.
To view the search result in a table format, click on the table icon available in the bottom left corner.
To open a specific job, click on the menu of that record, and click on view/fetch & view.
You can also click on the expand icon against any job on the search result screen to view the job header details such as job number, quantities, start date, status, etc.
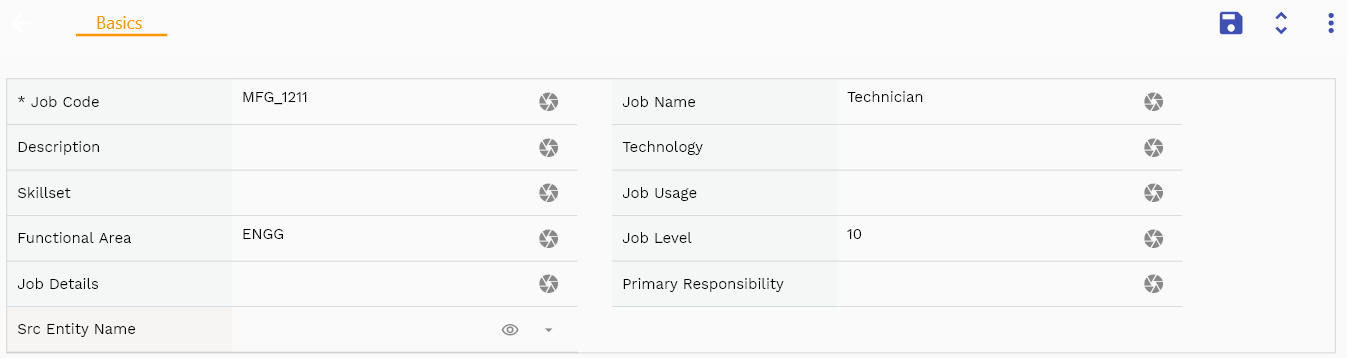
The system will fetch all the data related to the selected Job. Depending on the device size, the job details are shown either right to the search result screen or on a separate screen.
Job Job field is mandatory. Enter a unique value.

Scroll left, right, up, and down to view all the details. The job line and details are shown in a separate tab. The default configuration shows fields in various functional groups such as

- Finance
- Entity
- Reference
- Data
- Control
- Etc

You can configure the application to show which fields should be shown under which group. You can also create new groups as per your business requirements.
All Fields
| Sequence | Name | Label | InputType | Field Group |
|---|---|---|---|---|
| 10 | hrJobId | Hr Job Id | InputType.text | REFERENCE |
| 10 | jobCode | Job Code | InputType.textField | DEFAULT |
| 20 | jobName | Job Name | InputType.textField | DEFAULT |
| 30 | startDate | Start Date | InputType.date | DATE |
| 40 | endDate | End Date | InputType.date | DATE |
| 50 | description | Description | InputType.textField | DEFAULT |
| 60 | minEducation | Min Education | InputType.textField | PLANNING |
| 70 | minExperience | Min Experience | InputType.textField | PLANNING |
| 80 | technology | Technology | InputType.textField | DEFAULT |
| 90 | skillset | Skillset | InputType.textField | DEFAULT |
| 100 | positionType | Position Type | InputType.select | CONTROL |
| 110 | jobUsage | Job Usage | InputType.textField | DEFAULT |
| 120 | groupHrJobId | Group Hr Job Id | defferedSelect | REFERENCE |
| 130 | functionalArea | Functional Area | InputType.textField | DEFAULT |
| 140 | location | Location | InputType.textField | ENTITY |
| 150 | jobLevel | Job Level | InputType.number | DEFAULT |
| 160 | status | Status | InputType.textField | CONTROL |
| 170 | jobDetails | Job Details | InputType.textField | DEFAULT |
| 180 | primaryResponsibility | Primary Responsibility | InputType.textField | DEFAULT |
| 230 | srcEntityName | Src Entity Name | defferedSelect | DEFAULT |
| 240 | srcEntityId | Src Entity Id | InputType.text | REFERENCE |
| 5190 | createdBy | Created By | InputType.text | REFERENCE |
| 5200 | creationDate | Creation Date | InputType.text | REFERENCE |
| 5210 | lastUpdatedBy | Last Updated By | InputType.text | REFERENCE |
| 5220 | lastUpdateDate | Last Update Date | InputType.text | REFERENCE |
Grade
A grade is optional master data that you can use to group employees with similar payroll and salary structures. Organizations use grades to create a hierarchy based on salary and other related compensations. In inoERP, you can use grade to represent relative levels of management or seniority of employees and default various values to employee and payroll processing.
Ex:
- A1 with rank 1
- A2 with rank 2
- A3 with rank 3
- B1 with rank 4
To view/create/update a grade, navigate to the "grade" search screen from your dashboard/favorite.

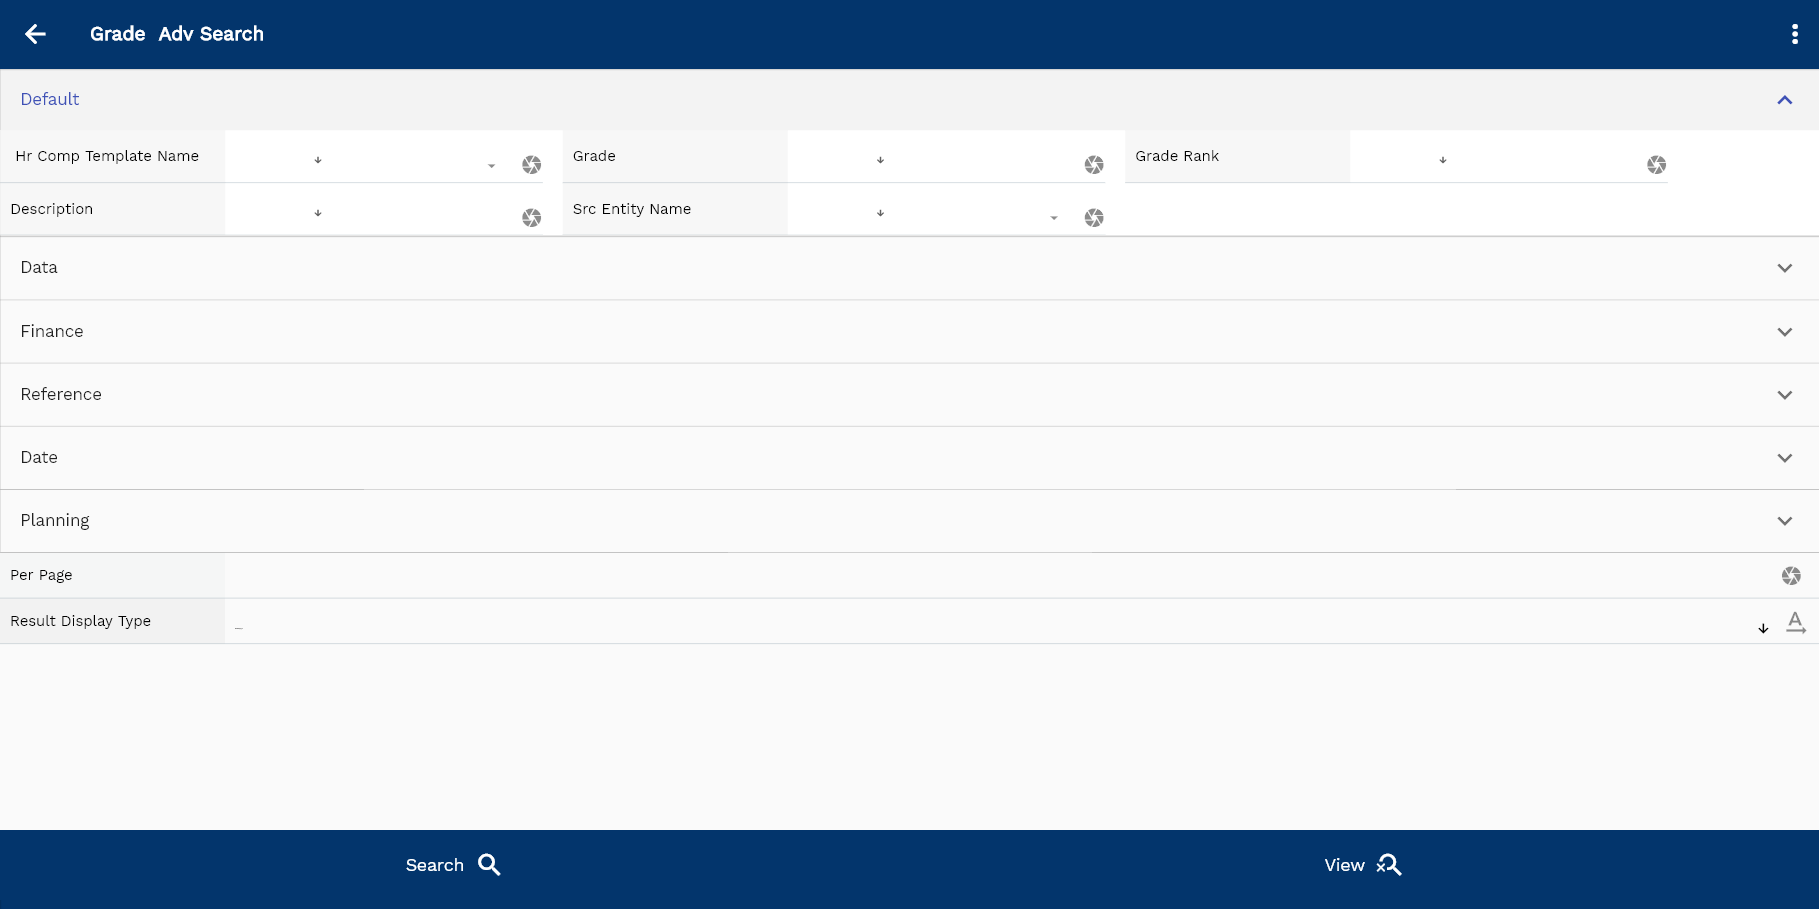
Enter the grade details or any other criteria in the search form and click on the search button to view an existing grade.
Click on create a new button to create a new grade; by manually entering all the information,
Copy an existing grade to a new grade is always better than manually entering all the data to create a new grade.
You can configure which fields must be view-only after creating a grade.
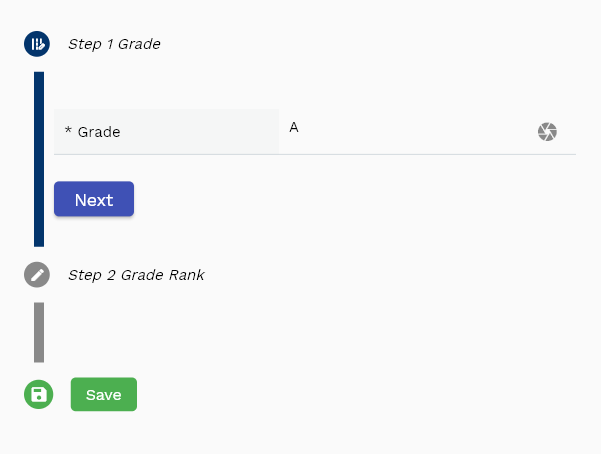
If you click on the create new button, the system will open a simple step form to create a new grade. You can click on the detail right bottom to view all the fields available for the object.
If you click on the search button without entering any organization/grade details, the system will show you all the grades. If your organization has configured to make any field mandatory for search, then you have to enter those fields to search grades.
The application will fetch all the server data and take you to the search result screen. The search result screen looks a bit different on desktop and mobile devices.
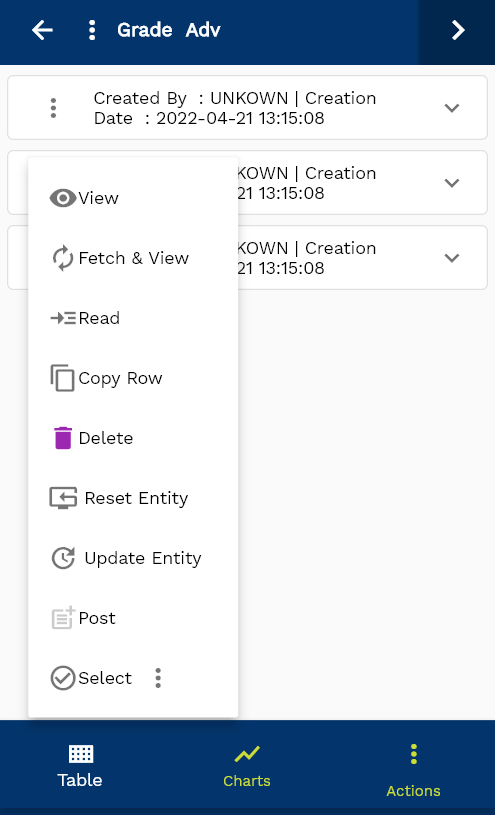
To view the search result in a table format, click on the table icon available in the bottom left corner.
To open a specific grade, click on the menu of that record, and click on view/fetch & view.
You can also click on the expand icon against any grade on the search result screen to view the grade header details such as grade number, quantities, start date, status, etc.

The system will fetch all the data related to the selected grade. The grade details are shown either right to the search result screen or on a separate screen, depending on the device size.
grade Grade field is mandatory. Enter a unique value.
Rank Enter a numeric value for the grade.

Scroll left, right, up, and down to view all the details. The grade line and details are shown in a separate tab. The default configuration shows fields in various functional groups such as

- Finance
- Entity
- Reference
- Data
- Control
- Etc

You can configure the application to show which fields should be shown under which group. You can also create new groups as per your business requirements.
All Fields
| Sequence | Name | Label | InputType | Field Group |
|---|---|---|---|---|
| 10 | hrGradeId | Hr Grade Id | InputType.text | REFERENCE |
| 10 | grade | Grade | InputType.textField | DEFAULT |
| 20 | gradeRank | Grade Rank | InputType.number | DEFAULT |
| 30 | hrCompensationHeaderId | Hr Compensation Header Id | defferedSelect | REFERENCE |
| 40 | hrLeaveEntitlementHeaderId | Hr Leave Entitlement Header Id | defferedSelect | REFERENCE |
| 50 | description | Description | InputType.textField | DEFAULT |
| 60 | hrPayrollId | Hr Payroll Id | defferedSelect | REFERENCE |
| 70 | inactiveDate | Inactive Date | InputType.date | DATE |
| 80 | altName | Alt Name | InputType.textField | PLANNING |
| 90 | altDescription | Alt Description | InputType.textField | PLANNING |
| 140 | srcEntityName | Src Entity Name | defferedSelect | DEFAULT |
| 150 | srcEntityId | Src Entity Id | InputType.text | REFERENCE |
| 5100 | createdBy | Created By | InputType.text | REFERENCE |
| 5110 | creationDate | Creation Date | InputType.text | REFERENCE |
| 5120 | lastUpdatedBy | Last Updated By | InputType.text | REFERENCE |
| 5130 | lastUpdateDate | Last Update Date | InputType.text | REFERENCE |
Position
A position is a specific employee assignment.
Both jobs and grades are assigned to positions. You can also assign payroll and compensation templates to a position.
Positions are assigned to employees, and if none of the default values (grade, payroll, etc.) are overridden at the employee level, the system uses all the values from the position. Ex:
- Developer with Grade A1
- Sr. Developer with Grade A2
- Engineering Manager with Grade A3
- VP, Engineering with Grade B2
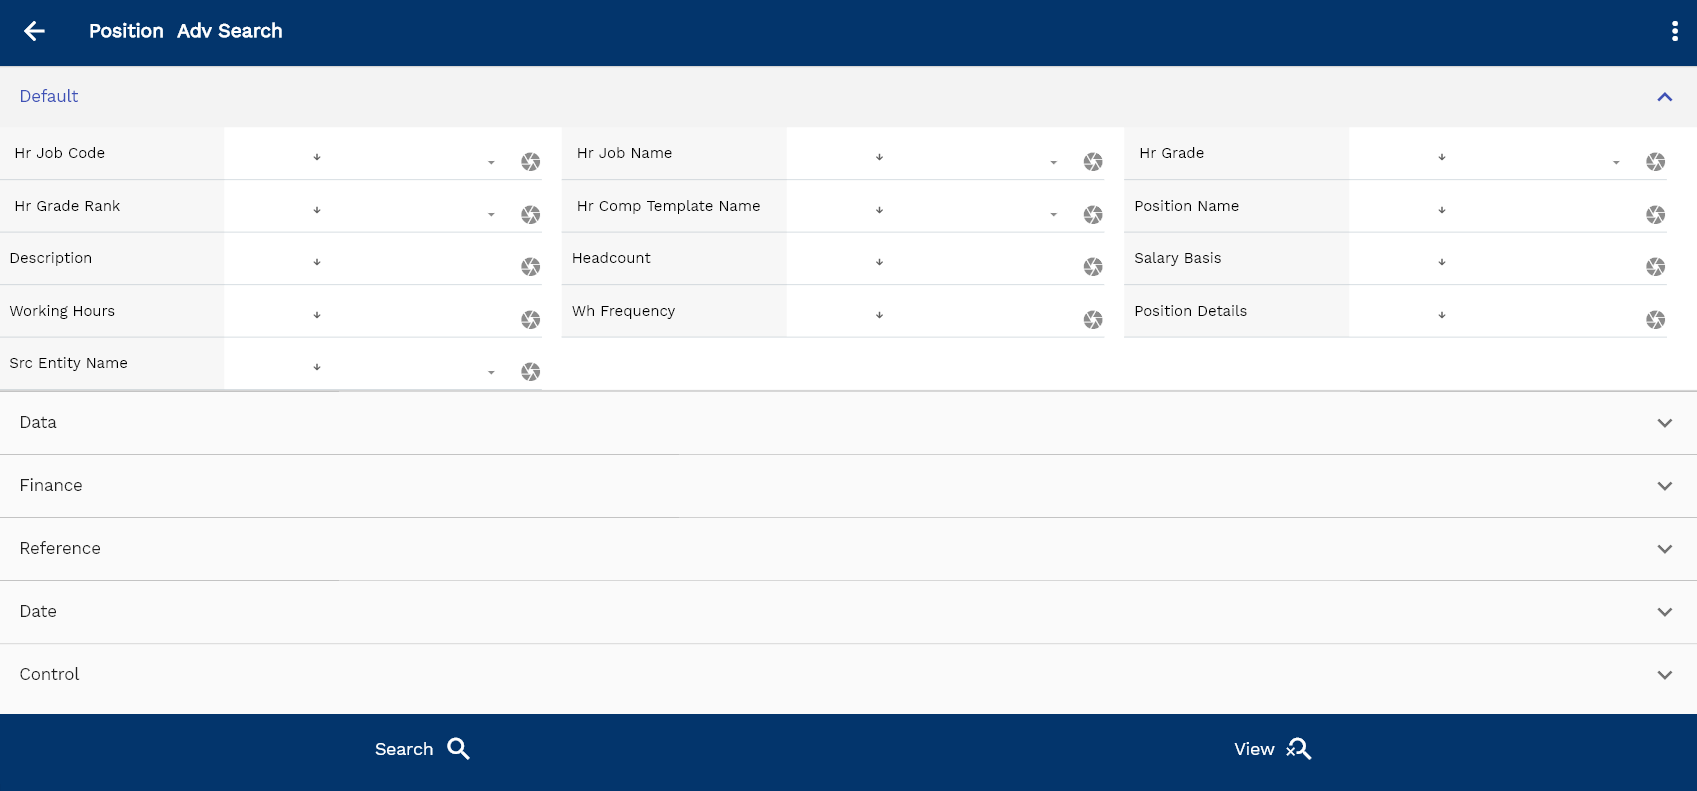
To view/create/update a position, navigate to the "position" search screen from your dashboard/favorite.
Enter the position details or any other criteria in the search form and click on the search button to view an existing position.
Click on create a new button to create a new position; by manually entering all the information,
Copy an existing position to a new position is always better than manually entering all the data to create a new position.
You can configure which fields must be view-only after creating a position.
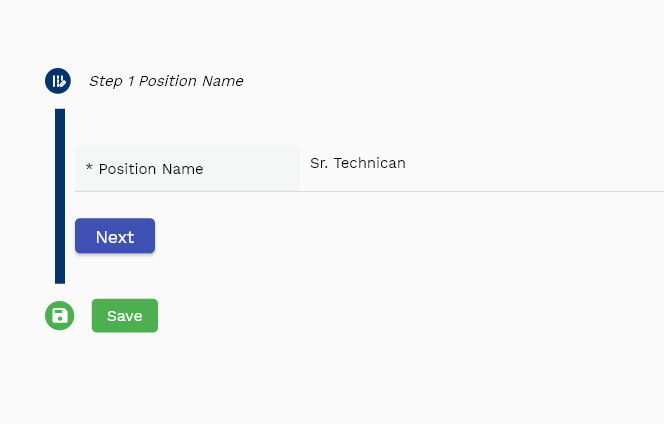
If you click on the create new button, the system will open a simple step form to create a new position. You can click on the detail right bottom to view all the fields available for the object.
If you click on the search button without entering any organization/position details, the system will show you all the positions. If your organization has configured to make any field mandatory for search, then you have to enter those fields to search positions.
The application will fetch all the server data and take you to the search result screen. The search result screen looks a bit different on desktop and mobile devices.
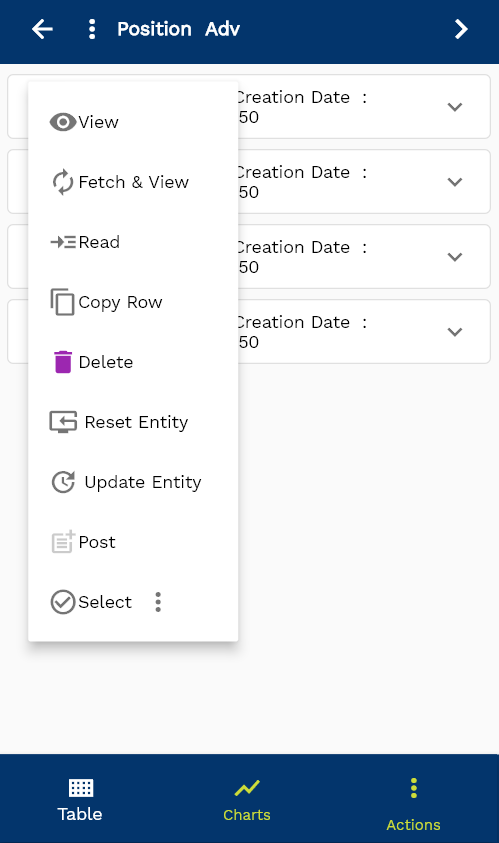
To view the search result in a table format, click on the table icon available in the bottom left corner.
To open a specific position, click on the menu of that record, and click on view/fetch & view.
You can also click on the expand icon against any position on the search result screen to view the position header details such as position number, quantities, start date, status, etc.

The system will fetch all the data related to the selected position. The position details are shown either right to the search result screen or on a separate screen, depending on the device size.
position Position field is mandatory. Enter a unique value.
Job If you want to associate a job with the position, then enter the job name.
grade If you want to associate a grade with the position, then enter the grade name.

payroll Enter a payroll for the position. If payroll is not overridden at the employee level, the system will use the payroll from the position.
Compensation Template Enter a compensation template for the position. If the compensation template is not overridden at the employee level, the system will use the compensation template from the position.
Scroll left, right, up, and down to view all the details. The position line and details are shown in a separate tab. The default configuration shows fields in various functional groups such as

- Finance
- Entity
- Reference
- Data
- Control
- Etc

You can configure the application to show which fields should be shown under which group. You can also create new groups as per your business requirements.
All Fields
| Sequence | Name | Label | InputType | Field Group |
|---|---|---|---|---|
| 10 | hrPositionId | Hr Position Id | InputType.text | REFERENCE |
| 10 | positionName | Position Name | InputType.textField | DEFAULT |
| 20 | hrJobId | Hr Job Id | defferedSelect | REFERENCE |
| 30 | hrGradeId | Hr Grade Id | defferedSelect | REFERENCE |
| 40 | hrPayrollId | Hr Payroll Id | defferedSelect | REFERENCE |
| 50 | hrCompensationHeaderId | Hr Compensation Header Id | defferedSelect | REFERENCE |
| 60 | hrLeaveEntitlementHeaderId | Hr Leave Entitlement Header Id | defferedSelect | REFERENCE |
| 70 | description | Description | InputType.textField | DEFAULT |
| 80 | startDate | Start Date | InputType.date | DATE |
| 90 | endDate | End Date | InputType.date | DATE |
| 100 | headcount | Headcount | InputType.number | DEFAULT |
| 110 | salaryBasis | Salary Basis | InputType.textField | DEFAULT |
| 120 | workingHours | Working Hours | InputType.textField | DEFAULT |
| 130 | whFrequency | Wh Frequency | InputType.textField | DEFAULT |
| 140 | positionDetails | Position Details | InputType.textField | DEFAULT |
| 150 | positionStatus | Position Status | InputType.textField | CONTROL |
| 200 | srcEntityName | Src Entity Name | defferedSelect | DEFAULT |
| 210 | srcEntityId | Src Entity Id | InputType.text | REFERENCE |
| 5160 | createdBy | Created By | InputType.text | REFERENCE |
| 5170 | creationDate | Creation Date | InputType.text | REFERENCE |
| 5180 | lastUpdatedBy | Last Updated By | InputType.text | REFERENCE |
| 5190 | lastUpdateDate | Last Update Date | InputType.text | REFERENCE |