MRP
This documentation is incomplete.
Materials requirements planning (MRP) helps organizations plan purchasing and production, thus ensuring that materials are available for production and that products are available for delivery to customers. MRP takes MDS as input and suggests planned orders for internal manufacturing and external purchasing. MRP transforms incoming demands to appropriate planned orders.
Material requirements planning (MRP) calculates net requirements from gross requirements by evaluating:
- MDS
- Bills of material
- Expected receipts
- Inventory On-hand
- Lead times
- Item modifiers (Min-Order Qty, Max-Order Qty, Fixed Lot Multiplier)
Header
To create/view/update an MRP, navigate to the "MRP" screen from your dashboard/favorite.
Enter the organization/MRP details or any other criteria in the search form and click on the search button to view an existing MRP.
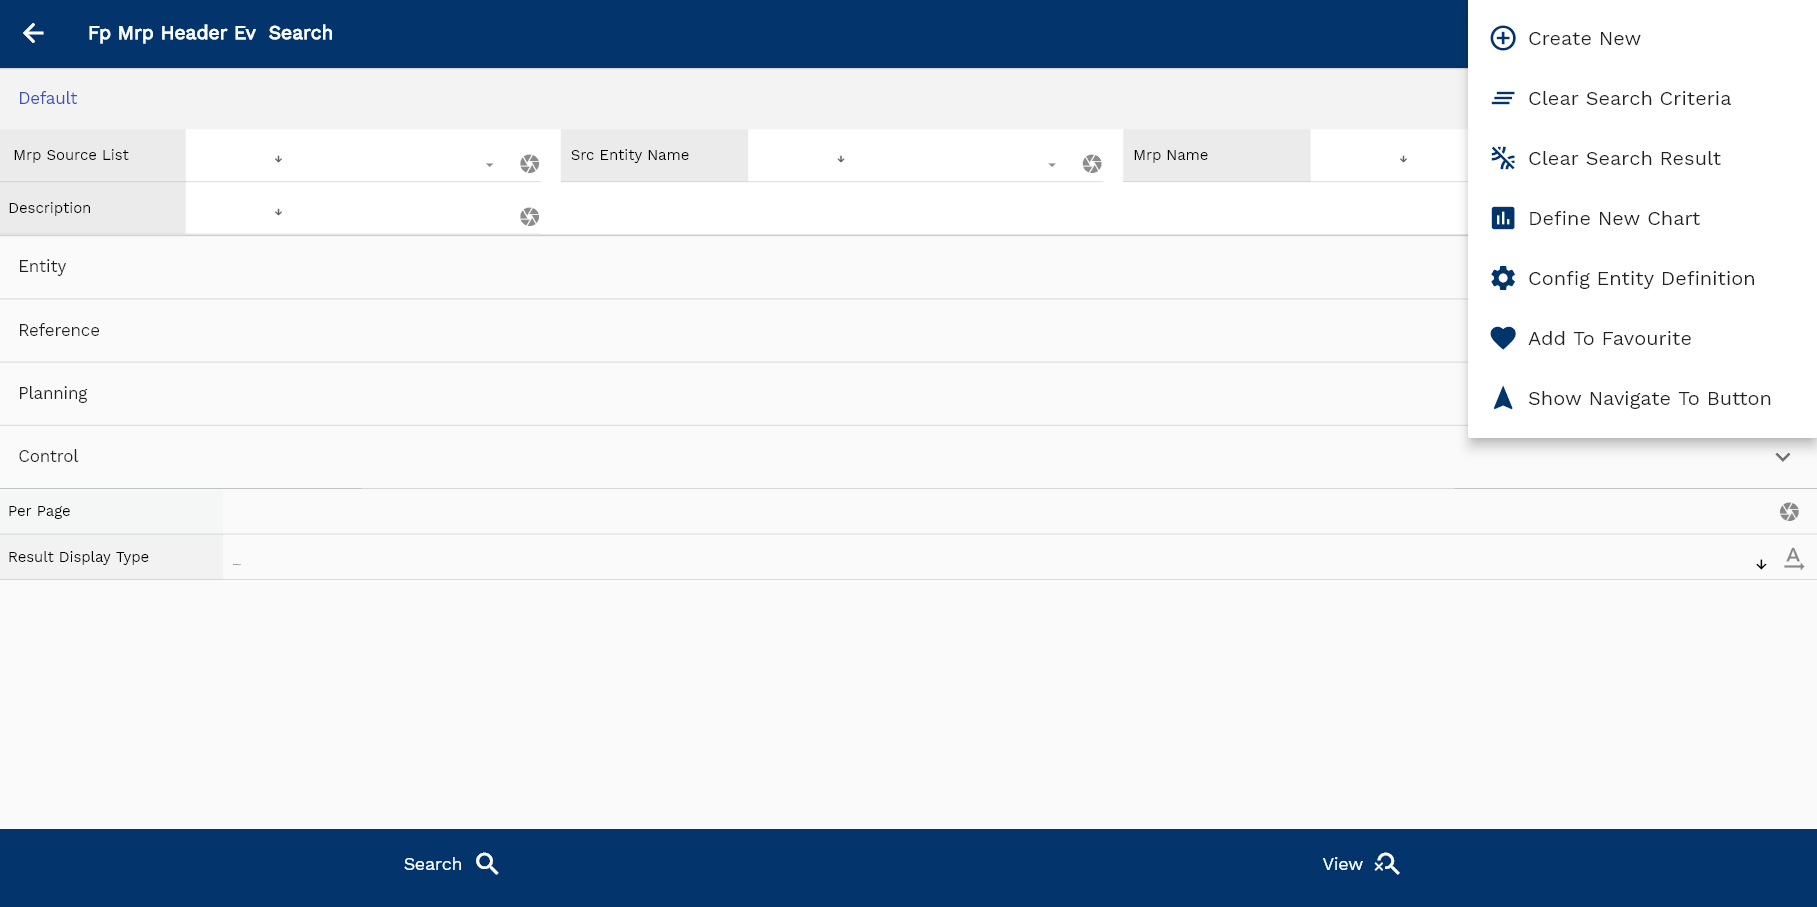
If you don't enter any search criteria, the system will show you all the MRPs. If your organization has configured to make any field mandatory for search, then you have to enter those fields to search MRPs.
The application will fetch all the server data and take you to the search result screen. The search result screen looks a bit different on desktop and mobile devices.

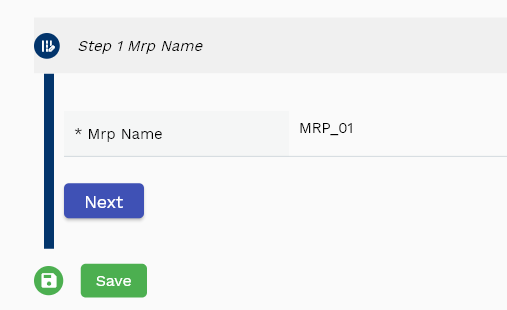
If you click on the create new button, the system will open a simple step form to create a new MRP. You can click on the detail right bottom to view all the fields available for the object.
To view the search result in a table format, click on the table icon in the bottom left corner.
To view specific MRP details, click on the menu of that record, and click on view/fetch & view.
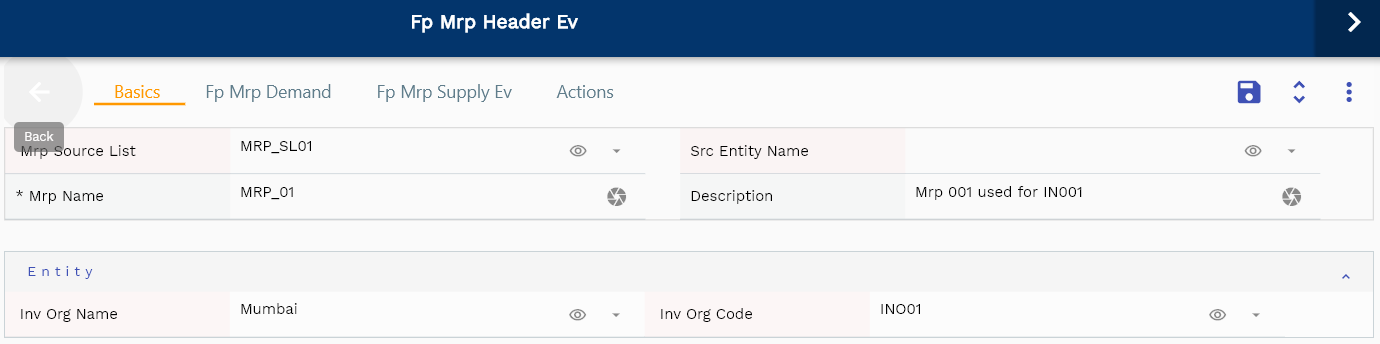
You can also click on the expand icon against any item on the search result screen to view the MRP header details, such as MRP name, description, etc.
MRP Name: Enter a unique name for the MRP
Description: Enter a meaningful description for the MRP

Inv Org: Enter an inventory organization name. Inv Org is a mandatory field.
Source List: Source list of the MRP
Scroll left, right, up, and down to view all the details. The line details are shown in a separate tab. The default configuration shows fields in various functional groups, such as
- Finance
- Entity
- Reference
- Data
- Control
- Etc

You can configure the application to show which fields should be shown under which group. You can also create new groups as per your business requirements.
All Fields
| Sequence | Name | Label | InputType | Field Group |
|---|---|---|---|---|
| 10 | vvInvOrgName | Inv Org Name | defferedSelect | ENTITY |
| 10 | vvInvOrgCode | Inv Org Code | defferedSelect | ENTITY |
| 20 | vvMdsSourceList | Mds Source List | defferedSelect | DEFAULT |
| 30 | fpMdsHeaderId | Fp Mds Header Id | defferedSelect | REFERENCE |
| 40 | invOrgId | Inv Org Id | defferedSelect | REFERENCE |
| 50 | mdsName | Mds Name | InputType.textField | DEFAULT |
| 60 | description | Description | InputType.textField | DEFAULT |
| 70 | mdsSourceListId | Mds Source List Id | defferedSelect | REFERENCE |
| 80 | includeSoCb | Include So Cb | InputType.switchField | DEFAULT |
| 90 | consumeSoCb | Consume So Cb | InputType.switchField | DEFAULT |
| 100 | isInactiveCb | Is Inactive Cb | InputType.switchField | DEFAULT |
| 150 | docStatus | Doc Status | InputType.select | CONTROL |
| 160 | srcEntityName | Src Entity Name | defferedSelect | DEFAULT |
| 170 | srcEntityId | Src Entity Id | InputType.text | REFERENCE |
| 5110 | createdBy | Created By | InputType.text | REFERENCE |
| 5120 | creationDate | Creation Date | InputType.text | REFERENCE |
| 5130 | lastUpdatedBy | Last Updated By | InputType.text | REFERENCE |
| 5140 | lastUpdateDate | Last Update Date | InputType.text | REFERENCE |
Demand
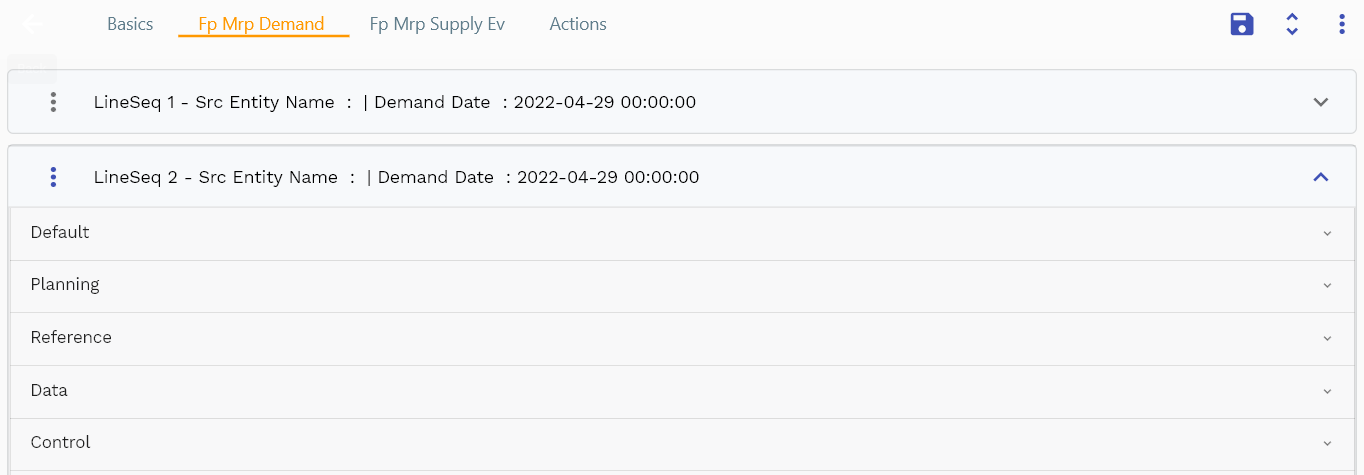
The demand tab shows all the demands collected and created by the MRP run. The system collects demands from MDS as independent demand and creates dependent demand from the planned orders. Though you can review and update the demand data, system will not use it for any purpose. If any formation (forecast quantity, lead times, order modifiers, etc.) is wrong, you need to correct the source entity and re-run MRP.
Navigate to the demands tab to view items.

Item Number Item number of the demand line for which the system will validate and create supply
UOM Code UOM measure of the demand item that the system will use in demand & supply analysis
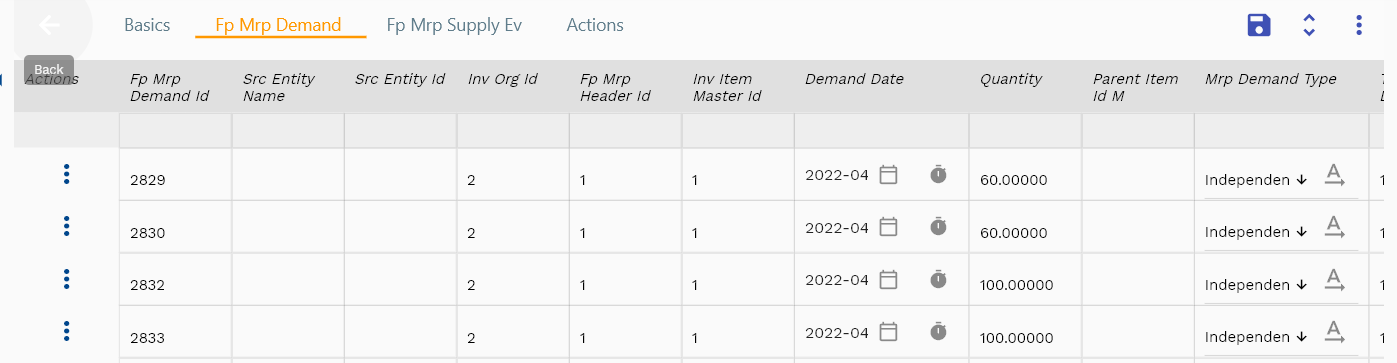
Quantity The demand quantity
Demand Date The demand date on which supply must be available—forecast date for forecast demands and scheduled ship date for sales order demands.
Demand Type Type of demand
- Independent: Sales order and forecast demands
- Dependent: Demands created by MRP from Independent demand

Parent Item Id M The inventory item id of the parent item. Available only for dependent demands.
TopLevel Demand Item Id M The inventory item id of the top-level independent item. Available only for dependent demands.
The reference groups show various ids for reference only. You don't need to enter any information in this section. When you save an MRP for the first time, the system will auto-populate the newly created header id and line ids.
Scroll left, right, up, and down view all other fields.

Enter all the other fields and click on the save button to save the MRP. The app will post all the data to the server and will show the messages returned from the server.
All Fields
| Sequence | Name | Label | InputType | Field Group |
|---|---|---|---|---|
| 10 | vvItemNumber | Item Number | defferedSelect | DEFAULT |
| 10 | vvItemDescription | Item Description | defferedSelect | DEFAULT |
| 20 | vvUomCode | Uom Code | defferedSelect | DEFAULT |
| 30 | vvInvOrgId | Inv Org Id | defferedSelect | REFERENCE |
| 40 | vvConsumedQuantity | Consumed Quantity | InputType.text | DATA |
| 50 | forecastAvailableQuantity | Forecast Available Quantity | InputType.textField | DATA |
| 60 | fpMdsLineId | Fp Mds Line Id | InputType.text | REFERENCE |
| 70 | fpMdsHeaderId | Fp Mds Header Id | defferedSelect | REFERENCE |
| 80 | srcEntityName | Src Entity Name | defferedSelect | DEFAULT |
| 90 | srcEntityId | Src Entity Id | InputType.text | REFERENCE |
| 100 | invItemMasterId | Inv Item Master Id | defferedSelect | REFERENCE |
| 110 | demandDate | Demand Date | InputType.date | PLANNING |
| 120 | quantity | Quantity | InputType.textField | DATA |
| 130 | sdSoDetailId | Sd So Detail Id | defferedSelect | REFERENCE |
| 140 | fpForecastDetailId | Fp Forecast Detail Id | InputType.number | PLANNING |
| 150 | sourceType | Source Type | InputType.select | CONTROL |
| 160 | sourceHeaderId | Source Header Id | InputType.text | REFERENCE |
| 170 | sourceLineId | Source Line Id | InputType.text | REFERENCE |
| 220 | docStatus | Doc Status | InputType.select | CONTROL |
| 5180 | createdBy | Created By | InputType.text | REFERENCE |
| 5190 | creationDate | Creation Date | InputType.text | REFERENCE |
| 5200 | lastUpdatedBy | Last Updated By | InputType.text | REFERENCE |
| 5210 | lastUpdateDate | Last Update Date | InputType.text | REFERENCE |
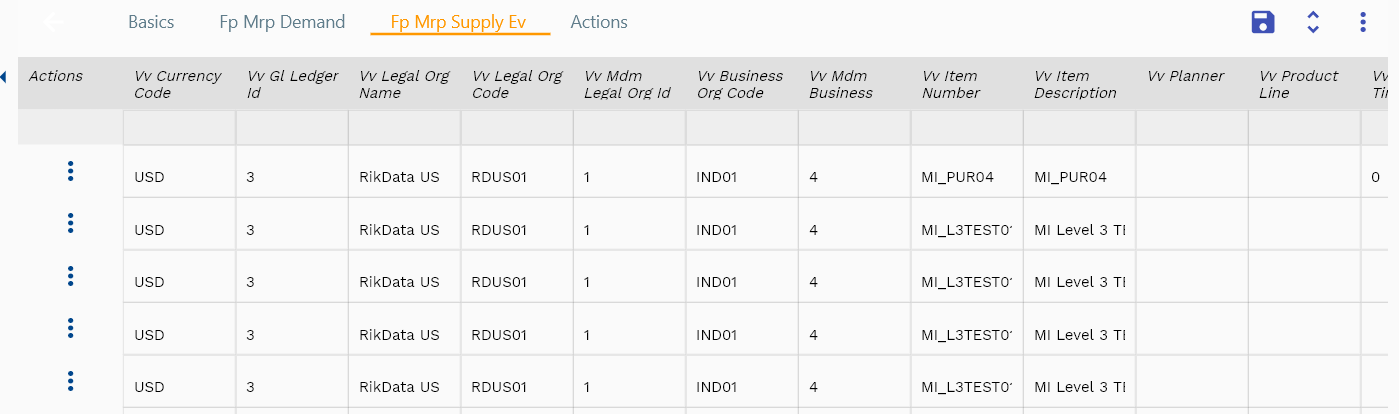
Supply
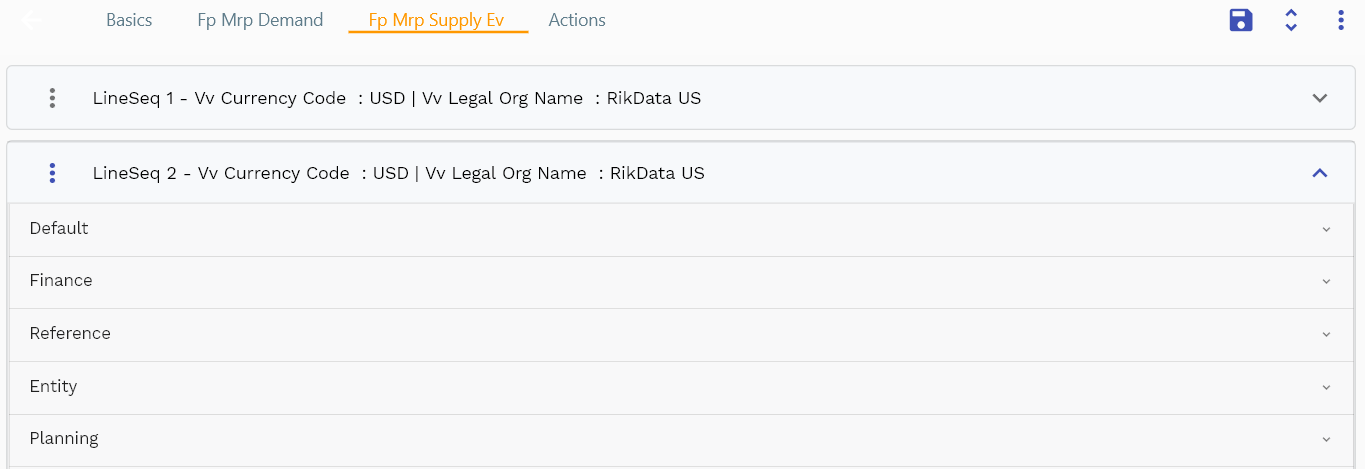
Navigate to the Supply tab to view the supply details. The supply tab shows all the supplies collected and created by the MRP run. The system collects supplies from inventory, purchasing, and manufacturing modules.
The system considers all below supplies that are in draft/confirmed status (i.e., not closed/canceled)
- Open purchase order
- Open requisitions
- Open work orders
- Inventory OnHand
The system does not consider any requisition or work orders in interface tables. Thus, always import supplies from interface tables before running MRP.
To view all the supply details of a given line in a table format, click on the popup icon in the heading. The system will show you all the details on a separate screen. You can also view the details as a list or in a simple data entry form. Click on the corresponding icon to view the data in that specific format.

Click on the close button to navigate back to the original screen. You can also press the escape button on your keyboard to remove the screen.

Item Number ViewOnly field. The system shows the item number on the MRP line for reference purposes.
UOM Code ViewOnly field. The system shows the UOM code on the MRP line for reference purposes.

Quantity The supply quantity of a collected supply or a planned order.
Supply Date The supply date on which supply is/ will be available.

The reference groups show various ids for reference only. You don't need to enter any information in this section. When you save an MRP for the first time, the system will auto-populate the newly created header id and line ids.
Scroll left, right, up, and down view all other fields.

Enter all the other fields and click on the save button to save the MRP. The app will post all the data to the server and will show the messages returned from the server.

Suggested Supply Date System populates this value for planned orders. The date is used as needed by the date for purchase requisition and the completion date for work orders.
Make Or Buy system collects the make or buy value from the item master. The system suggests planned work orders for make items, and for the buy items, the system suggests planned purchase requisitions.

Supply Type The type of supply. The system shows the collected supply type for collected supplies such as Inventory OnHand, Purchase Order, Work Order, etc. For planned orders system populates planned orders for requisition or planned orders for work orders.
.

All Fields
| Sequence | Name | Label | InputType | Field Group |
|---|---|---|---|---|
| 10 | vvSoNumber | So Number | InputType.text | DATA |
| 10 | vvSoLineNumber | So Line Number | InputType.text | DATA |
| 20 | vvSoShipmentNumber | So Shipment Number | InputType.text | DATA |
| 30 | vvOrigSoQuantity | Orig So Quantity | InputType.text | DATA |
|40|vvFpMdsHeaderId| Fp Mds Header Id |defferedSelect|REFERENCE| |50|vvForecastDate| Forecast Date |InputType.text|PLANNING| |60|vvOrigForecastQuantity| Orig Forecast Quantity |InputType.text|DATA| |70|fpMdsDetailId|Fp Mds Detail Id |InputType.text|REFERENCE| |80|fpMdsLineId|Fp Mds Line Id |InputType.text|REFERENCE| |90|srcEntityName|Src Entity Name |defferedSelect|DEFAULT| |100|srcEntityId|Src Entity Id |InputType.text|REFERENCE| |110|fpForecastLineId|Fp Forecast Line Id |InputType.number|PLANNING| |120|sdSoDetailId|Sd So Detail Id |defferedSelect|REFERENCE| |130|fpForecastGroupId|Fp Forecast Group Id |InputType.number|PLANNING| |140|fpForecastDetailId|Fp Forecast Detail Id |InputType.number|PLANNING| |150|soQuantity|So Quantity |InputType.textField|DATA| |160|forecastQuantity|Forecast Quantity |InputType.textField|DATA| |170|consumptionQuantity|Consumption Quantity |InputType.textField|DATA| |180|reason|Reason |InputType.text|REFERENCE| |5190|createdBy|Created By |InputType.text|REFERENCE| |5200|creationDate|Creation Date |InputType.text|REFERENCE| |5210|lastUpdatedBy|Last Updated By |InputType.text|REFERENCE| |5220|lastUpdateDate|Last Update Date |InputType.text|REFERENCE|
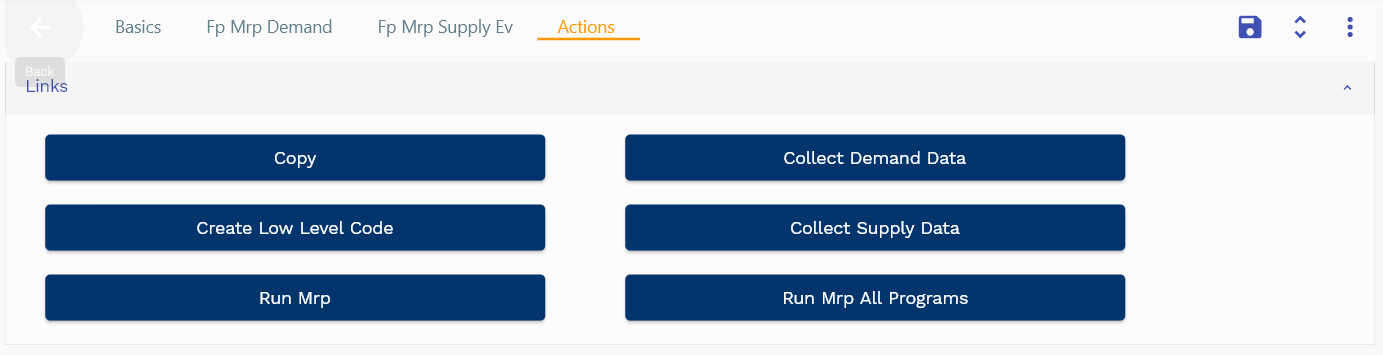
Actions
Actions allow you to change, collect, refresh and create planned orders for the MRP. Click on "Run all MRP programs" to run all MRP programs in the required sequence. The system will run and wait for each program to complete before starting the next program in sequence. You can also run each program individually.
Copy Copy the MRP to a new MRP. It copies only the header-level data. The demands and supplies are not copied. You need to run all the programs in the copied MRP to collected demands.
Collect Demands Collects all demands from the MRP source list.
Create Low-Level Code Creates the low-level code as per the latest available BOM structure
Collect Supply Data Collects all the supplies for the inventory org specified in the MRP plan
Run MRP Creates netting, offsetting, dependent demands, and planned orders.
Process Steps
- Collect Demand Data
Copy all demand data (as per the MRP source list) to MRP demands
MRP demands contain all demands copied from MDS as independent demand - Create low-level codes of all the distinct items in MRP
- Get all distinct items and add them as level 0 in the low-level code table (item and parent item are the same)
- For each item, find the BOM components and add them as level 1 with the parent item
- For each level 1 item, check if BOM components exist; if yes, add them as level 2 with level 1 item as parent
- Continue till all the items are added (a level at which items don't have any BOM)
- Low-level code is the maximum value of an item in a low-level code table
- Collect Supply Data
- OnHand
- Purchase Orders
- Purchase Requisitions
- Work Orders
- Create planned orders for items in Independent Requirement with low-level code 0
- Find all demands date-wise
- Offset demand by lead-time (1. Mfg Lead Time 2. Purchasing LT ) (Pre, Post, Processing)
- Net all supplies (OnHand, Open POs, WOs, Requisitions)
- Create Planned Orders
- Create dependent demand
- Repeat step for all levels till the lowest level