Routing
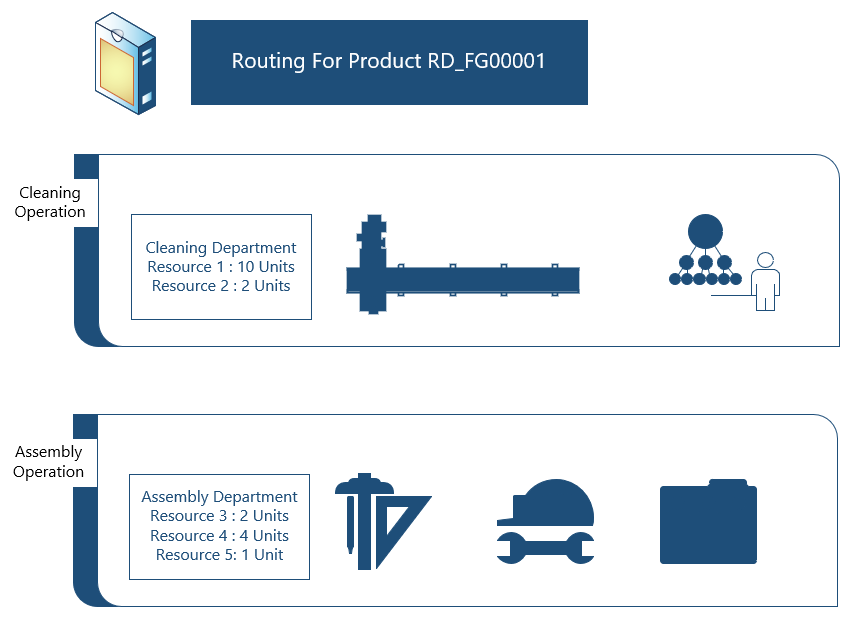
A routing is a list of operations with department and resource details that is required to manufacture a product. In inoERP, routings are maintained in a single level and are assigned to BOMs through a work definition. The system allows you to maintain multiple routings for the same item to serve different business purposes. Ex: You can maintain separate routing for Cost Roll-Up/Lead Time Calculation/What-If Analysis/Planning. The manufacturing process does not directly interact with any routing as you are required to define work definition with your primary routing that you want to use for manufacturing.
Before defining routing for an item, you need to define
- Resource
- Department
Resource
Define manufacturing resources to represent resources required on the shop floor for production-related activities. Resources are defined at the inventory organization level and assigned to departments. Resources can be physical (machines, work centers, tooling, process materials), money or human. They usually have cost, time, or technical constraints associated with them.
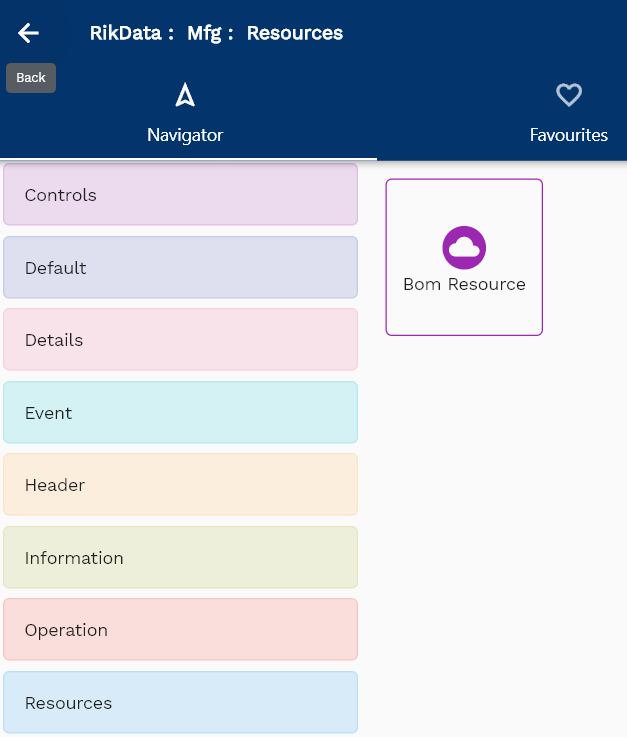
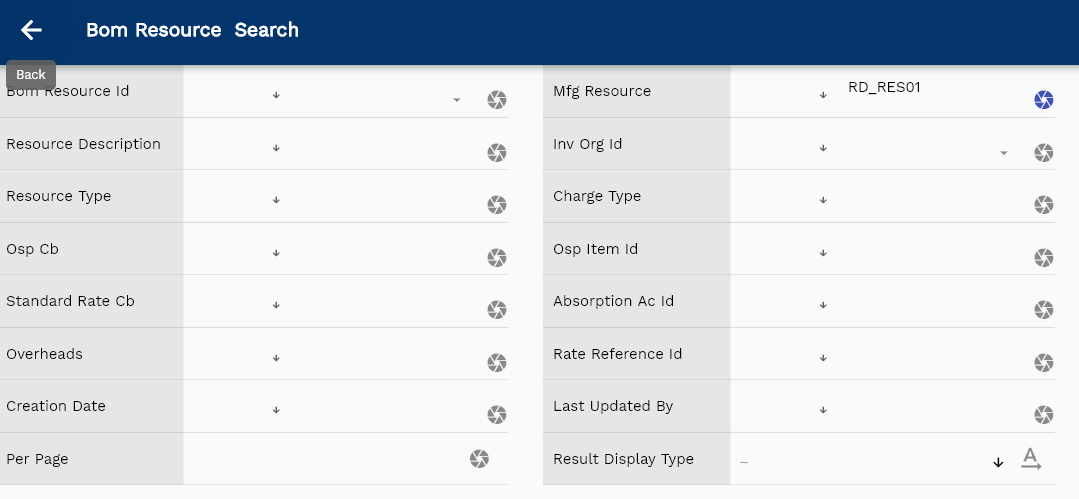
To create/view/update a Resource, navigate to the "Resource" search screen from your dashboard/favorite.
Enter the Organization/Resource details or any other criteria in the search form and click on the search button.
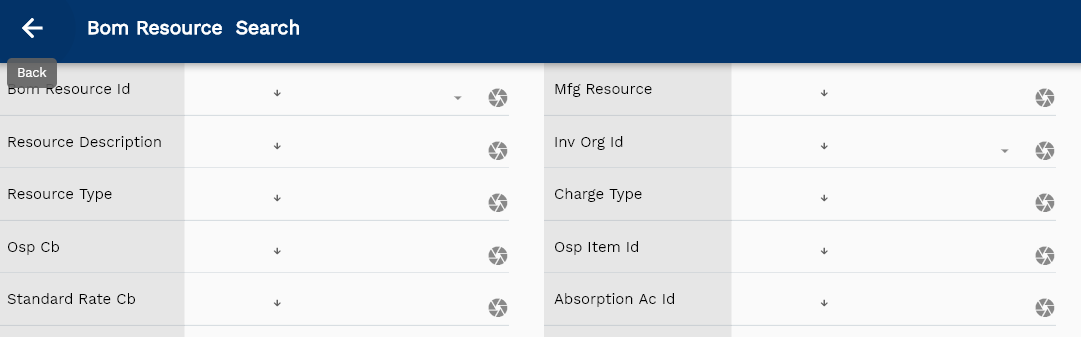
If you don't enter resource details, the system will show you all the Resources defined across all organizations. If your organization has configured to make any field mandatory for search, then you have to enter those fields to search Resources.
The application will fetch all the server data and take you to the search result screen. The search result screen looks a bit different on desktop and mobile devices.

To view the search result in a table format, click on the table icon available on the bottom left corner.
To create a new resource, click on the create new button available on search screen actions. It's always advisable to copy an existing resource. You can copy a resource from the search result screen.
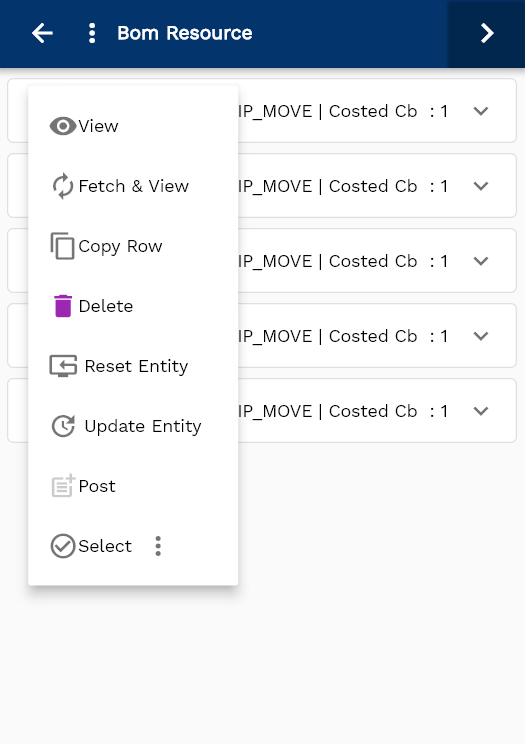
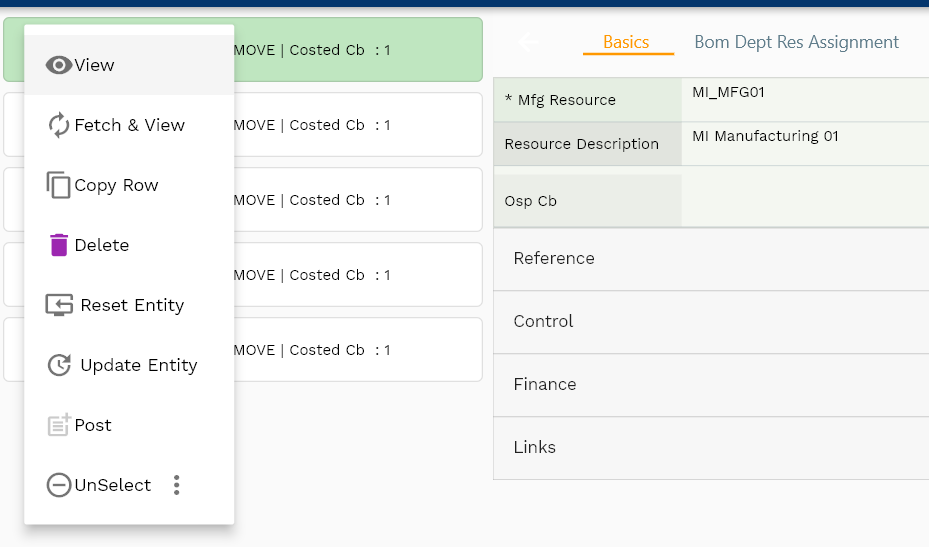
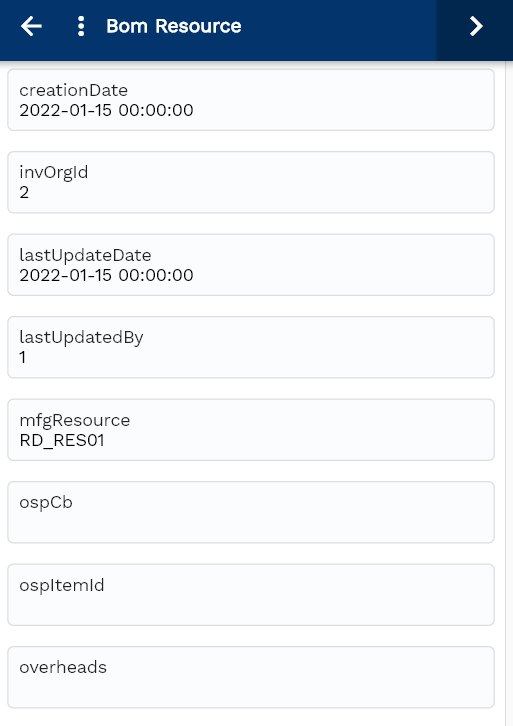
To open a specific Resource, click on the menu of that record, and click on view/fetch & view.
You can also click on the expand icon against any record on the search result screen to view the Resource header details such as Resource name, type, UOM Code, etc.
The system will fetch all the data related to the selected Resource. The Resource details are shown either right to the search result screen or in a separate screen, depending on the device size.
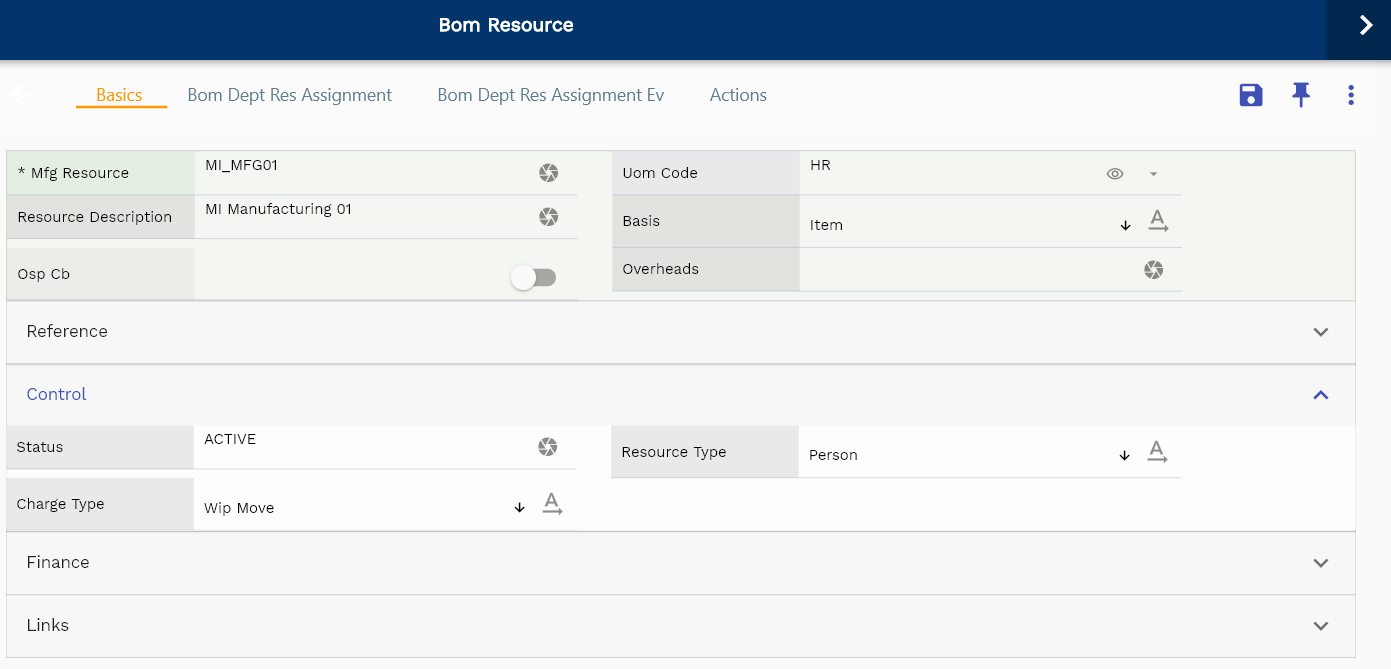
You can modify any available field for update and click on the save button to save the changes. The app will post all the data to the server and will show the messages returned from the server.
Scroll left, right, up, and down view all the tabs and fields.
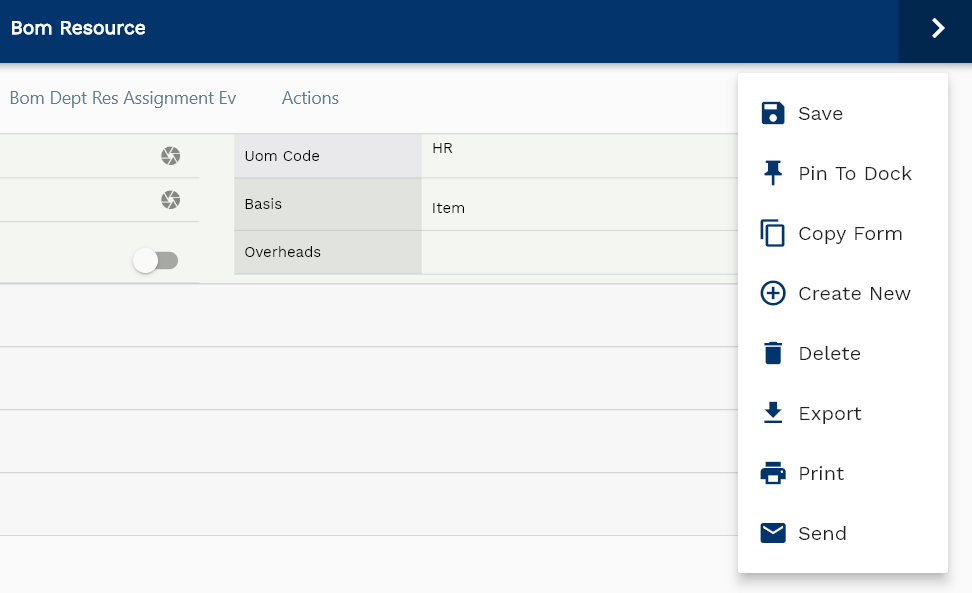
You can copy this Resource to a new resource by clicking on the copy button available on the action menu.
You can also use copy function available on search result action menu.
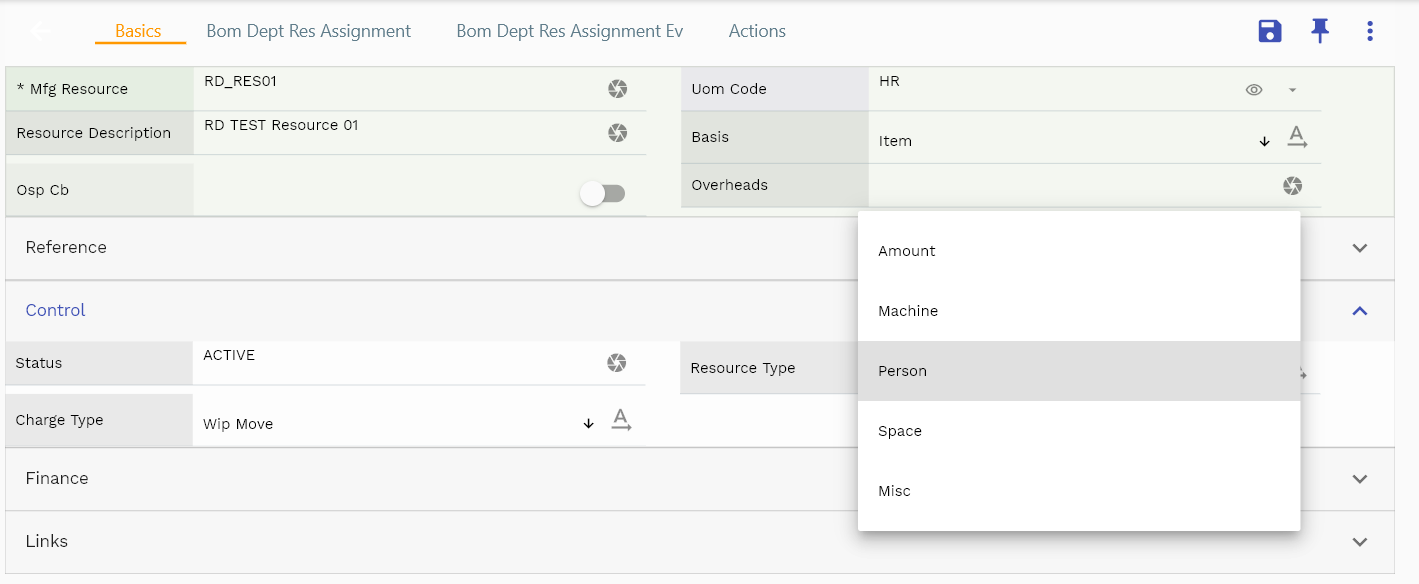
Resource type and Resource charge type are mandatory fields.
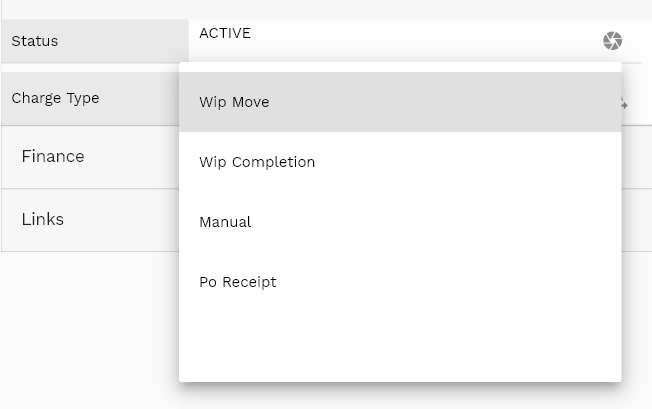
-
WIP Move
WIP Move resources are automatically issued/returned at their standard rate as you move assemblies from one operation to another. You can also manually charge WIP Move resources to track extra resource usage. -
Manual
Manual resources are issued/returned independently of any move transactions using the transaction screen. -
PO Move
PO-related resources are automatically issued/returned at PO price as you move assemblies from one operation to another.
Click on the save button to save the changes.
Navigate back to the search screen and search the newly created department.
Review all the details by clicking on view/fetch & view button on search result action menu
Department
Define manufacturing departments to represent physical location and operation teams directly involved in production activities. Departments are defined at the inventory organization level. All manufacturing operations are created with in a department. So, you first need to create resources, assign resources to department before creating operations.
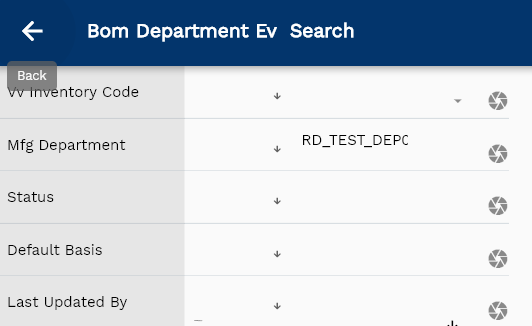
To create/view/update a Department, navigate to the "Department" search screen from your dashboard/favorite.
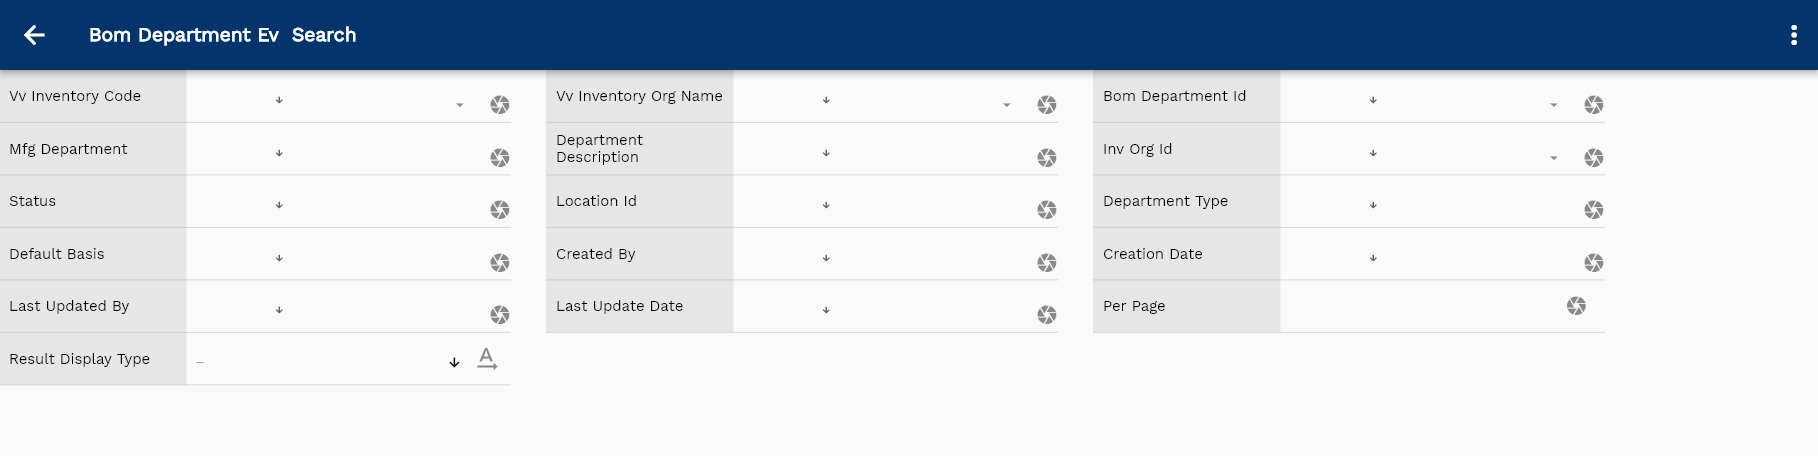
Enter the Organization/Department details or any other criteria in the search form and click on the search button.

If you don't enter Department details, the system will show you all the departments defined across all organizations. If your organization has configured to make any field mandatory for search, then you have to enter those fields to search departments.
The application will fetch all the server data and take you to the search result screen. The search result screen looks a bit different on desktop and mobile devices.
To view the search result in a table format, click on the table icon available on the bottom left corner.
To create a new department, click on the create new button available on search screen actions. It's always advisable to copy an existing Department. You can copy a Department from the search result screen.
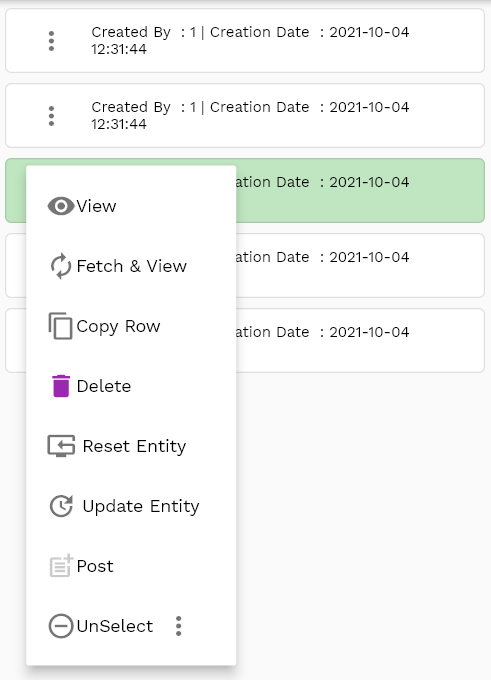
To open a specific Department, click on the menu of that record, and click on view/fetch & view.
You can also click on the expand icon against any record on the search result screen to view the Department header details such as Department name, type, UOM Code, etc.
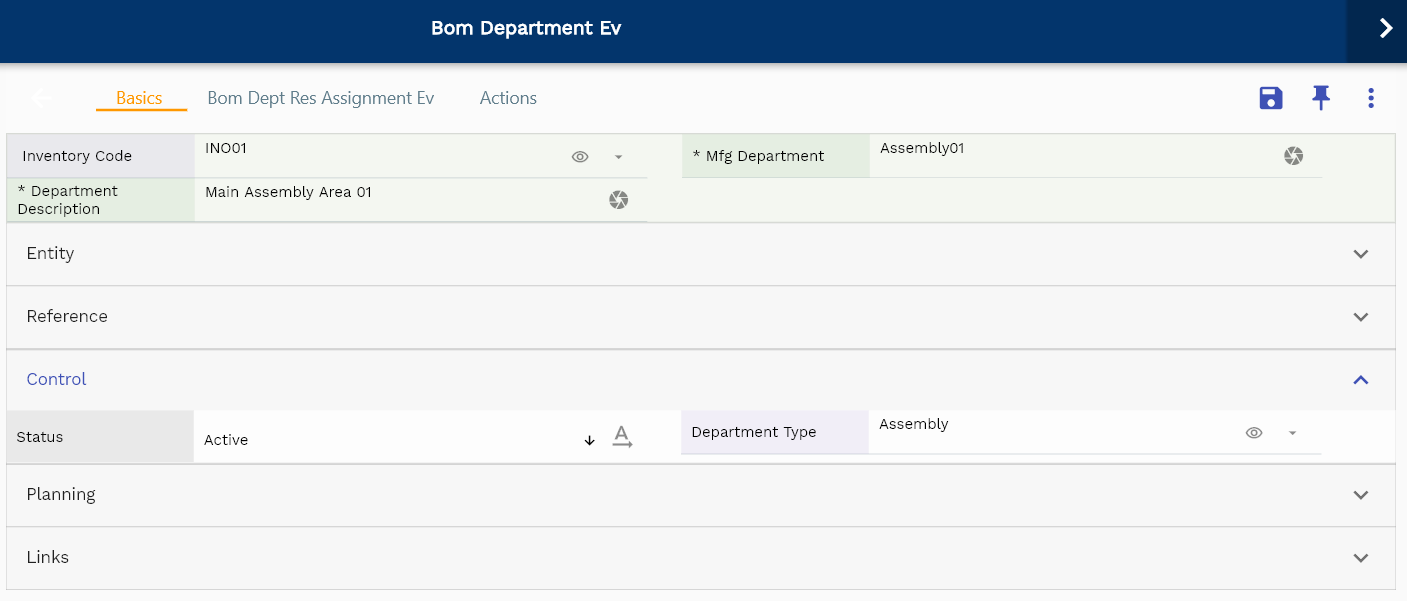
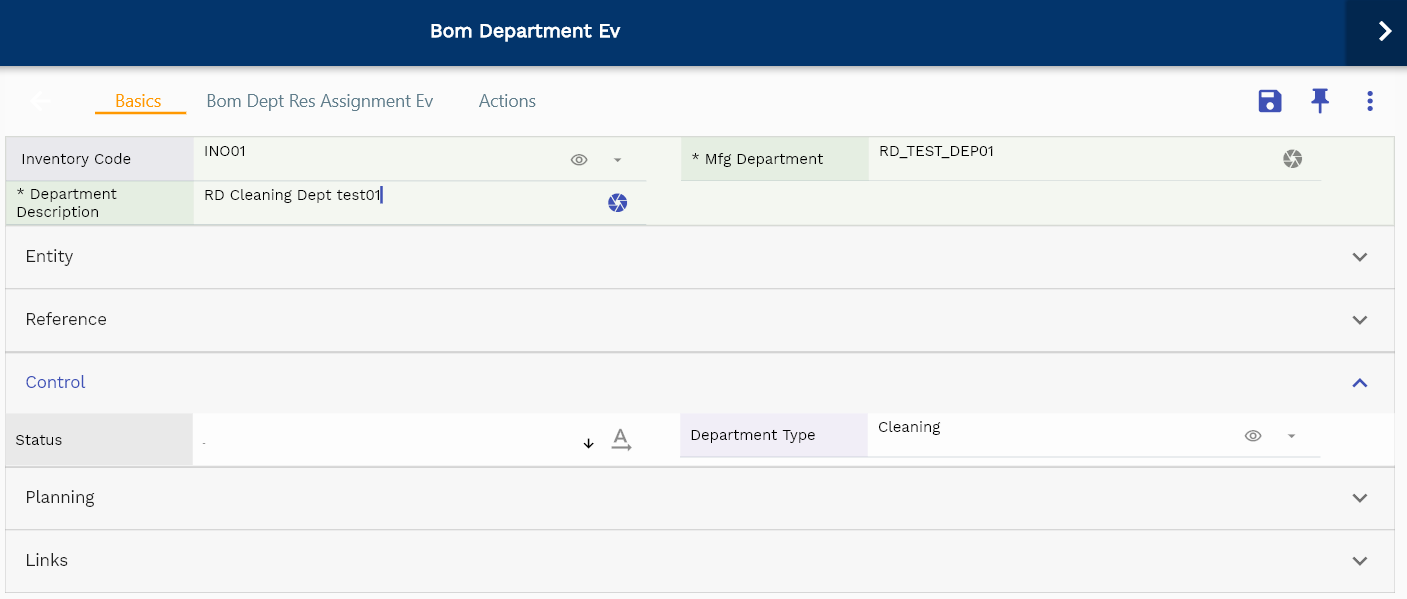
You can modify any available field for update and click on the save button to save the changes. The app will post all the data to the server and will show the messages returned from the server.
Scroll up and down to view all the details of the department.
Navigate to Department Resource Assignment to view resources assigned to the department
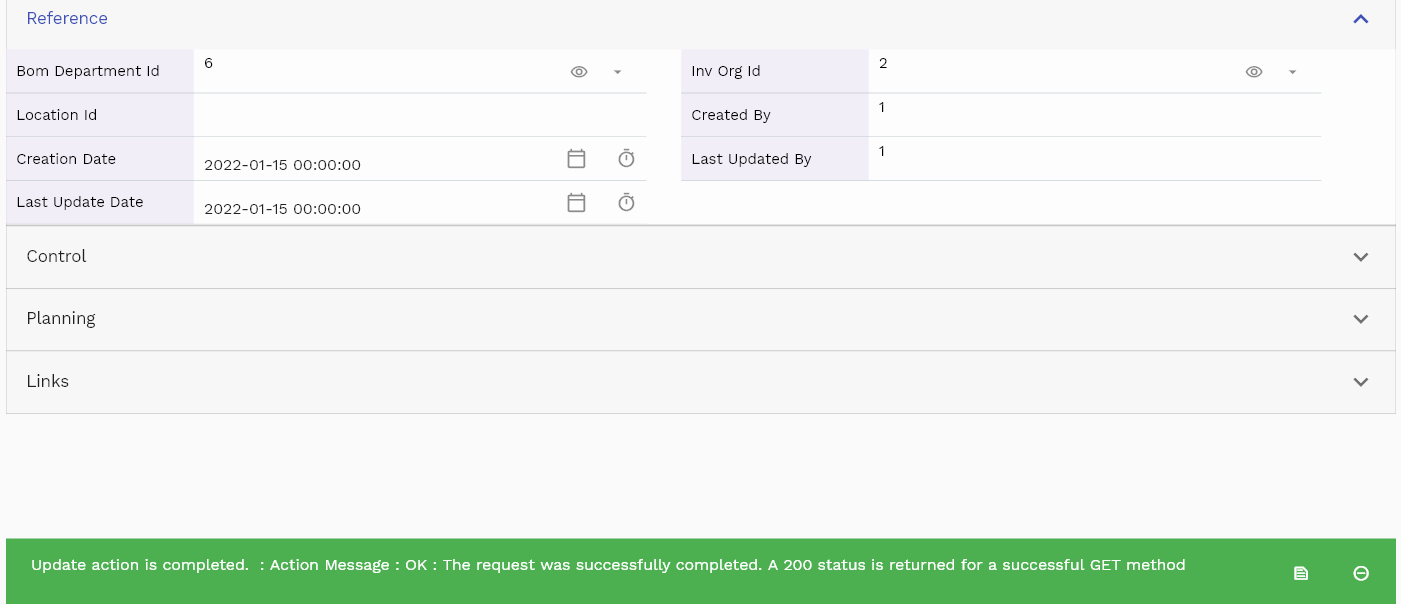
The system will fetch all the data related to the selected department. The department details are shown either right to the search result screen or in a separate screen, depending on the device size.
You can modify any available field for update and click on the save button to save the changes. The app will post all the data to the server and will show the messages returned from the server.
Scroll left, right, up, and down view all the tabs and fields.
You can copy this Department to a new Department by clicking on the copy button available on the action menu.
You can also use copy function available on search result action menu.
Navigate back to the search screen and search the newly created department.
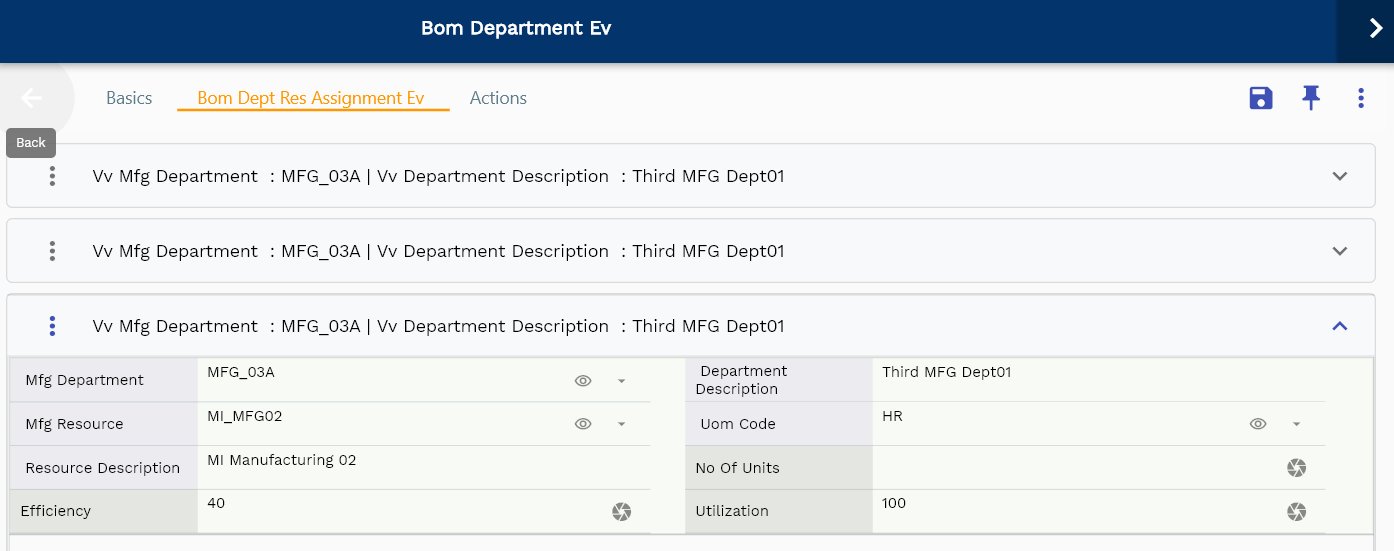
Navigate to Resource assignment Tab to add resources to the newly created department

Click on the action menu on "No records found" message and click on add new entity.
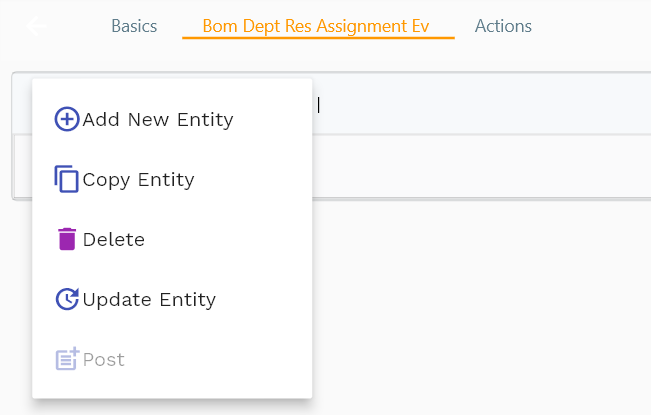
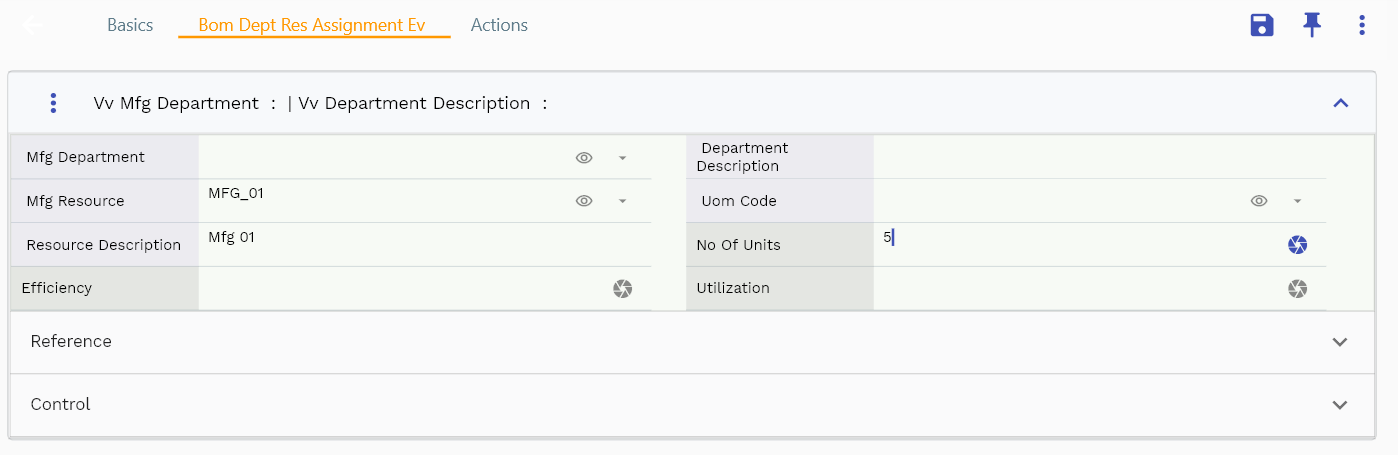
System will add a black resource assignment form. Enter all the resource details such as
- Resource
- No Of Units
- UOM Code
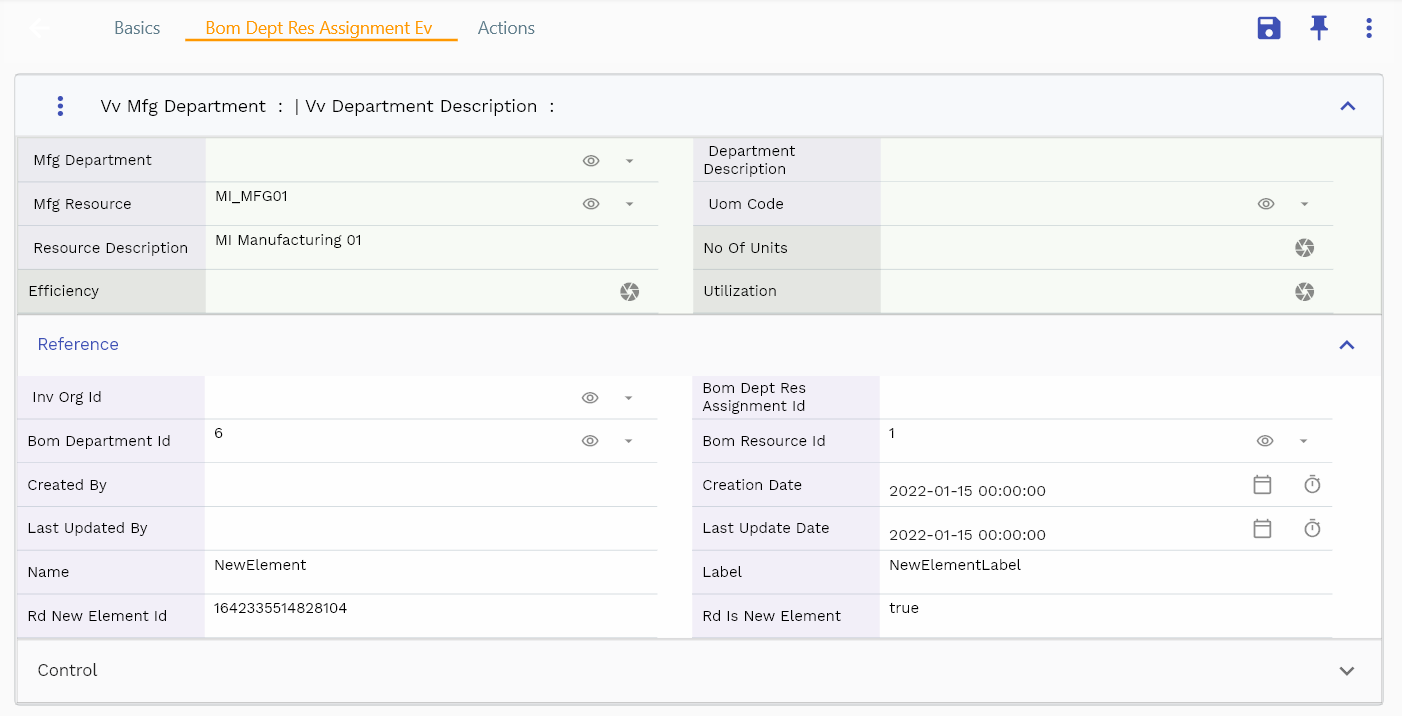
System default UOM code from the resource. However, you can change it on the assignment screen.
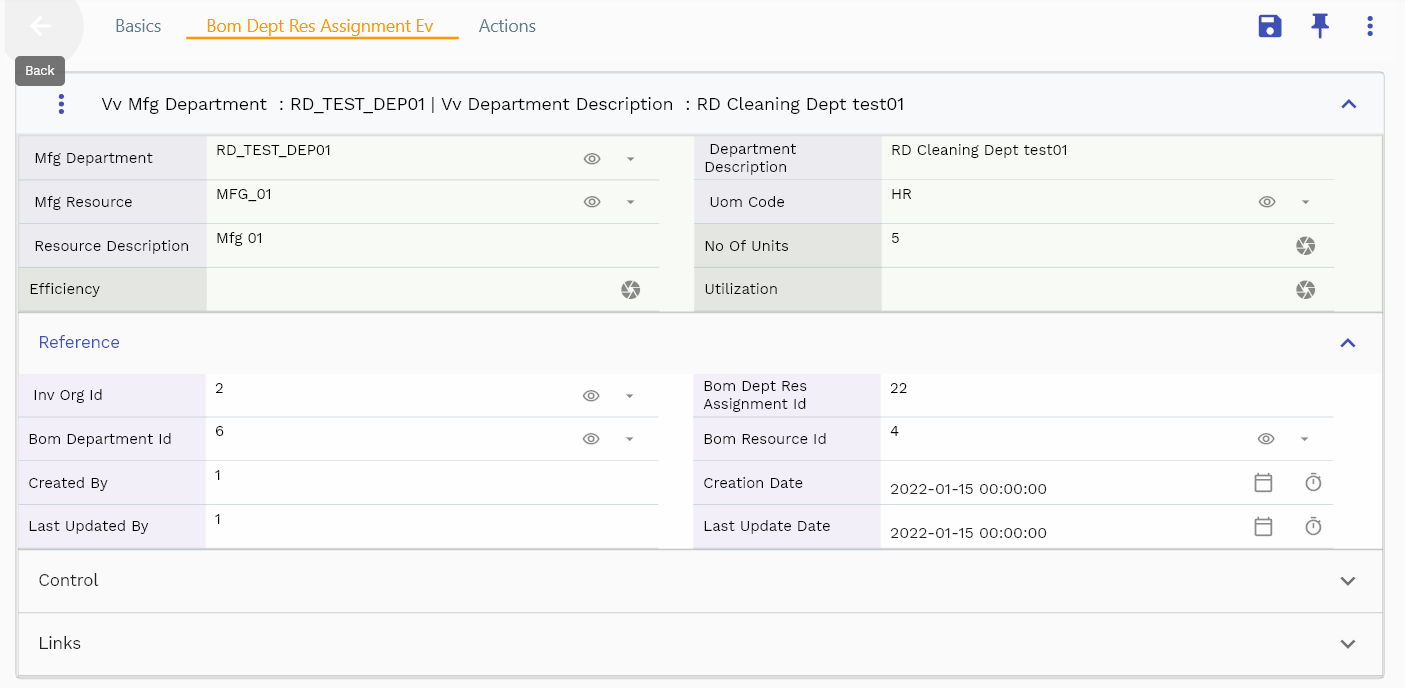
If required, click on the add new entity button again to add another resource to the department.
Enter all the details and click on the save button to assign all the resources to the department.
Create Routing
Navigate to the "Routing" search screen from your dashboard/favorite to create a Routing.
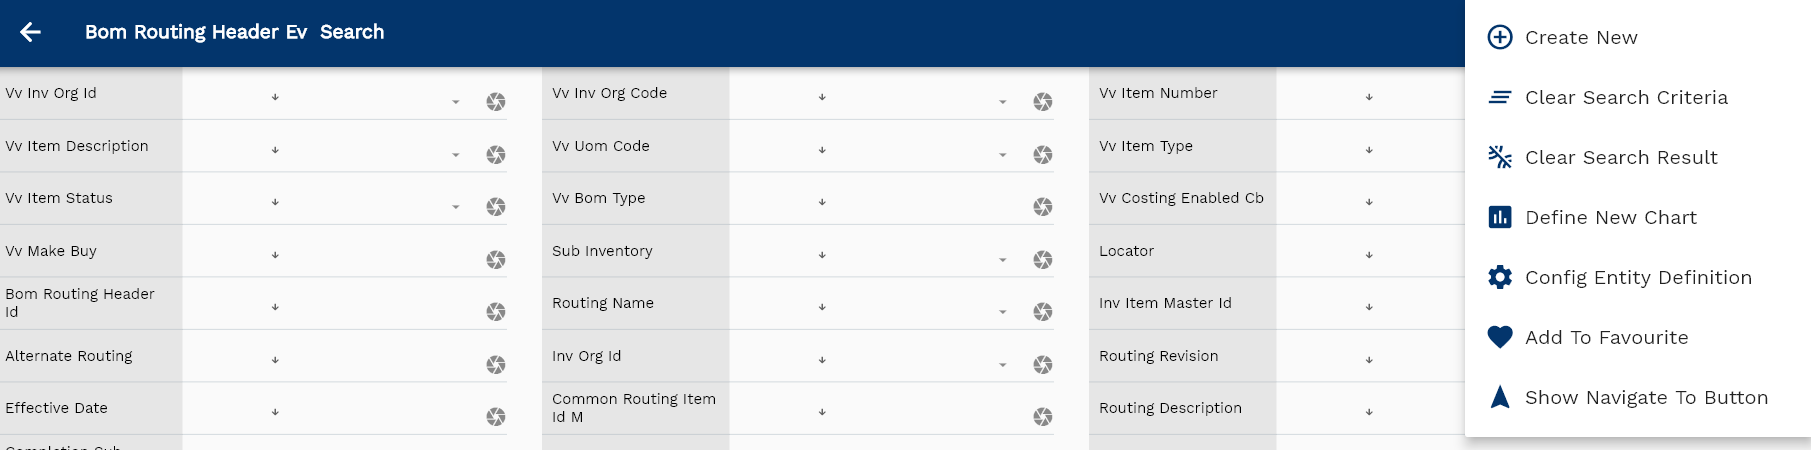
Click on the create new button available on search screen actions.
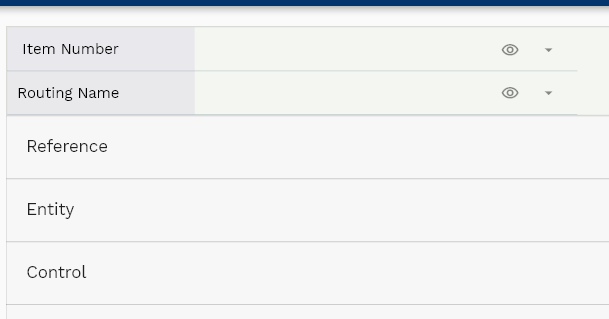
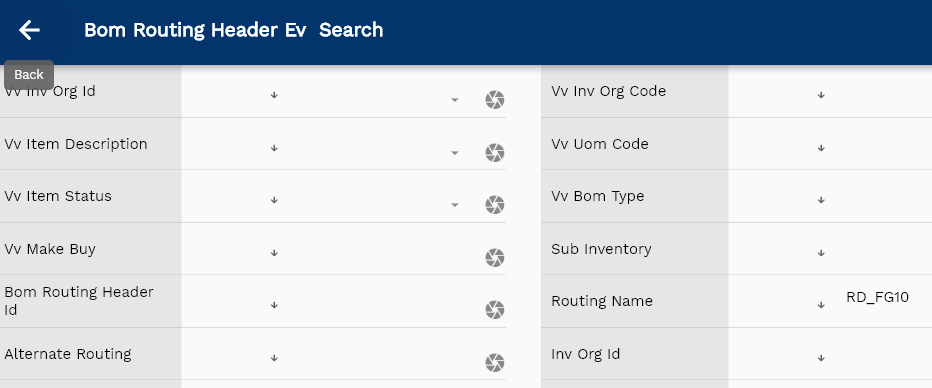
The system will take you to a Routing header form to enter the item number and other details.

Click on the LOV icon next to the item number. The app will show a new popup screen to search Finished Good item number.
Enter the item number or any other criteria and click on the search button.
The application will fetch all the server data and take you to the search result screen. The search result screen looks a bit different on desktop and mobile devices.
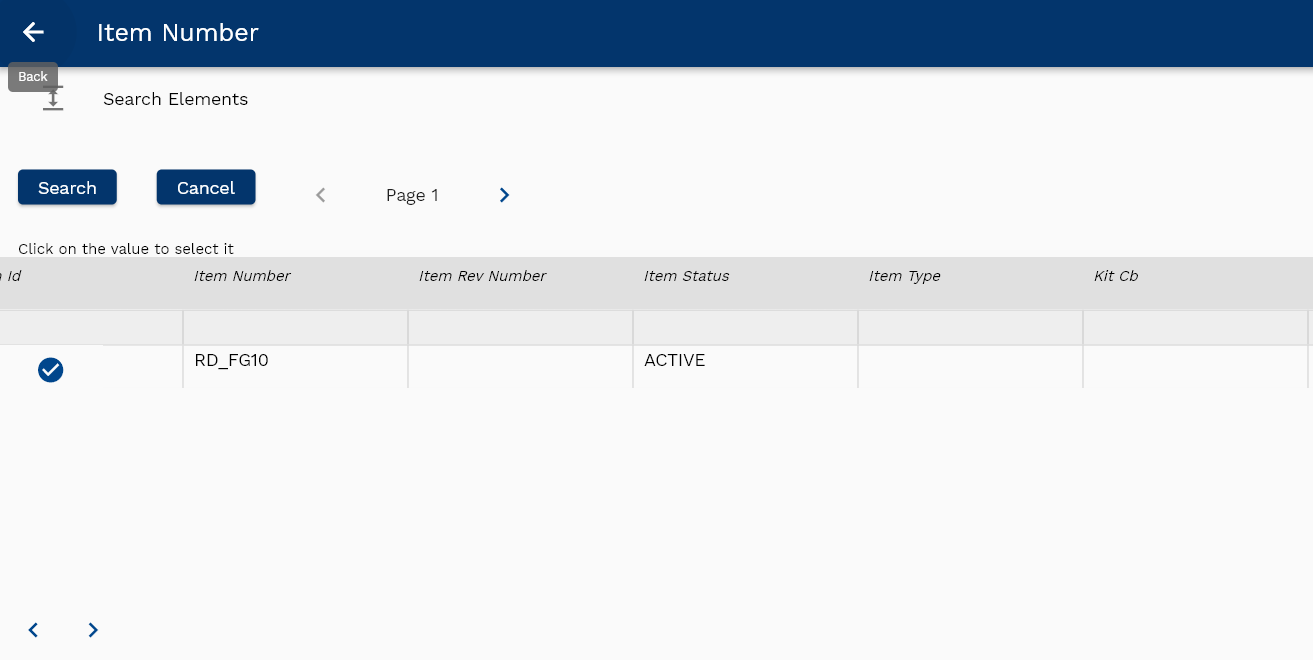
To view the search result in a table format, click on the table icon available on the bottom left corner.
Select the item for which you want to create Routing.
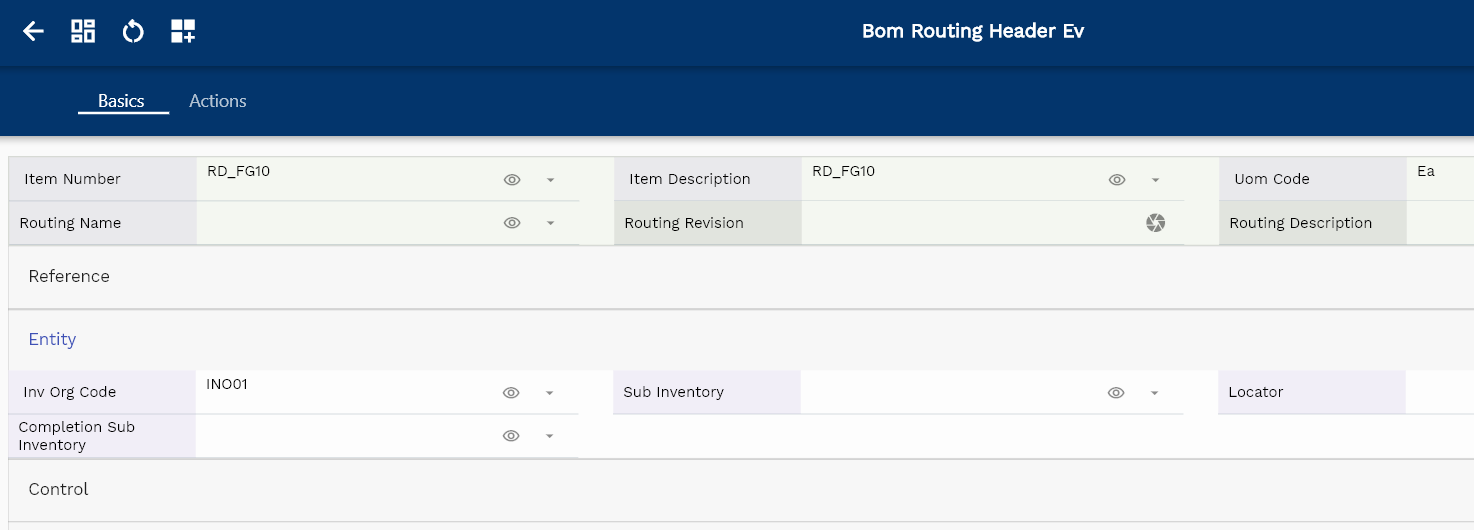
The item will default the UOM and Organization code from the item master.
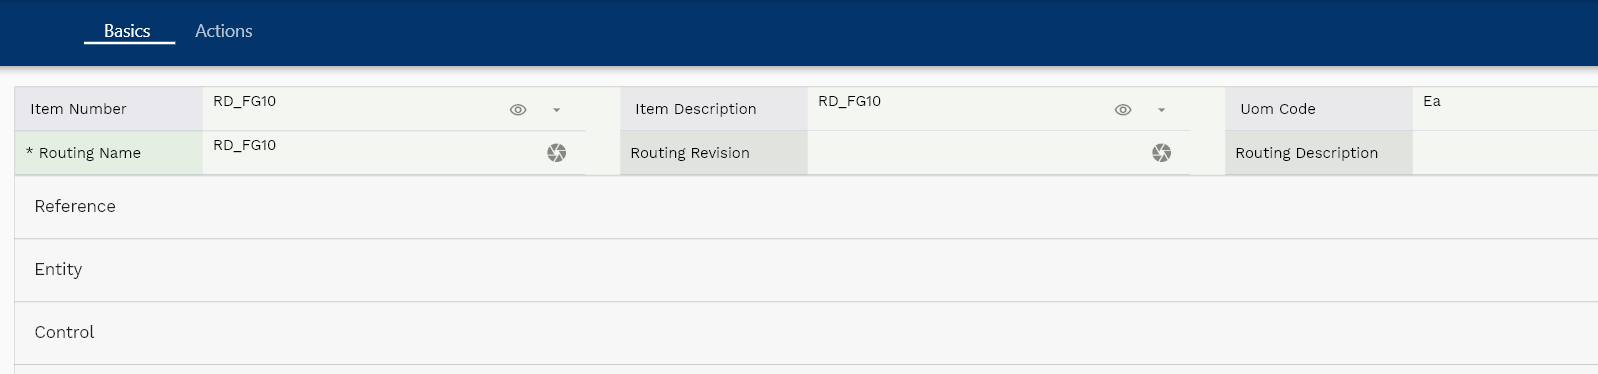
Review all the header details.
If required, modify any data and click on the Save button to create a Routing header. The app will post all the data to the server and will show the messages returned from the server.
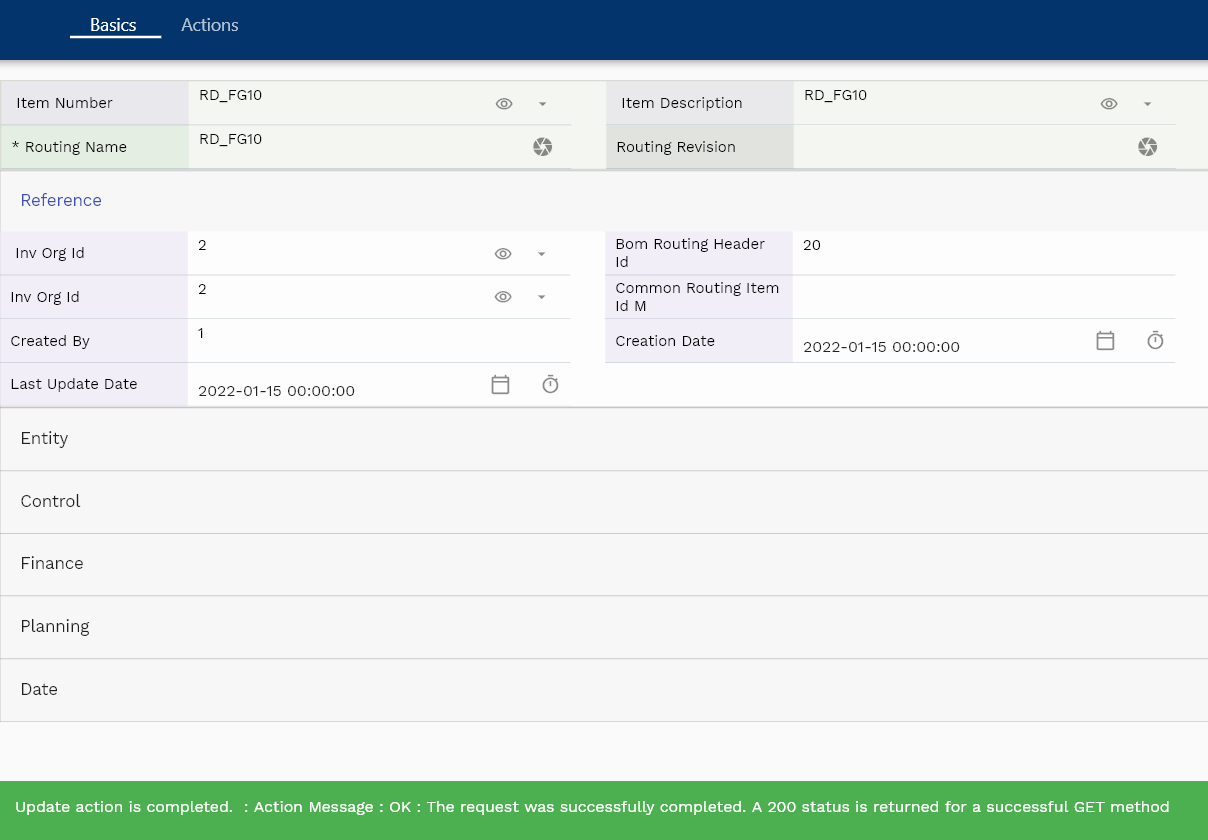
Navigate back to the search screen and search the newly created Routing Header.
Navigate to the lines tab to add components to the Routing header.
The default configuration shows all the components items in separate tabs. You can also configure the application to show other tabs with details such as
- Work definitions created using the current Routing
- Work orders created using the current Routing
- Open work orders using the current Routing,
- etc
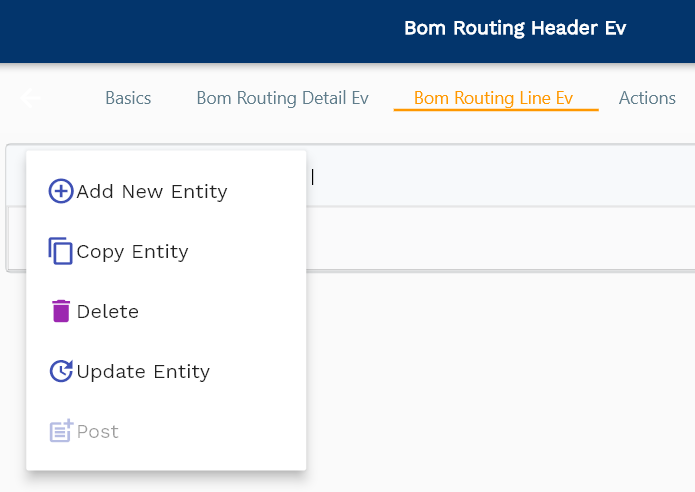
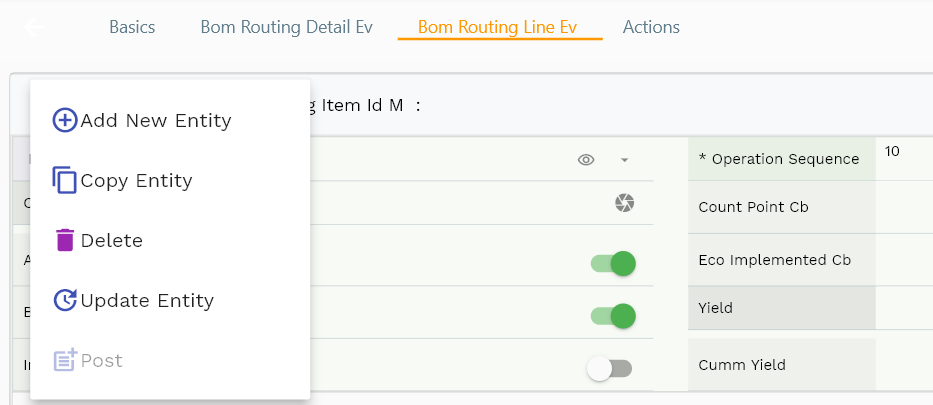
Add Operation
To add a new operation to the Routing header, click on add new entity. The system will add a new form to add components to the Routing.
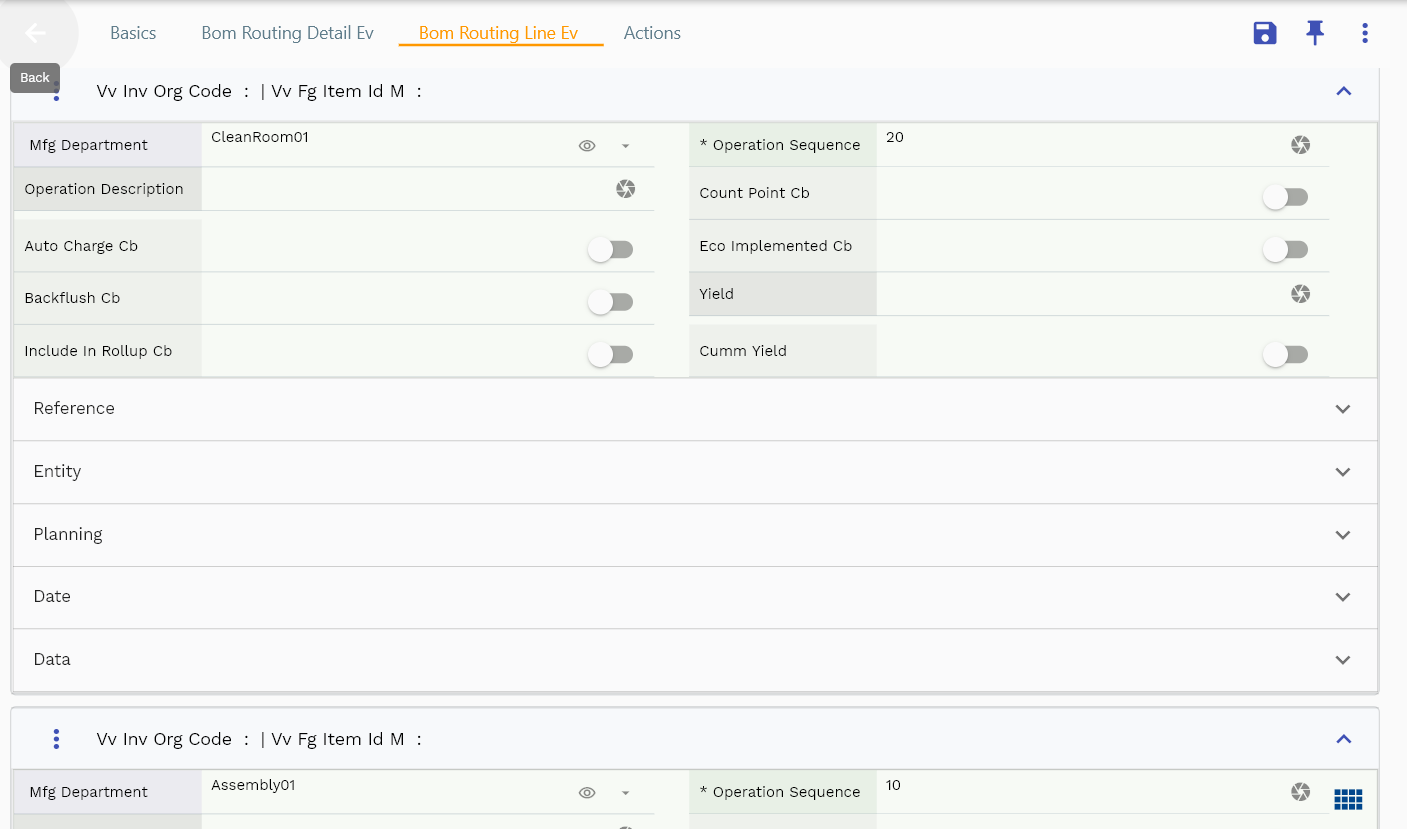
Enter all the mandatory fields such as
- Operation Sequence
- Department
- Usage Quantity
System will show only departments created in the current inventory organization.
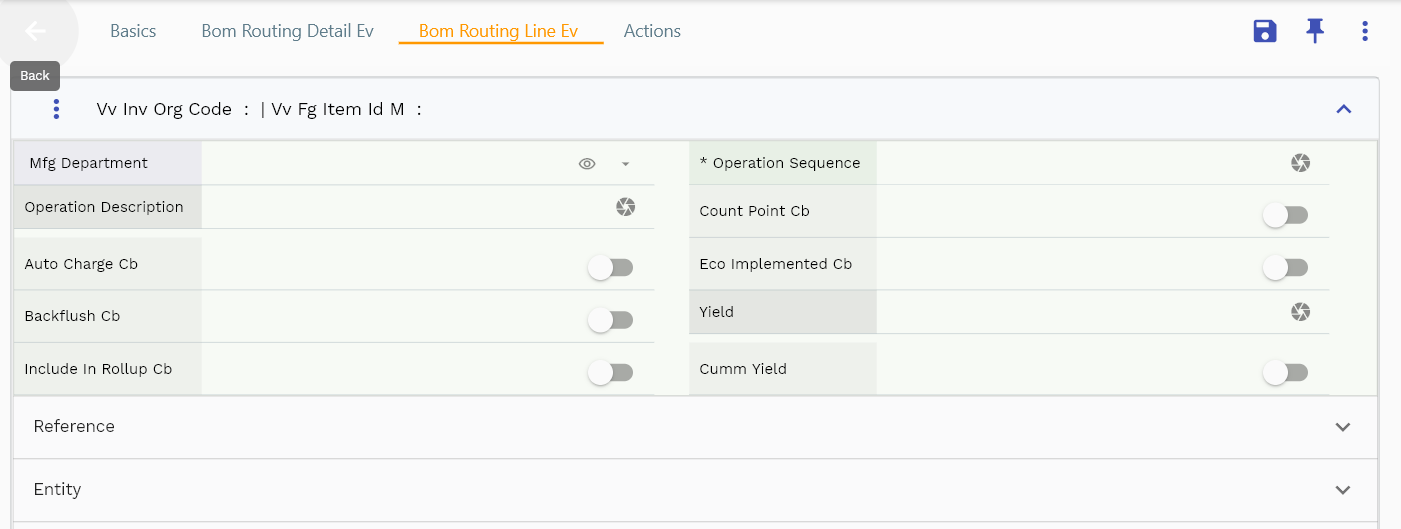
Click on the select icon on manufacturing department field to select an existing department in the current organization.
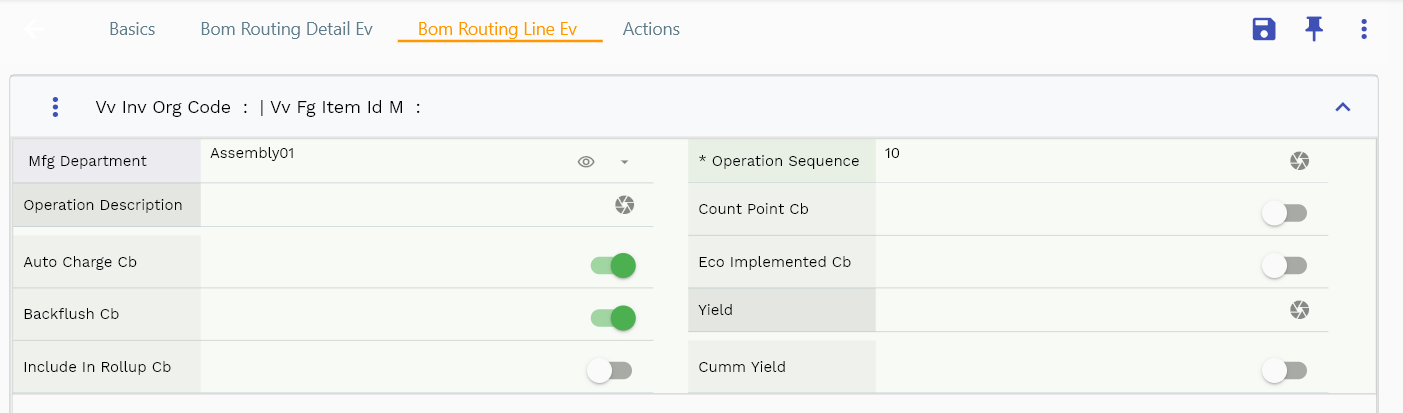
Enter the operation sequence and other fields as per business requirements.
Click on the add new entity to add a new operation.
Enter the details of the second operation.
If you copy an operation from an existing operation, the application will copy all the values as per your settings.
Add Resource
Each operation can have multiple resources. Click on the resources link under link section to view/update resources.
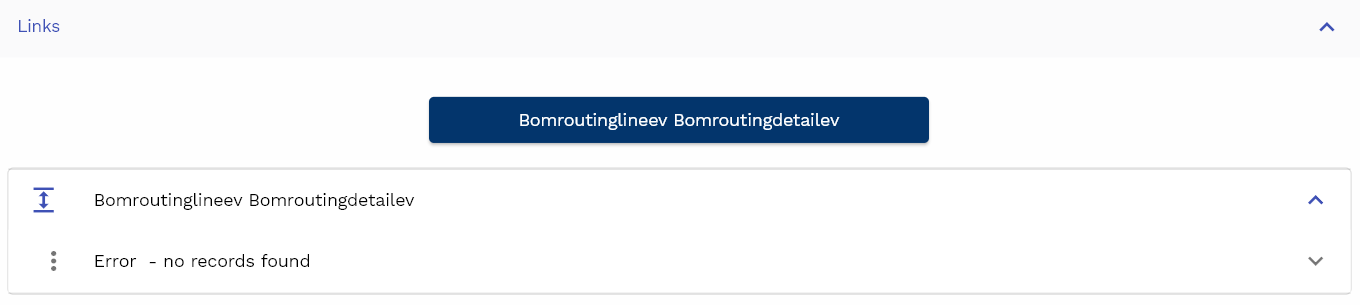
For new operations without any resource, system will show an error line stating no element exists.
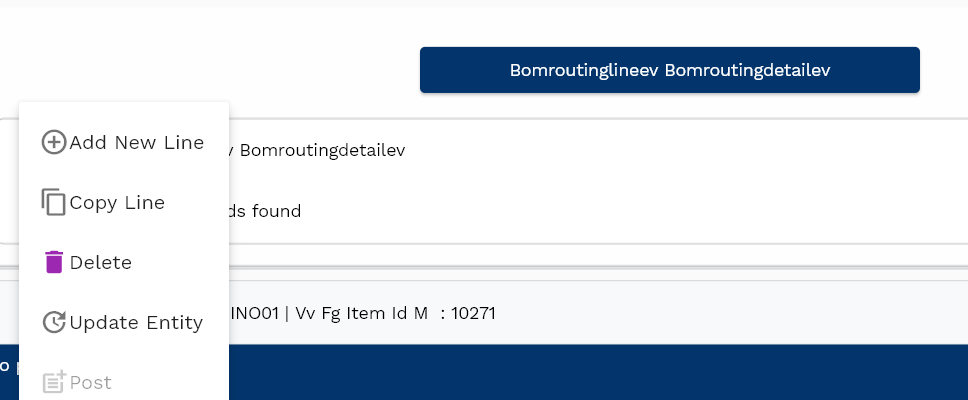
To add a new resource, click on the add new line button.
You can also use copy line button to copy an exiting resource.
You need to select an existing resource assigned to the department.
Click on the select icon on resource field to select an existing resource.
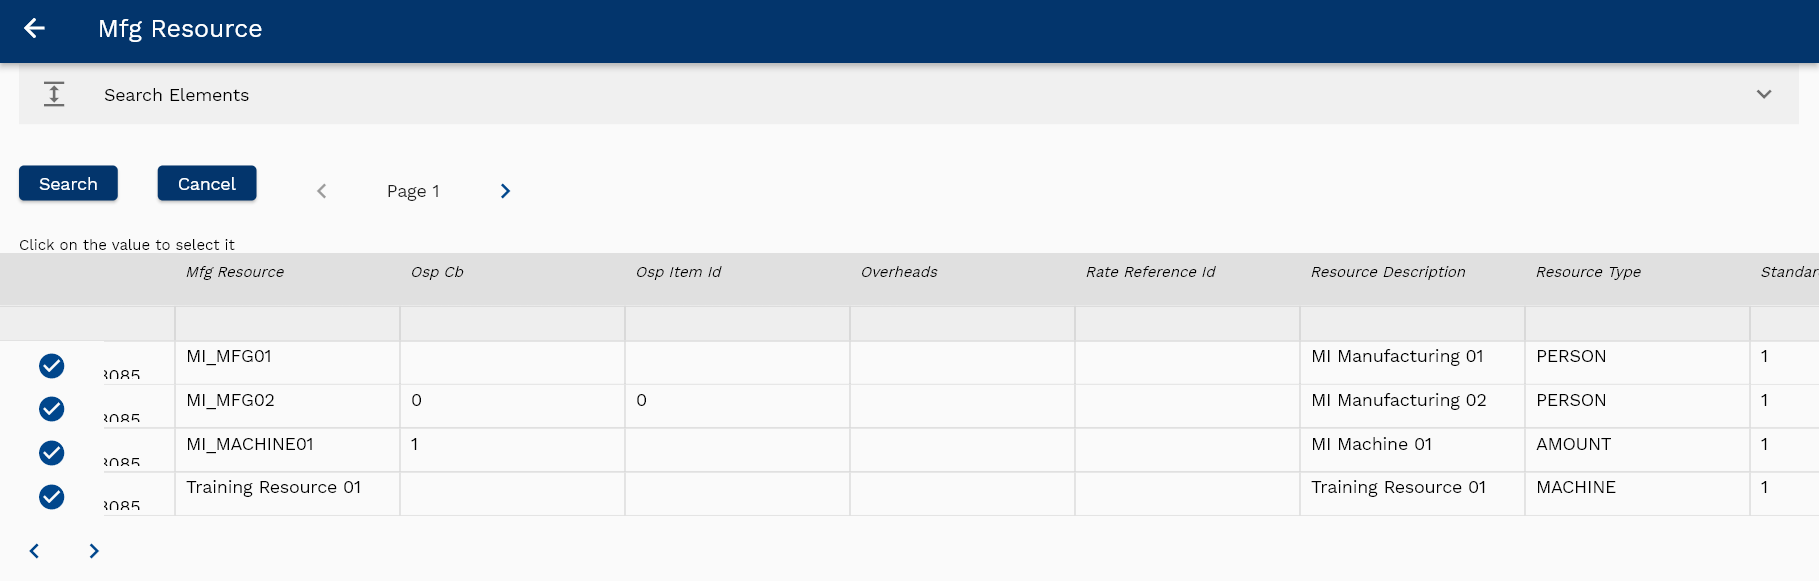
Enter search criteria and click on the search button to view all the resources available in the department.
Click on select icon to select a resource.
The charge type will default from the resource definition.
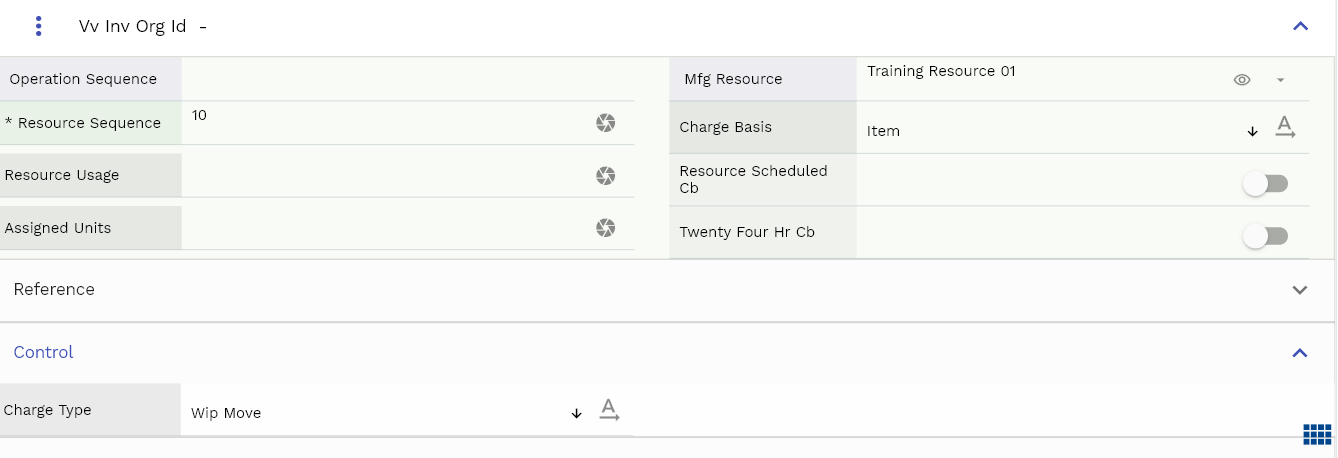
Click on the save button to save the changes.
Click on the back button to navigate back to the search result screen.