Approval
This documentation is incomplete.
The approval process in inoERP is the same across all documents. The application provides two types of approval.
- Group Based - Any employee assigned to a group can approve the document. (Ex: Purchasing manager group approving any purchase order created in a business unit)
- Employee Supervisor - Only an employee's supervisor can approve the document. (Ex: Leave application or Expense report)
When a document that needs approval is created, the system checks the approval process and determines all employees who need to be notified. The system sends an approval notification message to all the approvers.
All the documents that support the approval process have an approval status field. The possible values of the field are
- Disabled
- New
- InProcess
- Approved
- Rejected
- Need more info
Approval Entity
You can view all the entities enabled for approval in the approval entity screen.
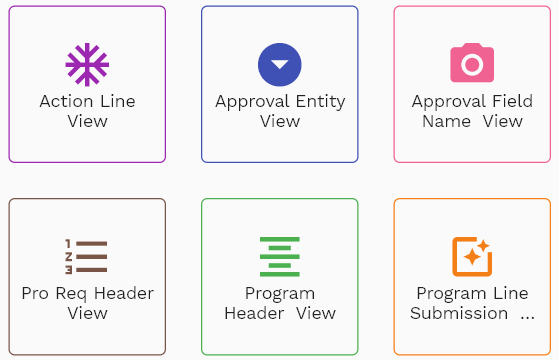
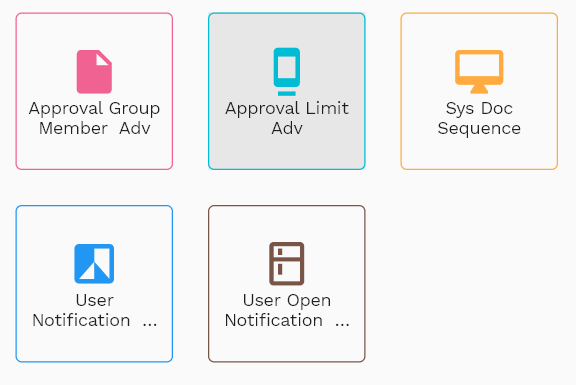
Navigate to the "approval entity" screen from your dashboard/favorite to view an approval entity.
Enter the entity details or other criteria in the search form and click on the search button to view an existing approval entity.
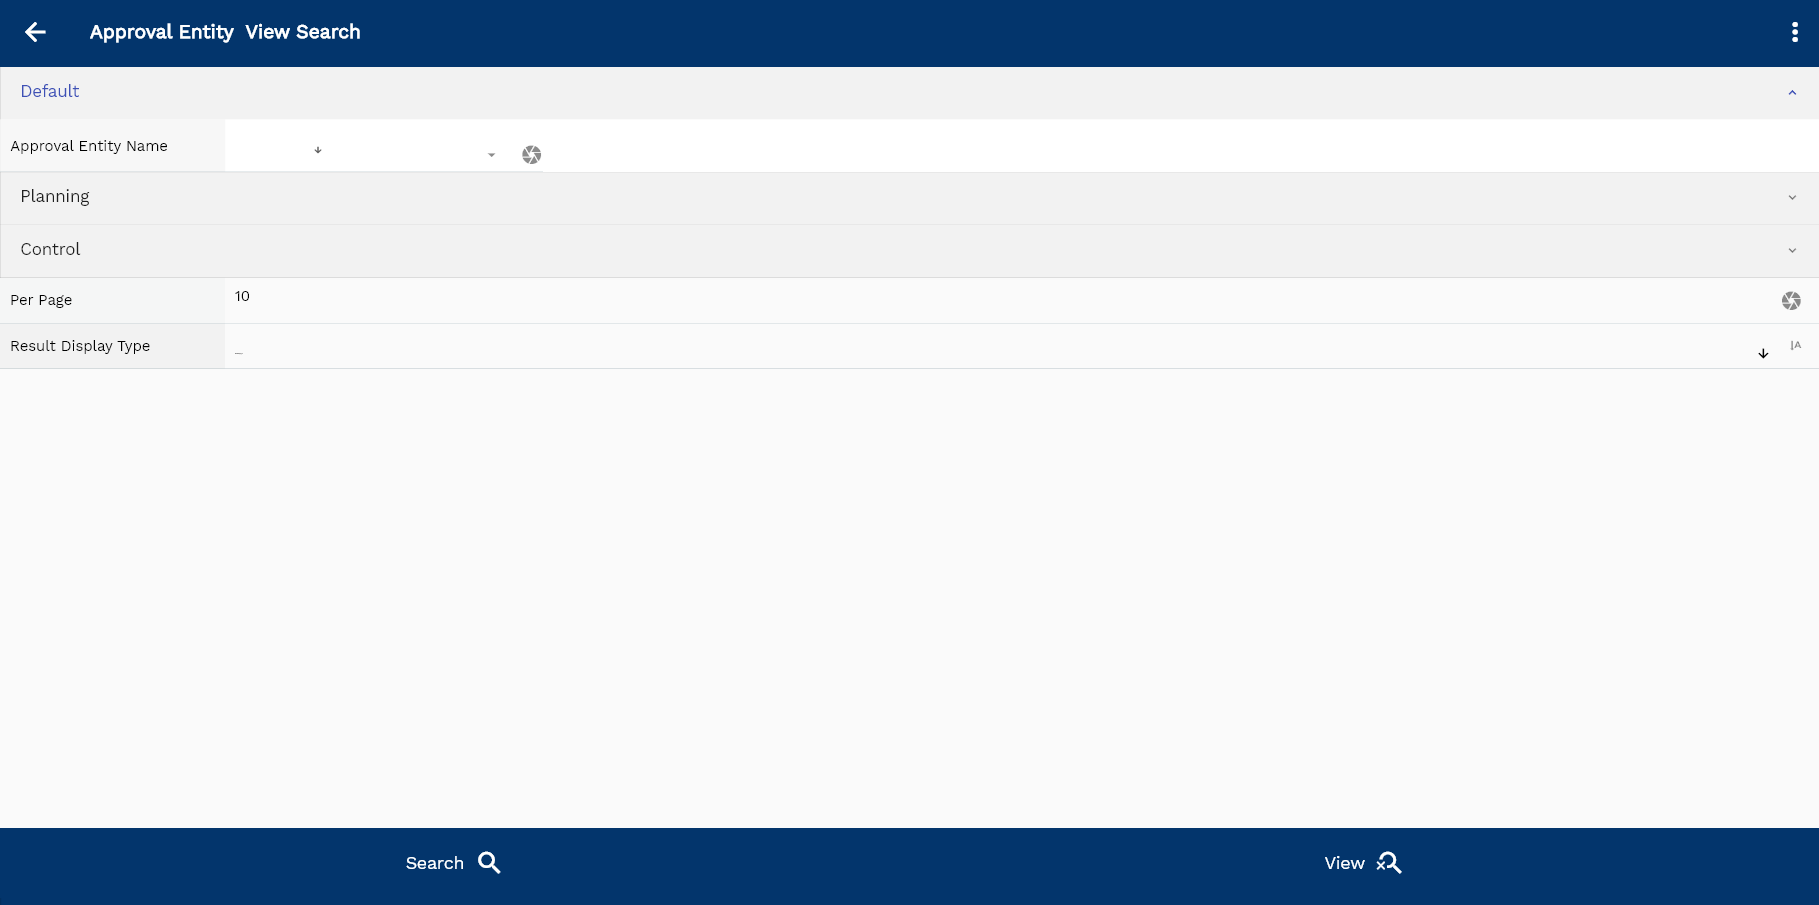
If you don't enter any search criteria, the system will show you all the approval entities. If your organization has configured to make any field mandatory for search, then you have to enter those fields to search approval entities.
The application will fetch all the server data and take you to the search result screen. The search result screen looks a bit different on desktop and mobile devices.
You can click on the detail right bottom to view all the fields available for the object.
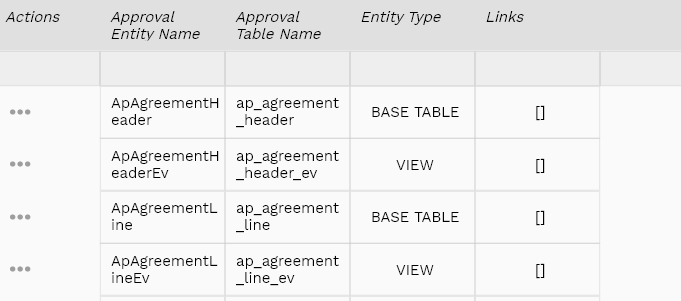
To view the search result in a table format, click on the table icon in the bottom left corner.
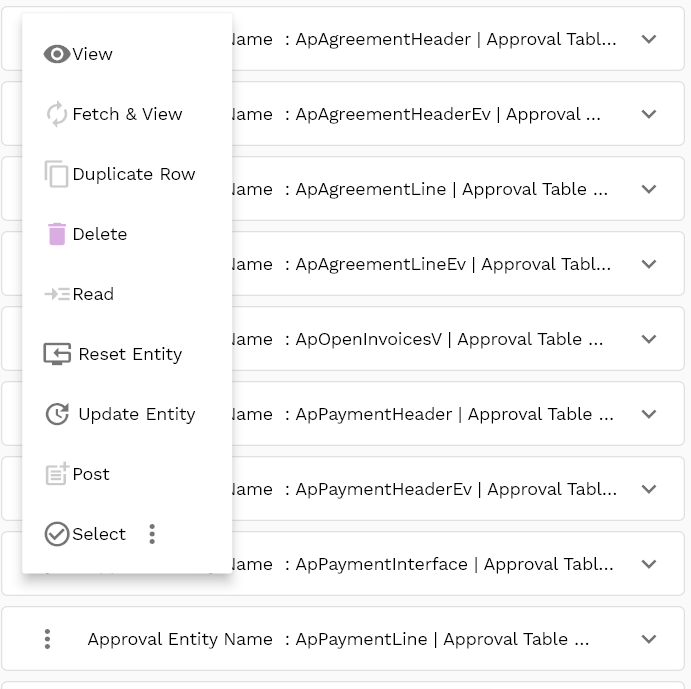
To view specific approval entity details, click on the menu of that record, and click on view/fetch & view.
You can also click on the expand icon against any item on the search result screen to view the approval entity-header details such as table name, entity name, etc.

The system will fetch all the selected document detail line data. The document details are shown either right on the search result screen or on a separate screen depending on the device size.
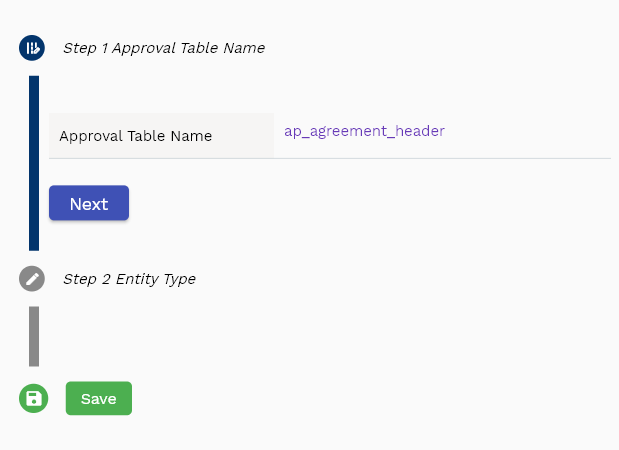
Approval Table Name: Object(table or view) name in the database.
Approval Entity Name: Name of the REST object. It is the same as the REST API path.
Entity TYpe: Type of entity: table or view
Scroll left, right, up, and down to view all the details. The document line and details are shown in a separate tab. The default configuration shows fields in various functional groups, such as
- Finance
- Entity
- Reference
- Data
- Control
- Etc
You can configure the application to show which fields should be shown under which group. You can also create new groups as per your business requirements.
All Fields
| Sequence | Name | Label | InputType | Field Group |
|---|---|---|---|---|
| 10 | approvalTableName | Approval Table Name | InputType.textField | PLANNING |
| 10 | approvalEntityName | Approval Entity Name | defferedSelect | DEFAULT |
| 20 | entityType | Entity Type | InputType.select | CONTROL |
Approval Limit
The approval limit specifies the maximum amount of a single document that an employee can approve.
To view/create/update an approval limit, navigate to the "approval limit" search screen from your dashboard/favorite.
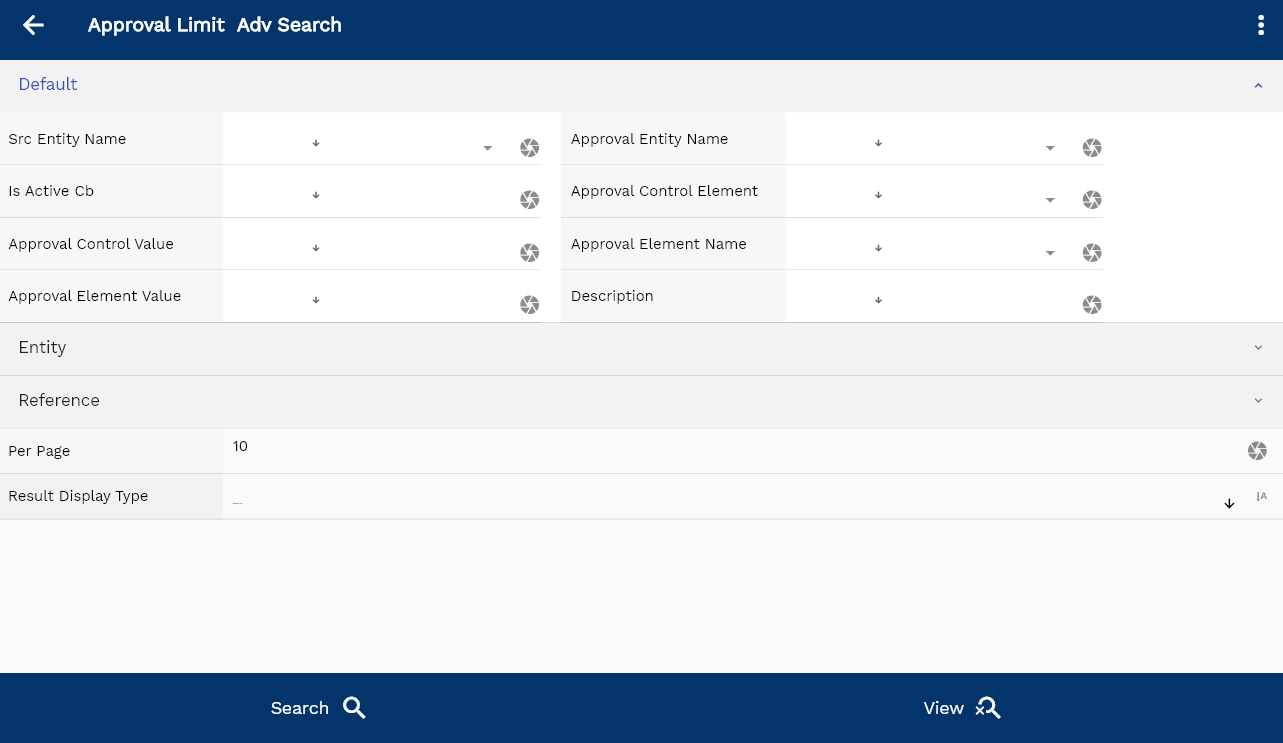
Enter the approval limit details or other criteria in the search form and click on the search button to view an existing approval limit.
Click on create a new button to create a new approval limit; by manually entering all the information.
Copy an existing approval limit to a new approval limit is always better than manually entering all the data to create a new approval limit. You can configure which fields must be view-only after creating an approval limit.

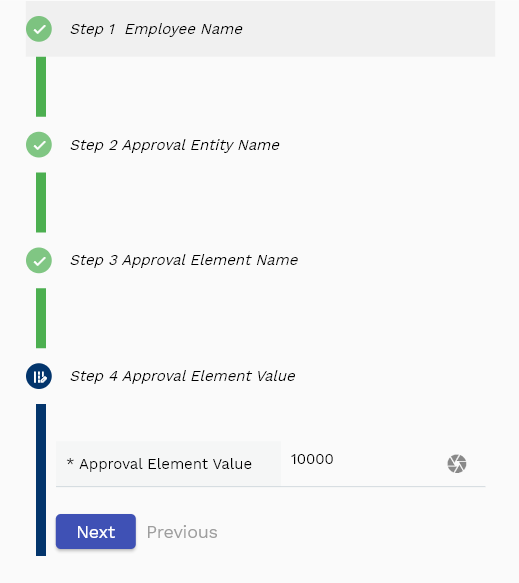
If you click on the create new button, the system will open a simple step form to create a new approval limit. You can click on the detail right bottom to view all the fields available for the object.
If you click on the search button without entering any approval limit details, the system will show you all the approval limits. If your organization has configured to make any field mandatory for search, you have to enter those fields to search approval limits.
The application will fetch all the server data and take you to the search result screen. The search result screen looks a bit different on desktop and mobile devices.
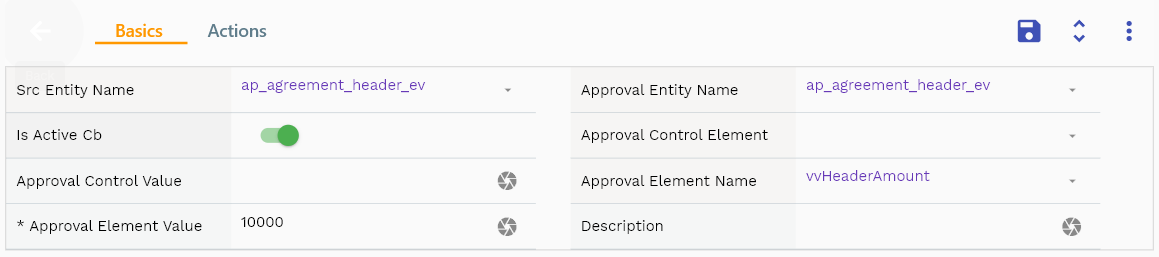
Approval Entity Name Select the name of the entity (Ex: Purchase Order, Leave Application)
Doc Currency Select a currency for which the approval limit is created.
To view the search result in a table format, click on the table icon in the bottom left corner.
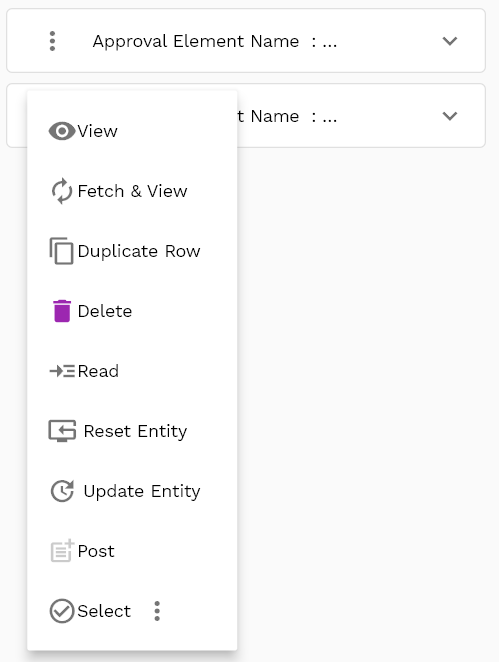
To open a specific approval limit, click on the menu of that record, and click on view/fetch & view.
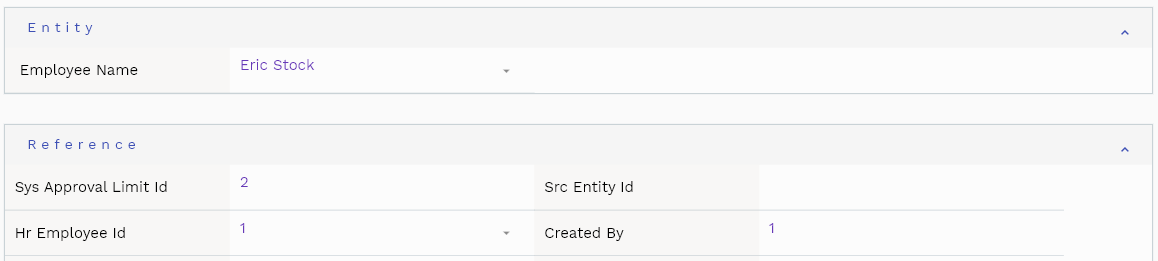
You can also click on the expand icon against any approval limit on the search result screen to view the approval limit header details such as approval element value, employee, etc.
The system will fetch all the data related to the selected approval limit. The approval limit details are shown either right to the search result screen or on a separate screen, depending on the device size.
Approval Element Value Enter the maximum monetary value of the document that the employee can approve.
employee Select the name of the employee
Scroll left, right, up, and down to view all the details. The approval limit line and details are shown in a separate tab. The default configuration shows fields in various functional groups, such as
- Finance
- Entity
- Reference
- Data
- Control
- Etc
You can configure the application to show which fields should be shown under which group. You can also create new groups as per your business requirements.
All Fields
| Sequence | Name | Label | InputType | Field Group |
|---|---|---|---|---|
| 10 | vvEmployeeName | Employee Name | defferedSelect | ENTITY |
| 10 | sysApprovalLimitId | Sys Approval Limit Id | InputType.text | REFERENCE |
| 20 | srcEntityName | Src Entity Name | defferedSelect | DEFAULT |
| 30 | srcEntityId | Src Entity Id | InputType.text | REFERENCE |
| 40 | approvalEntityName | Approval Entity Name | defferedSelect | DEFAULT |
| 50 | hrEmployeeId | Hr Employee Id | defferedSelect | REFERENCE |
| 60 | isActiveCb | Is Active Cb | InputType.switchField | DEFAULT |
| 70 | approvalControlElement | Approval Control Element | defferedSelect | DEFAULT |
| 80 | approvalControlValue | Approval Control Value | InputType.textField | DEFAULT |
| 90 | approvalElementName | Approval Element Name | defferedSelect | DEFAULT |
| 100 | approvalElementValue | Approval Element Value | InputType.textField | DEFAULT |
| 110 | description | Description | InputType.textField | DEFAULT |
| 5120 | createdBy | Created By | InputType.text | REFERENCE |
| 5130 | creationDate | Creation Date | InputType.text | REFERENCE |
| 5140 | lastUpdatedBy | Last Updated By | InputType.text | REFERENCE |
| 5150 | lastUpdateDate | Last Update Date | InputType.text | REFERENCE |
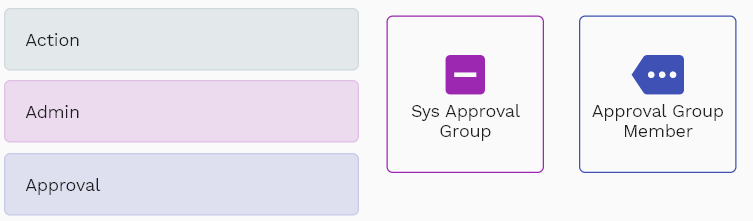
Approval Group
To create/view/update the approval group, navigate to the "approval group" screen from your dashboard/favorite.
Enter the approval group details or other criteria in the search form and click on the search button to view an existing approval group.
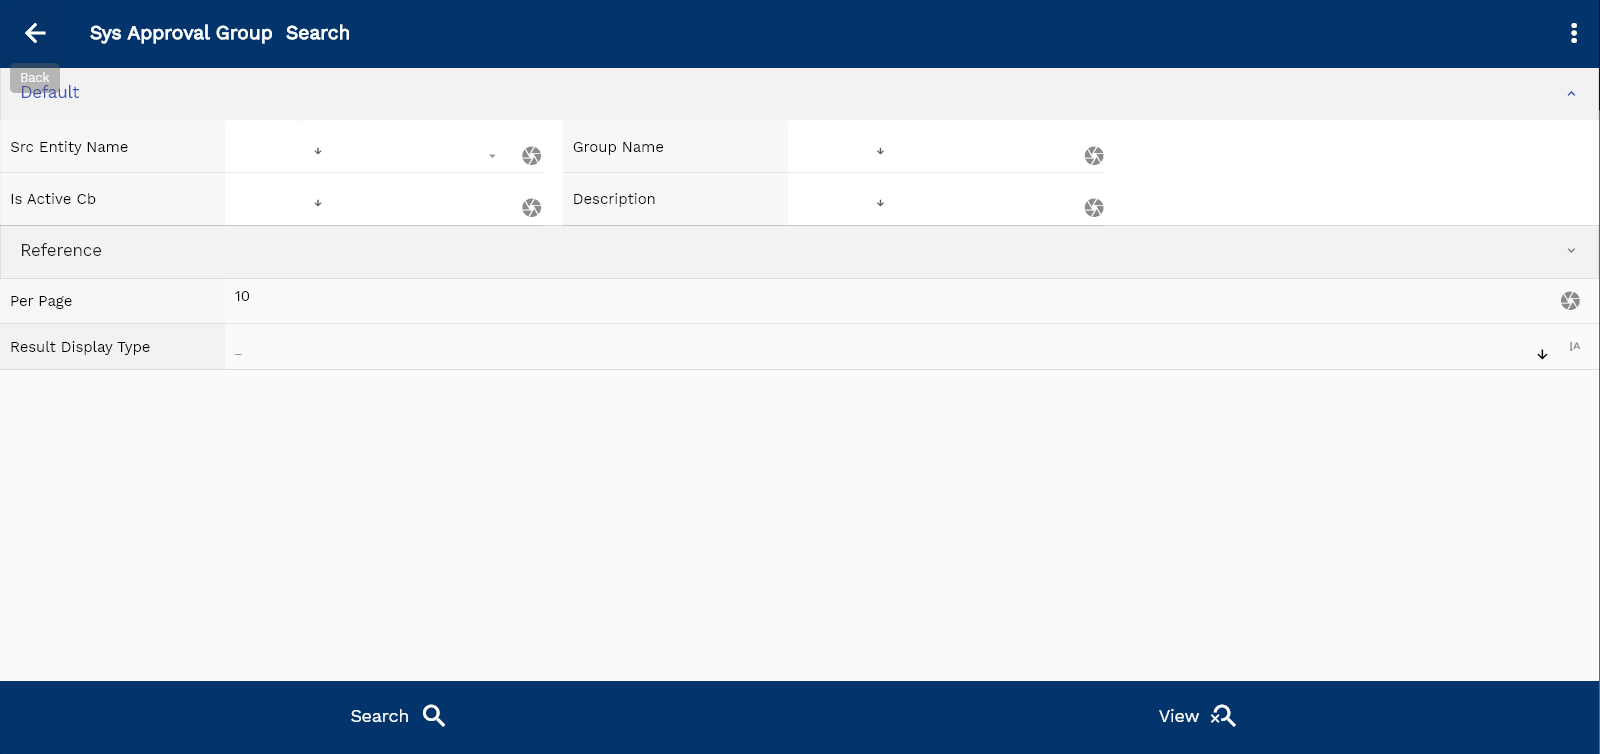
If you don't enter any search criteria, the system will show you all the approval groups. If your organization has configured to make any field mandatory for search, you have to enter those fields to search approval groups.
The application will fetch all the server data and take you to the search result screen. The search result screen looks a bit different on desktop and mobile devices.
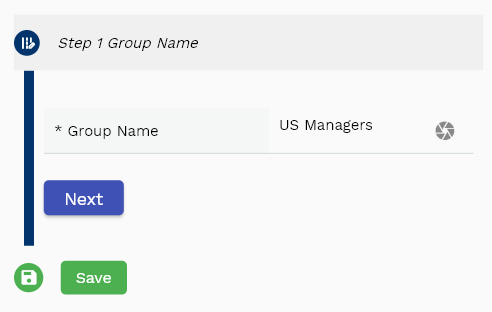
If you click on the create new button, the system will open a simple step form to create a new approval group. You can click on the detail right bottom to view all the fields available for the object.

To view the search result in a table format, click on the table icon in the bottom left corner.
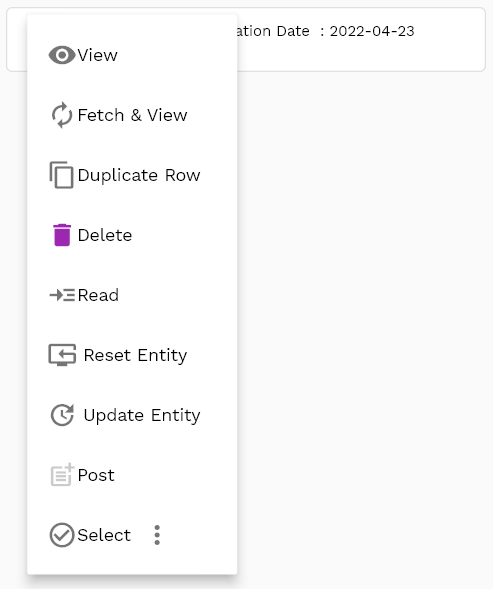
To view specific approval group details, click on the menu of that record, and click on view/fetch & view.
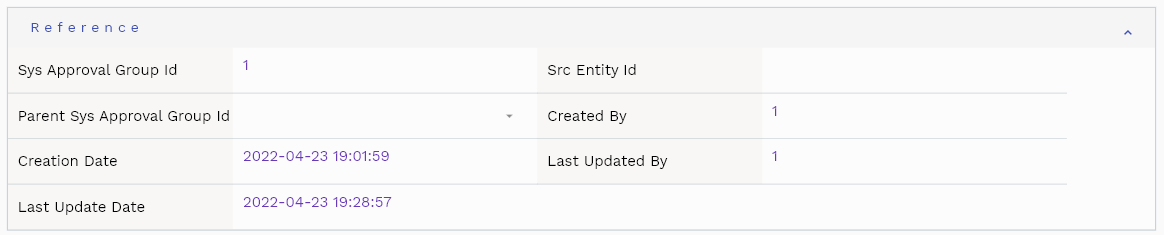
You can also click on the expand icon against any item on the search result screen to view the approval group header details, name, description, revision number, etc.

The system will fetch all the selected document detail line data. Depending on the device size, the document details are shown either right to the search result screen or on a separate screen.
Group Name: Enter a unique approval group name. You can use the approval group name in assignments.
Description: Enter a meaningful description for the approval group
Scroll left, right, up, and down to view all the details. The document line and details are shown in a separate tab. The default configuration shows fields in various functional groups, such as
- Finance
- Entity
- Reference
- Data
- Control
- Etc

You can configure the application to show which fields should be shown under which group. You can also create new groups as per your business requirements.
All Fields
| Sequence | Name | Label | InputType | Field Group |
|---|---|---|---|---|
| 10 | sysApprovalGroupId | Sys Approval Group Id | InputType.text | REFERENCE |
| 10 | srcEntityName | Src Entity Name | defferedSelect | DEFAULT |
| 20 | srcEntityId | Src Entity Id | InputType.text | REFERENCE |
| 30 | groupName | Group Name | InputType.textField | DEFAULT |
| 40 | parentSysApprovalGroupId | Parent Sys Approval Group Id | defferedSelect | REFERENCE |
| 50 | isActiveCb | Is Active Cb | InputType.switchField | DEFAULT |
| 60 | description | Description | InputType.textField | DEFAULT |
| 5070 | createdBy | Created By | InputType.text | REFERENCE |
| 5080 | creationDate | Creation Date | InputType.text | REFERENCE |
| 5090 | lastUpdatedBy | Last Updated By | InputType.text | REFERENCE |
| 5100 | lastUpdateDate | Last Update Date | InputType.text | REFERENCE |
Group Members

Group members represent employees that can approve a document. The system sends a notification to all the group members. However, only one of the members needs to approve a document.
Only employees can be assigned to a group member. If you want to send automated e-mails to all the members, assign the employee to a user with an e-mail address.
You can add multiple approval group elements to each approval group header. Each approval group element shows an approval group element name, code, element type, element value, etc.
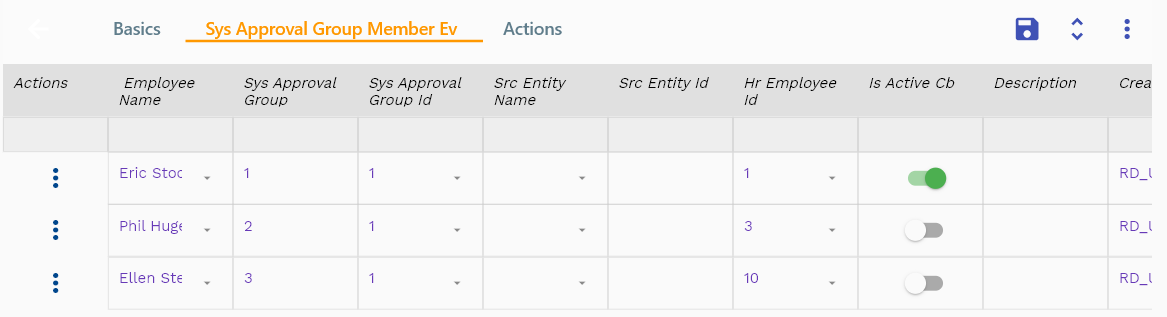
Navigate to the "approval group element" tab to view/add/update approval group elements.
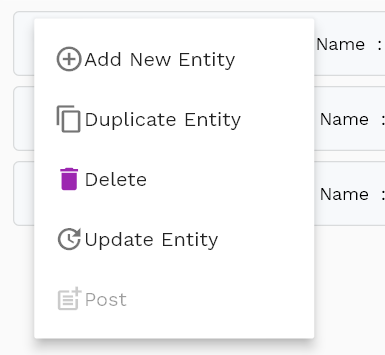
Click on the add new entity to add a new line. If a line already exists, click on copy entity to copy all the details.
You can enable/disable fields allowed to be copied in the menu configuration.
Employee Name: Select the employee's name as a group member.
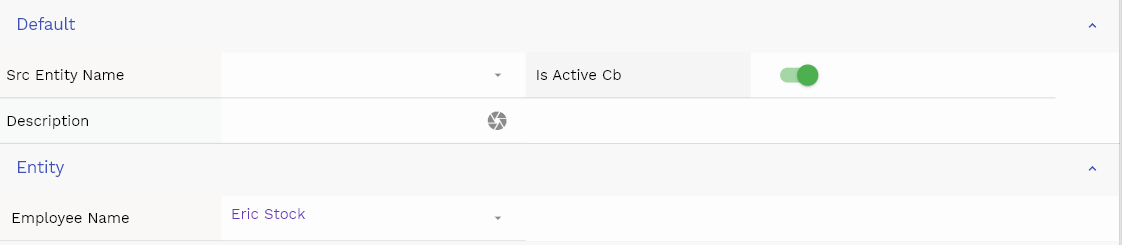
Scroll left, right, up, and down view all other fields.

The default configuration shows fields in various functional groups, such as
- Reference
- Control
- Etc
You can configure the application to show which fields should be shown under which group. You can also create new groups as per your business requirements.
Enter all the other fields and click on the save button to save the approval group. The app will post all the data to the server and show the messages returned from the server.
All Fields
| Sequence | Name | Label | InputType | Field Group |
|---|---|---|---|---|
| 10 | vvEmployeeName | Employee Name | defferedSelect | ENTITY |
| 10 | sysApprovalGroupMemberId | Sys Approval Group Member Id | InputType.text | REFERENCE |
| 20 | sysApprovalGroupId | Sys Approval Group Id | defferedSelect | REFERENCE |
| 30 | srcEntityName | Src Entity Name | defferedSelect | DEFAULT |
| 40 | srcEntityId | Src Entity Id | InputType.text | REFERENCE |
| 50 | hrEmployeeId | Hr Employee Id | defferedSelect | REFERENCE |
| 60 | isActiveCb | Is Active Cb | InputType.switchField | DEFAULT |
| 70 | description | Description | InputType.textField | DEFAULT |
| 5080 | createdBy | Created By | InputType.text | REFERENCE |
| 5090 | creationDate | Creation Date | InputType.text | REFERENCE |
| 5100 | lastUpdatedBy | Last Updated By | InputType.text | REFERENCE |
| 5110 | lastUpdateDate | Last Update Date | InputType.text | REFERENCE |
Assignment
To enable approval for a document, create an approval assignment for the document.
To view/create/update an approval assignment, navigate to the "approval assignment" search screen from your dashboard/favorite.
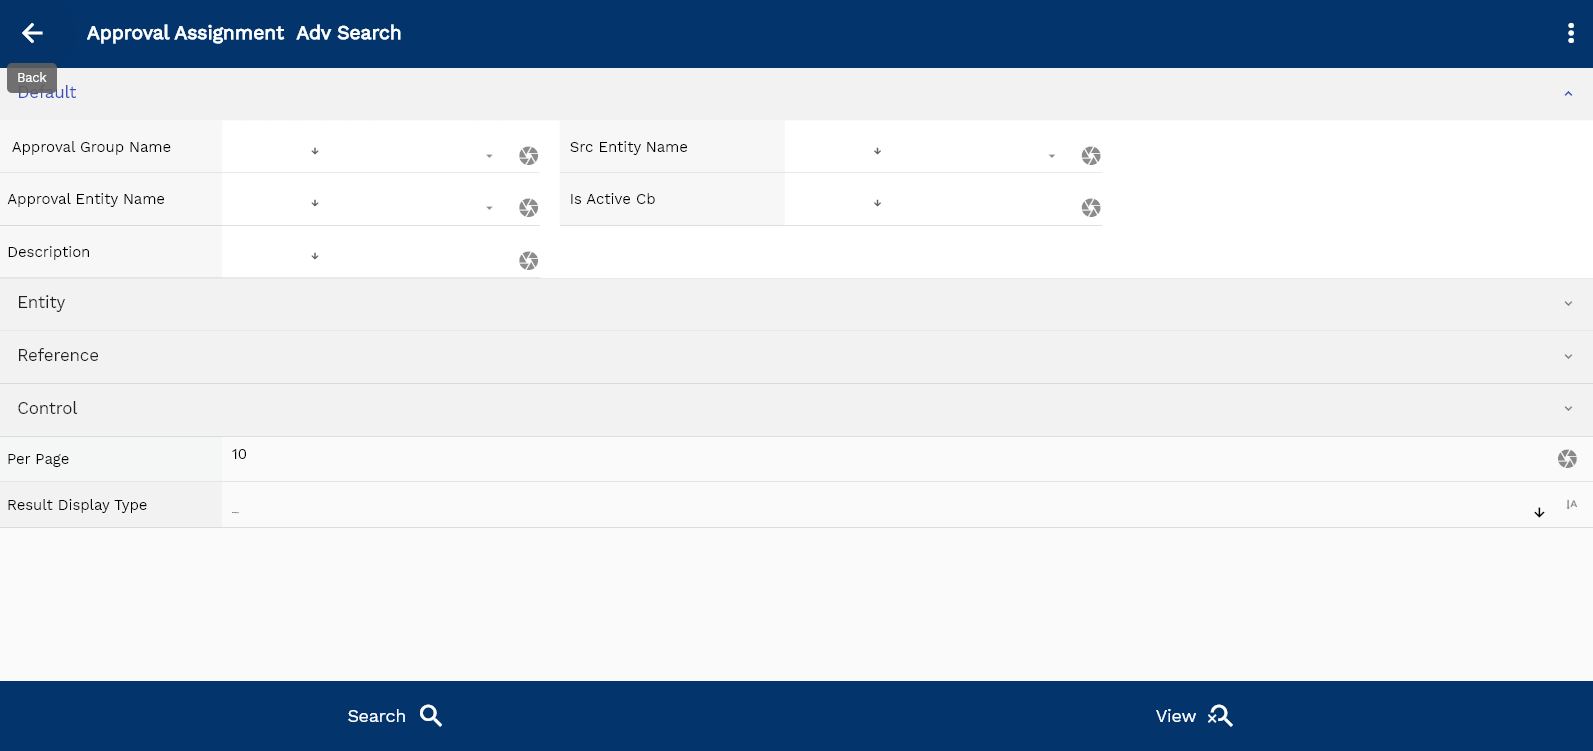
Enter the approval assignment details or other criteria in the search form and click on the search button to view an existing approval assignment.
Click on create a new button to create a new approval assignment; by manually entering all the information.
Copy an existing approval assignment to a new approval assignment is always better than manually entering all the data to create a new approval assignment. You can configure which fields must be view-only after creating an approval assignment.

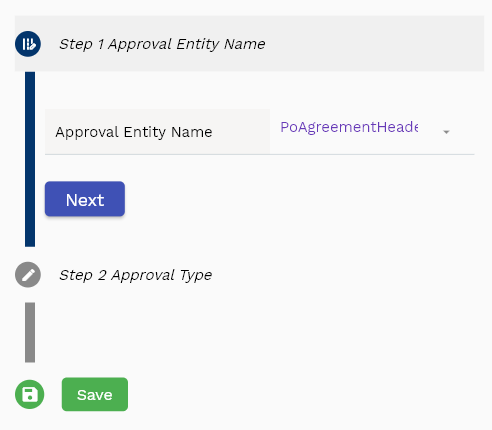
If you click on the create new button, the system will open a simple step form to create a new approval assignment. You can click on the detail right bottom to view all the fields available for the object.
If you click on the search button without entering any approval assignment details, the system will show you all the approval assignments. If your organization has configured to make any field mandatory for search, you must enter those fields to search approval assignments.
The application will fetch all the server data and take you to the search result screen. The search result screen looks a bit different on desktop and mobile devices.
To view the search result in a table format, click on the table icon in the bottom left corner.
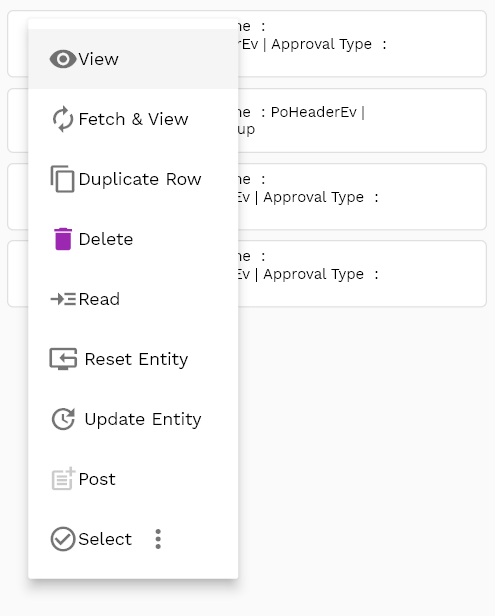
To open a specific approval assignment, click on the menu of that record, and click on view/fetch & view.
You can also click on the expand icon against any approval assignment on the search result screen to view the approval assignment header details such as approval element value, employee, etc.

The system will fetch all the data related to the selected approval assignment. The approval assignment details are shown either right to the search result screen or on a separate screen, depending on the device size.
Approval Entity Name Select the name of the entity (Ex: Purchase Order, Leave Application)
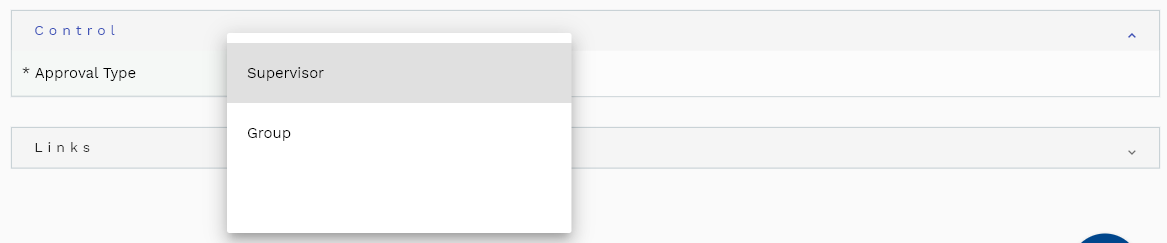
Approval Type Select the approval type - Group or Supervisor

Approval Group Name Select an approval group name for group type
Scroll left, right, up, and down to view all the details. The approval assignment line and details are shown in a separate tab. The default configuration shows fields in various functional groups, such as
- Finance
- Entity
- Reference
- Data
- Control
- Etc
You can configure the application to show which fields should be shown under which group. You can also create new groups as per your business requirements.
All Fields
| Sequence | Name | Label | InputType | Field Group |
|---|---|---|---|---|
| 10 | vvBuOrg | Bu Org | defferedSelect | ENTITY |
| 10 | vvBuOrgCode | Bu Org Code | defferedSelect | ENTITY |
| 20 | vvLegalOrgName | Legal Org Name | defferedSelect | ENTITY |
| 30 | vvLegalOrgCode | Legal Org Code | defferedSelect | ENTITY |
| 40 | vvApprovalGroupName | Approval Group Name | defferedSelect | DEFAULT |
| 50 | sysApprovalAssignmentId | Sys Approval Assignment Id | InputType.text | REFERENCE |
| 60 | srcEntityName | Src Entity Name | defferedSelect | DEFAULT |
| 70 | srcEntityId | Src Entity Id | InputType.text | REFERENCE |
| 80 | approvalEntityName | Approval Entity Name | defferedSelect | DEFAULT |
| 90 | sysApprovalGroupId | Sys Approval Group Id | defferedSelect | REFERENCE |
| 100 | isActiveCb | Is Active Cb | InputType.switchField | DEFAULT |
| 110 | buOrgId | Bu Org Id | defferedSelect | REFERENCE |
| 120 | leOrgId | Le Org Id | defferedSelect | REFERENCE |
| 130 | approvalType | Approval Type | InputType.select | CONTROL |
| 140 | description | Description | InputType.textField | DEFAULT |
| 5150 | createdBy | Created By | InputType.text | REFERENCE |
| 5160 | creationDate | Creation Date | InputType.text | REFERENCE |
| 5170 | lastUpdatedBy | Last Updated By | InputType.text | REFERENCE |
| 5180 | lastUpdateDate | Last Update Date | InputType.text | REFERENCE |
Notification

A notification is a message system sends to users against certain activities. The notification can be an approval or FYI (for your information).
For example, If purchasing approval is enabled, the system sends notifications to all the available approvers to approve the purchase order.
You can configure the application to show all open notifications(or all notifications) in the dashboard next to the notification icon.
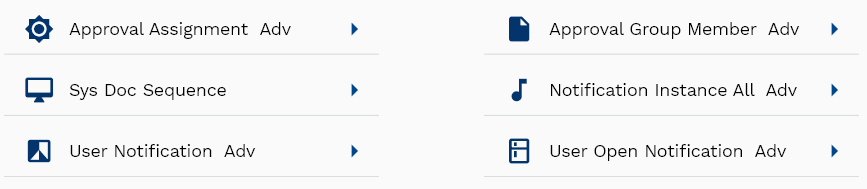
To view/update/approve/reject all notifications, navigate to the "notification" screen from your dashboard/favorite.
Enter the notification details or other criteria in the search form and click on the search button to view an existing notification.
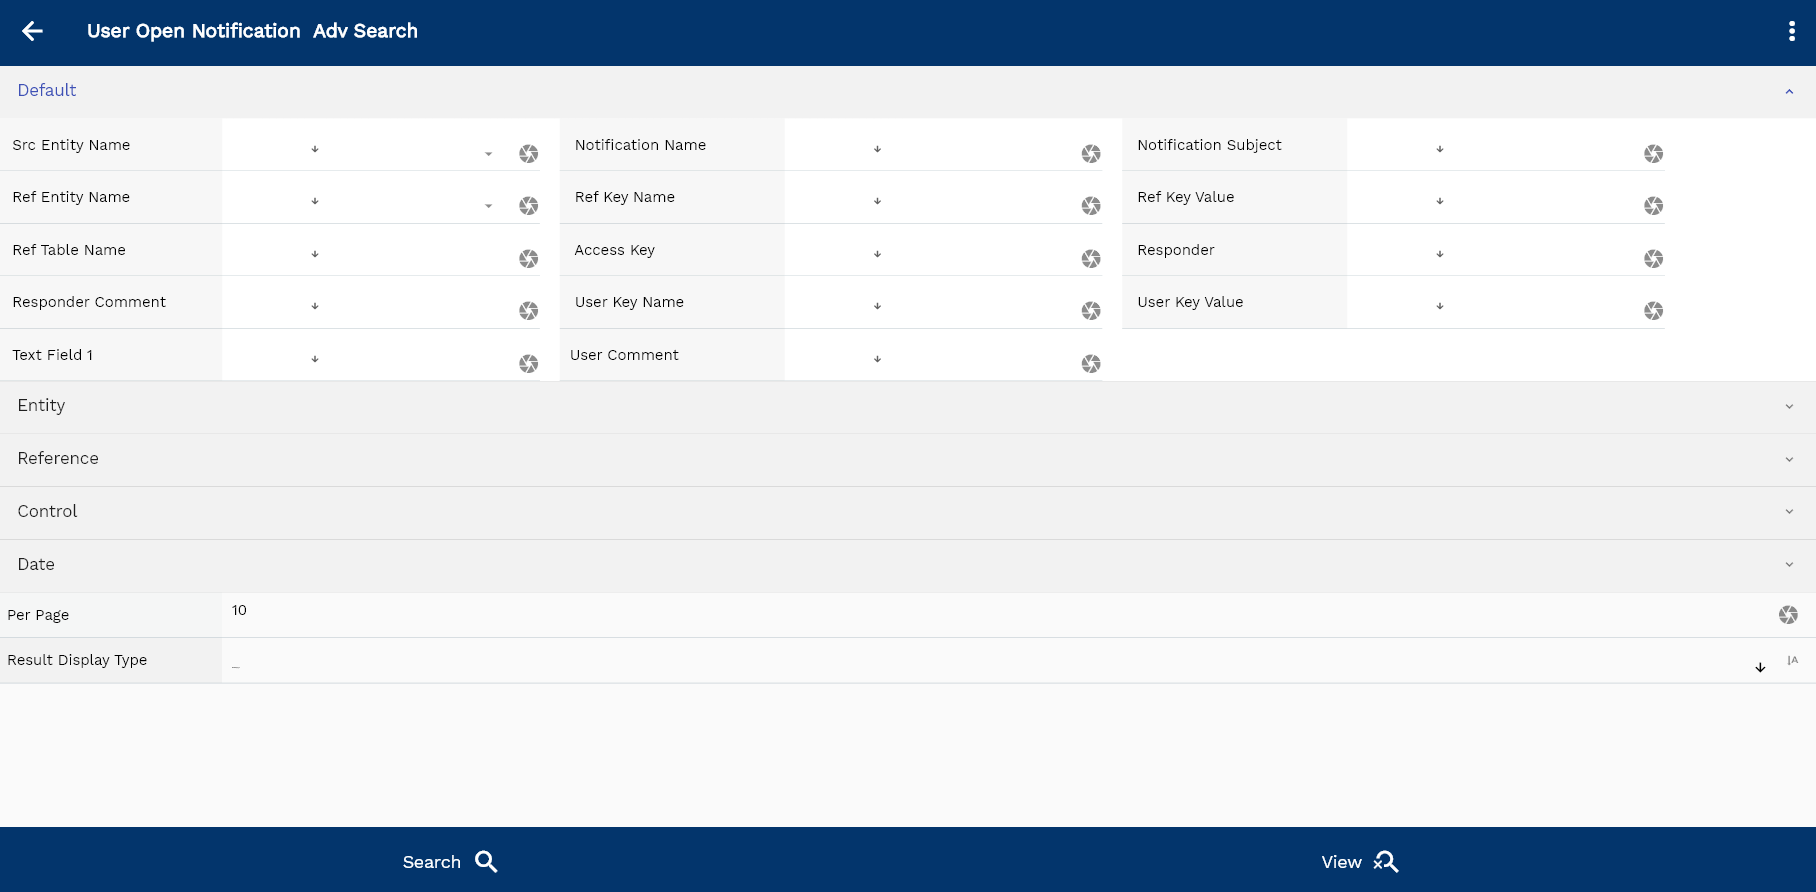
If you don't enter any search criteria, the system will show you all the notifications. If your organization has configured to make any field mandatory for search, you have to enter those fields to search notifications.
The application will fetch all the server data and take you to the search result screen. The search result screen looks a bit different on desktop and mobile devices.
You can click on the detail right bottom to view all the fields available for the object.

To view the search result in a table format, click on the table icon in the bottom left corner.
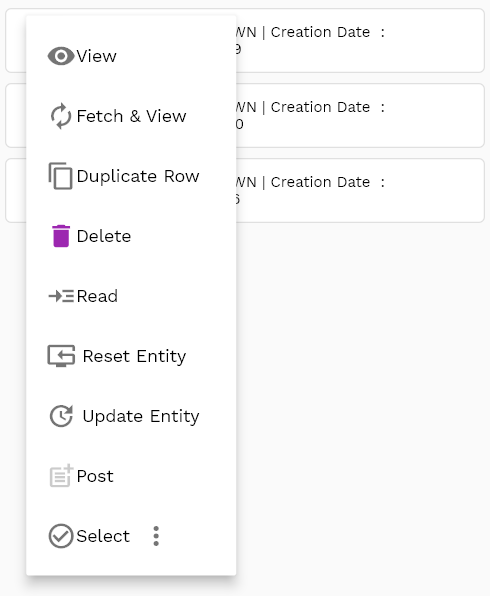
To view specific notification details, click on the menu of that record, and click on view/fetch & view.
You can also click on the expand icon against any item on the search result screen to view the notification header details, name, description, revision number, etc.
The system will fetch all the selected document detail line data. Depending on the device size, the document details are shown either right to the search result screen or on a separate screen.
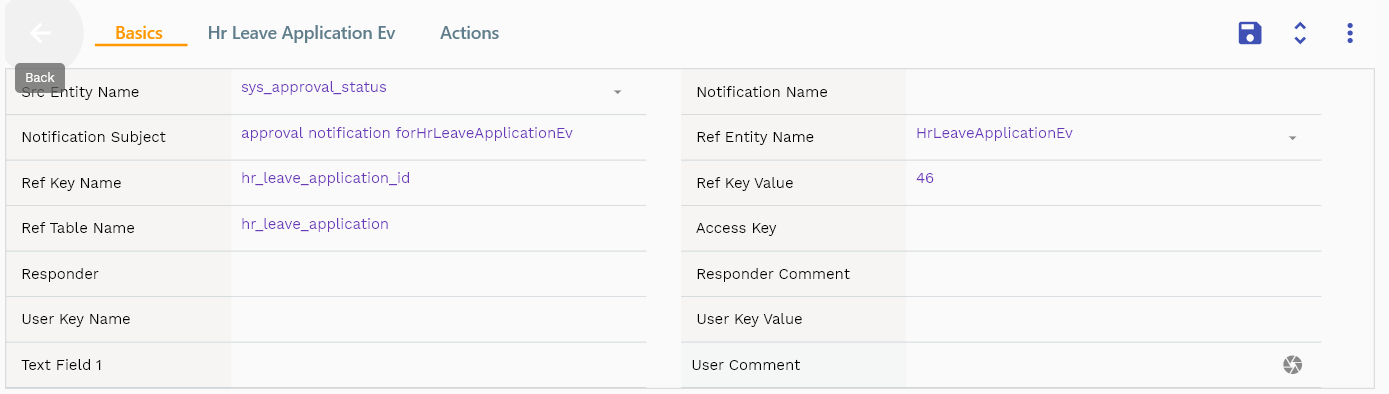
Notification Subject: A simple description of the notification
Ref Entity Name: Name of the entity against which the notification is created
Ref Key Value: Value of the primary key of the ref entity

Scroll left, right, up, and down to view all the details. The document line and details are shown in a separate tab. The default configuration shows fields in various functional groups, such as
- Finance
- Entity
- Reference
- Data
- Control
- Etc

You can configure the application to show which fields should be shown under which group. You can also create new groups as per your business requirements.
All Fields
| Sequence | Name | Label | InputType | Field Group |
|---|---|---|---|---|
| 10 | sysNotificationId | Sys Notification Id | InputType.text | REFERENCE |
| 10 | srcEntityName | Src Entity Name | defferedSelect | DEFAULT |
| 20 | srcEntityId | Src Entity Id | InputType.text | REFERENCE |
| 30 | notificationType | Notification Type | InputType.select | CONTROL |
| 40 | notificationName | Notification Name | InputType.textField | DEFAULT |
| 50 | fromEmployee | From Employee | InputType.textField | ENTITY |
| 60 | notificationSubject | Notification Subject | InputType.textField | DEFAULT |
| 70 | refEntityName | Ref Entity Name | defferedSelect | DEFAULT |
| 80 | refKeyName | Ref Key Name | InputType.textField | DEFAULT |
| 90 | refKeyValue | Ref Key Value | InputType.textField | DEFAULT |
| 100 | refTableName | Ref Table Name | InputType.textField | DEFAULT |
| 110 | accessKey | Access Key | InputType.textField | DEFAULT |
| 120 | mailStatus | Mail Status | InputType.textField | CONTROL |
| 130 | startDate | Start Date | InputType.dateTime | DATE |
| 140 | endDate | End Date | InputType.date | DATE |
| 150 | dueDate | Due Date | InputType.date | DATE |
| 160 | responder | Responder | InputType.textField | DEFAULT |
| 170 | responderComment | Responder Comment | InputType.textField | DEFAULT |
| 180 | userKeyName | User Key Name | InputType.textField | DEFAULT |
| 190 | userKeyValue | User Key Value | InputType.textField | DEFAULT |
| 200 | textField1 | Text Field 1 | InputType.textField | DEFAULT |
| 210 | status | Status | InputType.textField | CONTROL |
| 220 | sysApprovalGroupId | Sys Approval Group Id | defferedSelect | REFERENCE |
| 230 | hrEmployeeId | Hr Employee Id | defferedSelect | REFERENCE |
| 240 | notificationStatus | Notification Status | InputType.select | CONTROL |
| 250 | receiverType | Receiver Type | InputType.select | CONTROL |
| 5260 | createdBy | Created By | InputType.text | REFERENCE |
| 5270 | creationDate | Creation Date | InputType.text | REFERENCE |
| 5280 | lastUpdatedBy | Last Updated By | InputType.text | REFERENCE |
| 5290 | lastUpdateDate | Last Update Date | InputType.text | REFERENCE |
Details
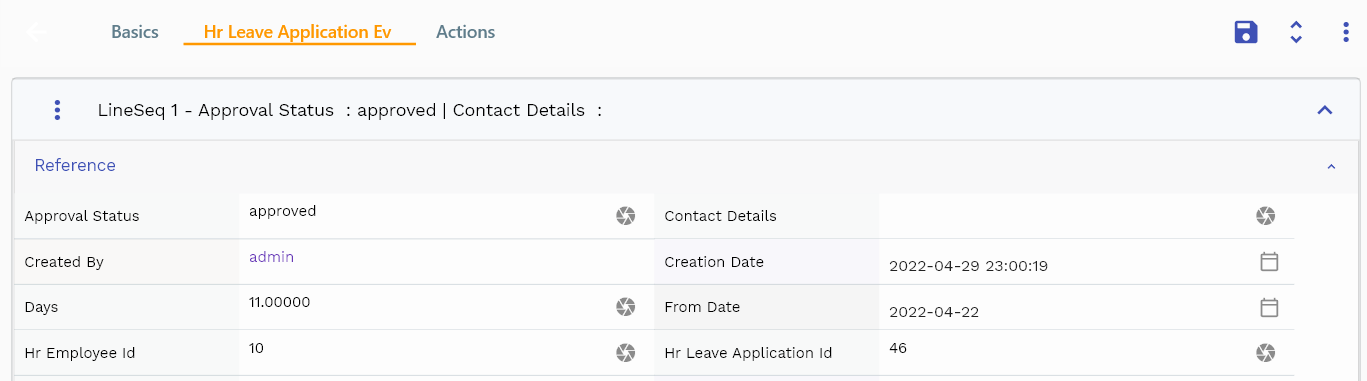
The details tab shows the document's details for which the notification is created.
Ex: The tab will show the purchase order details for a purchasing notification. Similarly, for a leave application notification, it will show all the leave application details.
Approval Trigger
An approval trigger is a feature that allows you to create an approval notification for a specific entity. You can create an approval notification in 2 different ways.
- Manual Trigger: Use the "Send For Approval" button in the action tab.
- Automatic Trigger: Create a trigger (rd_trigger_header) and assign the trigger to the entity (rd_trigger_assignment). In the case of the automatic trigger, the system generates a notification when you save the entity for the first time.
You can use JavaScript APIs to create approval notifications for more complex business requirements.