Transaction
This documentation is incomplete.
Using the transaction screen, you can view all system-created transactions such as asset addition, depreciation, asset retirement, etc. The system also allows you to create a transaction using the transaction screen. All the transactions are non-updatable, i.e., you can create and view transactions. However, the system won't allow you to update or delete any transaction.
The FA transaction types can be any of the below values
- Addition
- Adjustment
- Transfer
- Retirement
- Depreciation
- Depreciation Adjustment
- Cost Adjustment
Activate Asset
All the assets are created in the "Pending Addition" status. You need to run the asset addition program to add the asset to the system. The asset addition program creates an asset transaction of type addition and creates the initial asset cost in all the books assigned to the asset.
You can run the asset addition program for an asset in the asset action screen.

Click on the Activate Asset screen to activate an asset. The system will change the status of the asset to active and will create necessary asset transactions.

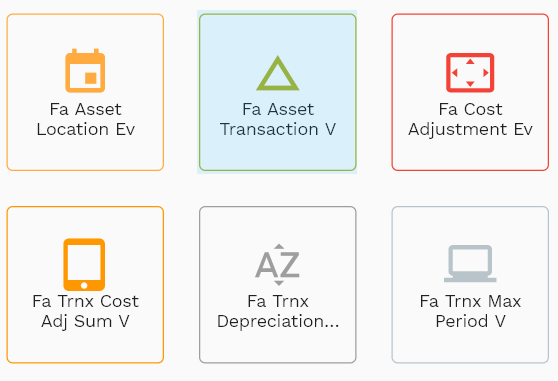
Navigate to the "asset transaction" screen from your dashboard/favorite to view completed asset addition transactions.
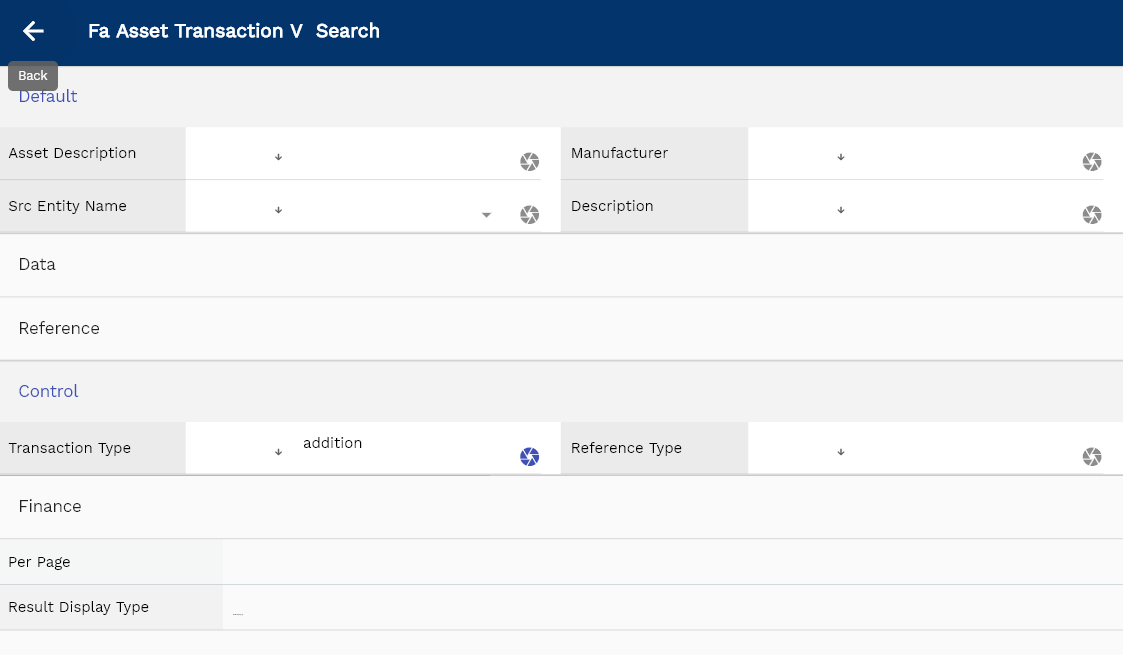
Enter the organization transaction details or any other criteria in the search form and click on the search button to view an existing depreciation transaction.
Enter the transaction type as addition, and click on the search button.
To view the search result in a table format, click on the table icon in the bottom left corner. To view transaction details, click on the menu of that record, and click on view/fetch & view. You can also click on the expand icon against any item on the search result screen to view the transaction details such as asset id, asset book id, amount, period, etc.
The system will fetch all the selected transaction details. Depending on the device size, the transaction details are shown either right on the search result screen or on a separate screen.

Scroll left, right, up, and down to view all the details. The default configuration shows fields in various functional groups, such as
- Reference
- Control
- Etc
You can configure the application to show which fields should be shown under which group. You can also create new groups as per your inventory requirements.

All Fields
| Sequence | Name | Label | InputType | Field Group |
|---|---|---|---|---|
| 10 | vvGlLedgerId | Gl Ledger Id | defferedSelect | REFERENCE |
| 10 | vvGlDocumentType | Gl Document Type | InputType.text | CONTROL |
| 20 | vvBookName | Book Name | defferedSelect | DEFAULT |
| 30 | vvBookType | Book Type | defferedSelect | CONTROL |
| 40 | vvFaAssetCategoryId | Fa Asset Category Id | defferedSelect | REFERENCE |
| 50 | vvLegalOrgId | Legal Org Id | defferedSelect | REFERENCE |
| 60 | vvAssetNumber | Asset Number | defferedSelect | DATA |
| 70 | vvAssetName | Asset Name | defferedSelect | DEFAULT |
| 80 | vvAssetStatus | Asset Status | InputType.text | CONTROL |
| 90 | vvAssetType | Asset Type | InputType.text | CONTROL |
| 100 | vvDepreciationCb | Depreciation Cb | InputType.text | DEFAULT |
| 110 | faAssetTransactionId | Fa Asset Transaction Id | InputType.text | REFERENCE |
| 120 | srcEntityName | Src Entity Name | defferedSelect | DEFAULT |
| 130 | srcEntityId | Src Entity Id | InputType.text | REFERENCE |
| 140 | faAssetId | Fa Asset Id | defferedSelect | REFERENCE |
| 150 | faAssetBookId | Fa Asset Book Id | InputType.text | REFERENCE |
| 160 | transactionType | Transaction Type | InputType.select | CONTROL |
| 170 | quantity | Quantity | InputType.textField | DATA |
| 180 | amount | Amount | InputType.textField | FINANCE |
| 190 | amount10 | Amount 10 | InputType.textField | FINANCE |
| 200 | amount20 | Amount 20 | InputType.textField | FINANCE |
| 210 | amount30 | Amount 30 | InputType.textField | FINANCE |
| 220 | amount40 | Amount 40 | InputType.textField | FINANCE |
| 230 | amount50 | Amount 50 | InputType.textField | FINANCE |
| 240 | amount60 | Amount 60 | InputType.textField | FINANCE |
| 250 | faBookId | Fa Book Id | defferedSelect | REFERENCE |
| 260 | glPeriodId | Gl Period Id | defferedSelect | REFERENCE |
| 270 | glAcProfileHeaderId | Gl Ac Profile Header Id | defferedSelect | REFERENCE |
| 280 | glJournalHeaderId | Gl Journal Header Id | InputType.text | REFERENCE |
| 290 | glJournalLineId | Gl Journal Line Id | InputType.text | REFERENCE |
| 300 | description | Description | InputType.textField | DEFAULT |
| 310 | depreciationPeriodNo | Depreciation Period No | InputType.number | FINANCE |
| 320 | referenceType | Reference Type | InputType.textField | CONTROL |
| 330 | referenceKeyName | Reference Key Name | InputType.text | REFERENCE |
| 340 | referenceKeyValue | Reference Key Value | InputType.text | REFERENCE |
| 5350 | createdBy | Created By | InputType.text | REFERENCE |
| 5360 | creationDate | Creation Date | InputType.text | REFERENCE |
| 5370 | lastUpdatedBy | Last Updated By | InputType.text | REFERENCE |
| 5380 | lastUpdateDate | Last Update Date | InputType.text | REFERENCE |
Asset Retirement
Asset retirement is the process of retiring assets that have completed the entire life of an asset. The asset retirement program creates an asset transaction of type retirement and removes all the remaining costs of the asset from the asset books.
You can run the asset retirement program for an asset in the asset action screen.

Click on the Retire Asset screen to retire an asset. The system will change the asset status to retired and create necessary asset transactions.

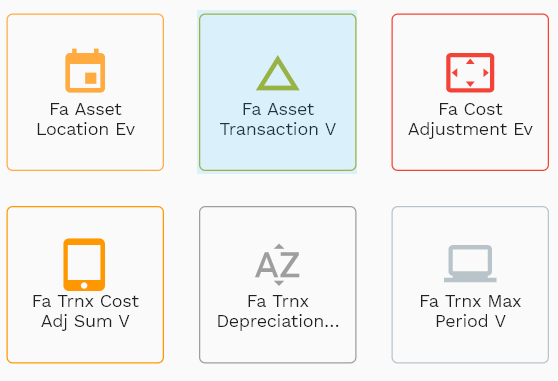
Navigate to the "asset transaction" screen from your dashboard/favorite to view completed asset retirement transactions.
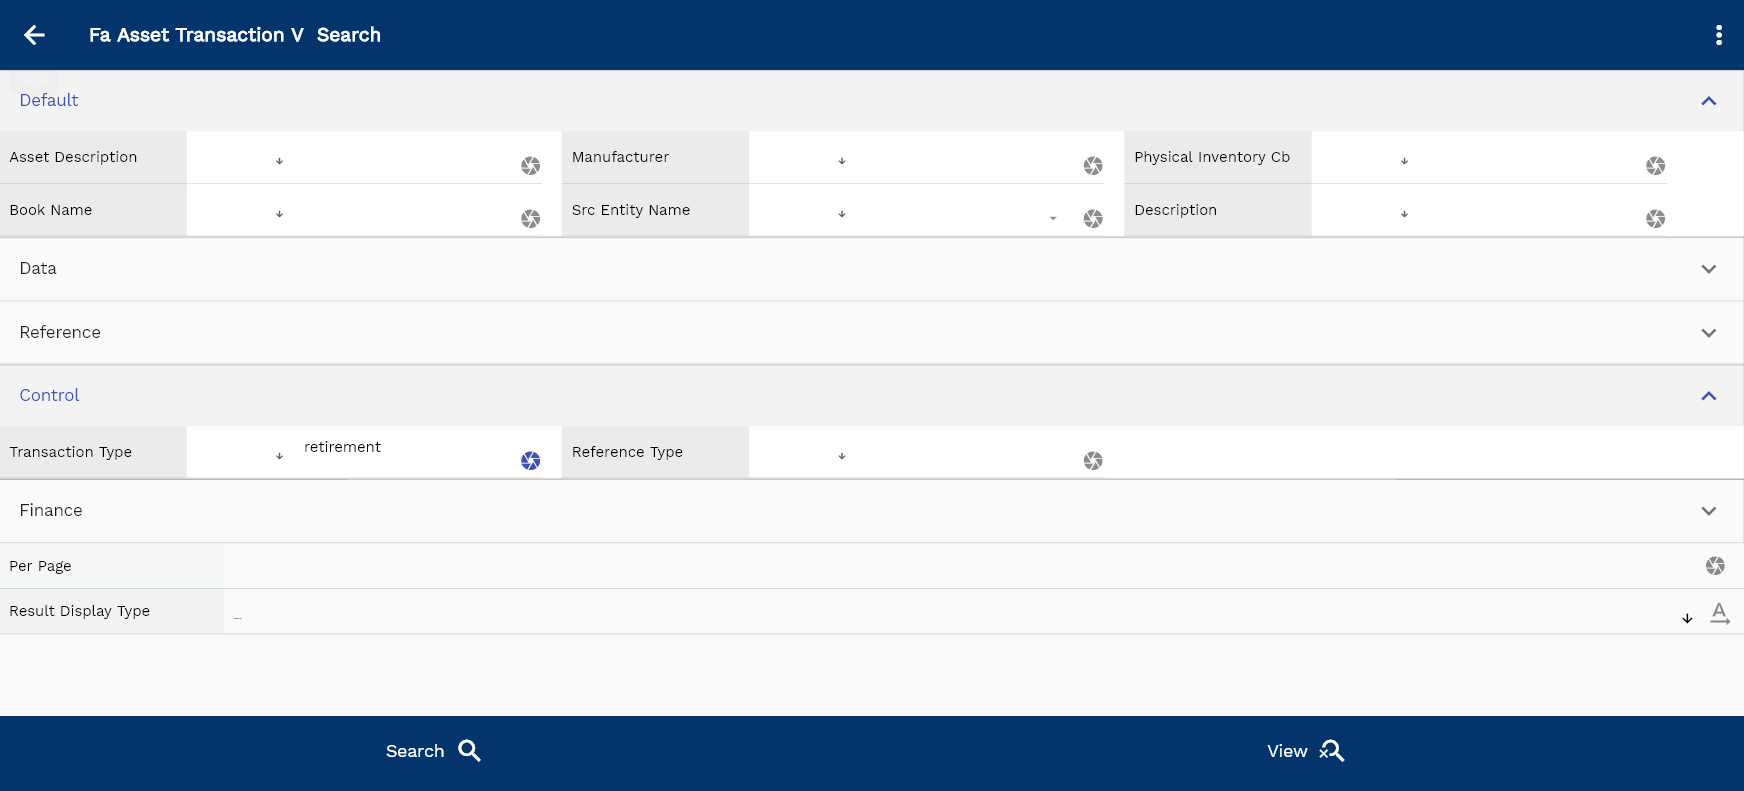
Enter the organization transaction details or any other criteria in the search form and click on the search button to view an existing depreciation transaction.
Enter the transaction type as retirement, and click on the search button.
To view the search result in a table format, click on the table icon in the bottom left corner. To view transaction details, click on the menu of that record, and click on view/fetch & view. You can also click on the expand icon against any item on the search result screen to view the transaction details such as asset id, asset book id, amount, period, etc.
The system will fetch all the selected transaction details. Depending on the device size, the transaction details are shown either right on the search result screen or on a separate screen.
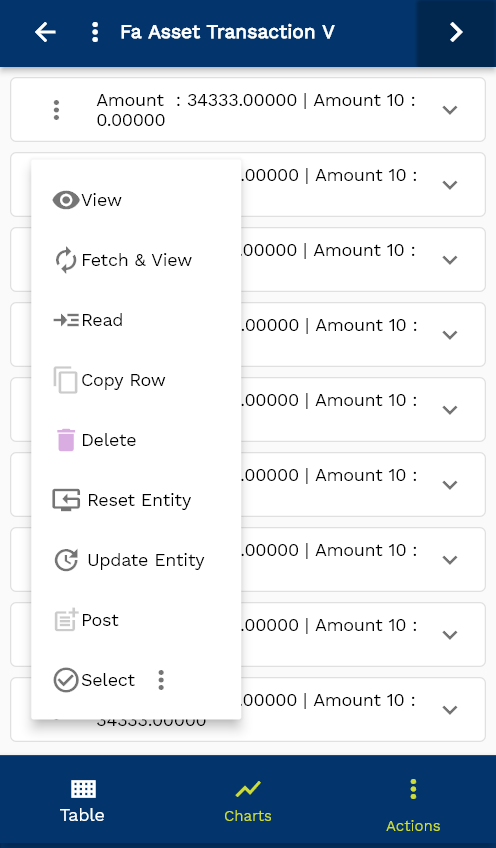
Scroll left, right, up, and down to view all the details. The default configuration shows fields in various functional groups, such as
- Reference
- Control
- Etc
You can configure the application to show which fields should be shown under which group. You can also create new groups as per your inventory requirements.

Cost Adjustment
Cost adjustment allows you to update the current cost of an asset. Once an asset is created, the system does not allow you to change the original cost. So, if any modification is required for the asset cost, then you can create a cost adjustment.
To view/create/update an asset adjustment, navigate to the "asset adjustment" search screen from your dashboard/favorite.
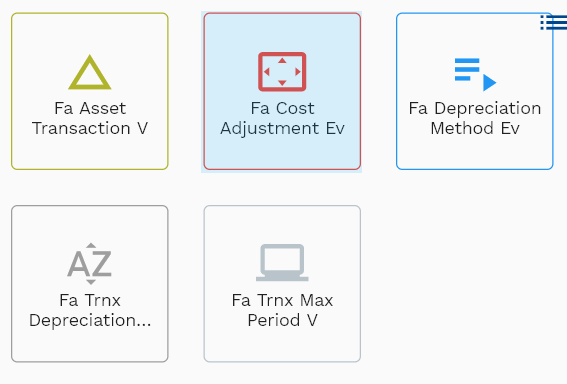
Enter the organization/asset adjustment details or any other criteria in the search form and click on the search button to view an existing asset adjustment.
Click on create a new button to create a new asset adjustment; by manually entering all the information,
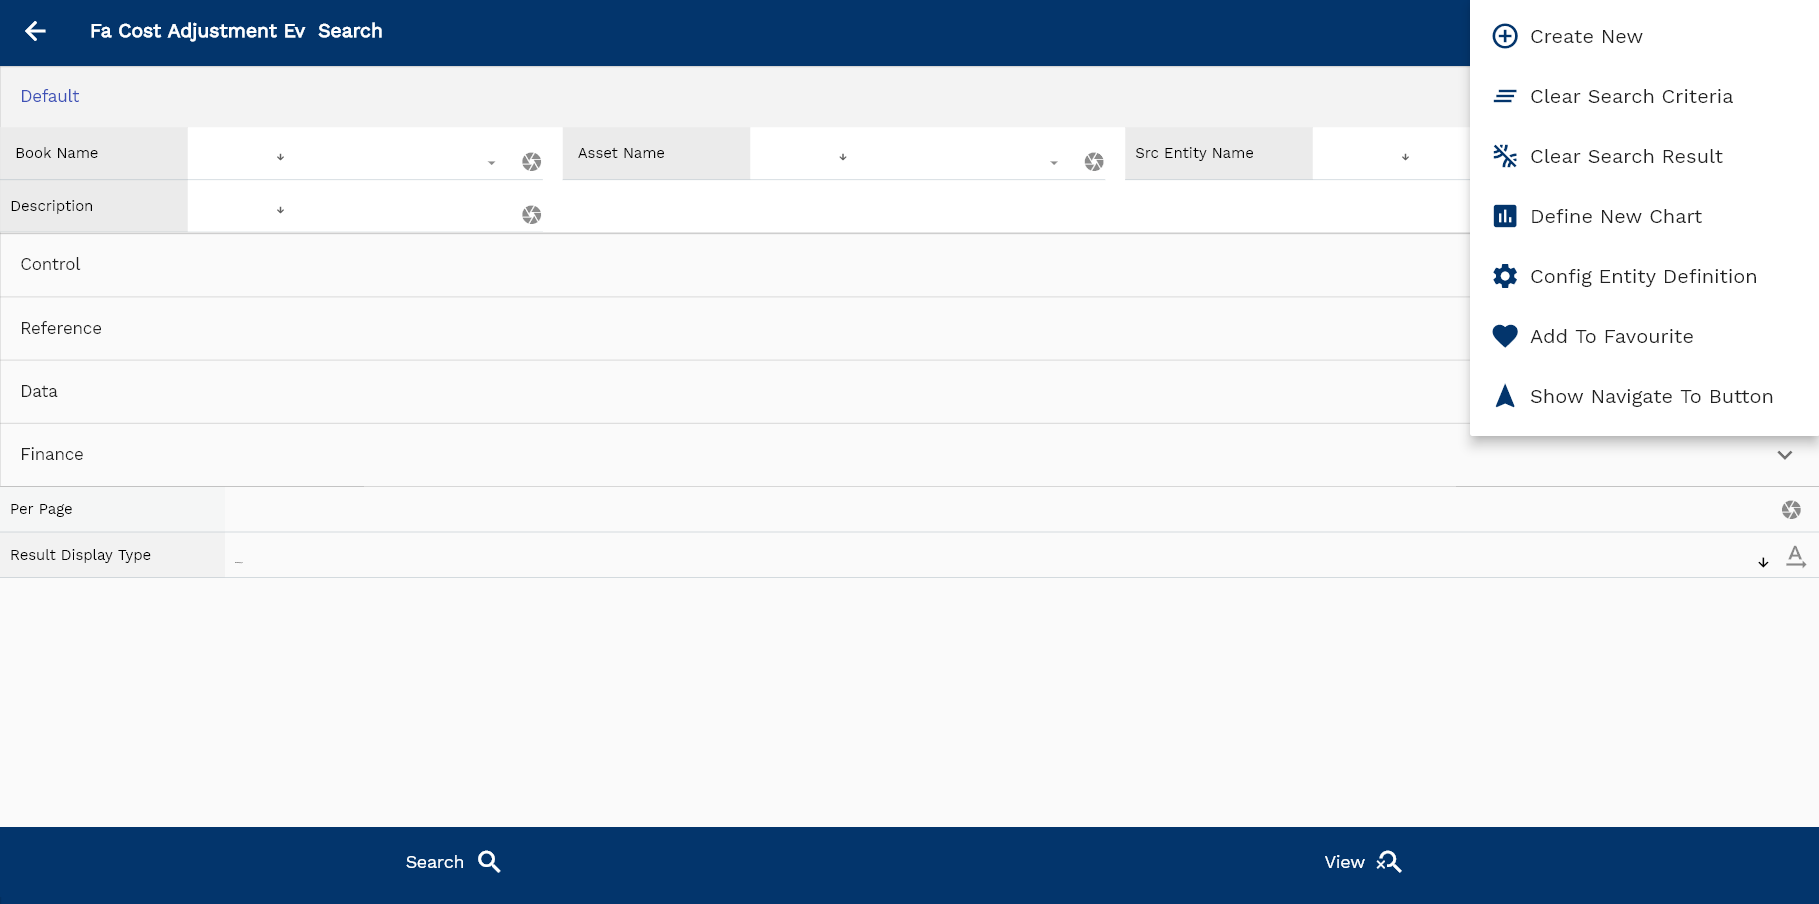
If you don't enter organization details, the system will show you all the asset categories. If your organization has configured to make any field mandatory for search, then you have to enter those fields to search asset adjustments.
The application will fetch all the server data and take you to the search result screen. The search result screen looks a bit different on desktop and mobile devices.
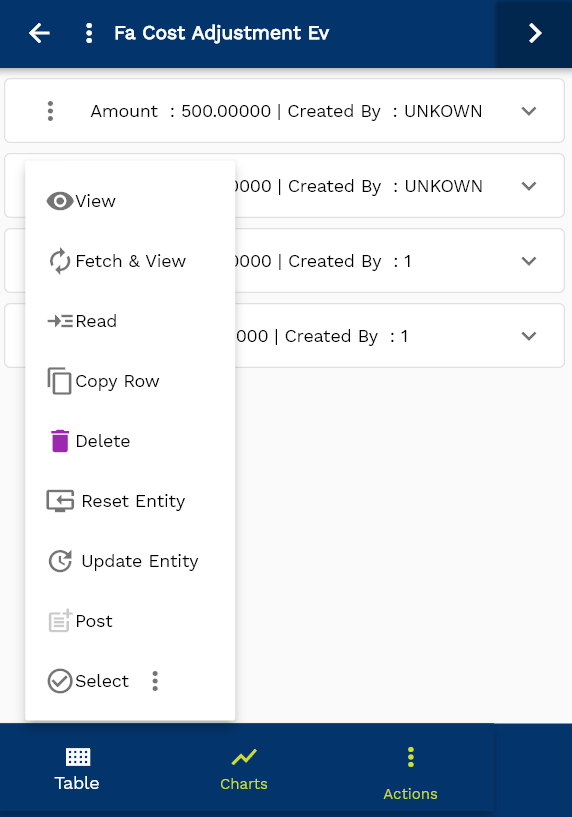
To view the search result in a table format, click on the table icon available in the bottom left corner.
To open a specific asset adjustment, click on the menu of that record, and click on view/fetch & view.
You can also click on the expand icon against any item on the search result screen to view the asset adjustment details such as business unit name, payment term, price list, etc.

The system will fetch all the data related to the selected asset adjustment. Depending on the device size, the asset adjustment details are shown either right to the search result screen or on a separate screen.
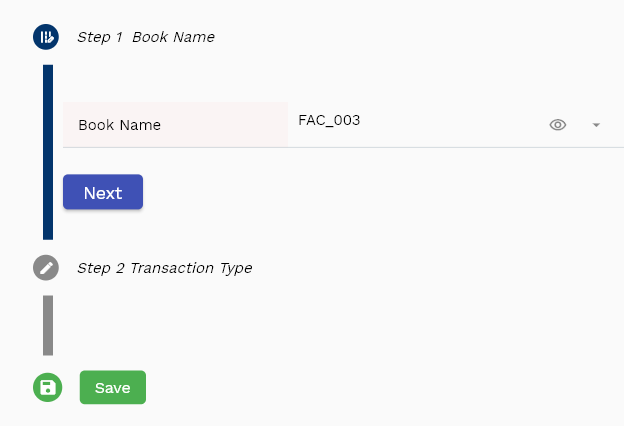
Scroll left, right, up, and down to view all the details. The asset adjustment line and details are shown in a separate tab. The default configuration shows fields in various functional groups, such as
- Finance
- Entity
- Reference
- Data
- Control
- Etc

You can configure the application to show which fields should be shown under which group. You can also create new groups as per your business requirements.

Accounting
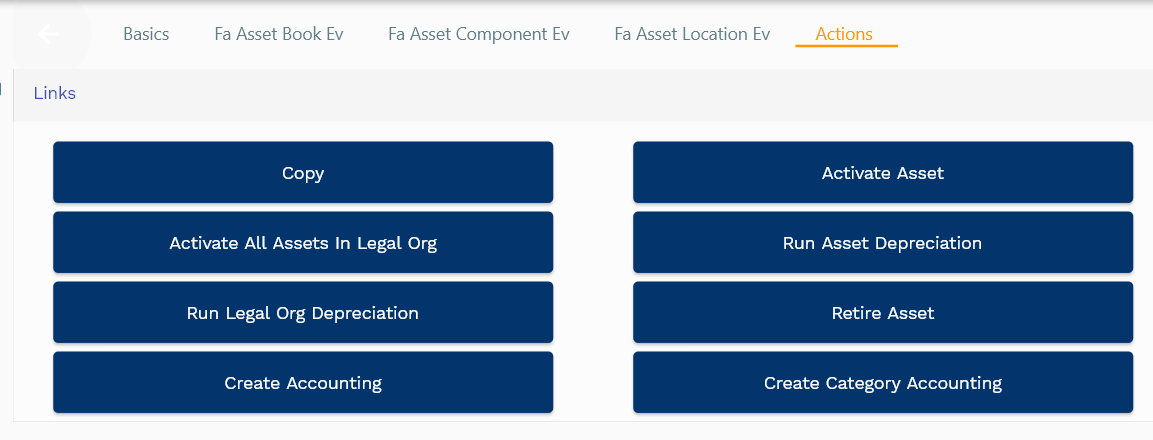
You can create accounting/journal entries for all the asset transactions by running create accounting program.
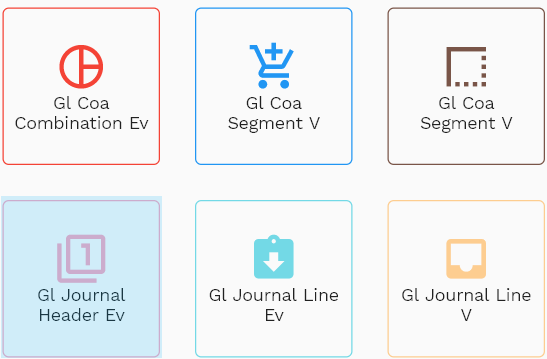
You can review all the system-generated journal entries in the "Gl Journal Screen." The accounting process in inoERP is quite flexible and can be configured to satisfy any business requirement. The two most important settings that you need to understand to configure the accounting are
- Accounting Profile
- Journal Profile
Read more about accounting process @ /docs/gl/accounting
This documentation includes only basis standard accounting entries. The accounting entries generated by the system will depend on your system configuration.
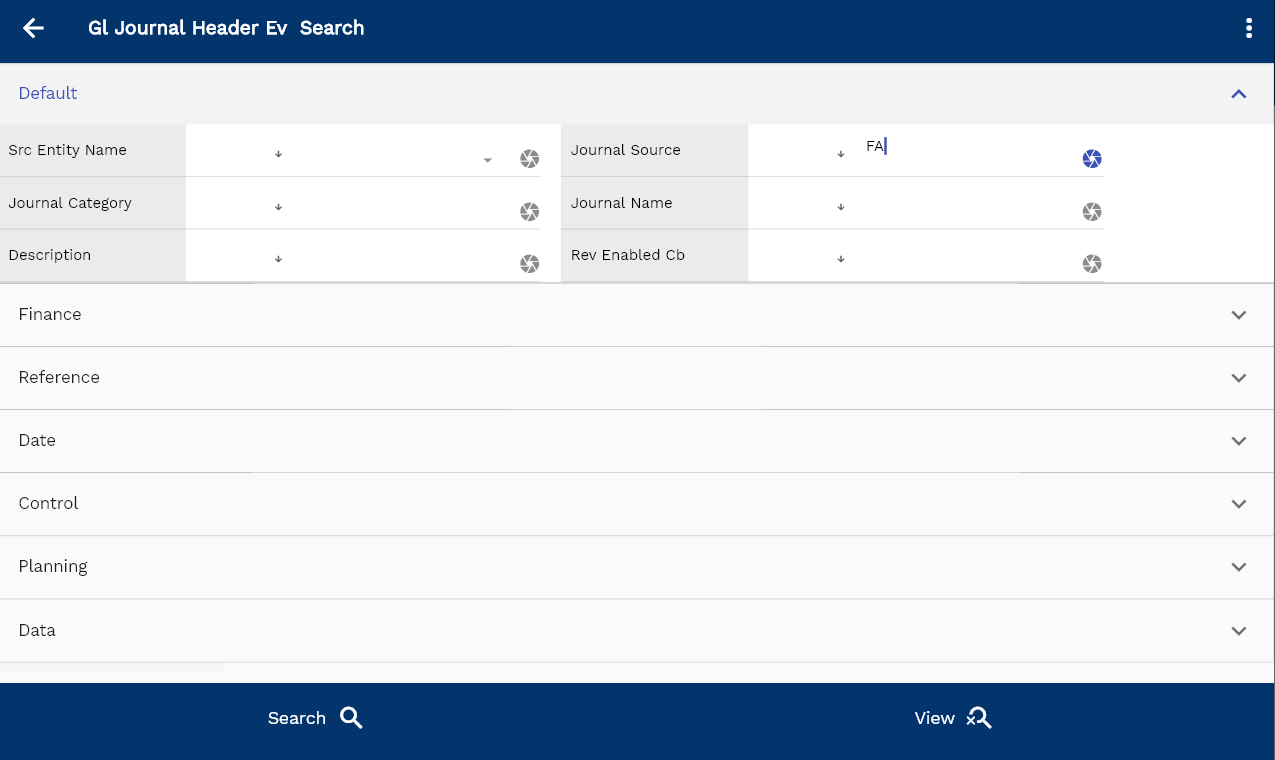
Navigate to the "Journal Screen" screen from your dashboard/favorite to view completed asset addition transactions.
Enter the organization journal details or any other criteria in the search form and click on the search button to view journals
Enter the Journal Source as FA, and click on the search button.

To view the search result in a table format, click on the table icon in the bottom left corner. To view journal details, click on the menu of that record, and click on view/fetch & view. You can also click on the expand icon against any item on the search result screen to view the transaction details such as amount, period, etc.

The system will fetch all the selected journal details. Depending on the device size, the journal details are shown either right on the search result screen or on a separate screen.

Scroll left, right, up, and down to view all the details. The default configuration shows fields in various functional groups, such as
- Reference
- Control
- Etc
You can configure the application to show which fields should be shown under which group. You can also create new groups as per your business requirements.

Addition
Asset Cost   Dr
             Cost Clearing Cr
Depreciation
Depreciation   Dr
             Accumulated Depreciation Cr
Adjustment
Asset Cost   Dr
             Cost Clearing Cr
Retirement
Retired                   Dr
Accumulated Depreciation  Dr
                       Asset Cost   Cr