Organization Data
This documentation is incomplete.
Store In Org Hierarchy

Store
A store is a subdivision of an inventory organization representing either a physical area or a logical grouping of terminals/vending machines that are used to sell products.
Stores don't keep track of the stock for any product. Stocks are stored in inventory, sub-inventory, and locators. Stores are used only for selling purposes.
All material within an inventory organization is tracked in a subinventory. Thus, you must create at least one subinventory before starting transactions in an inventory organization.
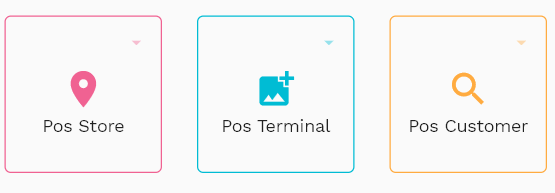
To view/create/update a Store, navigate to the "Store" search screen from your dashboard/favorite.
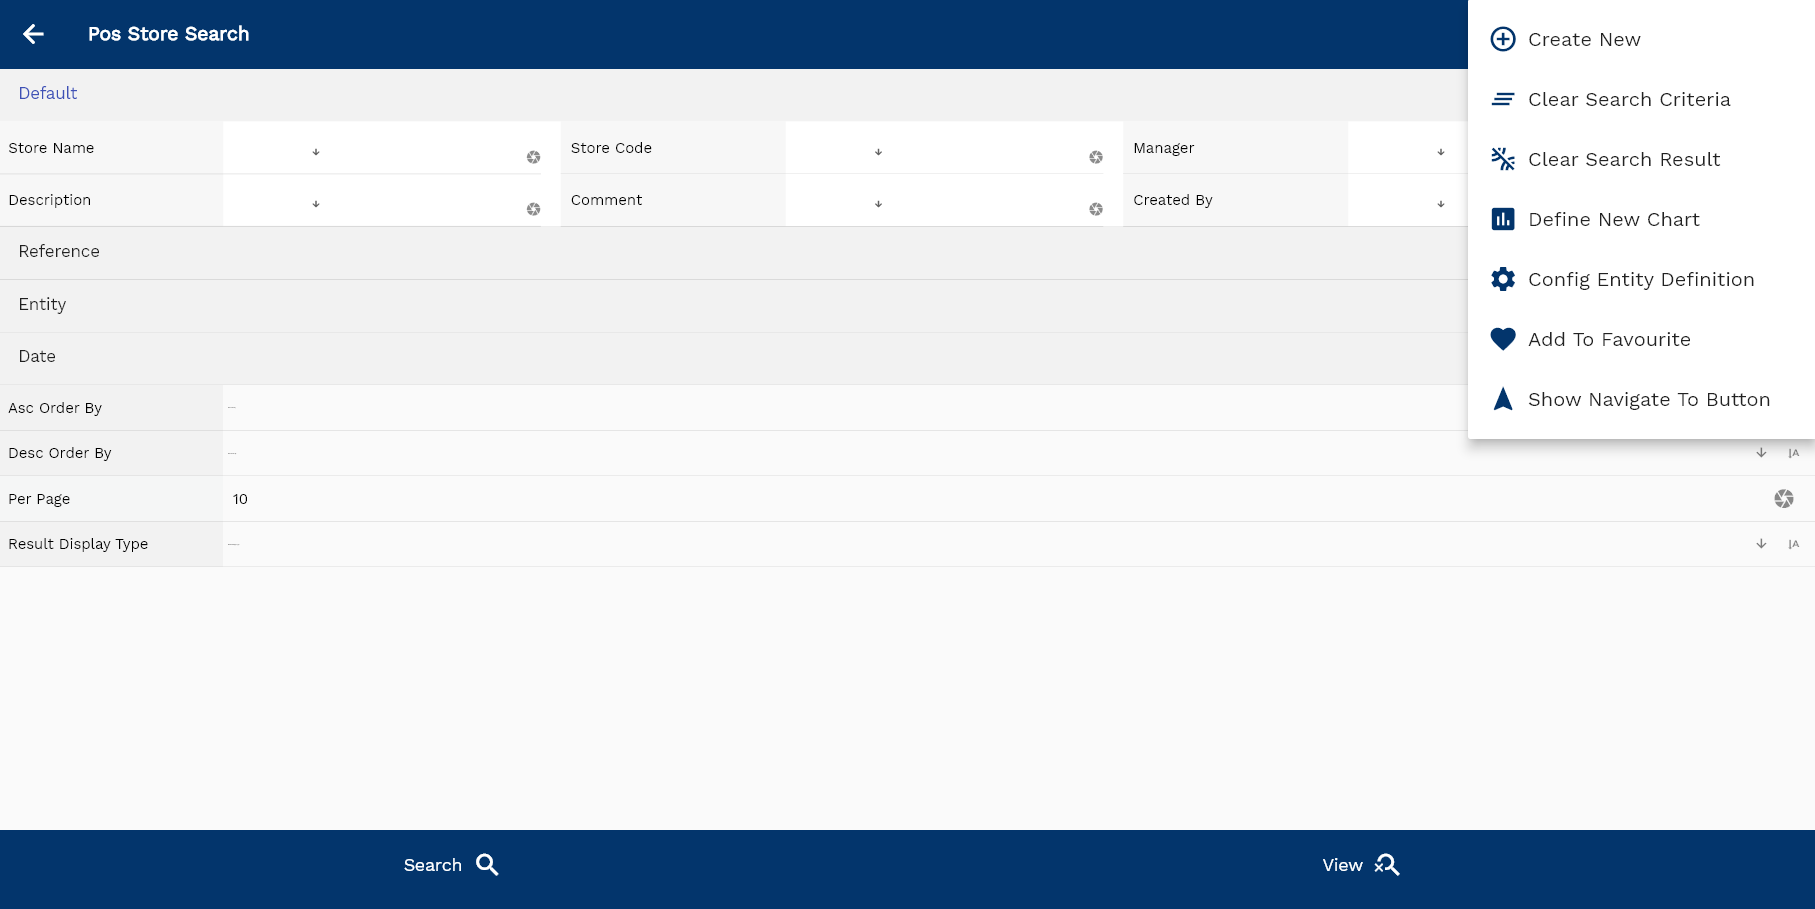
Enter the Store details or any other criteria in the search form and click on the search button to view an existing Store. Click on create a new button to create a new Store; by manually entering all the information. Copying an existing Store to a new Store is always better than manually entering all the data to create a new Store.

If you click on the create a new button, the system will open a simple step form to create a new item. You can click on the detail right bottom to view all the fields available for the object.
The application will fetch all the server data and take you to the search result screen. The search result screen looks a bit different on desktop and mobile devices.
The system will show you all the stores if you click the search button without entering any organization/Store details. If your organization has configured to make any field mandatory for search, you must enter those fields into search stores.

To view the search result in a table format, click on the table icon in the bottom left corner.
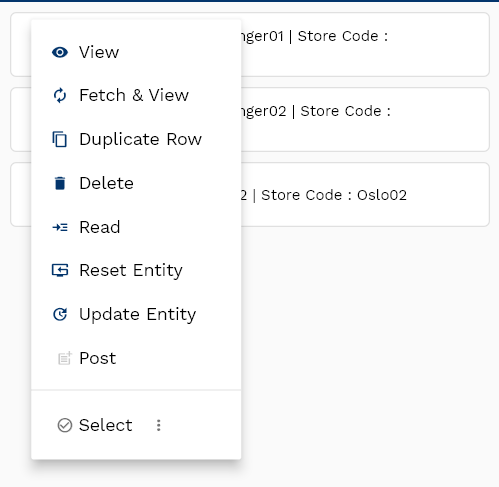
To open a specific Store, click on the menu of that record, and click on view/fetch & view.
You can also click on the expand icon against any item on the search result screen to view the Store header details such as Store name, code, manager, etc.
The system will fetch all the data related to the selected store. The Store details are shown either right to the search result screen or on a separate screen, depending on the device size.
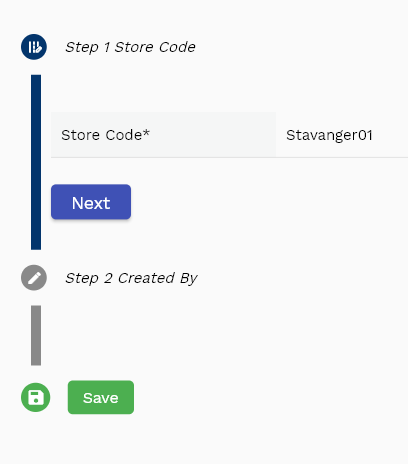
Store Code: A store code is a unique identifier for a store. It is used to identify a Store in the system. It's a mandatory field.
Inventory Organization: The inventory organization is the parent organization of a Store. It is a mandatory field.
Each store must be associated with an inventory organization. A store can be associated with only one inventory organization. However, an inventory organization can have multiple stores.
All inventory on hand and stock is tracked in sub-inventories. Thus, you must also create at least one subinventory before starting POS-related inventory transactions.

Store Manager: The store manager is the person in charge of the store. It's not a mandatory field and is used only for reporting purposes.
Store Name: Store name is a descriptive name for a Store. Though it's not a mandatory field, you can give meaningful names to each store. You can search stores by Store name and store code.
Scroll left, right, up, and down to view all the details. The Store line and details are shown in a separate tab. The default configuration shows fields in various functional groups, such as
- Finance
- Entity
- Reference
- Data
- Control
- Etc
You can configure the application to show which fields should be shown under which group. You can also create new groups as per your business requirements.

All Fields
| Sequence | Name | Label | InputType | Field Group |
|---|---|---|---|---|
| 10 | vvInvOrgCode | Inv Org Code | deferredSelect | ENTITY |
| 10 | vvInvOrgId | Inv Org Id | deferredSelect | REFERENCE |
| 20 | subInventoryId | Sub Inventory Id | InputType.text | REFERENCE |
| 30 | subInventory | Sub Inventory | InputType.textField | ENTITY |
| 40 | subInventoryType | Sub Inventory Type | InputType.select | CONTROL |
| 50 | mdmInventoryOrgId | Mdm Inventory Org Id | deferredSelect | PLANNING |
| 60 | subInventoryClass | Sub Inventory Class | InputType.select | ENTITY |
| 70 | description | Description | InputType.textField | DEFAULT |
| 80 | terminalControl | Terminal Control | InputType.textField | ENTITY |
| 90 | allowNegativeBalanceCb | Allow Negative Balance Cb | InputType.switchField | DEFAULT |
| 100 | defaultCostGroup | Default Cost Group | InputType.textField | PLANNING |
| 110 | shipmentPickPriority | Shipment Pick Priority | InputType.number | ENTITY |
| 120 | materialAcId | Material Ac Id | deferredSelect | REFERENCE |
| 130 | materialOhAcId | Material Oh Ac Id | deferredSelect | REFERENCE |
| 140 | overheadAcId | Overhead Ac Id | deferredSelect | REFERENCE |
| 150 | resourceAcId | Resource Ac Id | deferredSelect | REFERENCE |
| 160 | ospAcId | Osp Ac Id | deferredSelect | REFERENCE |
| 170 | expenseAcId | Expense Ac Id | deferredSelect | REFERENCE |
| 180 | status | Status | InputType.textField | CONTROL |
| 190 | revNumber | Rev Number | InputType.textField | DATA |
| 240 | glAcProfileHeaderId | Gl Ac Profile Header Id | deferredSelect | REFERENCE |
| 250 | srcEntityName | Src Entity Name | deferredSelect | DEFAULT |
| 260 | srcEntityId | Src Entity Id | InputType.text | REFERENCE |
| 5200 | createdBy | Created By | InputType.text | REFERENCE |
| 5210 | creationDate | Creation Date | InputType.text | REFERENCE |
| 5220 | lastUpdatedBy | Last Updated By | InputType.text | REFERENCE |
| 5230 | lastUpdateDate | Last Update Date | InputType.text | REFERENCE |
Terminal
A terminal is a subdivision of a store representing a physical location where items are sold. A terminal is usually associated with a cash drawer or other similar devices.
You can show "POS Terminal Screen" on the available physical device. The terminal screen is a simple screen that allows you to add items to a cart and complete a sale. (Check out the terminal screen section for more details.)
To view/create/update a terminal, navigate to the "terminal" search screen from your dashboard/favorite.
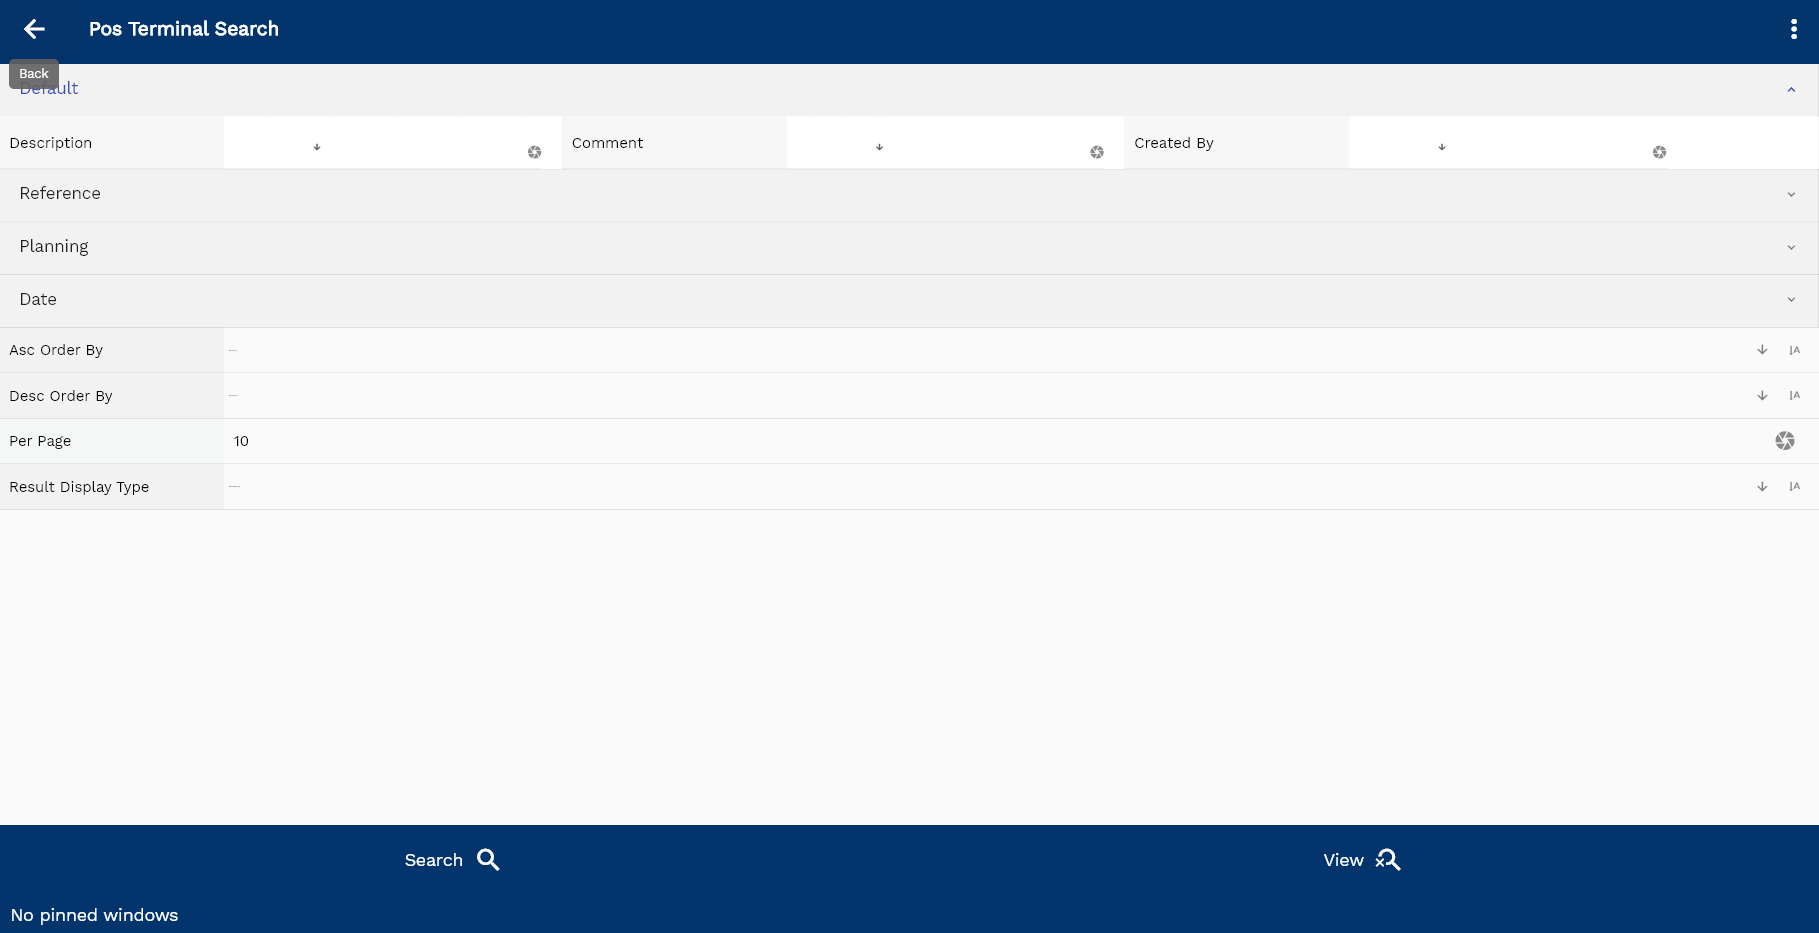
Enter the terminal details or any other criteria in the search form and click on the search button to view an existing terminal. Click on create a new button to create a new terminal; by manually entering all the information. Copying an existing terminal to a new terminal is always better than manually entering all the data to create a new terminal.
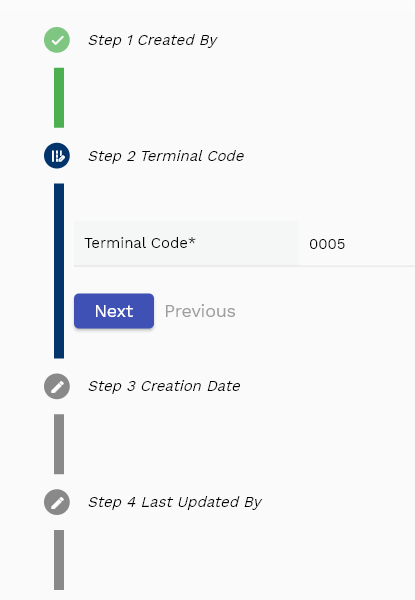
If you click on the create a new button, the system will open a simple step form to create a new item. You can click on the detail right bottom to view all the fields available for the object.
The application will fetch all the server data and take you to the search result screen. The search result screen looks a bit different on desktop and mobile devices. If you click on the search button without entering any organization/terminal details, the system will show you all the Terminals. If your organization configures any field mandatory for search, then you have to enter those fields to search Terminals.

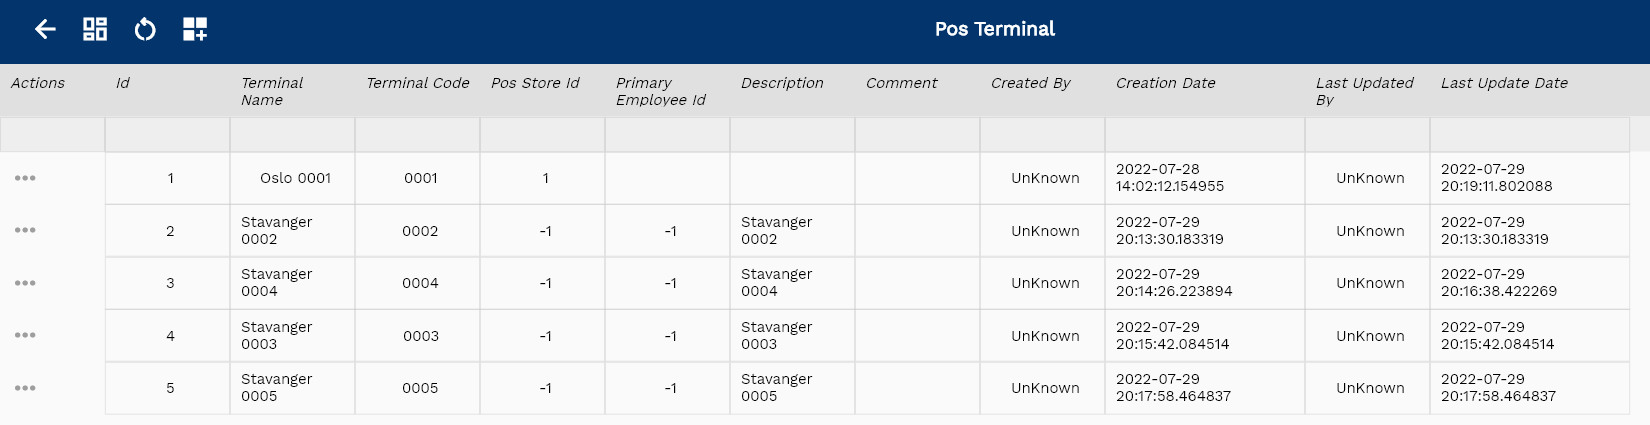
To view the search result in a table format, click on the table icon in the bottom left corner.
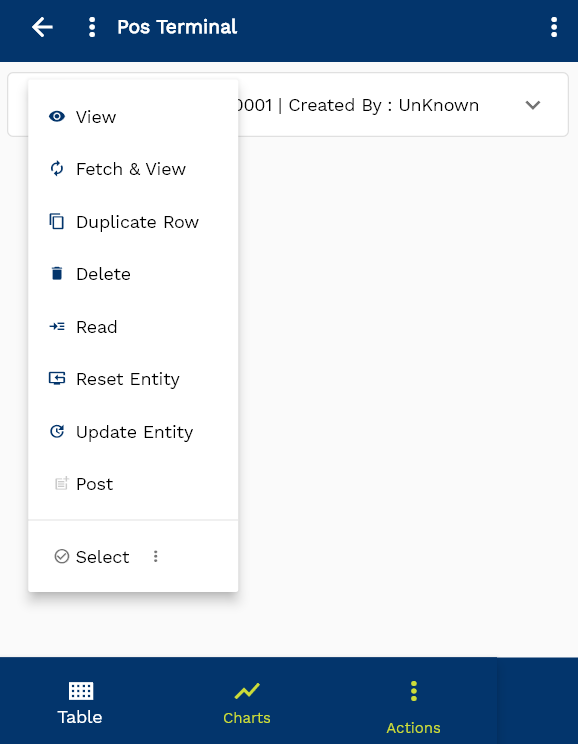
To open a specific terminal, click on the menu of that record, and click on view/fetch & view.
You can also click on the expand icon against any item on the search result screen to view the terminal header details such as a terminal, quantities, start date, status, etc.
The system will fetch all the data related to the selected terminal. The terminal details are either right on the search result screen or a separate screen, depending on the device size.
Scroll left, right, up, and down to view all the details. The terminal line and details are shown in a separate tab. The default configuration shows fields in various functional groups, such as
- Finance
- Entity
- Reference
- Data
- Control
- Etc

You can configure the application to show which fields should be shown under which group. You can also create new groups as per your business requirements.
All Fields
| Sequence | Name | Label | InputType | Field Group |
|---|---|---|---|---|
| 10 | vvSubInventory | Sub Inventory | deferredSelect | ENTITY |
| 10 | vvSubInventoryId | Sub Inventory Id | InputType.text | REFERENCE |
| 20 | vvSubInventoryDescription | Sub Inventory Description | InputType.text | ENTITY |
| 30 | vvTerminalOrgCode | Terminal Org Code | deferredSelect | ENTITY |
| 40 | vvTerminalOrgId | Terminal Org Id | deferredSelect | REFERENCE |
| 50 | terminalId | Terminal Id | deferredSelect | REFERENCE |
| 60 | srcEntityName | Src Entity Name | deferredSelect | DEFAULT |
| 70 | srcEntityId | Src Entity Id | InputType.text | REFERENCE |
| 80 | subInventoryId | Sub Inventory Id | InputType.text | REFERENCE |
| 90 | terminal | Terminal | InputType.textField | ENTITY |
| 100 | terminalStructure | Terminal Structure | InputType.textField | ENTITY |
| 110 | alias | Alias | InputType.textField | DEFAULT |
| 120 | dimensionUomId | Dimension Uom Id | deferredSelect | REFERENCE |
| 130 | length | Length | InputType.textField | DATA |
| 140 | height | Height | InputType.textField | DATA |
| 150 | width | Width | InputType.text | REFERENCE |
| 160 | xCoordinate | X Coordinate | InputType.textField | DEFAULT |
| 170 | yCoordinate | Y Coordinate | InputType.textField | DEFAULT |
| 180 | zCoordinate | Z Coordinate | InputType.textField | DEFAULT |
| 190 | maxUnits | Max Units | InputType.textField | PLANNING |
| 200 | maxVolumeUomId | Max Volume Uom Id | deferredSelect | DATA |
| 210 | maxVolume | Max Volume | InputType.textField | DATA |
| 220 | maxWeightUomId | Max Weight Uom Id | deferredSelect | DATA |
| 230 | maxWeight | Max Weight | InputType.textField | DATA |
| 240 | status | Status | InputType.textField | CONTROL |
| 250 | revEnabledCb | Rev Enabled Cb | InputType.switchField | DEFAULT |
| 260 | revNumber | Rev Number | InputType.textField | DATA |
| 5270 | createdBy | Created By | InputType.text | REFERENCE |
| 5280 | creationDate | Creation Date | InputType.text | REFERENCE |
| 5290 | lastUpdatedBy | Last Updated By | InputType.text | REFERENCE |
| 5300 | lastUpdateDate | Last Update Date | InputType.text | REFERENCE |
Other Org Entities
Depending on the business requirements, you can create other entities such as
- Legal Org ( and Primary Ledger)
- Business Org
- Inventory Org
- Subinventory Org
- Locator Org
Inventory and SubInventory org entities are required if you want to auto-generate inventory transactions against POS sales. Similarly, Legal org and Primary Ledger are necessary if you want to auto-generate accounting entries against POS sales.
Refer to inventory organizations for more details on inventory organization details. Similarly, refer to common organizations for more details on accounting organization details.