Timesheet
This documentation is incomplete.
Timesheet
Timesheet allows organizations to record and track employees' time on various activities. Employees can enter their time against a project activity if the project module is enabled. Else, you can define HR activities.
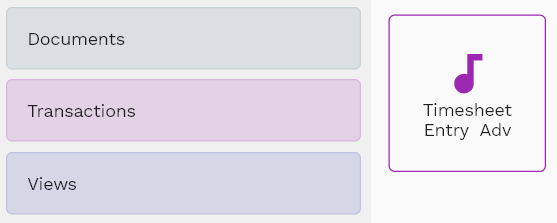
You can record timesheets in various ways.
- By manually entering activities for each day
- By using a multi-entry screen, you can add timesheets for several days together in a tabular format
- By copying the timesheet of an existing date to a different date
- By importing the records from a different system/excel using REST APIs
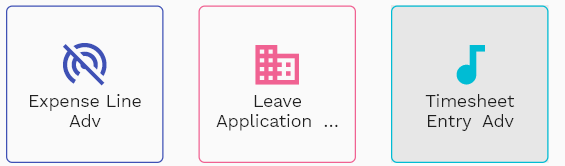
To create/view/update the timesheet, navigate to the "timesheet" screen from your dashboard/favorite.
Enter the timesheet details or other criteria in the search form and click on the search button to view an existing timesheet.
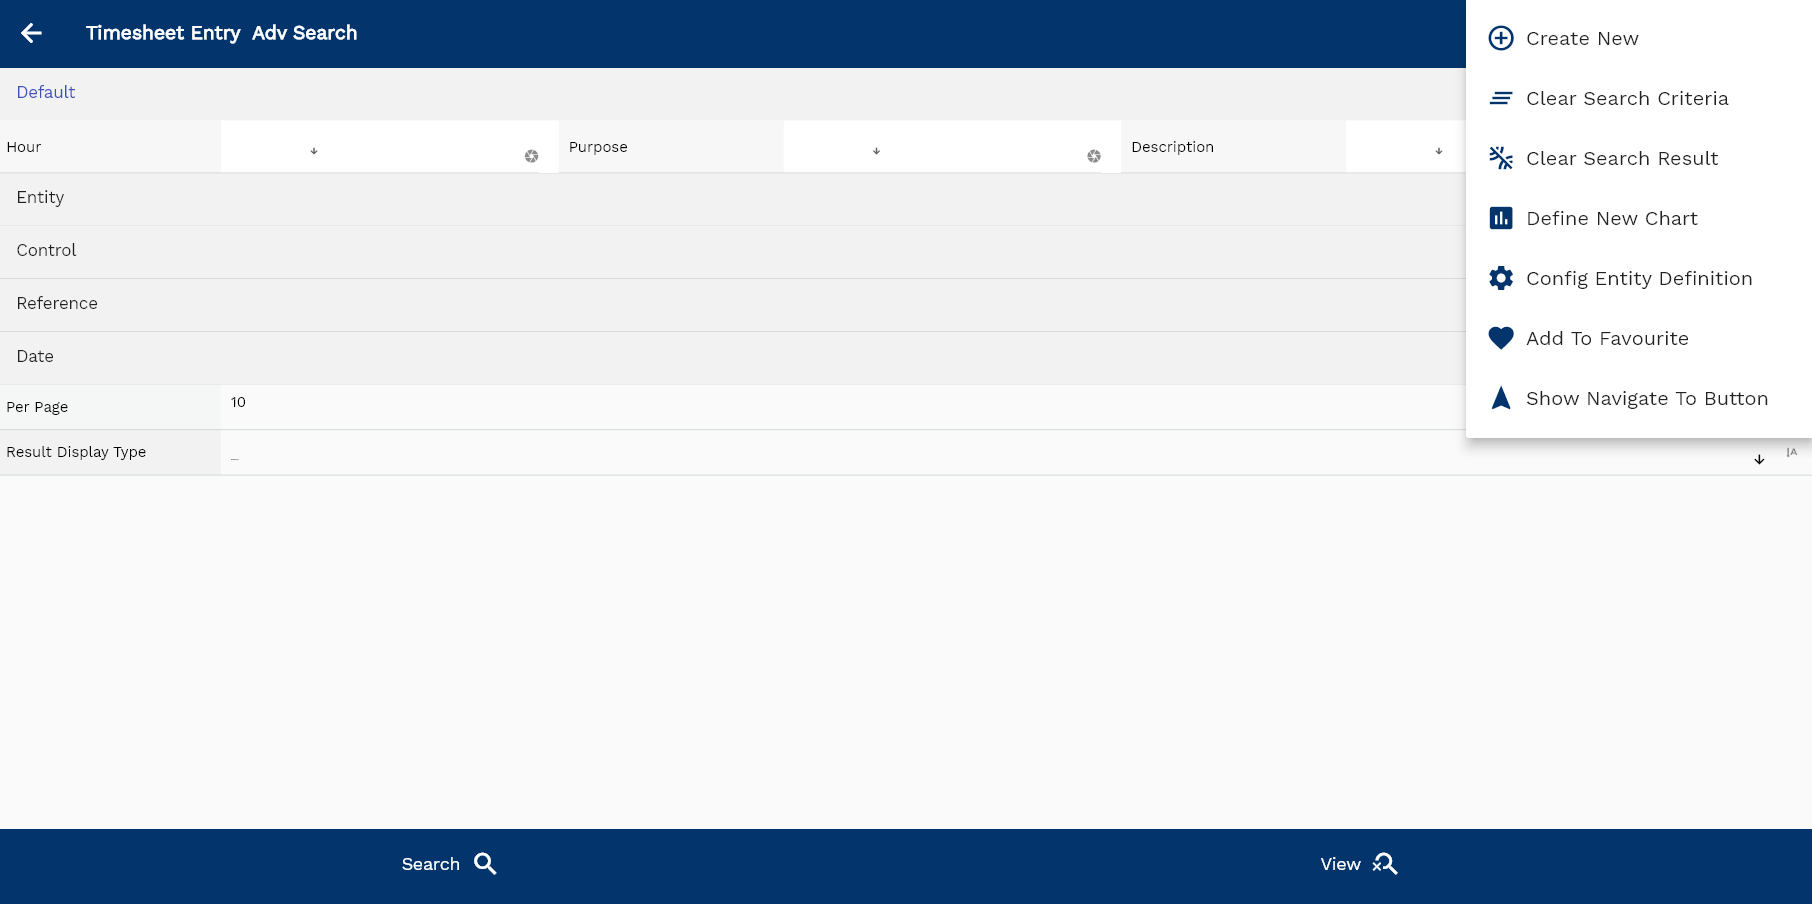
If you don't enter any search criteria, the system will show you all the timesheets. If your organization has configured to make any field mandatory for search, you must enter those fields into the search timesheet.
The application will fetch all the server data and take you to the search result screen. The search result screen looks a bit different on desktop and mobile devices.
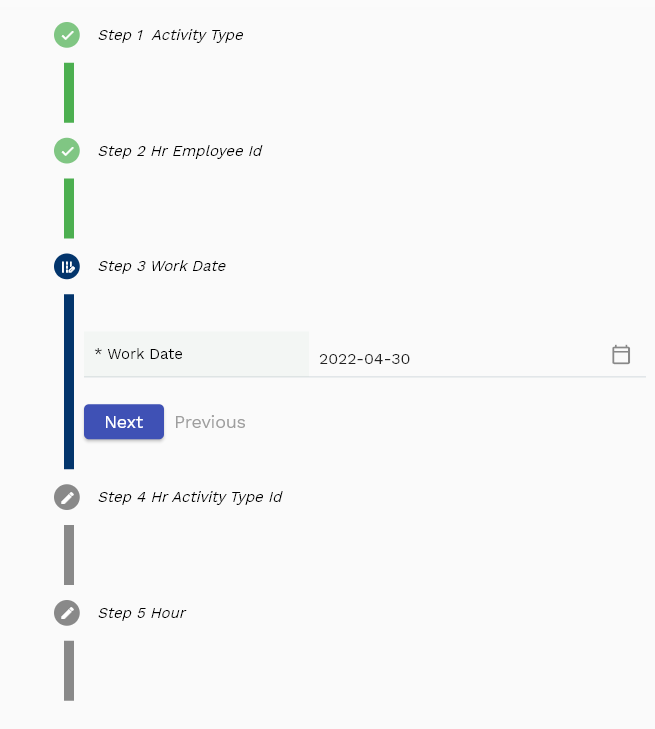
If you click on the create a new button, the system will open a simple step form to create a new timesheet. You can click on the detail right bottom to view all the fields available for the object.

To view the search result in a table format, click on the table icon in the bottom left corner.
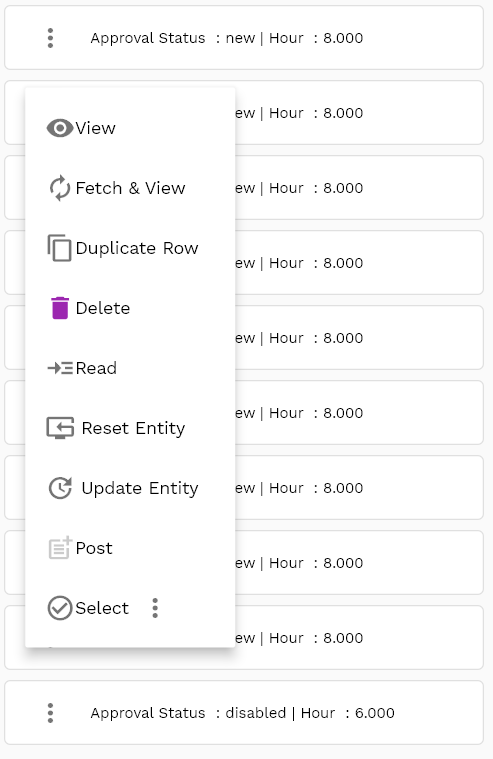
To view specific timesheet details, click on the menu of that record, and click on view/fetch & view.
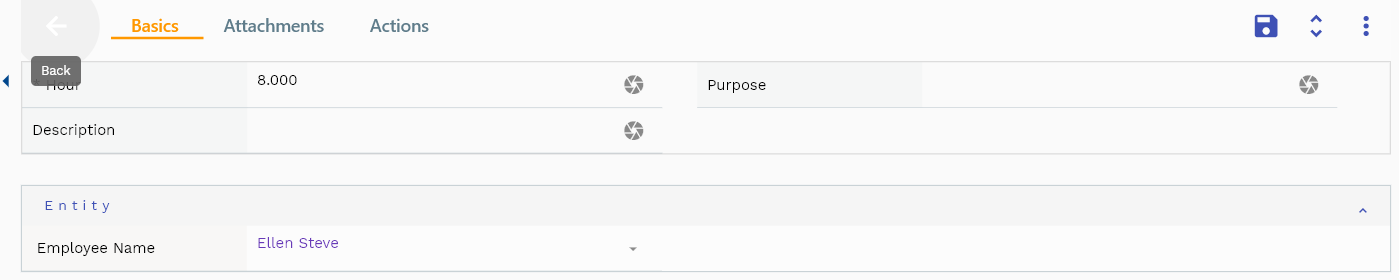
You can also click on the expand icon against any item on the search result screen to view the timesheet header details such as description, purpose, etc.
The system will fetch all the selected document detail line data. Depending on the device size, the document details are shown either right to the search result screen or on a separate screen.
Activity Type: Select an HR activity type
Date: Date of the timesheet entry
Hour: No of hours for the day against the entered activity

Approval Status: A read-only field that shows the current status of the timesheet
Scroll left, right, up, and down to view all the details. The document line and details are shown in a separate tab. The default configuration shows fields in various functional groups, such as
- Finance
- Entity
- Reference
- Data
- Control
- Etc

You can configure the application to show which fields should be shown under which group. You can also create new groups as per your business requirements.
All Fields
| Sequence | Name | Label | InputType | Field Group |
|---|---|---|---|---|
| 10 | vvEmployeeName | Employee Name | defferedSelect | ENTITY |
| 10 | vvActivityType | Activity Type | defferedSelect | CONTROL |
| 20 | hrTimesheetEntryId | Hr Timesheet Entry Id | InputType.text | REFERENCE |
| 30 | hrEmployeeId | Hr Employee Id | defferedSelect | REFERENCE |
| 40 | workDate | Work Date | InputType.date | DATE |
| 50 | hrActivityTypeId | Hr Activity Type Id | defferedSelect | CONTROL |
| 60 | prjWorkTypeId | Prj Work Type Id | InputType.number | CONTROL |
| 70 | hour | Hour | InputType.textField | DEFAULT |
| 80 | approvalStatus | Approval Status | InputType.select | CONTROL |
| 90 | purpose | Purpose | InputType.textField | DEFAULT |
| 100 | description | Description | InputType.textField | DEFAULT |
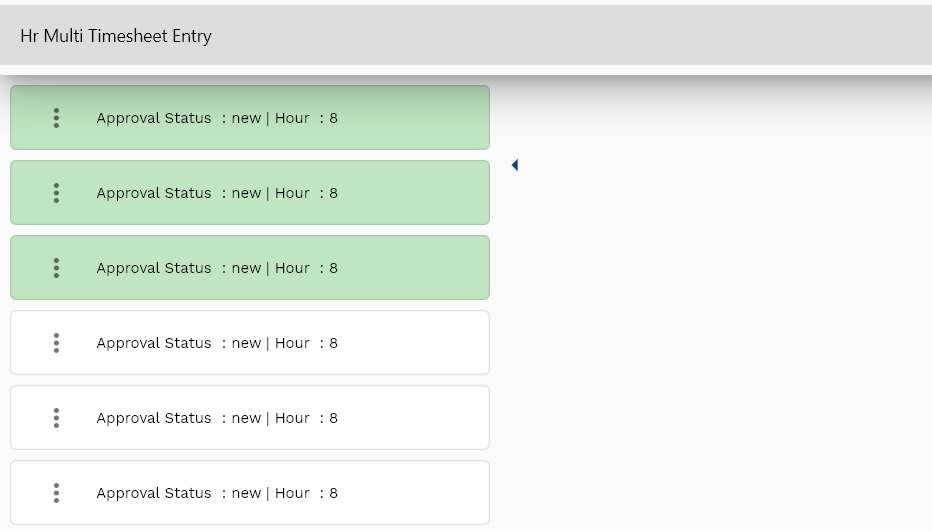
MultipleLines
You can add multiple timesheet lines using the multi-line screen. The application allows you to add +-30 days of timesheet entry by default. However, you can change the underline view to enable more dates.
To create/view/update the timesheet, navigate to the "timesheet advance entry" screen from your dashboard/favorite.
Enter the timesheet details or other criteria in the search form and click on the search button to view an existing timesheet.
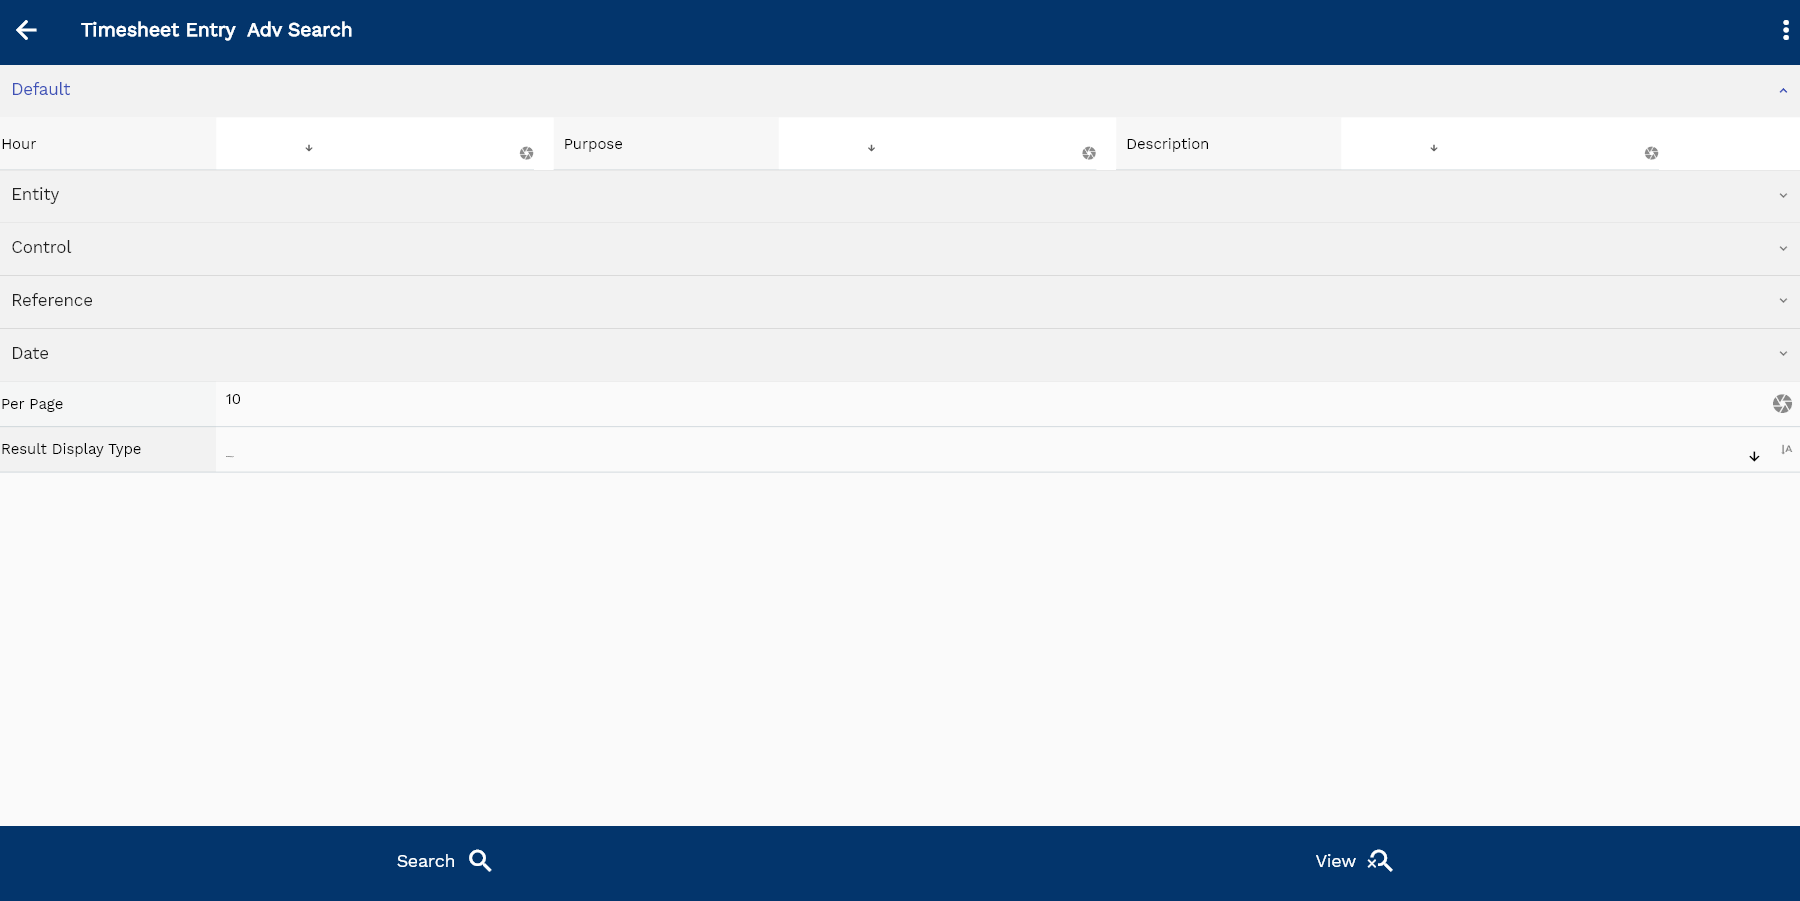
If you don't enter any search criteria, the system will show you all the possible timesheet dates. If your organization has configured to make any field mandatory for search, you must enter those fields into the search timesheet.
The application will fetch all the server data and take you to the search result screen. The search result screen looks a bit different on desktop and mobile devices.
To view specific timesheet details, click on the menu of that record, and click on view/fetch & view.
You can click on the table button in the bottom left corner to view the data in a tabular format. Select the dates for which you want to enter the timesheet, and then select the action as "Multi Timesheet Entry."

Activity Type: Select an HR activity type
Date: Date of the timesheet entry
Hour: No of hours for the day against the entered activity
Scroll left, right, up, and down view all other fields.

The default configuration shows fields in various functional groups, such as
- Reference
- Control
- Etc
You can configure the application to show which fields should be shown under which group. You can also create new groups as per your business requirements.
Enter all the other fields and click on the save button to save the timesheet. The app will post all the data to the server and show the messages returned from the server.