Work Order
You can create a maintenance work order in several different ways :
- By using the "Create maintenance work order" button on the "Asset Instance" screen. The system creates a maintenance work order for the selected asset instance.
- By using the "Create maintenance work order" button on the "Asset" view screen. The system creates maintenance work orders for all the instances of the selected asset
- By using the "Create maintenance work order" button on the "Asset group" screen. If you use this option, the system will create a maintenance work order for all the asset instances with the same asset group.
- By copying an existing maintenance work order. If you use this option, the system will copy the selected maintenance work order details.
- By manually entering all the details of a maintenance work order.
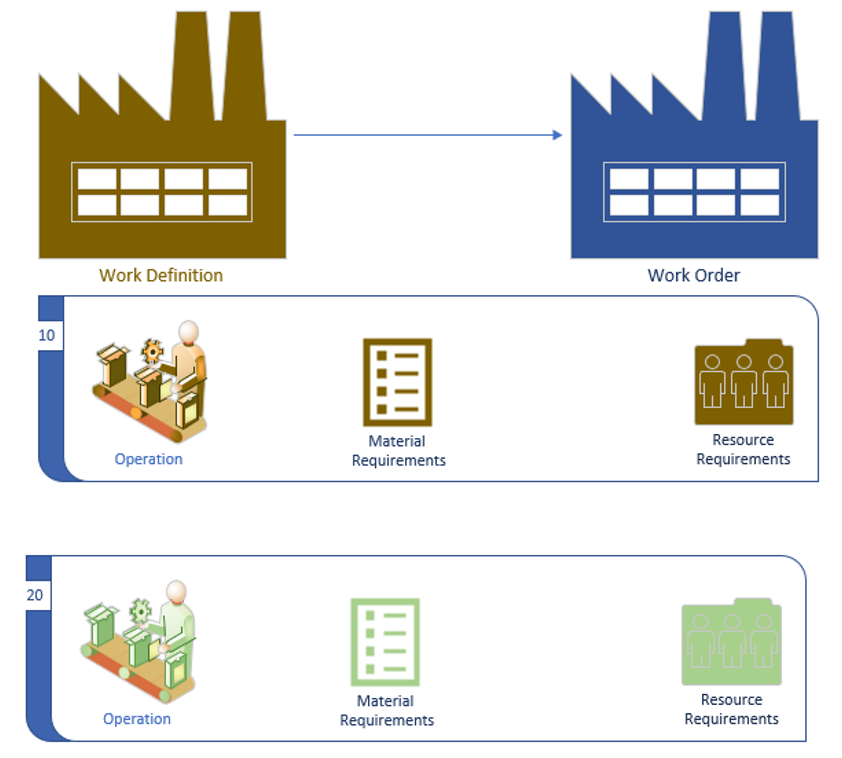
Work orders are always created with reference to a work definition. A work definition combines the material requirement, operations, and resource requirement. When work orders are created with reference to a work definition, the system copies all the data from the work definition. The system creates all the work orders in draft status. You can review and modify the work order/routing/bom details of the work order before releasing it.
View/Update
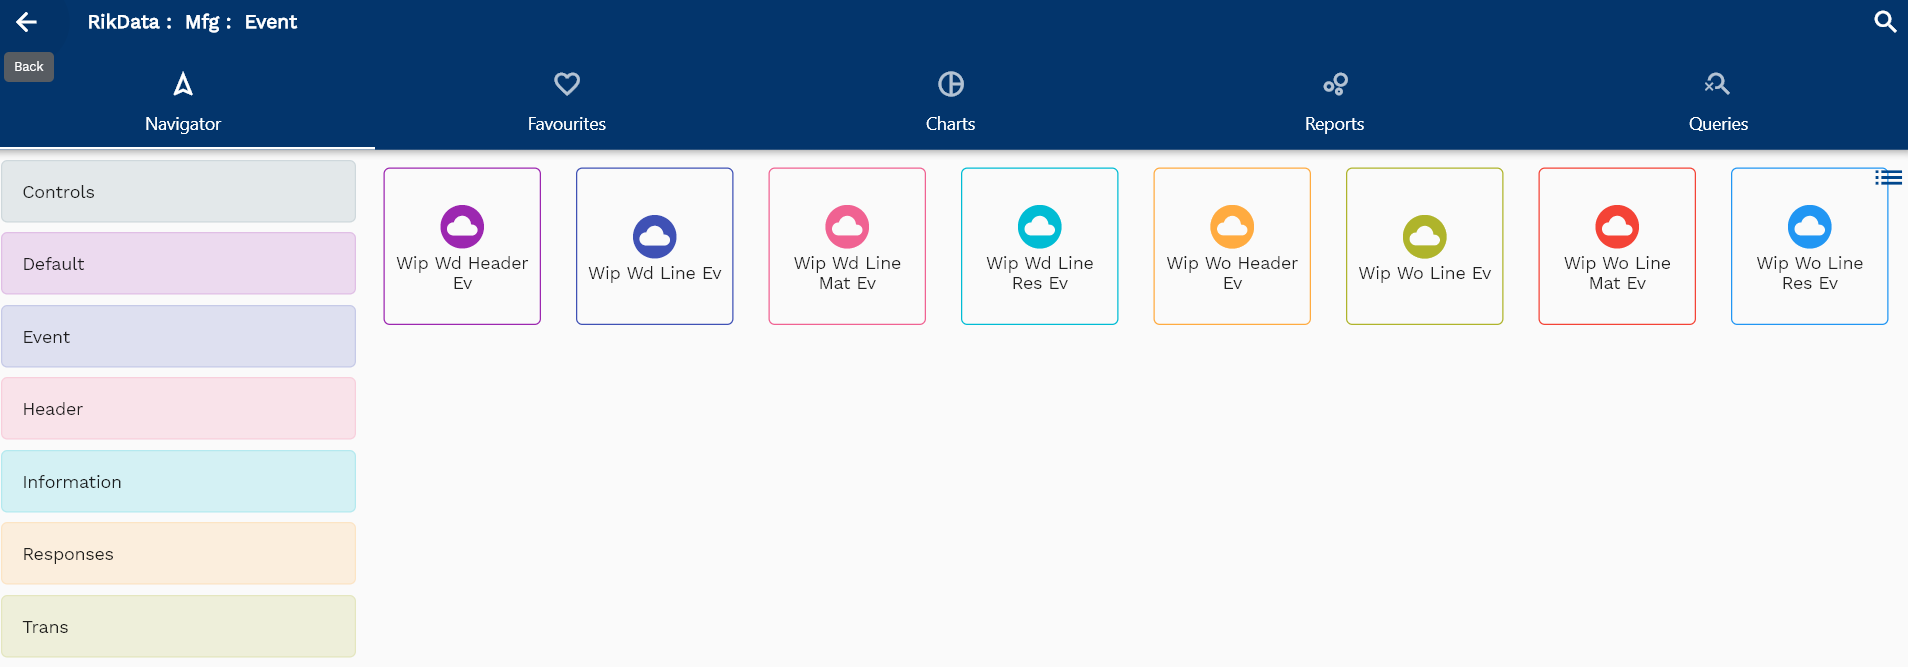
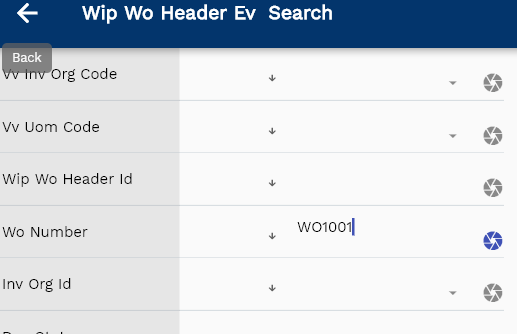
To view/update a work order, navigate to the "Work Order" search screen from your dashboard/favorite.
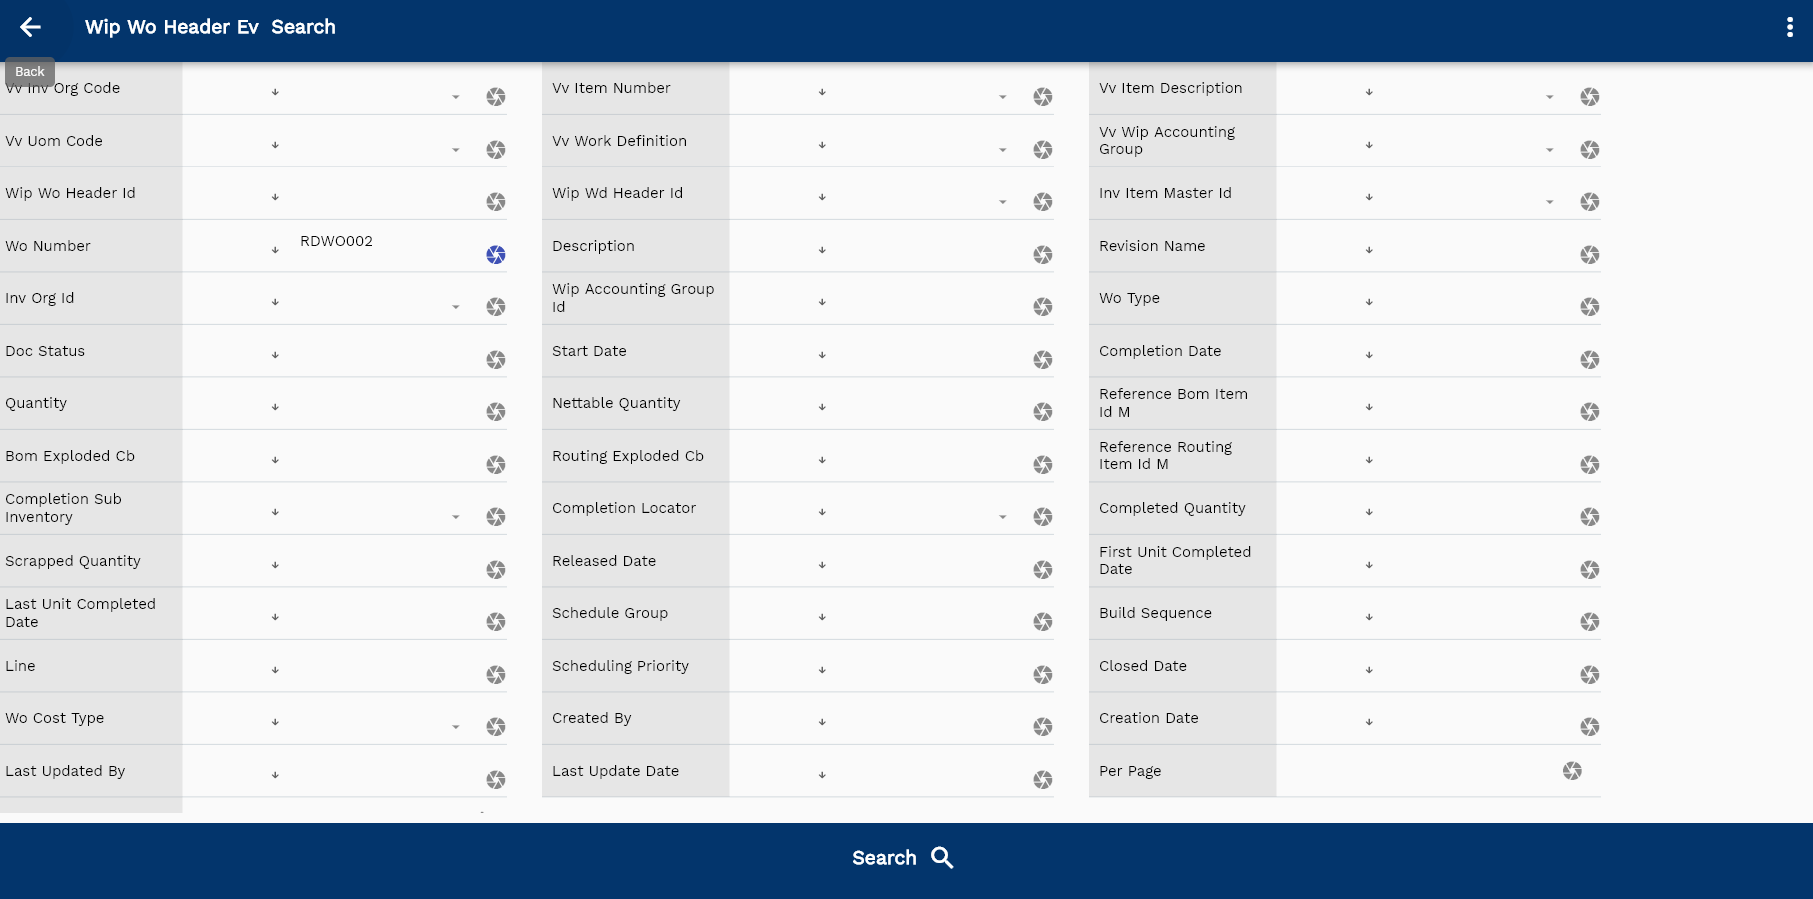
Enter the item/organization/work order details or any other criteria in the search form and click on the search button.
The system will show you all the work orders if you don't enter item/organization details. If your organization has configured to make any field mandatory for search, you must enter those fields to search work orders.
The application will fetch all the server data and take you to the search result screen. The search result screen looks a bit different on desktop and mobile devices.
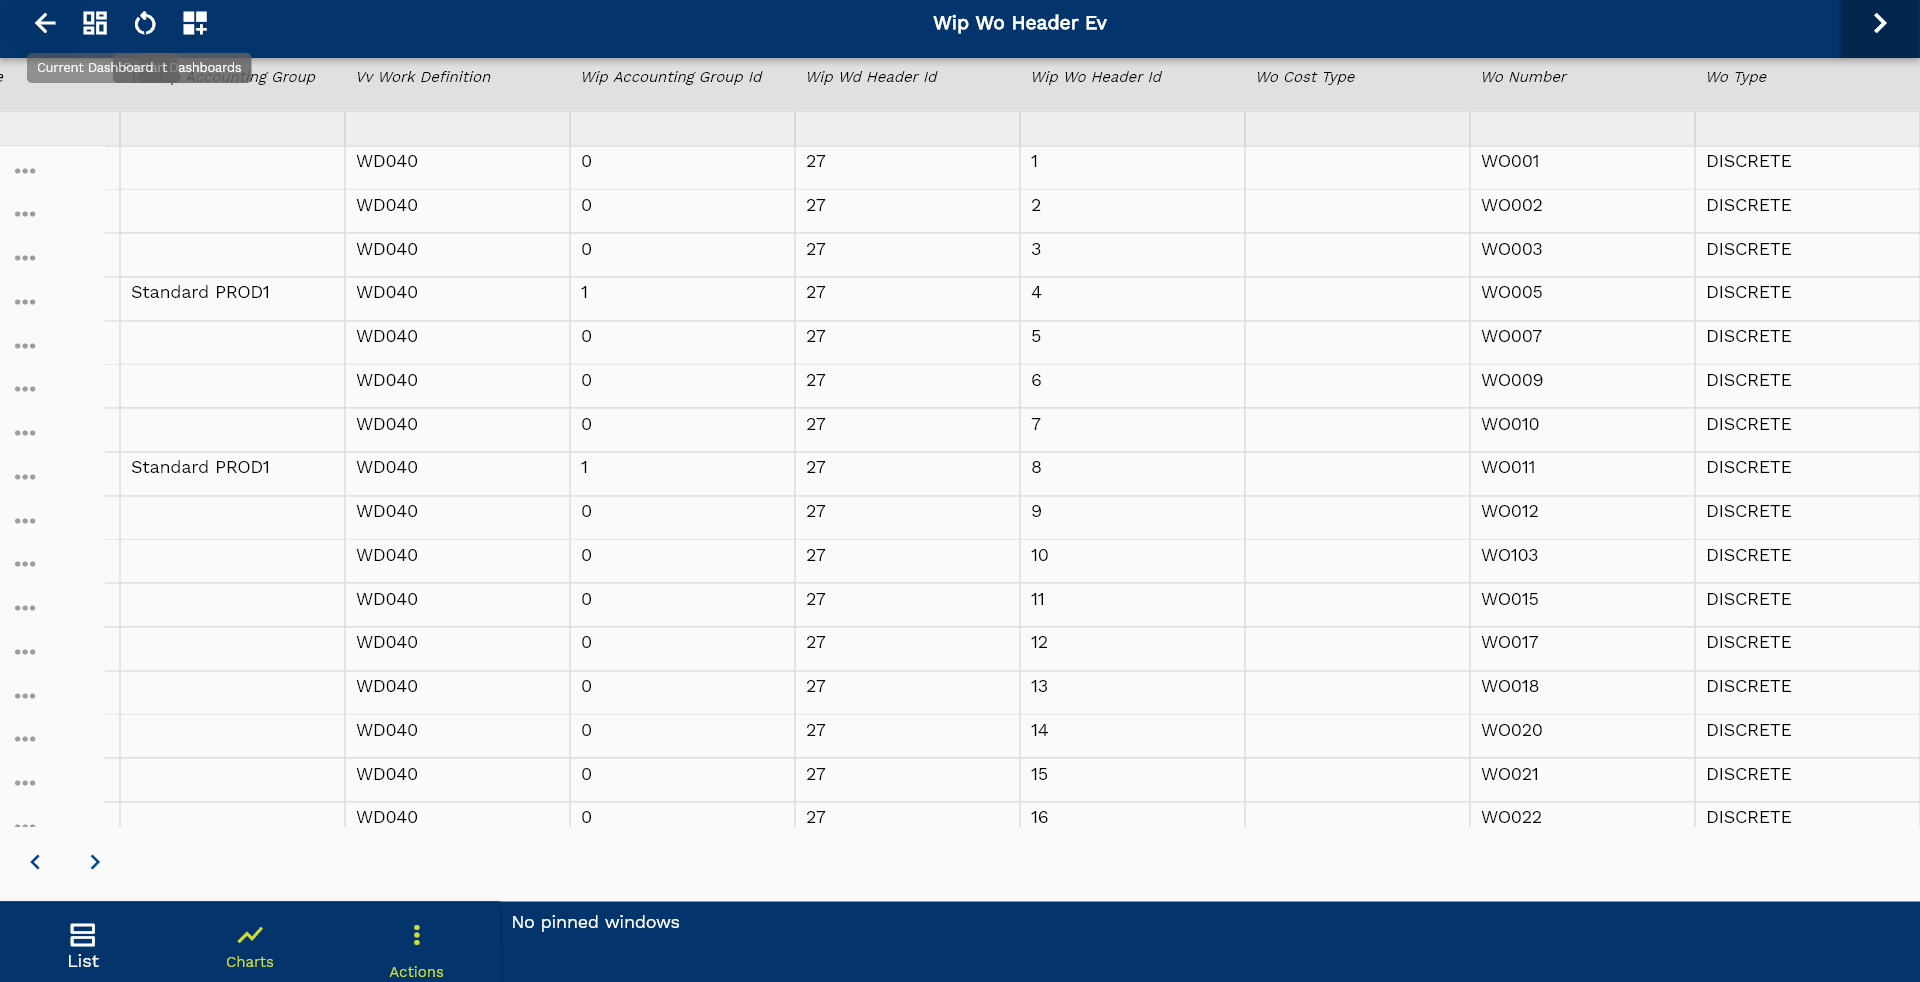
Search result on a mobile device:
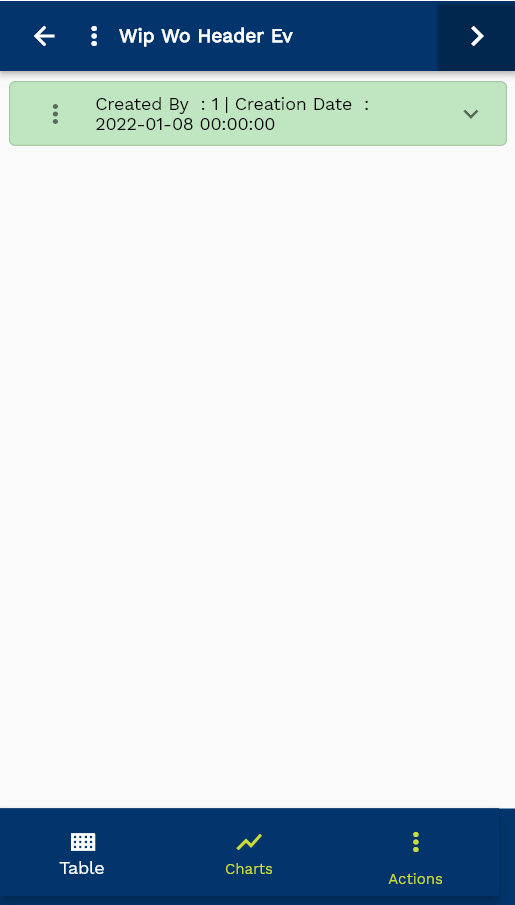
To view the search result in a table format, click on the table icon in the bottom left corner.
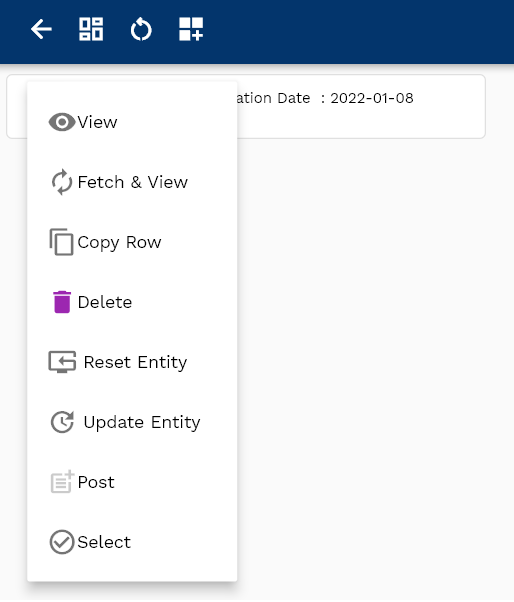
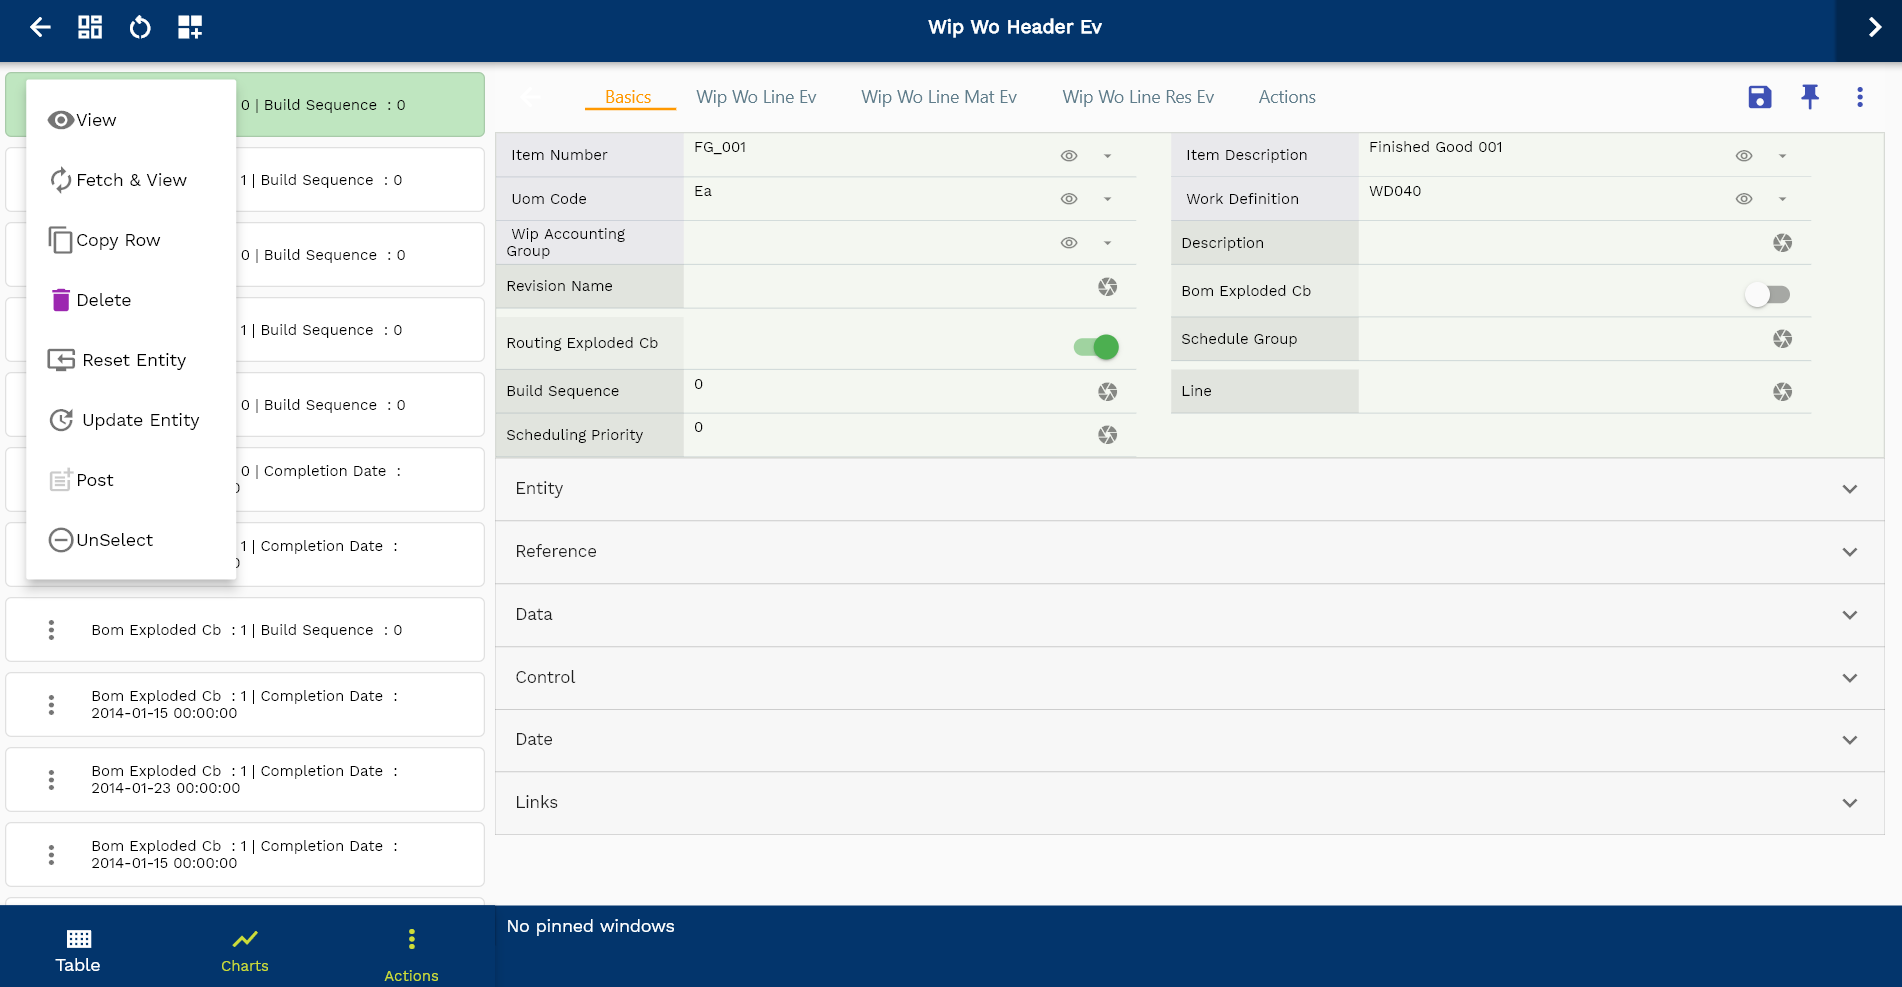
To open a specific work order, click on the menu of that record, and click on view/fetch & view.
The system will fetch all the data related to the selected work order. Depending on the device size, the work order details are shown either on the search result screen or on a separate screen.
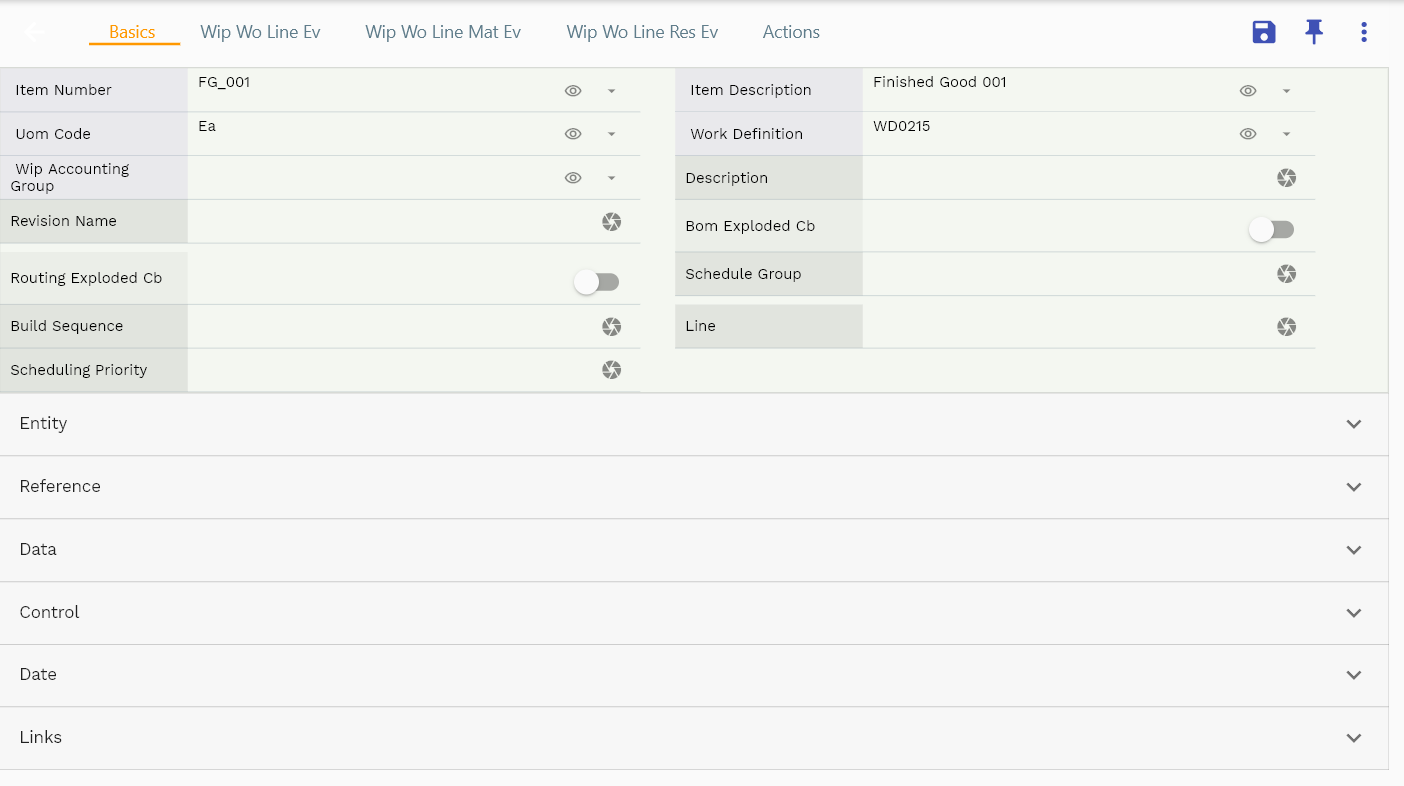
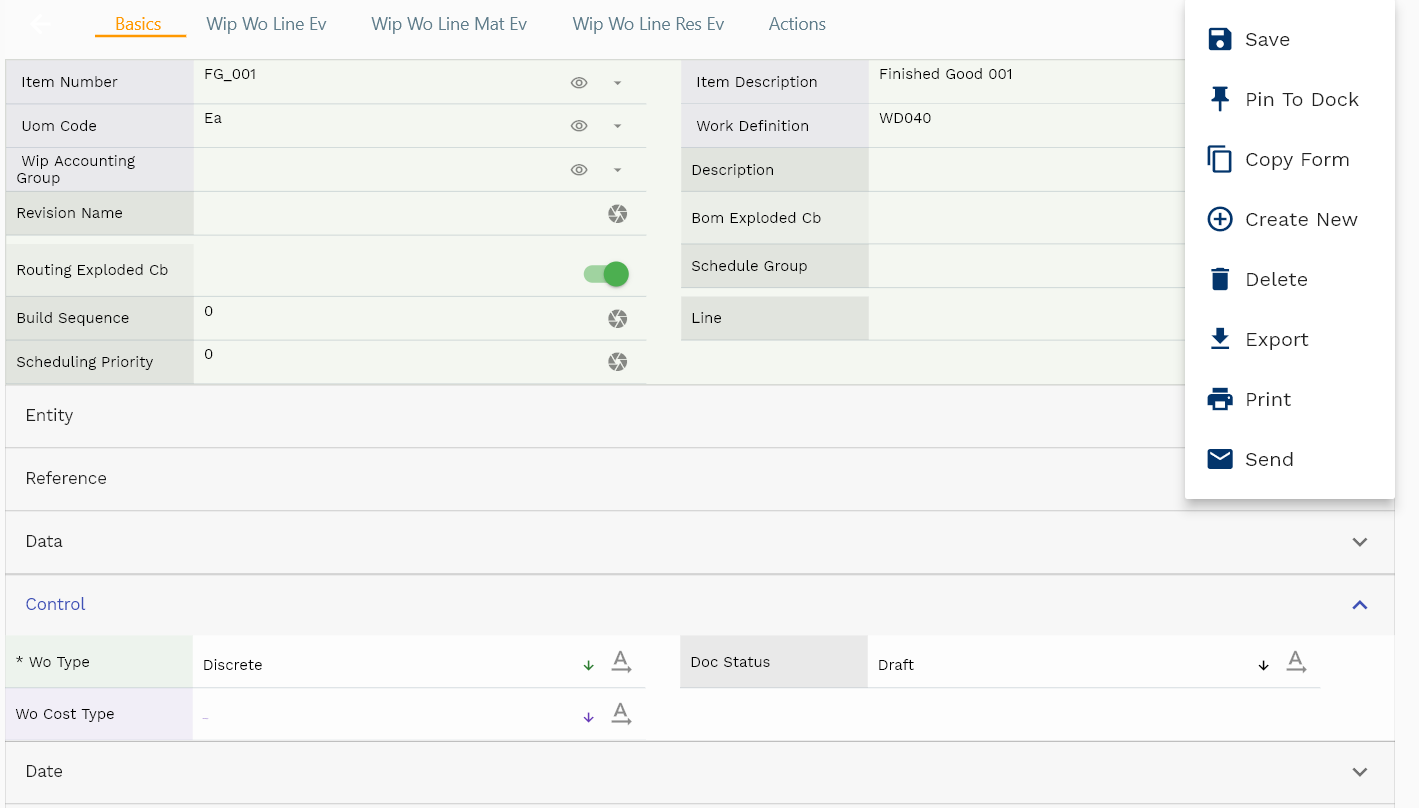
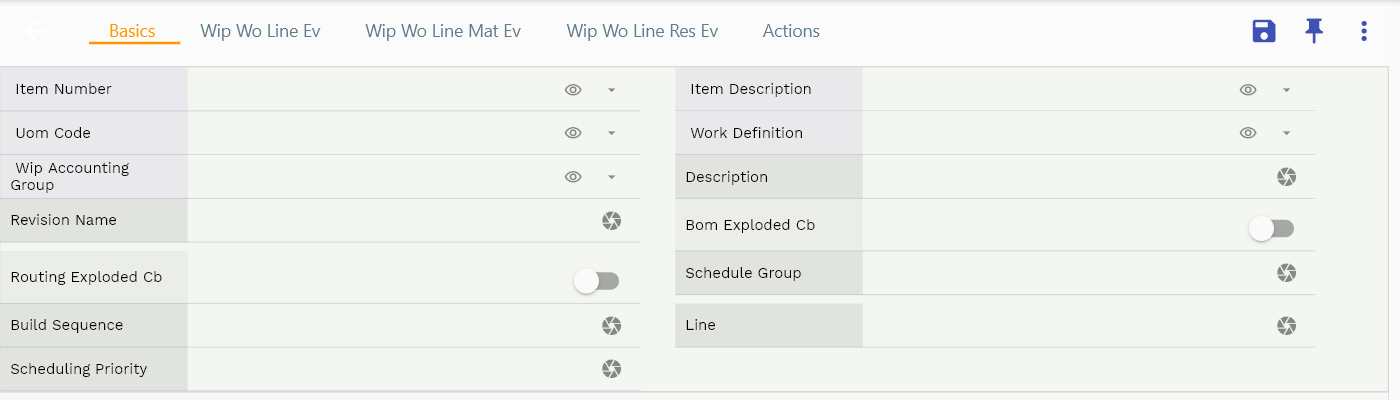
Work order on a mobile device:
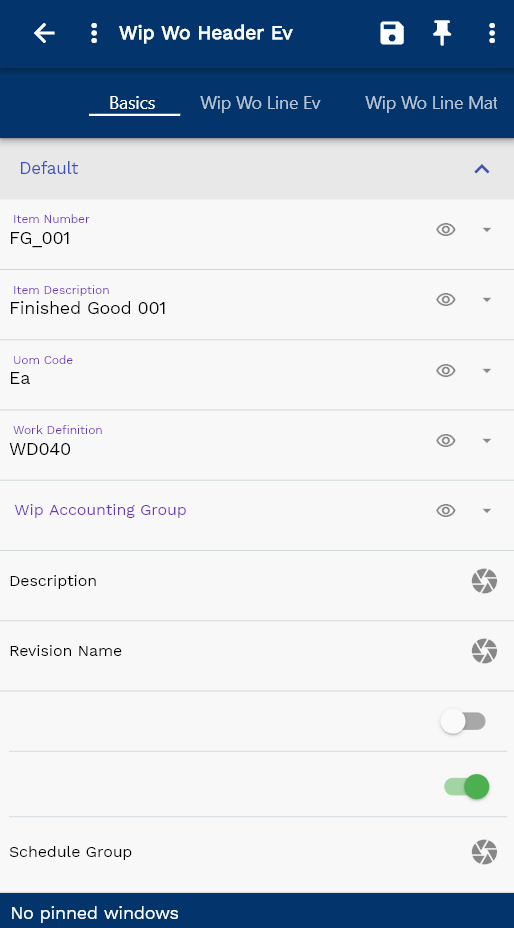
You can also click on the expand icon against any order on the search result screen to view the work order header details such as work order number, quantities, start date, status, etc.
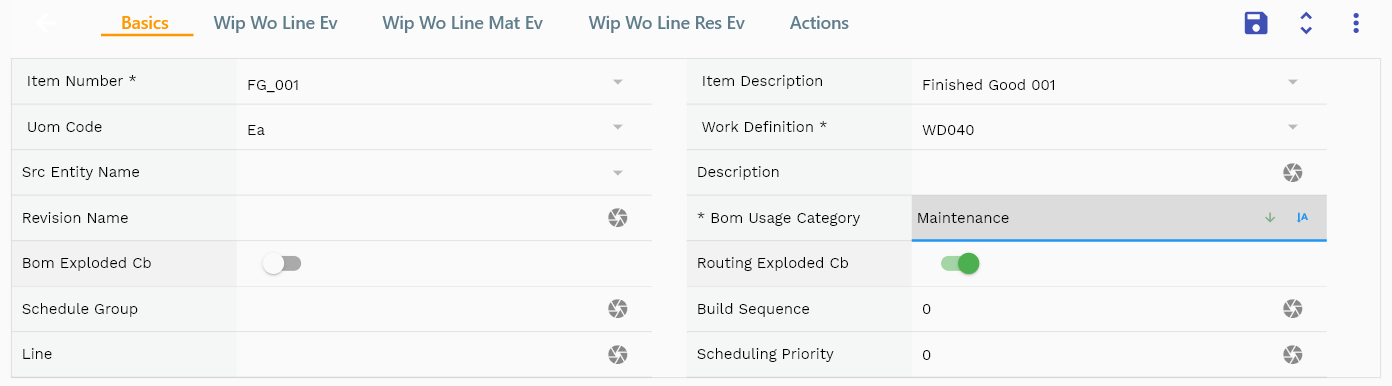
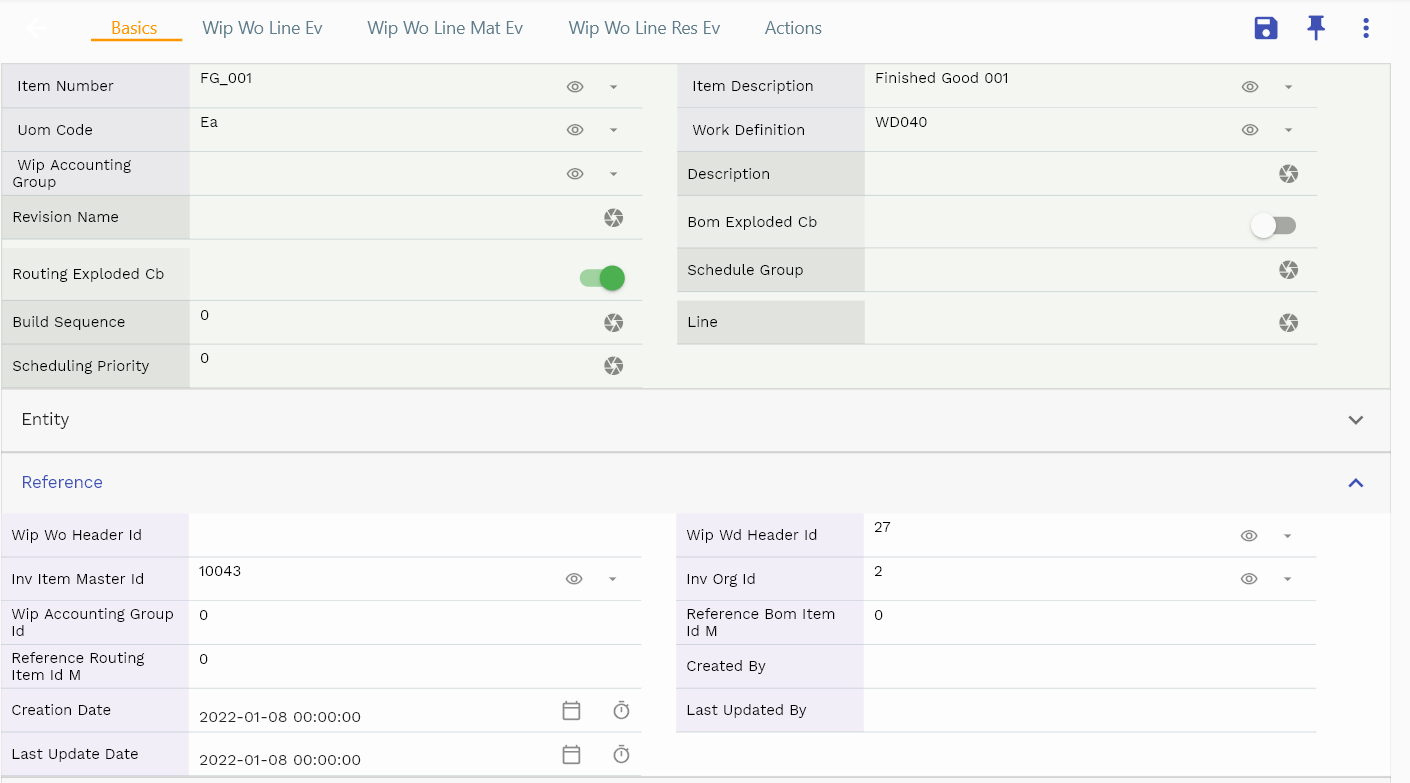
You can modify any available field for update and click on the save button to save the changes. The app will post all the data to the server and will show the messages returned from the server.

Scroll left, right, up, and down view all the tabs and fields.
The default configuration shows all the operations, material, and resource requirements in separate tabs. You can also configure the application to show other tabs with details such as
- completed operations against the work order
- issued materials against the work order
- issued resources against the work order
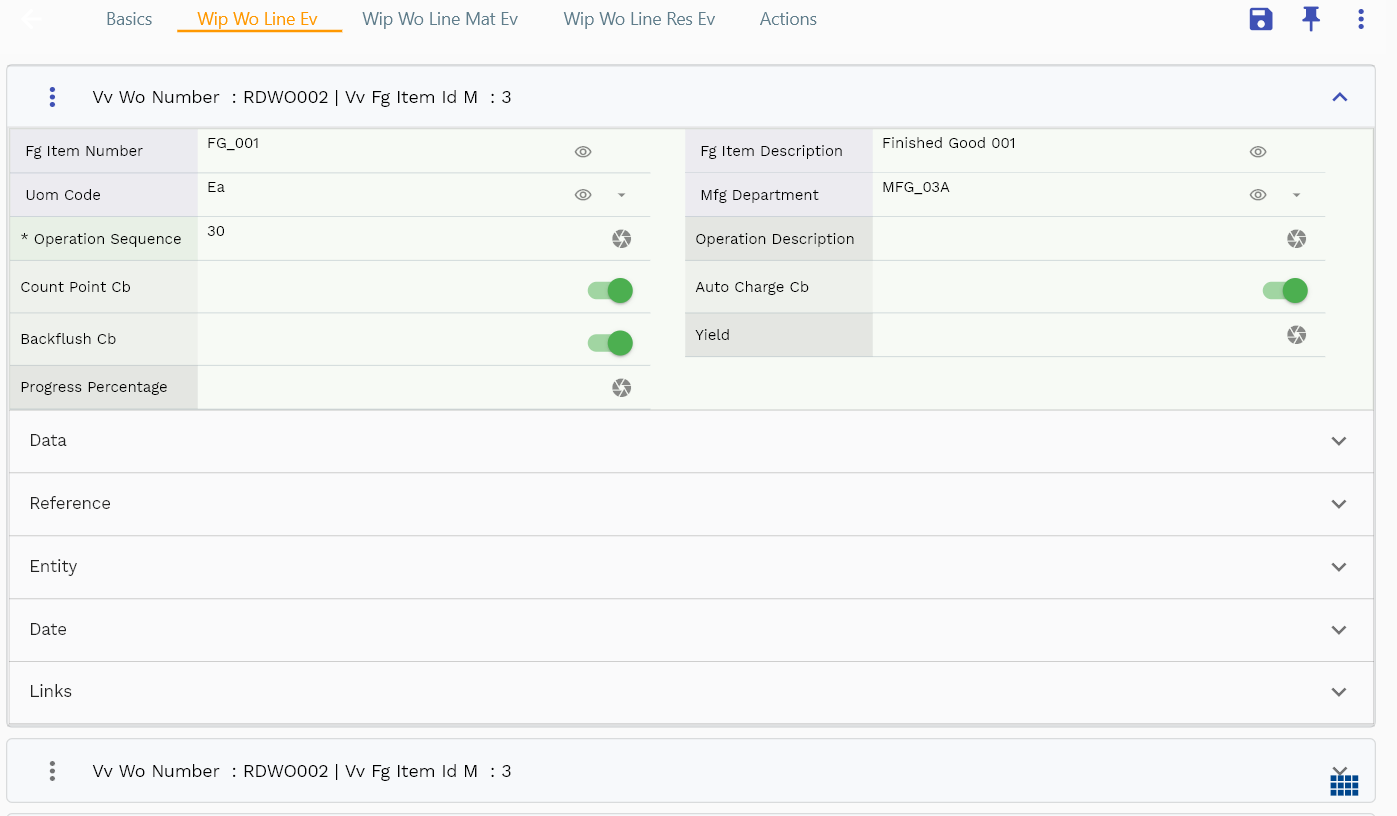
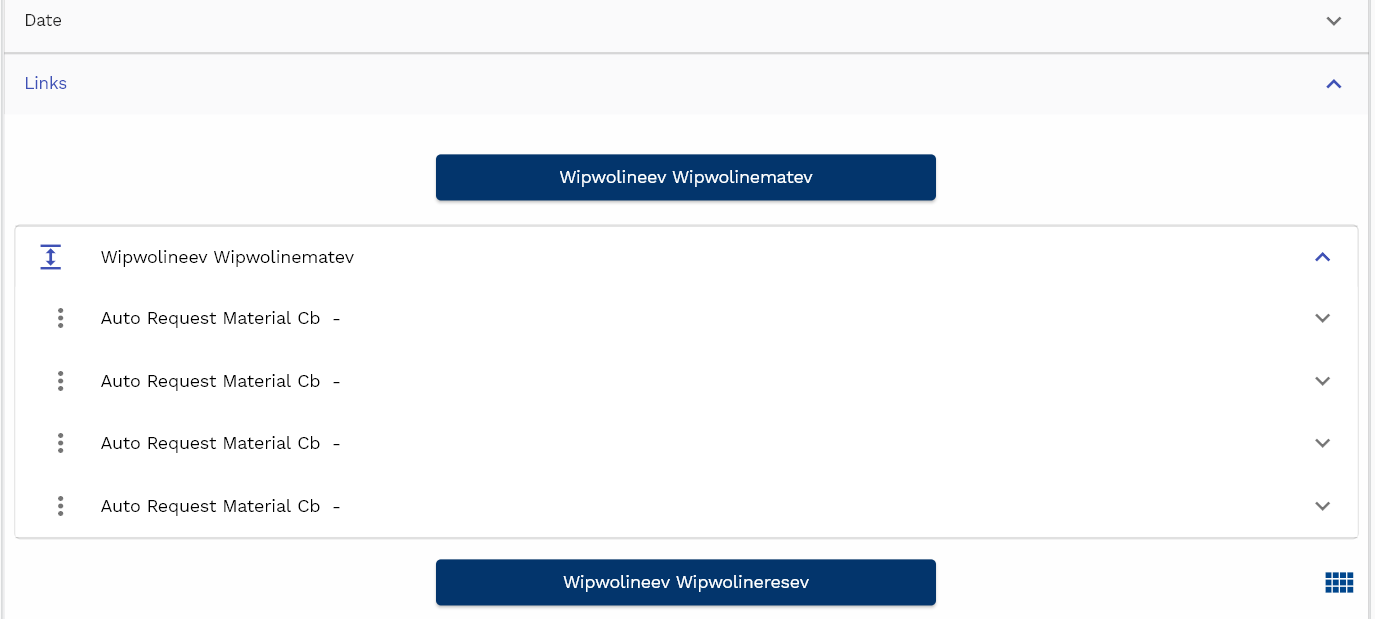
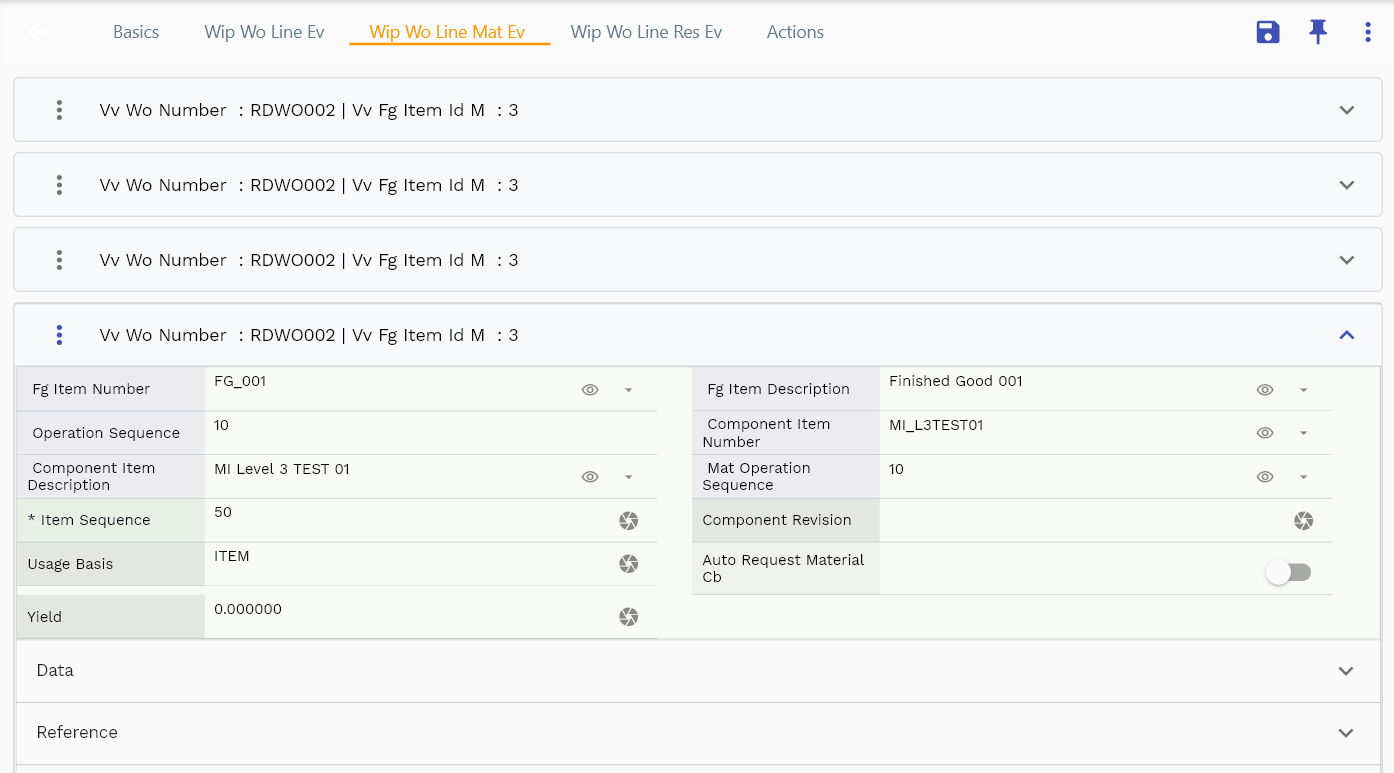
The line tab shows all the operations available for the work order. You can add extra operations or modify the operations copied from the work definition. You can view material requirements for a specific operation by clicking on the material button available on the Links heading. You can also view all material requirements for the work order by navigating to the material requirement tab next to the line tab.
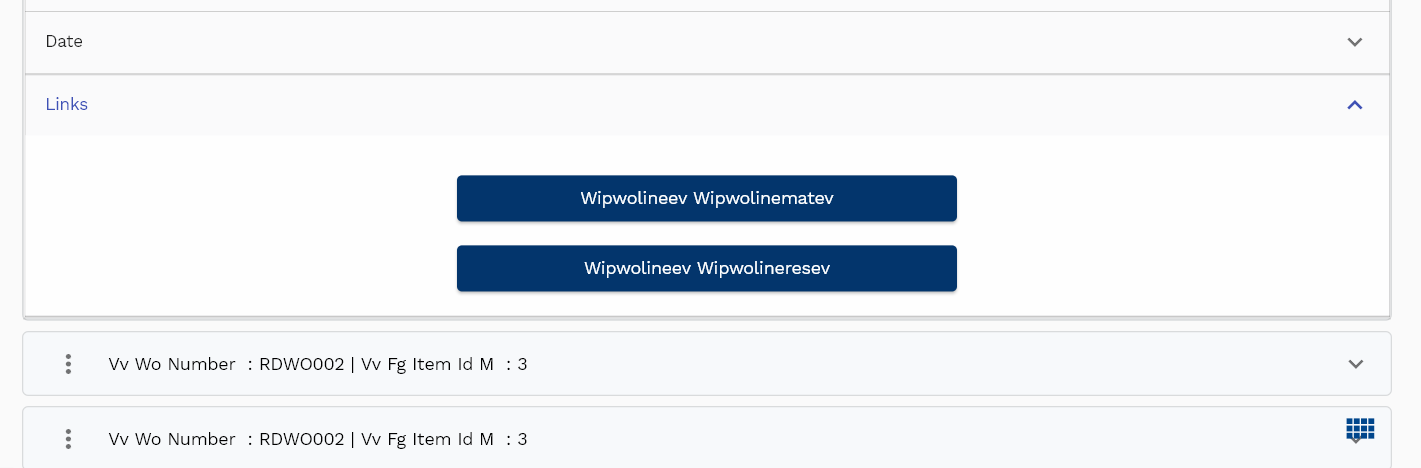
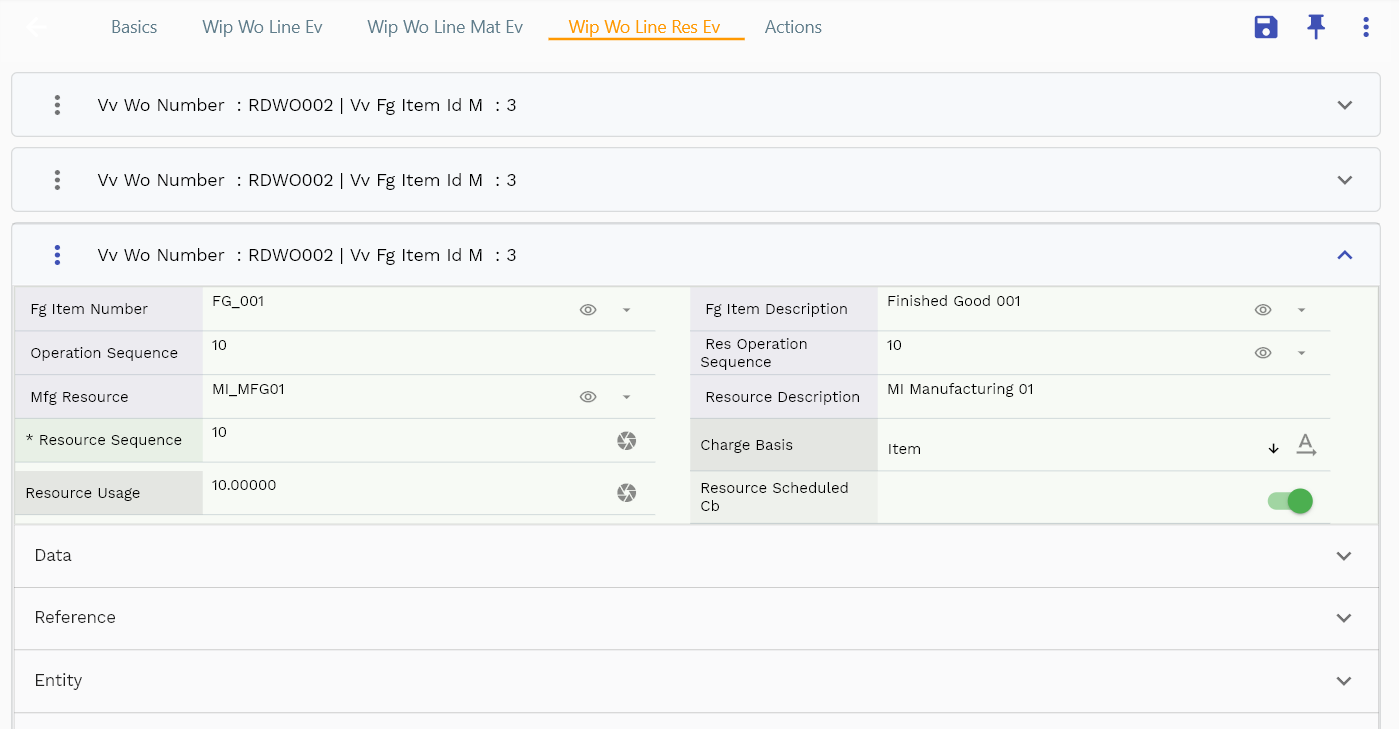
You can view resource requirements for a specific operation by clicking the resource button on the Links heading. You can also view all resource requirements for the work order by navigating to the resource requirement tab next to the line tab.
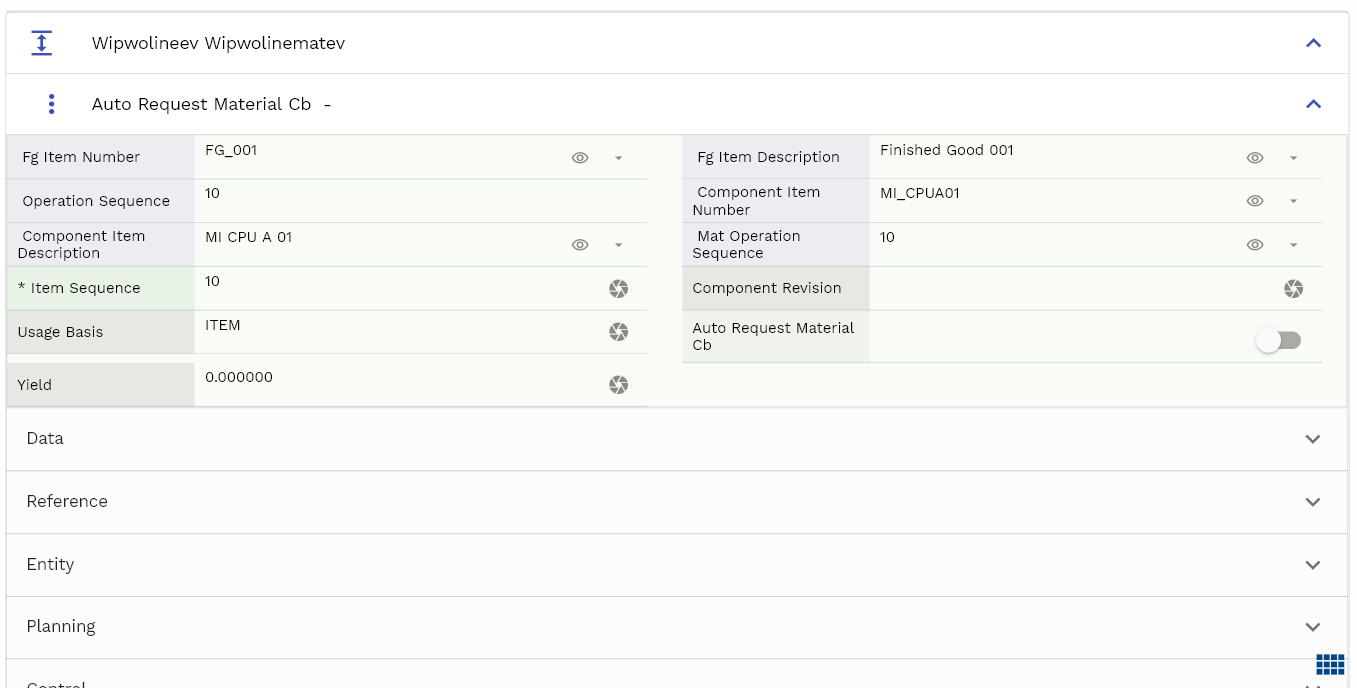
Navigate to the material tab to view all the material requirements for the job. On this tab, you can modify material requirement details. By default, the application shows the elements in an expandable list view. However, if you are working on a large screen device, click on the table icon visible on the right bottom to view all the details in a table format.
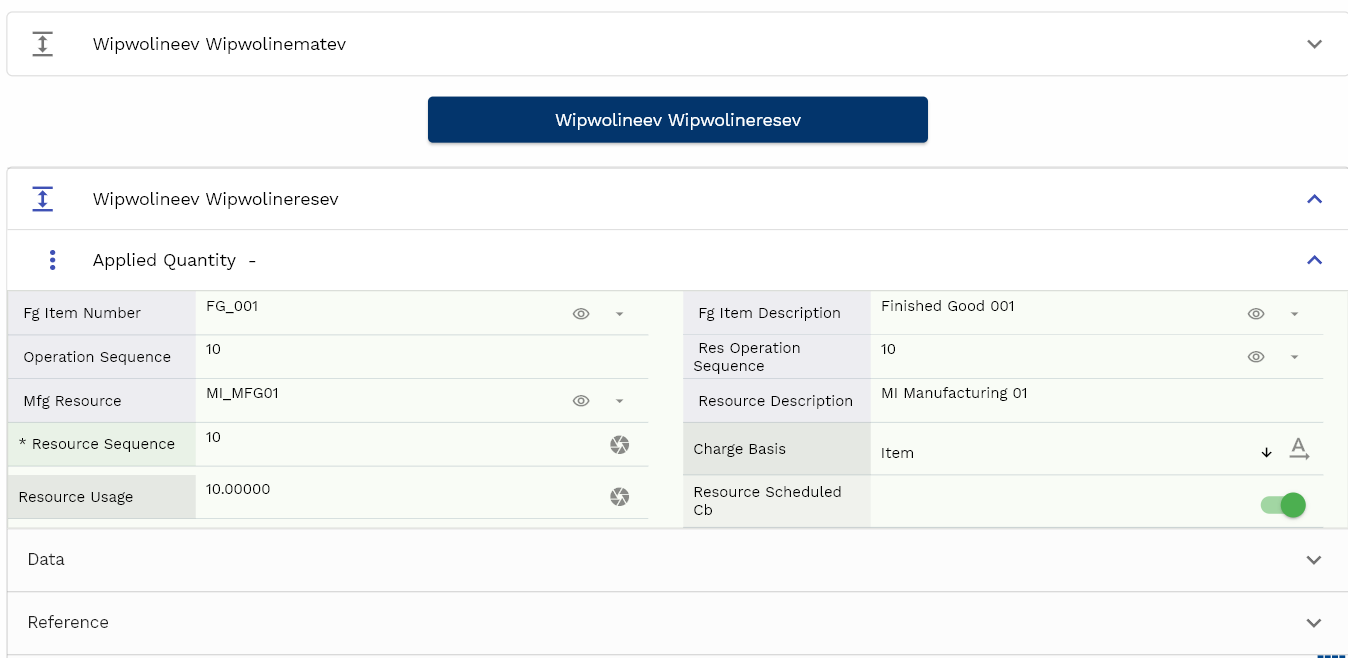
Navigate to the resource tab to view all the resource requirements for the job. On this tab, you can modify resource requirement details. By default, the application shows the elements in an expandable list view. However, if you are working on a large screen device, click on the table icon visible on the right bottom to view all the details in a table format.
Click on the back button to navigate back to the search result screen.
Copy
To copy a work order, search the work order and click the copy button on the search result. The copy option is also available on the work order action list of values.
The system copies all the information from the selected work order except those fields marked as not copied. If you change the work definition before saving the work order, the application will copy all operation and operation details of the selected work definition. You can configure which fields should not be copied as per your business requirements.
By default, the app is configured not to copy start dates, quantities, etc. However, you can change all these settings as per your business requirements. Enter all the non-copied mandatory fields such as date, quantity.

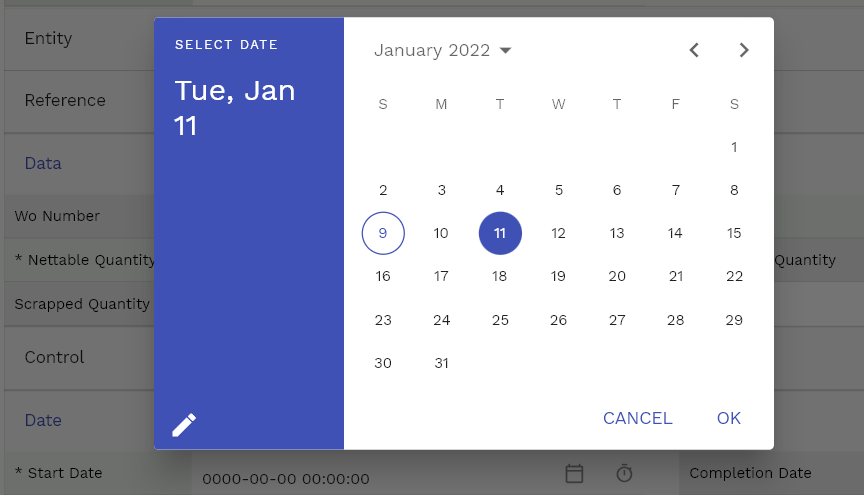
Calendar icons are available next to all date / date-time fields. Click on the calendar icon to select a date.
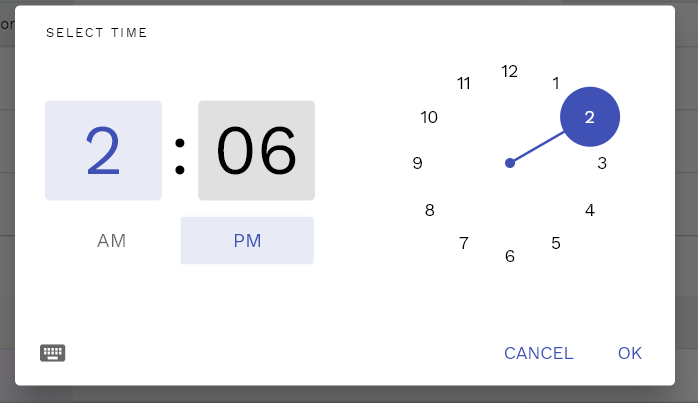
Click on the time icon to select/change time.
Enter/update any other fields on the work order header, and click on the Save button.
The system will post all the details to the server and show you the message below if the work order is successfully created.

Navigate back to the search screen to search for the new work order.
Review the work order details. Scroll left, right, up, and down view all the tabs and fields, and make modifications as required before confirming the work order

Click on the back button to navigate back to the search result screen.
Create
To create a work order, navigate to the work order search screen and click on the add new button on the search screen. Creating a new work order option is also available on the work order action list of values.
Select the work definition and other details. The primary difference between Create and Copy is that Create shows a blank form, whereas the copy form copies values from the selected work order. So, the copy option is always preferable compared to creating new work order by manually entering all the details.
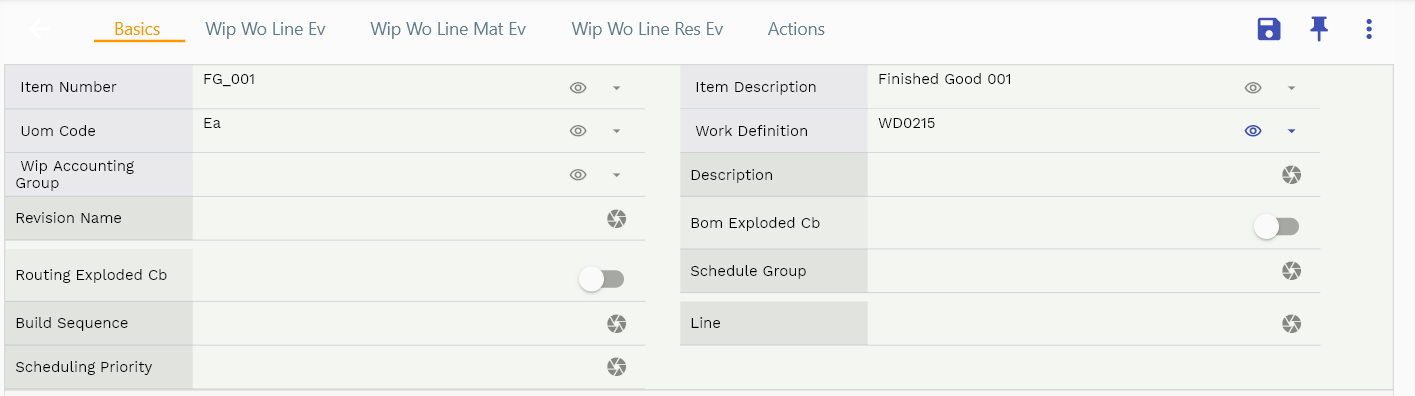
Click on the select icon next to the work definition; the system will show a work definition search form in a popup. Enter work definition details and click on the search button. Click on the icon on the first column to select any work definition.
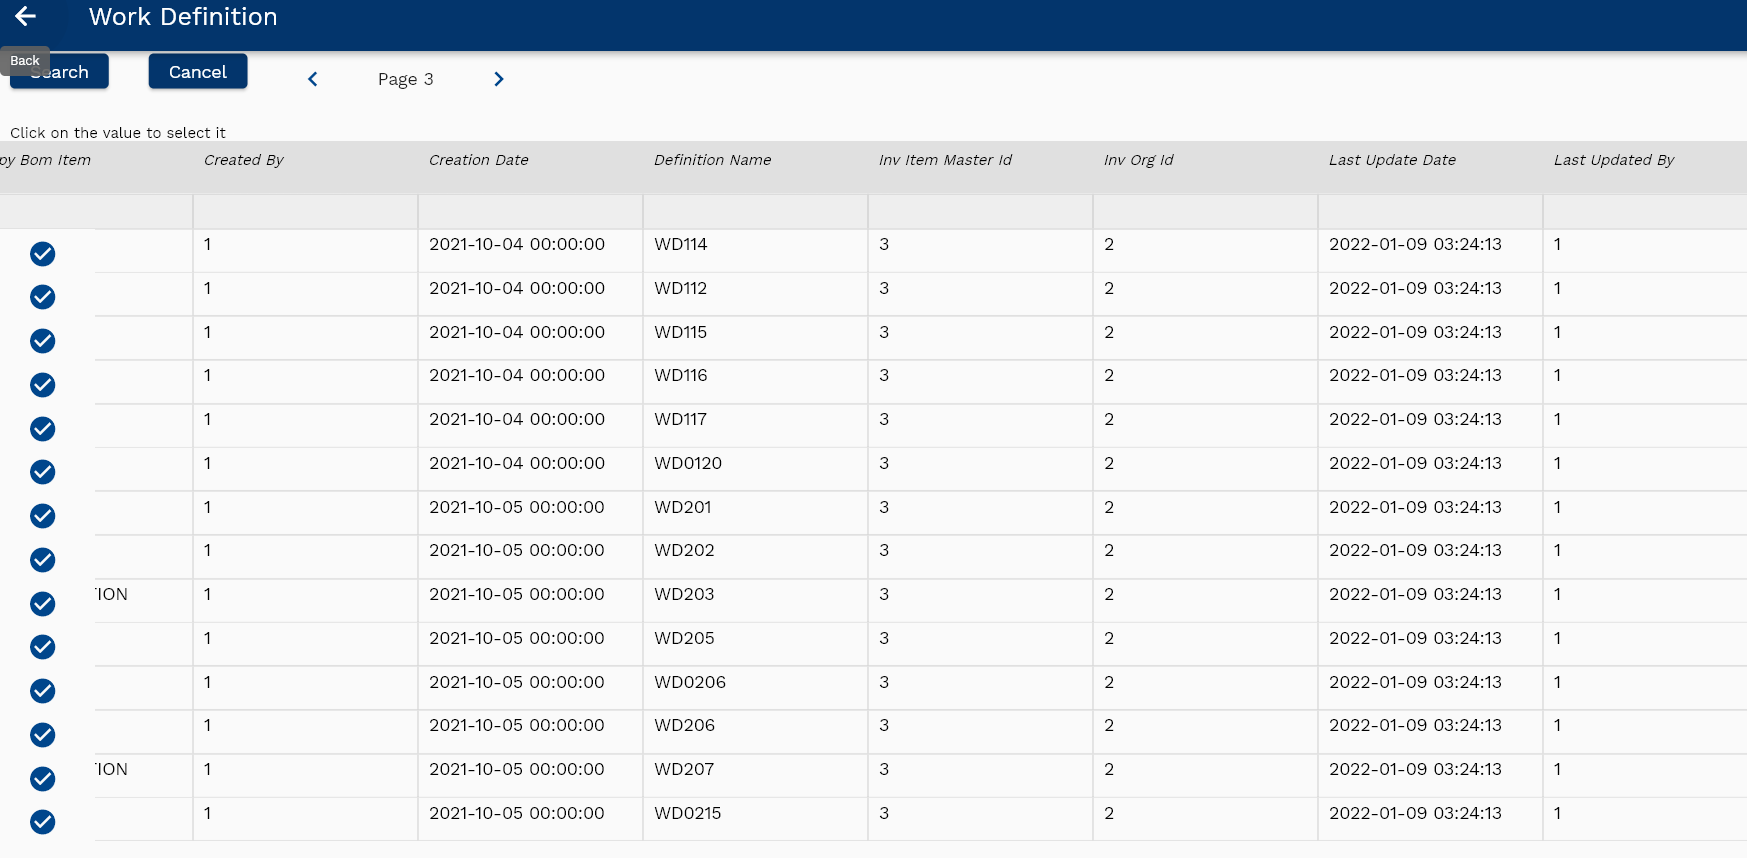
The system defaults all the values available on work definition, including the work definition name, item number, organization code, etc.
The system will show the error message below if you click on the save button without entering all the mandatory fields.
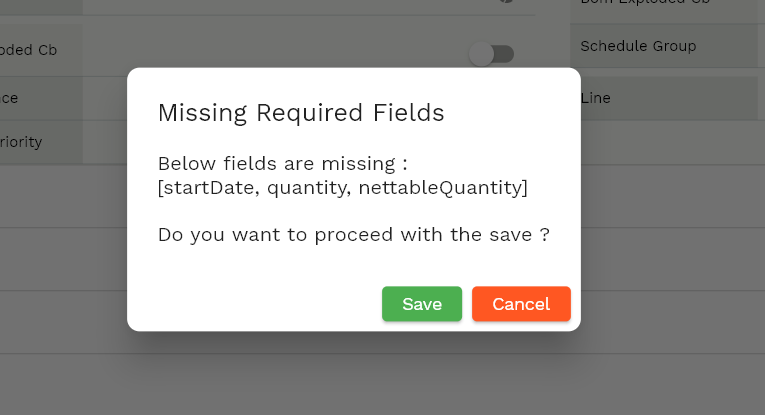
Enter all the other details, and click the Save button to create a new work order.

Confirm
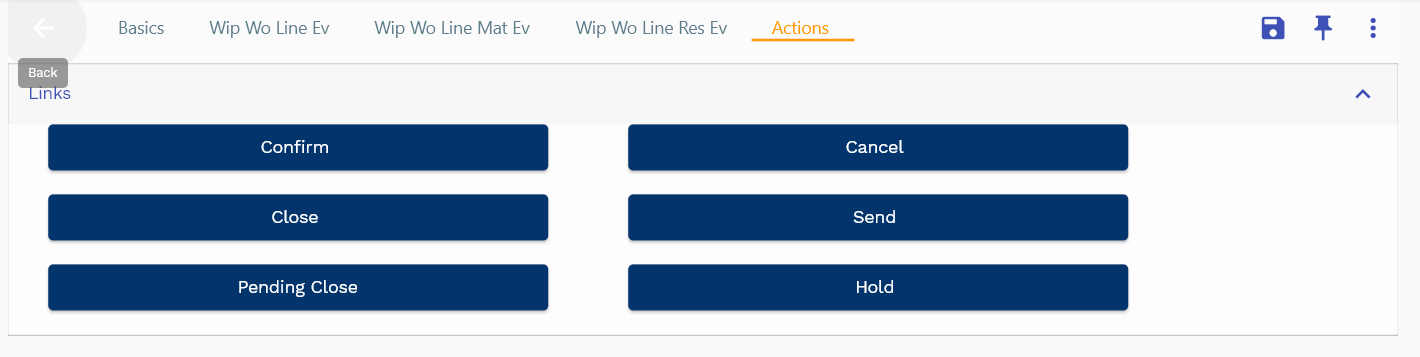
Open a work order and navigate to the action tab to confirm the work order. The action tab shows the below buttons by default
- Confirm
- Cancel
- Close
- Pending Close
- Hold You can also define other actions and corresponding business logic as per your requirement.
Click on the confirm button to confirm the work order. If the work order is confirmed, the system will show the message below.

Re-open the work order and check the work order status.

By default, the work application makes many fields read-only after confirmation. However, none of these creates any technical constraints on the application process. So, you can change the logic per your business requirement by changing the below javascript function.
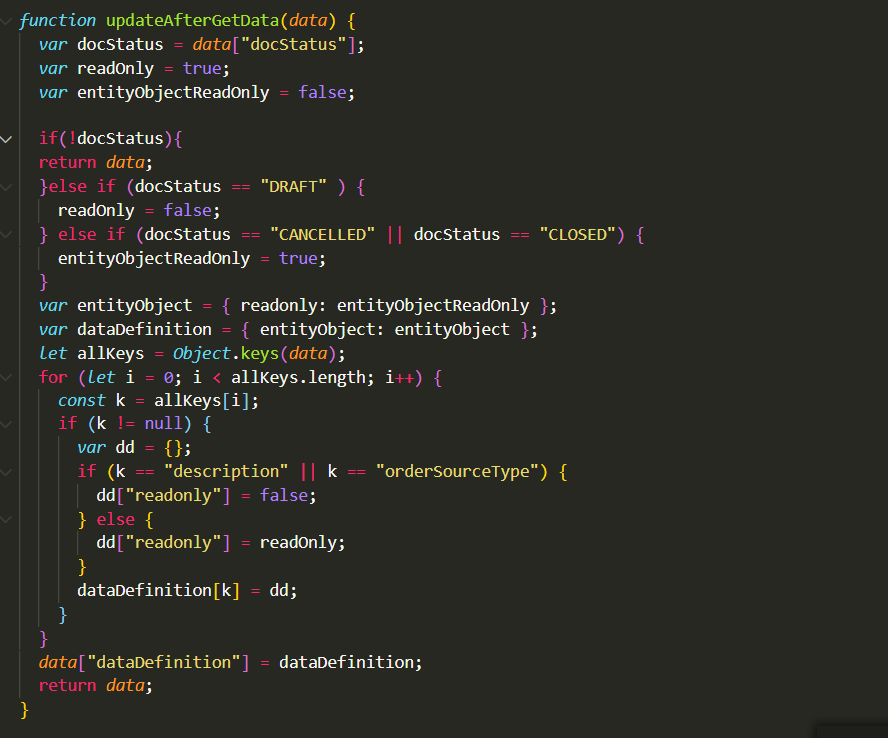
Confirm WorkOrder
When a work order is ready for production, confirm the work order. When you confirm a work order system
- Updates the queue quantity of the first operation to the work order quantity
- Enables resource transactions for the work order
- Enables material transactions for the work order
- Enables move-transaction for the work order