Accounting
This documentation is incomplete.
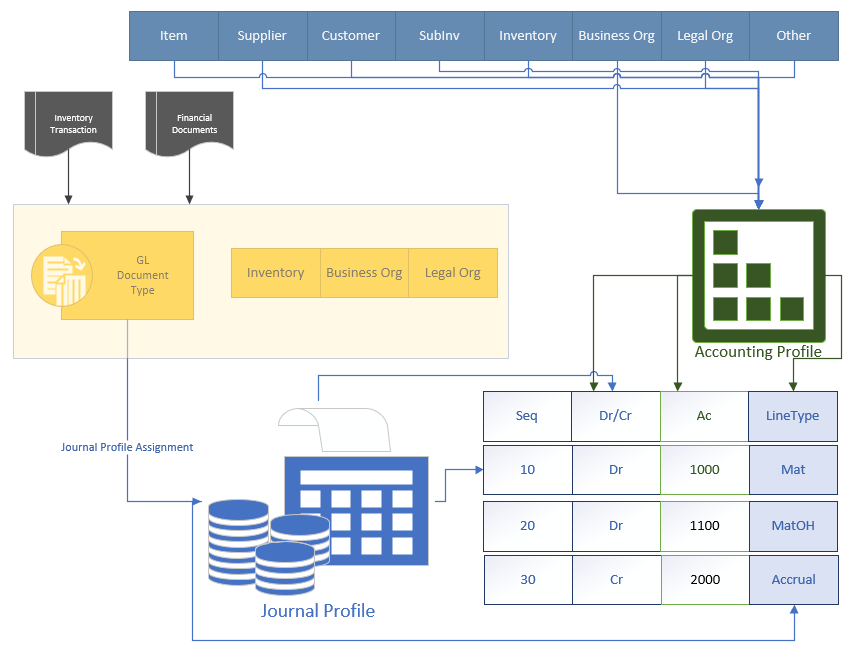
The accounting process in the inoerp is quite flexible and controlled by two objects.
Journal Profile: Journal profiles provide journal elements, i.e., What is debited and what is credited (ex: Material, overhead, Receivable, Revenue, etc.).
- Journal profiles are assigned to Financial Transaction Type at various organization levels (Inventory, Business Unit, Legal Organization).
- Financial Transaction Types are assigned to all supply chain documents and transactions. Ex: Sales Order, Purchase Order, Misc Receipt through Inventory Transaction Type Or GL Document Type.
- Creating financial documents such as (AR Invoice, Debit Memo, Credit Memo, Payments) does not use Journal profile as the journal lines are standardized. Ex: AR Invoice Receivable is Dr, and Rev/Tax/Freight is Cr.
Accounting Profile: Provides the accounts for journal elements.
Accounting profiles are assigned to document entities. Ex: Legal Org, Business Unit, Item, etc
Account(Ac) Type
Account types are assigned to each journal line through account line type. The application provides the below five seeded account types.
- Assets (A): Tangible and intangible items that the company owns that have value (e.g., Cash, Machines, Inventory, Accounts Receivable)
- Liabilities (L): Expenses are costs your business incurs during operations (e.g., Mortgages, Rent, Cost of Goods Sold (COGS), Payroll)
- Equity (E): The value of ownership in a company and equal to the amount of assets remaining after all debts are satisfied (Common stock, Preferred stock, Retained earnings)
- Revenue or Income (R): Revenues are inflows or other enhancements of assets of an entity or settlements of its liabilities (or a combination of both) from delivering or producing goods, rendering services, or carrying out other activities
- Expenses (X): Costs to the company and reflect the outflow of money (e.g., Office supplies, Utilities, Advertising)
Account Line Type
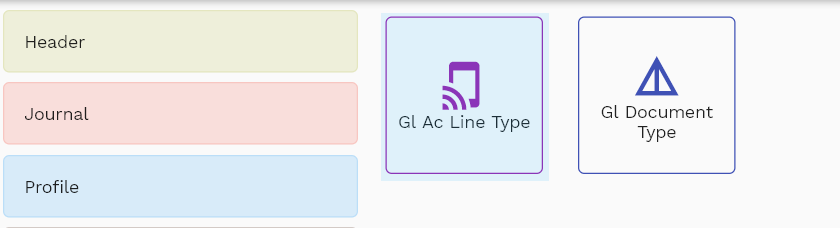
Account line type is an object that joins a journal profile with an accounting profile, and it also specifies the account type of a journal line.
To create/view/update an Account Line Type, navigate to the "Account Line Type" screen from your dashboard/favorite.
Enter the Organization/Account Line Type details or any other criteria in the search form and click on the search button to view an existing Account Line Type.

If you don't enter organization details, the system will show you all the Account Line Type. If your organization has configured to make any field mandatory for search, then you have to enter those fields to search Account Line Type.
The application will fetch all the server data and take you to the search result screen. The search result screen looks a bit different on desktop and mobile devices.
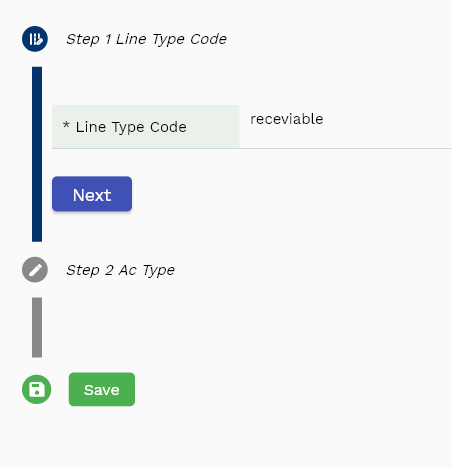
If you click on the create new button, the system will open a simple step form to create a new Account Line Type. You can click on the detail right bottom to view all the fields available for the object.
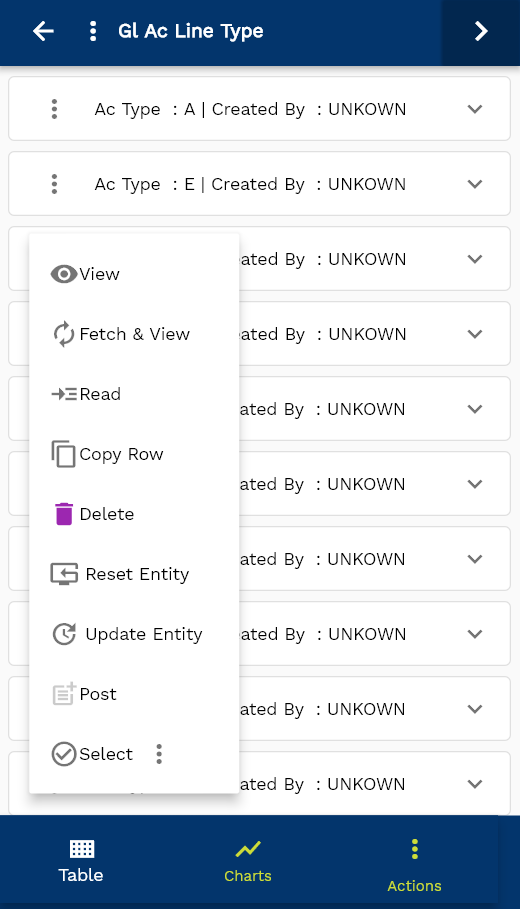
To view the search result in a table format, click on the table icon in the bottom left corner.
To view specific Account Line Type details, click on the menu of that record, and click on view/fetch & view.
You can also click on the expand icon against any item on the search result screen to view the "Account Line Type" header details, such as Account Line Type name, balancing segment, etc.

The system will fetch all the selected Account Line Type data. Depending on the device size, the cost details are shown either right to the search result screen or on a separate screen.

Scroll left, right, up, down to view all the details. The document line and details are shown in a separate tab.. The default configuration shows fields in various functional groups such as
- Finance
- Entity
- Reference
- Data
- Control
- Etc
You can configure the application to show which fields should be shown under which group. You can also create new groups as per your business requirements.
All Fields
| Sequence | Name | Label | InputType | Field Group |
|---|---|---|---|---|
| 10 | glAcLineTypeId | Gl Ac Line Type Id | InputType.text | CONTROL |
| 10 | srcEntityName | Src Entity Name | deferredSelect | DEFAULT |
| 20 | srcEntityId | Src Entity Id | InputType.text | REFERENCE |
| 30 | description | Description | InputType.textField | DEFAULT |
| 40 | lineTypeCode | Line Type Code | InputType.textField | CONTROL |
| 5050 | createdBy | Created By | InputType.text | REFERENCE |
| 5060 | creationDate | Creation Date | InputType.text | REFERENCE |
| 5070 | lastUpdatedBy | Last Updated By | InputType.text | REFERENCE |
| 5080 | lastUpdateDate | Last Update Date | InputType.text | REFERENCE |
Ac Profile Header
Gl Accounting profile provides the GL accounts for journal entries. Each accounting profile consists of several profile lines. Each line consists of an account and account line type and debit/credit value. The system uses the Ac profile with the Journal profile that provides the structure of journal lines. The system derives the account code combination by matching the account line type and debit/credit values on the Ac and Journal profiles.
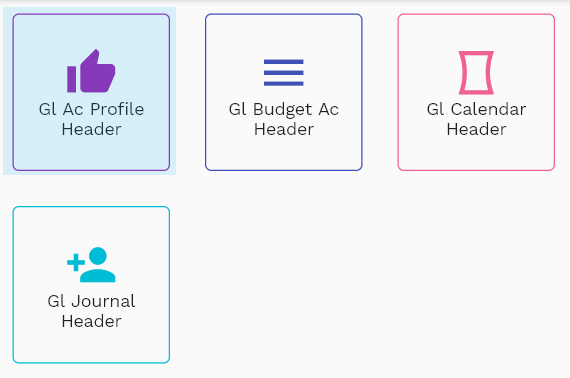
To create/view/update an Ac Profile, navigate to the "Ac Profile" screen from your dashboard/favorite.
Enter the organization/Ac Profile details or any other criteria in the search form and click on the search button to view an existing Ac Profile.
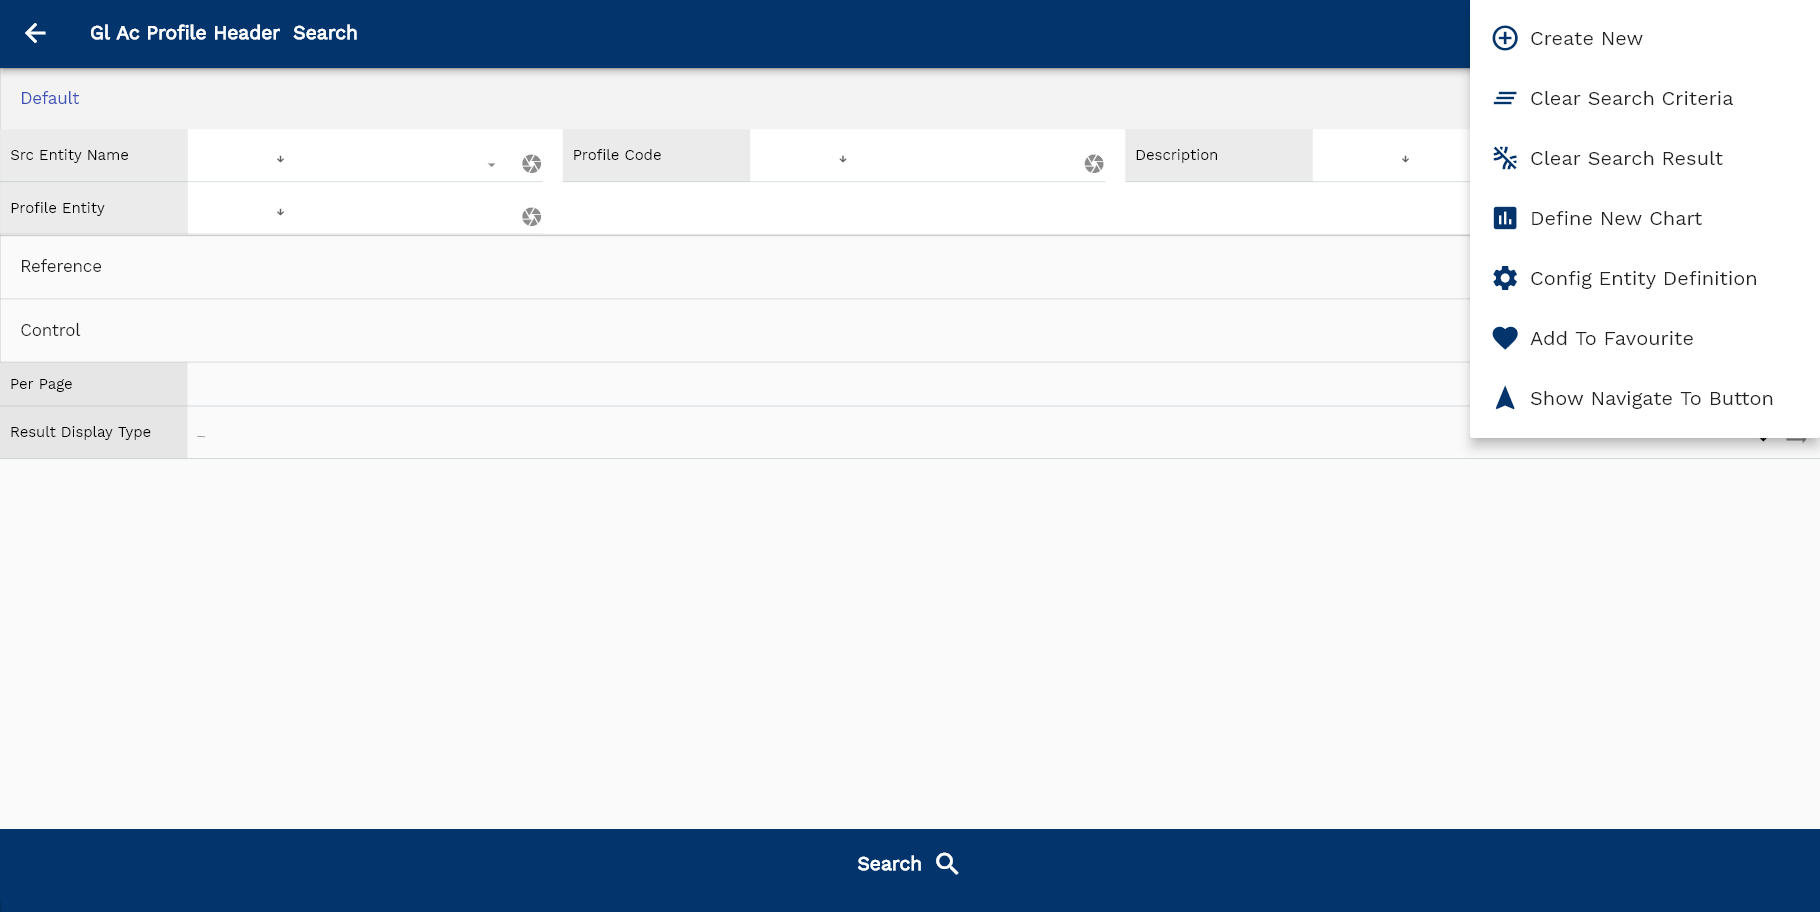
If you don't enter organization details, the system will show you all the Ac Profiles. If your organization has configured to make any field mandatory for search, then you have to enter those fields to search Ac Profiles.
The application will fetch all the server data and take you to the search result screen. The search result screen looks a bit different on desktop and mobile devices.

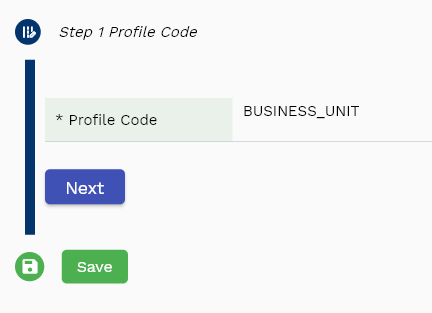
If you click on the create new button, the system will open a simple step form to create a new Ac Profile. You can click on the detail right bottom to view all the fields available for the object.
To view the search result in a table format, click on the table icon in the bottom left corner.
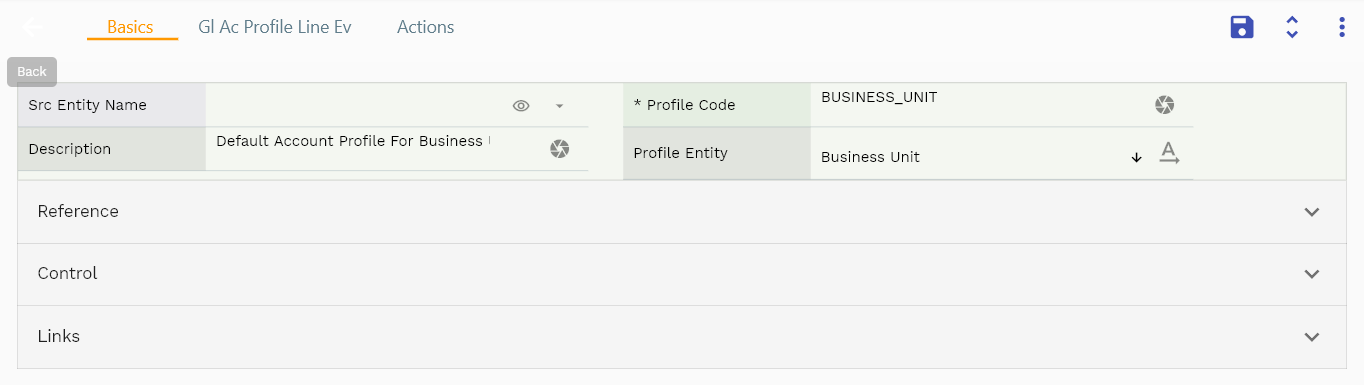
To view specific Ac Profile details, click on the menu of that record, and click on view/fetch & view.
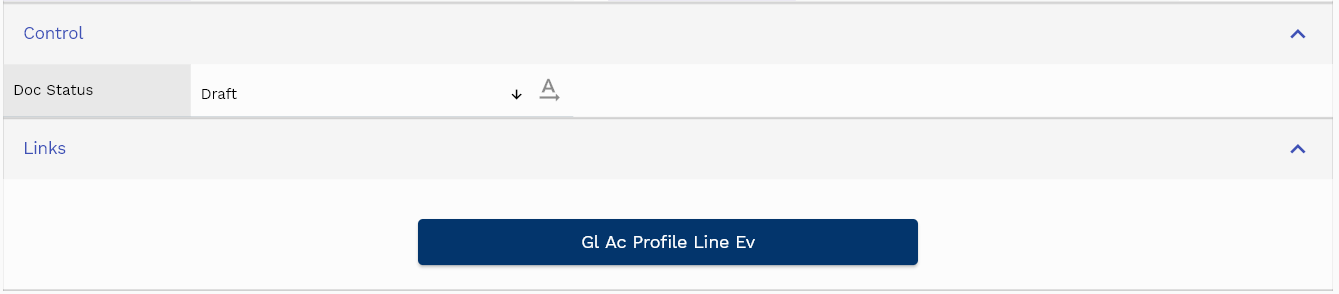
You can also click on the expand icon against any item on the search result screen to view the Ac Profile header details, such as Ac Profile name, description, etc.
The system will fetch all the selected document detail. The document details are shown either right to the search result screen or in a separate screen, depending on the device size.

Scroll left, right, up, down to view all the details. The line details are shown in a separate tab. The default configuration shows fields in various functional groups such as
- Finance
- Entity
- Reference
- Data
- Control
- Etc
You can configure the application to show which fields should be shown under which group. You can also create new groups as per your business requirements.
All Fields
| Sequence | Name | Label | InputType | Field Group |
|---|---|---|---|---|
| 10 | glAcProfileHeaderId | Gl Ac Profile Header Id | deferredSelect | REFERENCE |
| 10 | srcEntityName | Src Entity Name | deferredSelect | DEFAULT |
| 20 | srcEntityId | Src Entity Id | InputType.text | REFERENCE |
| 30 | profileCode | Profile Code | InputType.textField | DEFAULT |
| 40 | description | Description | InputType.textField | DEFAULT |
| 50 | profileEntity | Profile Entity | InputType.select | DEFAULT |
| 100 | docStatus | Doc Status | InputType.select | CONTROL |
| 5060 | createdBy | Created By | InputType.text | REFERENCE |
| 5070 | creationDate | Creation Date | InputType.text | REFERENCE |
| 5080 | lastUpdatedBy | Last Updated By | InputType.text | REFERENCE |
| 5090 | lastUpdateDate | Last Update Date | InputType.text | REFERENCE |
Ac Profile Line
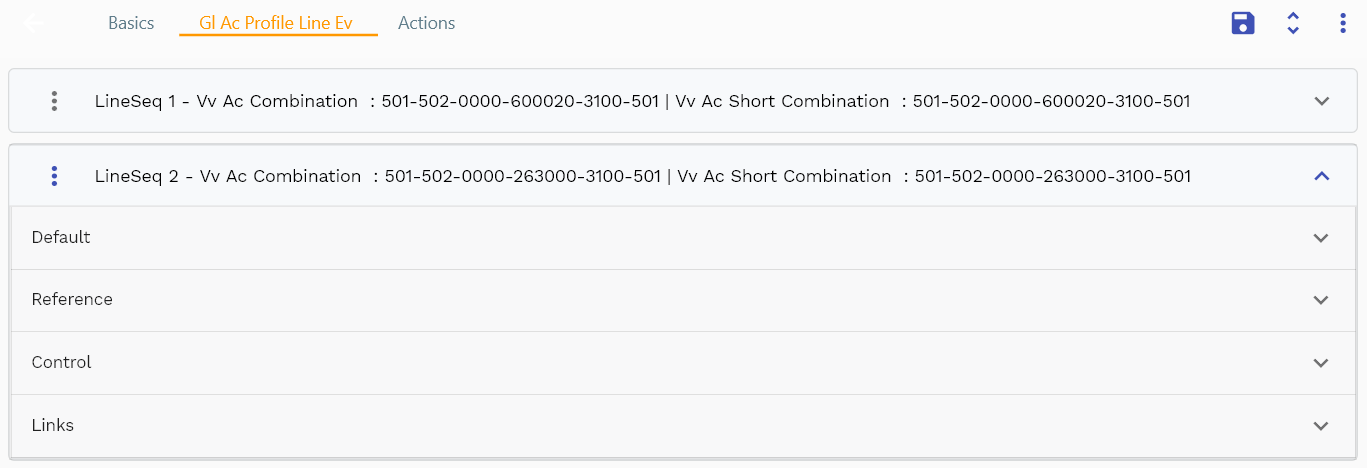
You can add multiple lines to each Ac Profile header. Each line represents a specific combination of GL Account, GL Account Line Type, and debit/credit.
Navigate to the lines tab to view/add/update lines.
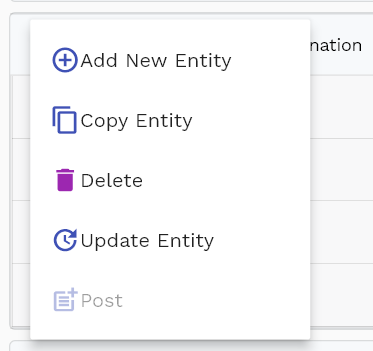
Click on the add new entity to add a new line. If a line already exists, click on copy entity to copy all the details.
You can enable/disable fields allowed to be copied in the menu configuration.

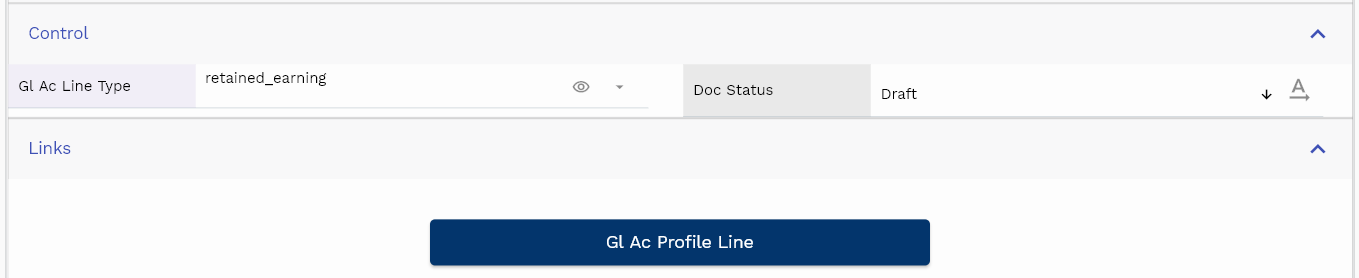
GL Account Line Type: Select a GL Account Line Type from the list of values.
GL Account: Select a GL Account from the list of values.
Dr or Cr: Select either Dr or Cr from the list of values.
The combination of GL Account Line Type, GL Account, and Dr/Cr must be unique for a single ac profile header. Else, the system will throw an error message stating the same.

The reference groups show various ids for reference only. You don't need to enter any information in this section. When you save an Ac Profile for the first time, the system will auto-populate the newly created header id and line ids.
Scroll left, right, up, and down view all other fields.
Enter all the other fields and click on the save button to save the Ac Profile. The app will post all the data to the server and will show the messages returned from the server.
All Fields
| Sequence | Name | Label | InputType | Field Group |
|---|---|---|---|---|
| 10 | vvAcCombination | Ac Combination | deferredSelect | DEFAULT |
| 10 | vvAcShortCombination | Ac Short Combination | deferredSelect | DEFAULT |
| 20 | glAcProfileLineId | Gl Ac Profile Line Id | InputType.text | REFERENCE |
| 30 | srcEntityName | Src Entity Name | deferredSelect | DEFAULT |
| 40 | srcEntityId | Src Entity Id | InputType.text | REFERENCE |
| 50 | glAcProfileHeaderId | Gl Ac Profile Header Id | deferredSelect | REFERENCE |
| 60 | description | Description | InputType.textField | DEFAULT |
| 70 | drOrCr | Dr Or Cr | InputType.select | DEFAULT |
| 80 | glAcId | Gl Ac Id | deferredSelect | REFERENCE |
| 90 | glAcLineType | Gl Ac Line Type | deferredSelect | CONTROL |
| 140 | docStatus | Doc Status | InputType.select | CONTROL |
| 5100 | createdBy | Created By | InputType.text | REFERENCE |
| 5110 | creationDate | Creation Date | InputType.text | REFERENCE |
| 5120 | lastUpdatedBy | Last Updated By | InputType.text | REFERENCE |
| 5130 | lastUpdateDate | Last Update Date | InputType.text | REFERENCE |
Ac Profile Hierarchy
- Legal Organization
- Business Organization
- Inventory Organization
- Subinventory
- Supplier
- Supplier Site
- Customer
- Customer Site
- Asset Category - Fixed Asset Accounting
- Asset Category Legal Org - Fixed Asset Accounting
- Asset - Fixed Asset Accounting
- Project Expenditure - Project System
- Item Category
- Item
- Item Supplier Info
- Item Customer Info
- Document
- Transaction
Journal Profile Header
Journal profiles provide structure for journal creation. i.e.
- How many journal lines
- GL Account line type
- Debit Or Credit
- Line Description
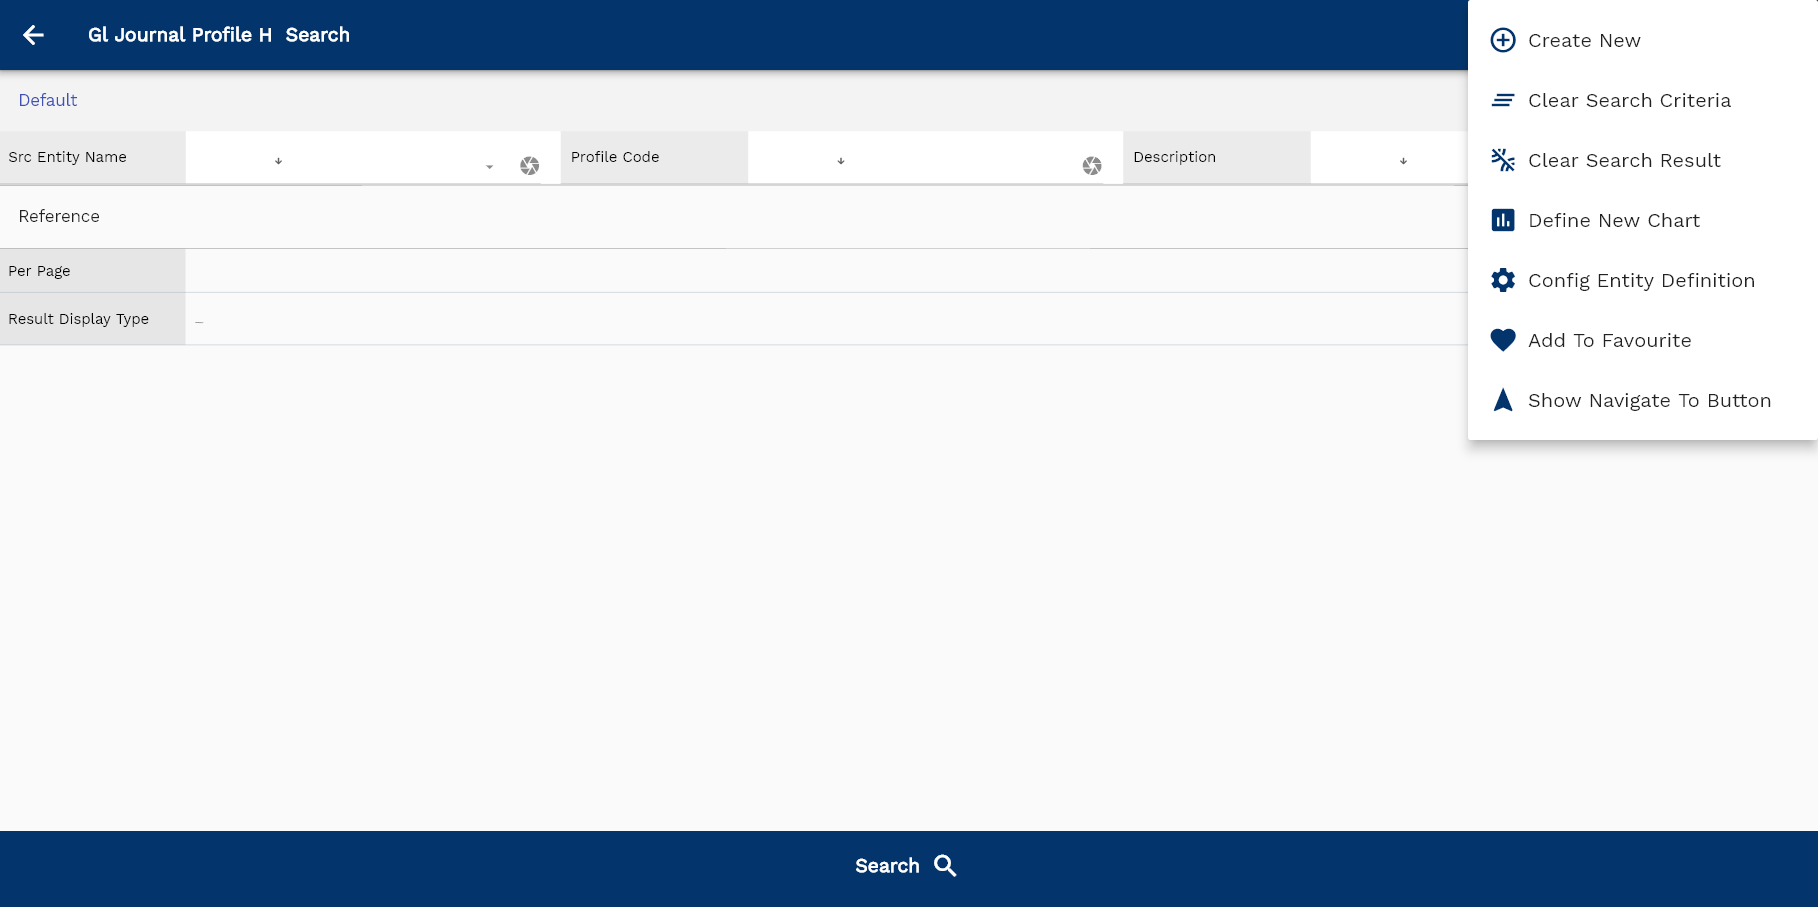
To create/view/update a journal profile, navigate to the "journal profile" screen from your dashboard/favorite.
Enter the organization/journal profile details or any other criteria in the search form and click on the search button to view an existing journal profile.
If you don't enter organization details, the system will show you all the journal profiles. If your organization has configured to make any field mandatory for search, then you have to enter those fields to search journal profiles.
The application will fetch all the server data and take you to the search result screen. The search result screen looks a bit different on desktop and mobile devices.

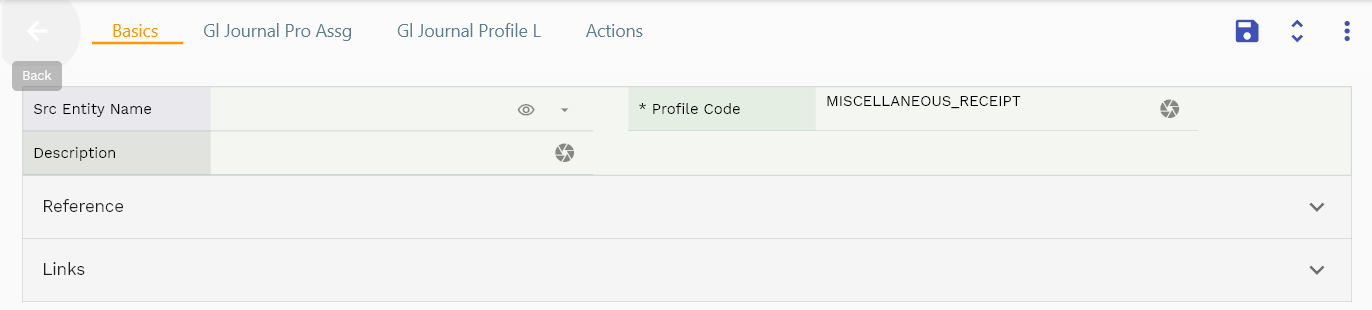
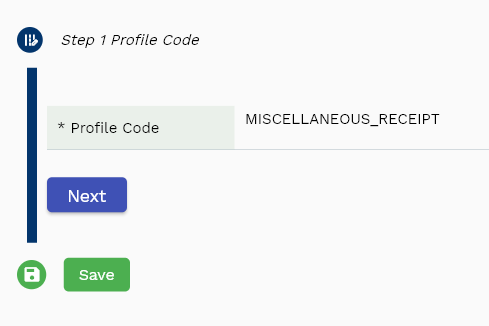
If you click on the create new button, the system will open a simple step form to create a new journal profile. You can click on the detail right bottom to view all the fields available for the object.
To view the search result in a table format, click on the table icon in the bottom left corner.
To view specific journal profile details, click on the menu of that record, and click on view/fetch & view.
You can also click on the expand icon against any item on the search result screen to view the journal profile header details, such as journal profile name, description, etc.
The system will fetch all the selected document detail line data. The document details are shown either right to the search result screen or in a separate screen, depending on the device size.

Scroll left, right, up, down to view all the details. The line details are shown in a separate tab. The default configuration shows fields in various functional groups such as
- Finance
- Entity
- Reference
- Data
- Control
- Etc
You can configure the application to show which fields should be shown under which group. You can also create new groups as per your business requirements.
All Fields
| Sequence | Name | Label | InputType | Field Group |
|---|---|---|---|---|
| 10 | glJournalProfileHId | Gl Journal Profile Hid | InputType.text | REFERENCE |
| 10 | srcEntityName | Src Entity Name | deferredSelect | DEFAULT |
| 20 | srcEntityId | Src Entity Id | InputType.text | REFERENCE |
| 30 | profileCode | Profile Code | InputType.textField | DEFAULT |
| 40 | description | Description | InputType.textField | DEFAULT |
| 5050 | createdBy | Created By | InputType.text | REFERENCE |
| 5060 | creationDate | Creation Date | InputType.text | REFERENCE |
| 5070 | lastUpdatedBy | Last Updated By | InputType.text | REFERENCE |
| 5080 | lastUpdateDate | Last Update Date | InputType.text | REFERENCE |
Journal Profile Line
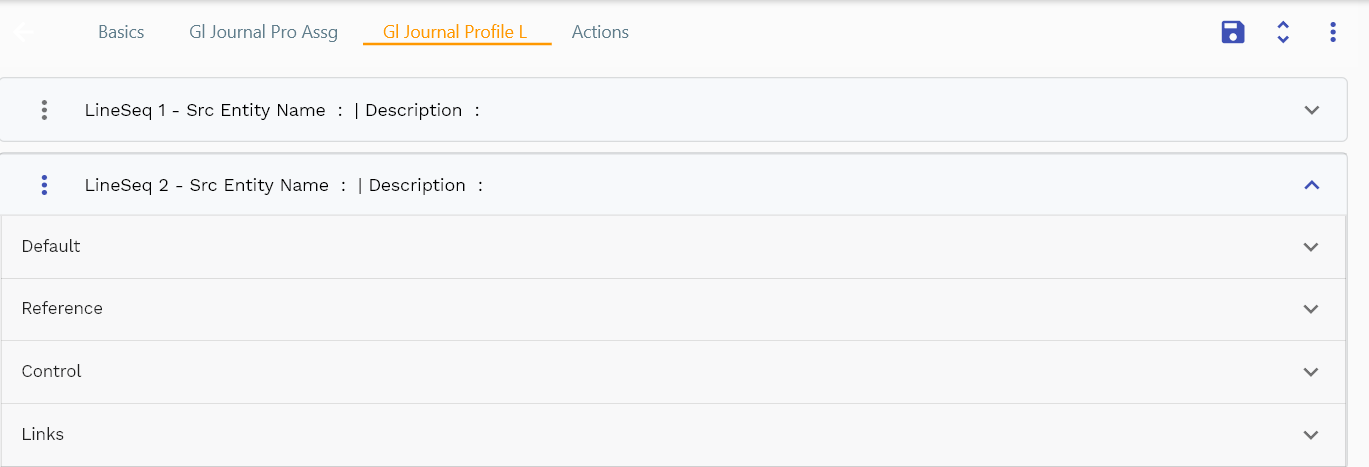
Each line specifies the GL Ac line type, and you can add multiple lines to each journal profile header. Each line will create a journal line for the assigned transaction.
Navigate to the lines tab to view/add/update lines.
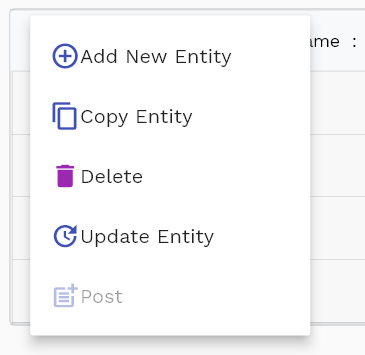
Click on the add new entity to add a new line. If a line already exists, click on copy entity to copy all the details.
You can enable/disable fields allowed to be copied in the menu configuration.

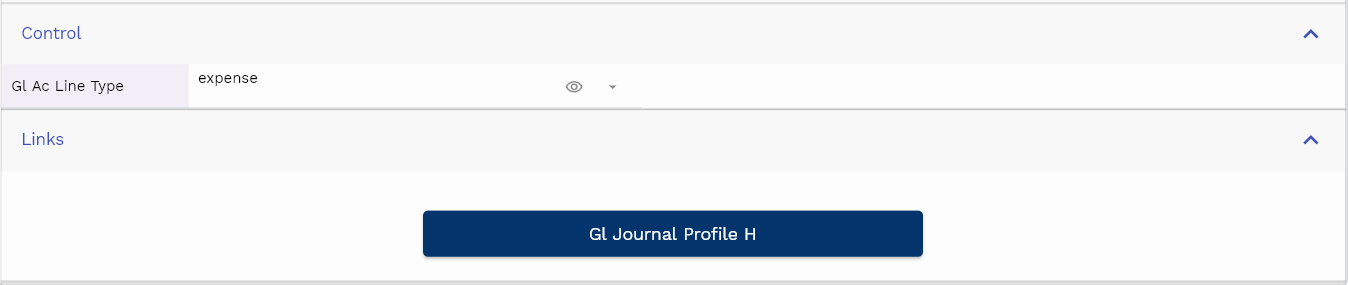
GL Account Line Type: Select a GL Account Line Type from the list of values.
Dr or Cr: Select either Dr or Cr from the list of values.

The reference groups show various ids for reference only. You don't need to enter any information in this section. When you save a journal profile for the first time, the system will auto-populate the newly created header id and line ids.
Scroll left, right, up, and down view all other fields.
Enter all the other fields and click on the save button to save the journal profile. The app will post all the data to the server and will show the messages returned from the server.
All Fields
| Sequence | Name | Label | InputType | Field Group |
|---|---|---|---|---|
| 10 | glJournalProfileLId | Gl Journal Profile Lid | InputType.text | REFERENCE |
| 10 | srcEntityName | Src Entity Name | deferredSelect | DEFAULT |
| 20 | srcEntityId | Src Entity Id | InputType.text | REFERENCE |
| 30 | glJournalProfileHId | Gl Journal Profile Hid | InputType.deferredSelect | REFERENCE |
| 40 | description | Description | InputType.textField | DEFAULT |
| 50 | seq | Seq | InputType.number | DEFAULT |
| 60 | glAcLineType | Gl Ac Line Type | deferredSelect | CONTROL |
| 70 | drOrCr | Dr Or Cr | InputType.select | DEFAULT |
| 5080 | createdBy | Created By | InputType.text | REFERENCE |
| 5090 | creationDate | Creation Date | InputType.text | REFERENCE |
| 5100 | lastUpdatedBy | Last Updated By | InputType.text | REFERENCE |
| 5110 | lastUpdateDate | Last Update Date | InputType.text | REFERENCE |
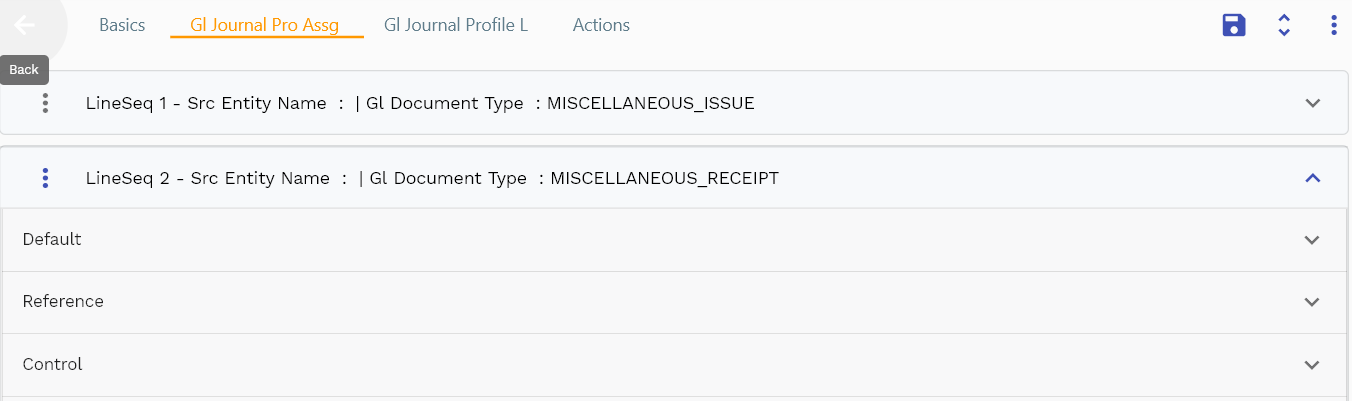
Journal Profile Assignment
You can assign a journal profile to multiple GL document types. Similarly, you can assign a single GL document type to numerous journal profiles. When a transaction is created, the system checks if a journal profile assignment exists for the transaction entity (Inventory or Business Org) and GL Document Type. If any profile is found, the system uses it; otherwise, the system checks if any profile exists for the GL Document type without being assigned to any organization.
Navigate to the lines tab to view/add/update lines.
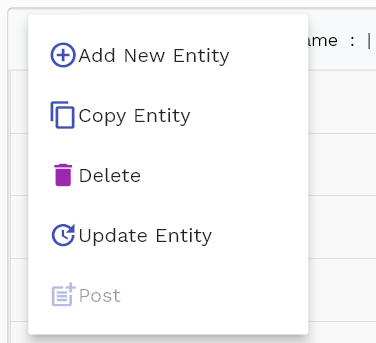
Click on the add new entity to add a new line. If a line already exists, click on copy entity to copy all the details.
You can enable/disable fields allowed to be copied in the menu configuration.
GL Document Type: Select a GL GL Document Type: Select a GL Account Line Type from the list of values. Type from the list of values.
Inv Org Code: Select an Inv Org Code from the list of values. If you don't assign any inventory org code, then the system will use the assignment as a global assignment for the assigned GL document type.
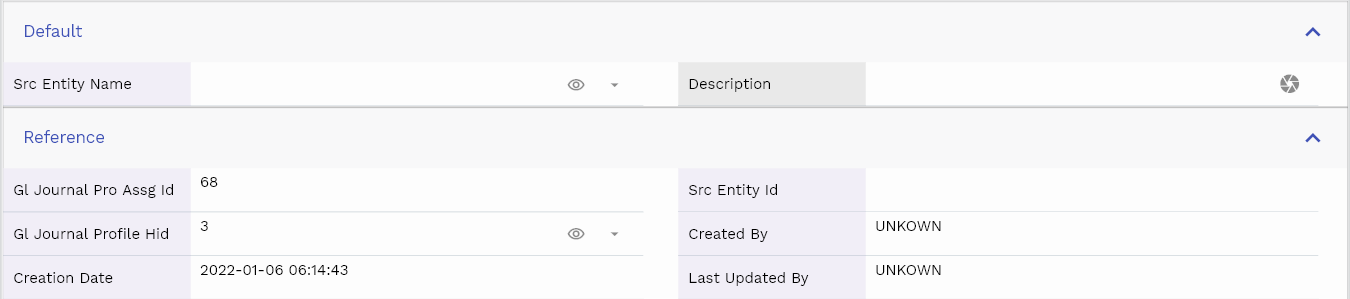
The reference groups show various ids for reference only. You don't need to enter any information in this section. When you save a journal profile for the first time, the system will auto-populate the newly created header id and line ids.
Scroll left, right, up, and down view all other fields.

Enter all the other fields and click on the save button to save the journal profile. The app will post all the data to the server and will show the messages returned from the server.
All Fields
| Sequence | Name | Label | InputType | Field Group |
|---|---|---|---|---|
| 10 | glJournalProAssgId | Gl Journal Pro Assg Id | InputType.text | REFERENCE |
| 10 | srcEntityName | Src Entity Name | deferredSelect | DEFAULT |
| 20 | srcEntityId | Src Entity Id | InputType.text | REFERENCE |
| 30 | glJournalProfileHId | Gl Journal Profile Hid | InputType.deferredSelect | REFERENCE |
| 40 | glDocumentType | Gl Document Type | InputType.deferredSelect | CONTROL |
| 50 | invOrgCode | Inv Org Code | deferredSelect | ENTITY |
| 5090 | createdBy | Created By | InputType.text | REFERENCE |
| 5100 | creationDate | Creation Date | InputType.text | REFERENCE |
| 5110 | lastUpdatedBy | Last Updated By | InputType.text | REFERENCE |
| 5120 | lastUpdateDate | Last Update Date | InputType.text | REFERENCE |
| 60 | buOrgCode | Bu Org Code | deferredSelect | ENTITY |
| 70 | leOrgCode | Le Org Code | deferredSelect | ENTITY |
| 80 | description | Description | InputType.textField | DEFAULT |
GL Document Type
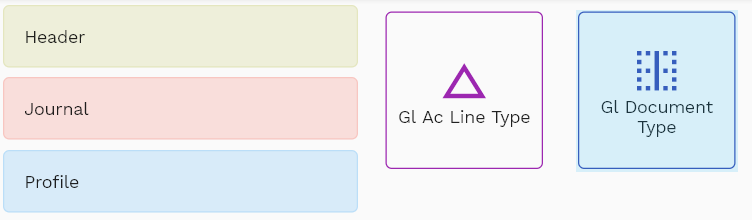
GL document types are assigned to all documents and transactions that need to generate accounting entries. GL document type provides Journal Profile for account creation.
To create/view/update a GL document type, navigate to the "GL document type" screen from your dashboard/favorite.
Enter the Organization/GL document type details or any other criteria in the search form and click on the search button to view an existing GL document type.
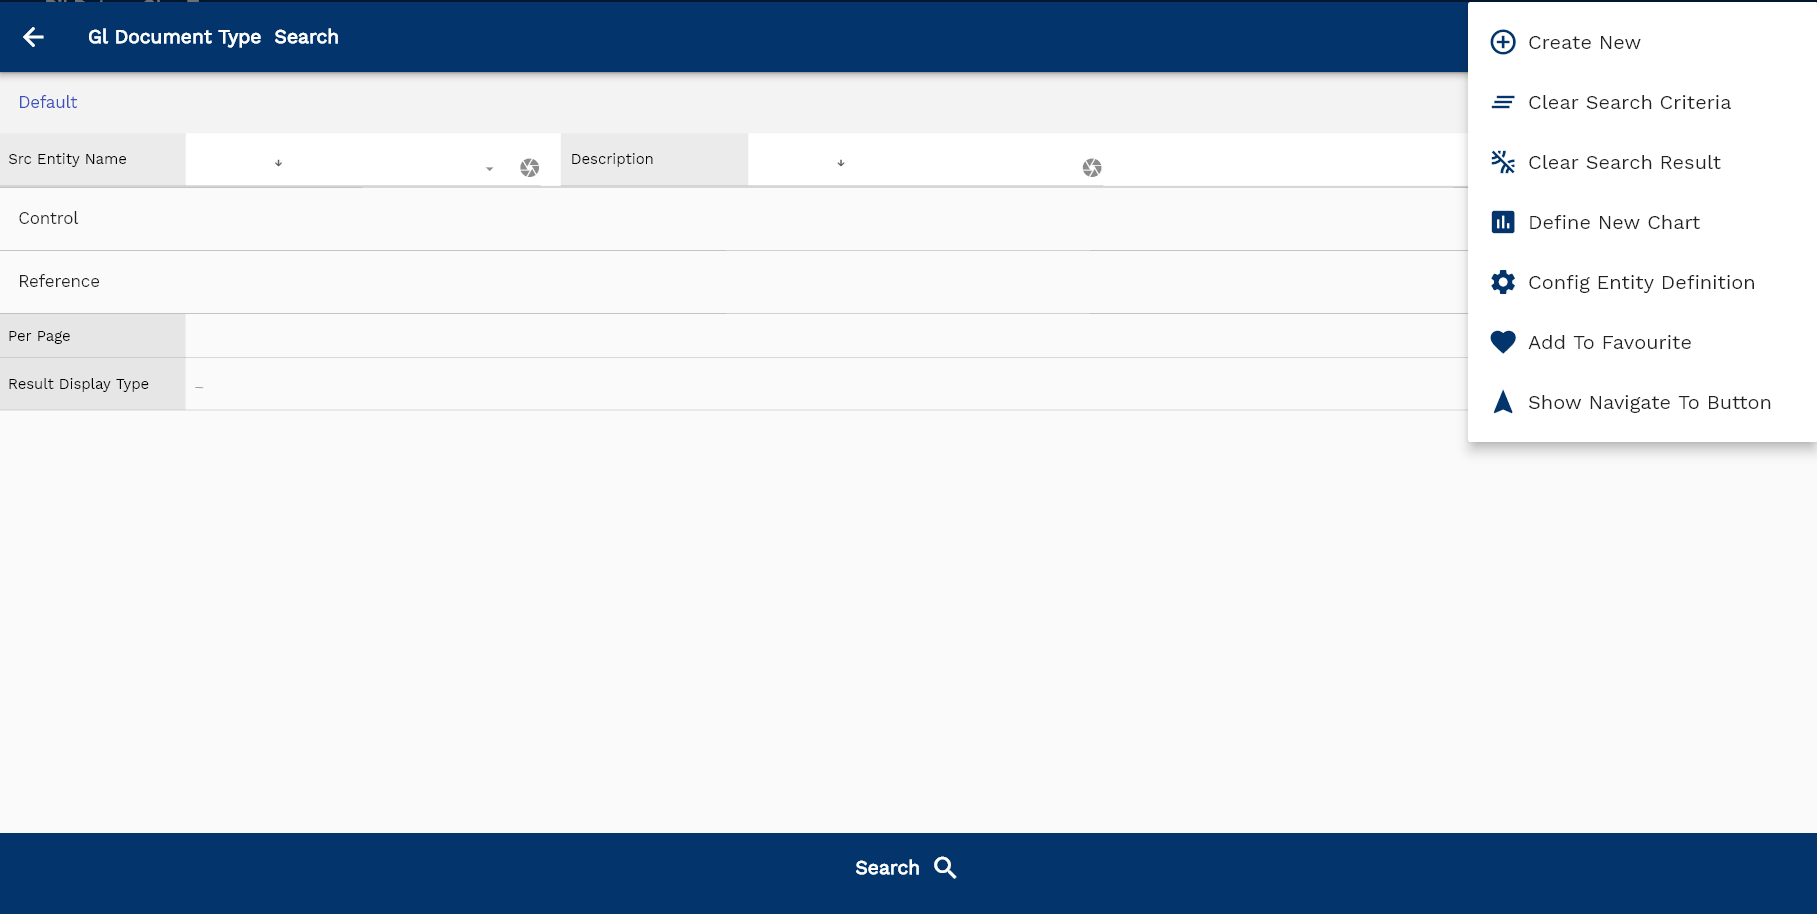
If you don't enter organization details, the system will show you all the GL document types. If your organization has configured to make any field mandatory for search, then you have to enter those fields to search GL document type.
The application will fetch all the server data and take you to the search result screen. The search result screen looks a bit different on desktop and mobile devices.
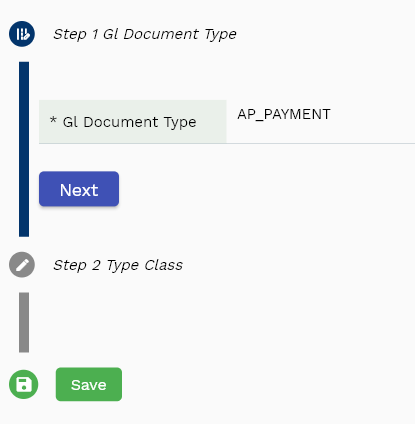
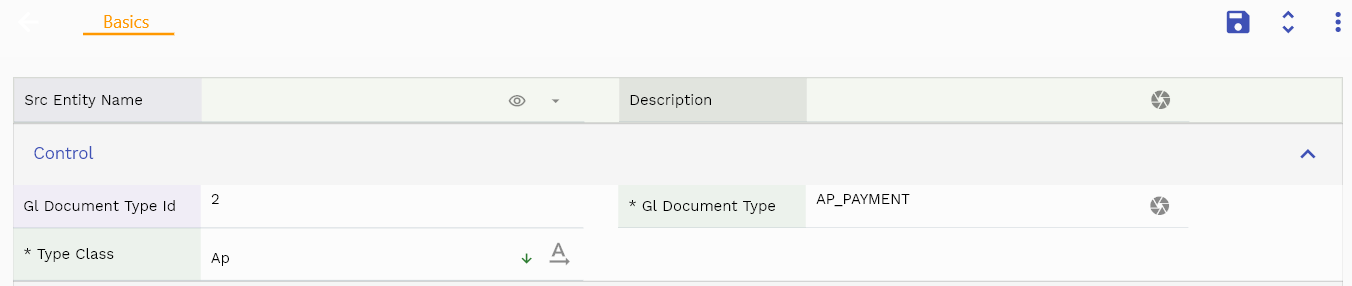
If you click on the create new button, the system will open a simple step form to create a new GL document type. You can click on the detail right bottom to view all the fields available for the object.

To view the search result in a table format, click on the table icon in the bottom left corner.
To view specific GL document type details, click on the menu of that record, and click on view/fetch & view.
You can also click on the expand icon against any item on the search result screen to view the GL document type header details, such as GL document type name, balancing segment, etc.
The system will fetch all the selected GL document type data. Depending on the device size, the cost details are shown either right to the search result screen or on a separate screen.

Scroll left, right, up, down to view all the details. The document line and details are shown in a separate tab.. The default configuration shows fields in various functional groups such as
- Finance
- Entity
- Reference
- Data
- Control
- Etc
You can configure the application to show which fields should be shown under which group. You can also create new groups as per your business requirements.
All Fields
| Sequence | Name | Label | InputType | Field Group |
|---|---|---|---|---|
| 10 | glDocumentTypeId | Gl Document Type Id | InputType.text | CONTROL |
| 10 | srcEntityName | Src Entity Name | deferredSelect | DEFAULT |
| 20 | srcEntityId | Src Entity Id | InputType.text | REFERENCE |
| 30 | glDocumentType | Gl Document Type | InputType.textField | CONTROL |
| 40 | typeClass | Type Class | InputType.select | CONTROL |
| 50 | journalProfileHeaderId | Journal Profile Header Id | InputType.text | REFERENCE |
| 60 | description | Description | InputType.textField | DEFAULT |
| 5070 | createdBy | Created By | InputType.text | REFERENCE |
| 5080 | creationDate | Creation Date | InputType.text | REFERENCE |
| 5090 | lastUpdatedBy | Last Updated By | InputType.text | REFERENCE |
| 5100 | lastUpdateDate | Last Update Date | InputType.text | REFERENCE |